Simple Chords for Beginner Guitarists
Introduction to the Six String
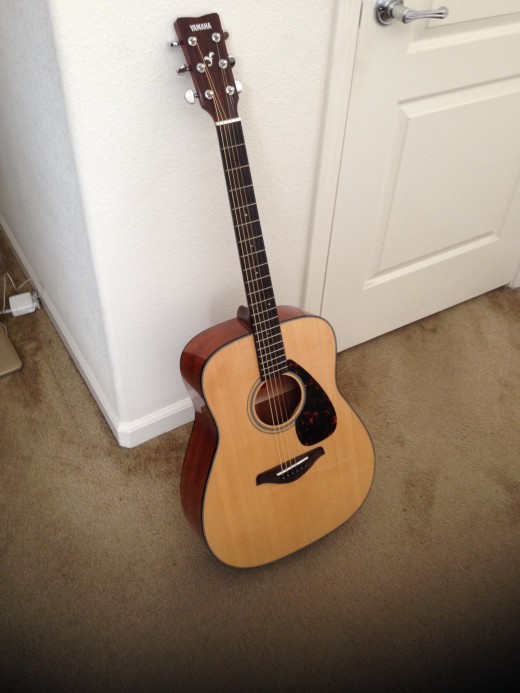
So you have a new guitar and have no idea where to start? It is safe to say you will not be shredding any time soon. From my personal experience learning guitar, I feel it is best to learn and practice some simple chords in the beginning. A chord is simply the formation you make on a combination of pressed strings to form a clear, distinct sound when you strum. They can be thought of as building blocks for songs, especially some simple ones. This article will go over some simple chords that can help you get started mastering your guitar.
But First...
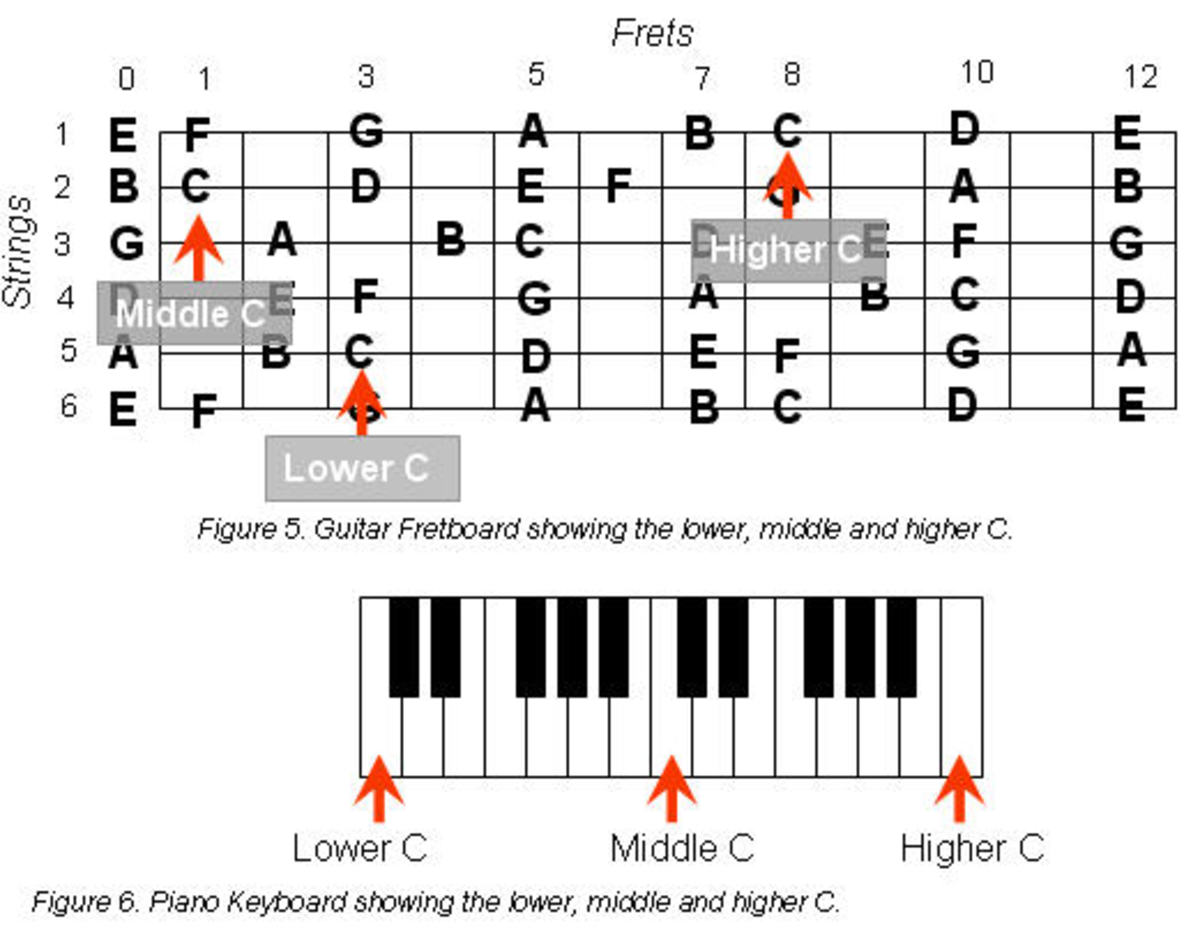
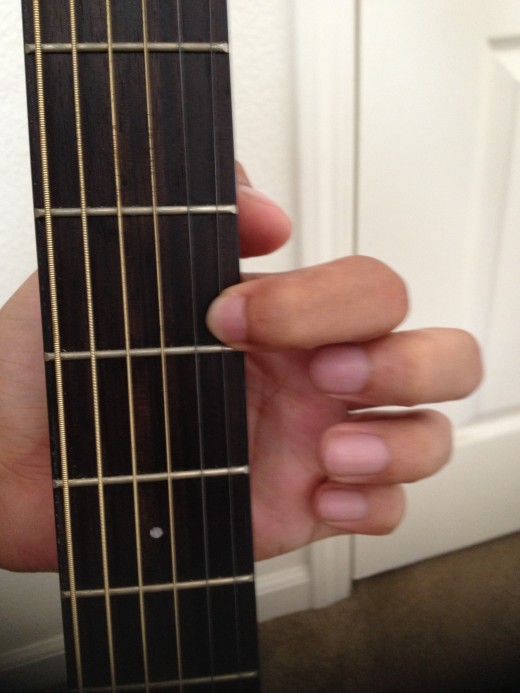
If these chords are going to be your first steps, then you need to learn to crawl first. You have to know what is what on our guitar before you start walking. You have to know the name of the guitar strings. From bottom to top (thinnest to thickest), they are E, A, D, G, B, and E. An effective way to remember the string names is this little phrase; Eddie Ate Dynamite, Good Bye Eddie. It is a bit morbid, but it will certainly stick with you. Frets will be easier to remember since they are simply numbered from where they start on the guitar neck. The first fret is fret one and goes all the way down. This is how we will describe where to place your fingers when you learn chords such as playing strings G and D on the fourth fret.
First Exercise
A good exercise to familiarize yourself with your guitar is to play each string on the first 6 frets slowly one by one. This will allow you to get comfortable with feeling the distance between each fret horizontally as well as the vertical distance between strings as you move up and down. Go slow at first, starting from the light E string and moving up until you get comfortable going faster. When you get real good, try the exercise going back and forth from the first and sixth fret as well as starting from the thick E string and going repeatedly up and down. With enough practice you will eventually be able to move around the fret board without even looking at the strings you are playing. This exercise is especially effective since your strumming hand will simultaneously memorize where the strings are that need to be strummed.
A Chord
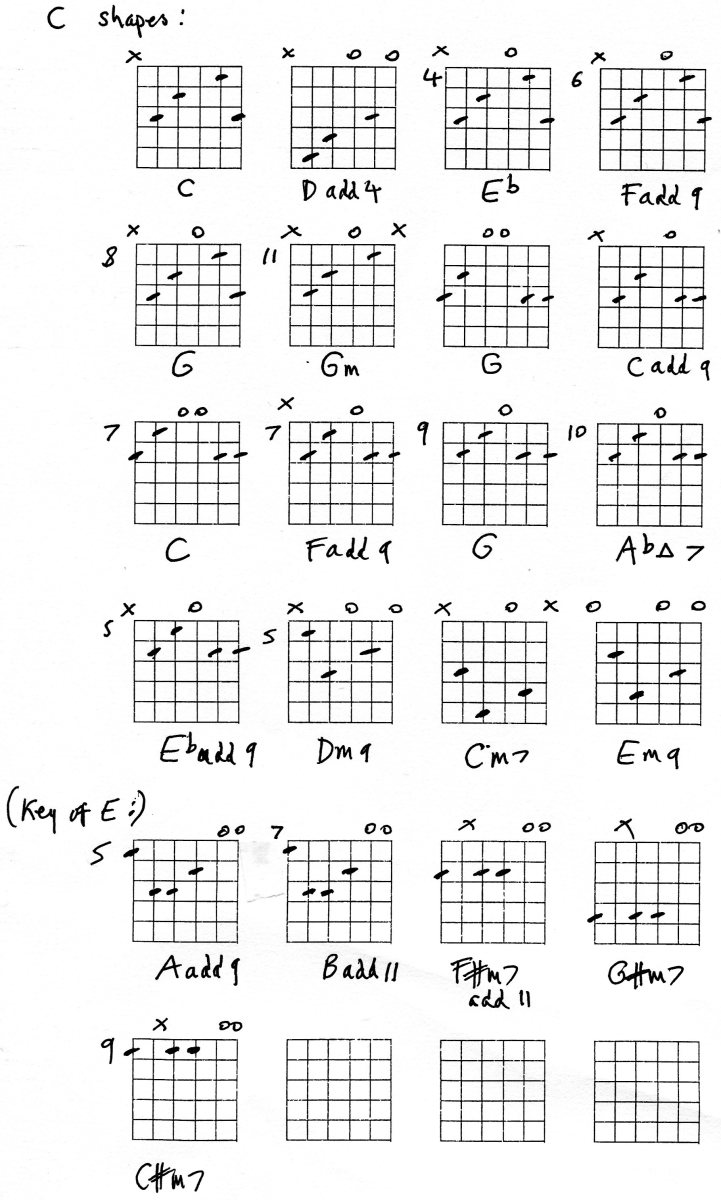
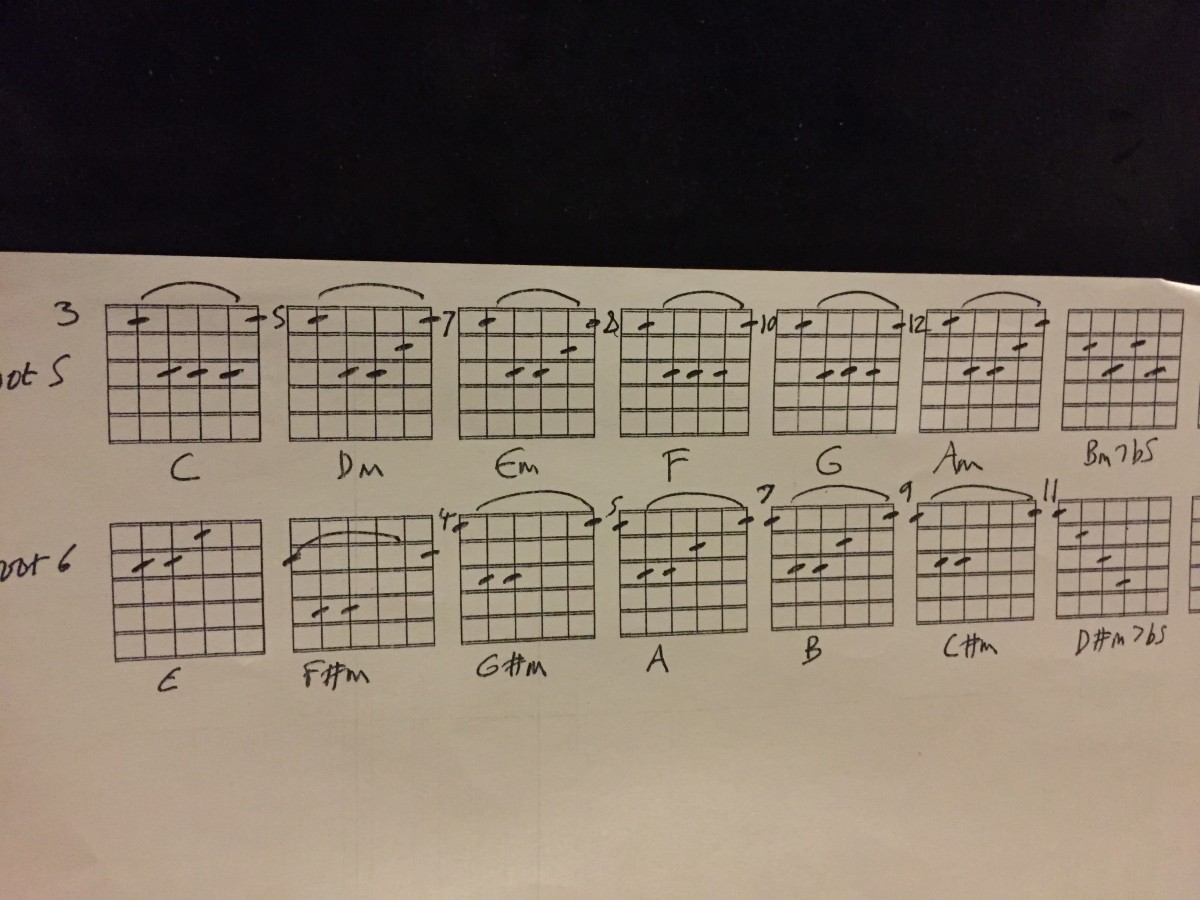
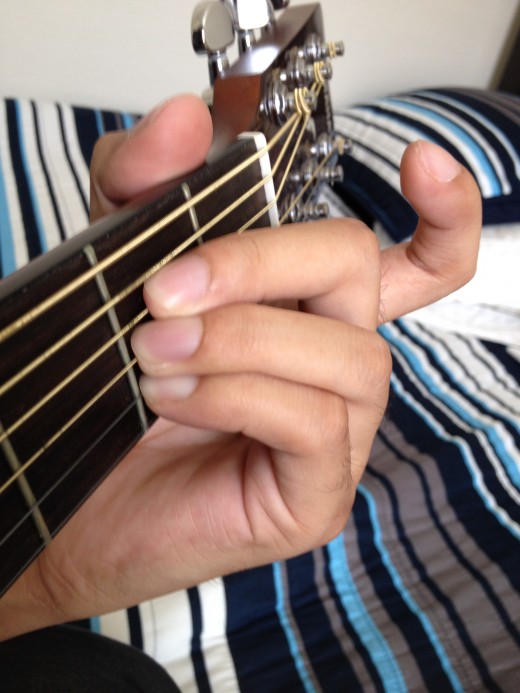
Our first chord will be the A major chord. This simple chord will have you pressing strings A, D, and G, all on the second fret. You will strum all six strings. The best fingers to use will be the index finger through the ring finger. For future reference, your fingers from the index to the pinky will be called fingers one through four. It is important that you press down on the strings with just the tip of your fingers. If any part of your fingers come in contact with the other strings, you will interfere with the strings vibrations when strummed and your chord will not sound out correctly. This chord is good practice for this issue because although you are on a single fret, it is a bit of a challenge to have three fingers close to each other without messing up the sound of the chord. Also make sure you are firmly pressing down on the strings, you will get a kind of buzzy sound on strings that are not completely pressed down.
C Chord
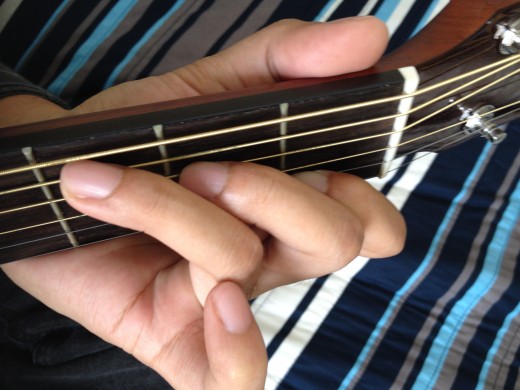
Next up is C major. This is a good chord that will get you used to stretching your fingers across the fret board. You will place finger one on the A string of the first fret, finger two on the G string of the second fret, and finger three on the B string of the third fret. You will strum down starting from the B string. You may need to press down the strings with the sides of your fingers rather than the front tips, so be careful of interfering with the other strings.
D Chord
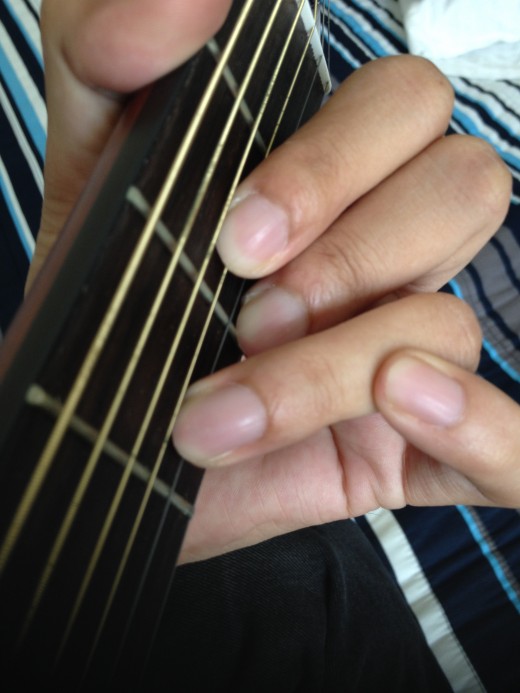
The D major chord is one of my personal favorites because it requires a surprising amount of accuracy despite its relative simplicity. Fingers one and two will go on strings E and D on the second fret while finger three will go on the A string on the third fret. You will strum starting on the G string. The common hurdle of this chord is the third finger interfering with other strings or not getting enough pressure on the bottom two strings. It is one of the more pleasant sounding chords so it will be well worth the effort to perfect your formation on this chord.
E Chord
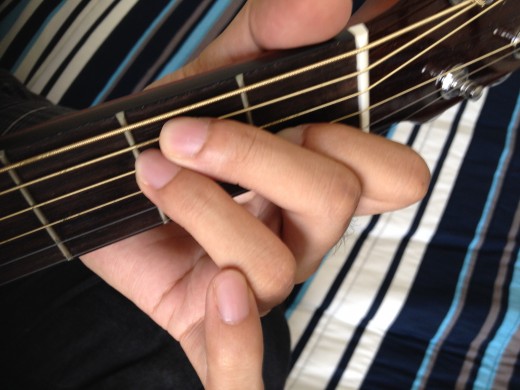
The E major chord is a real simple one. Finger one will go on the D string on the first fret, finger two will go on the G string of the second fret, and finger three will go on the B string of the second fret. All strings will be strummed. Due to being fairly close to the location of the A major chord, you could later on practice chord transitions between these two chords.
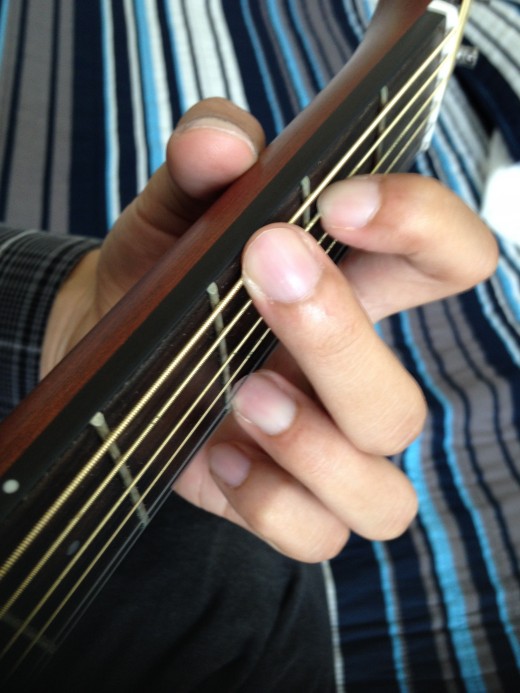
G Chord
All right, I have saved the toughest for last. Don't worry, you got this one. The G major chord is often considered the most challenging one for beginners, likely because it requires the most dexterity. Finger one will be on the B string on the second fret, finger two will be on the top E string of the third fret, and finger three will be on the bottom E string on the third fret as well. All strings are strummed. The most common problem is the second finger disturbing the B string, so you really need to curl your fingers into almost a claw shape to ensure your finger tips are precisely holding down the strings. Take your time to get it right. You will eventually make this chord without even thinking about it.
Additional Tips
- When you comfortably have your chords down, feel free to practice transitioning between them, such as playing A to E to G. Try timing yourself to see how fast you can play different chords.
- For extra help with strumming, try simply strumming each individual string slowly while progressively going faster without looking. Try to eventually do this while also skipping some strings.
- Try listening to recordings of the different chords to recognize them by sound as you learn to play them.
- In addition to putting chords together, you can also make a tune by strumming upwards at different beats to add some variety.

