How to Decorate Onesies and Other Handmade Baby Gifts
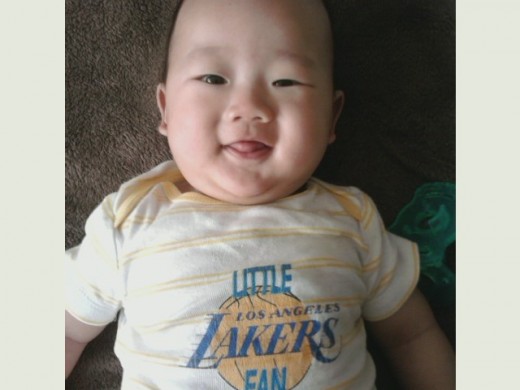
Iron-on Transfer Sheets
Iron-on Transfers Are Easy and Customizable
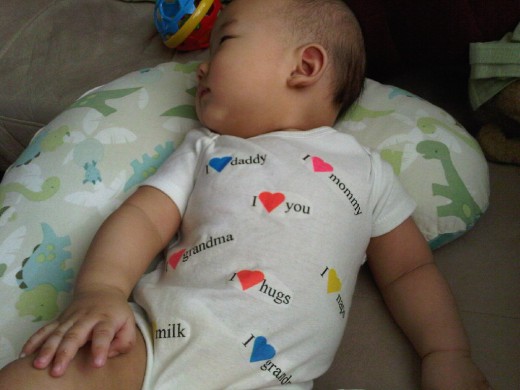
Do you have a baby shower or welcome baby party to go to and want to give a unique gift? How about a onesie or baby shirt you've personalized and designed yourself, to give to the new mom for the baby? I've found that printable iron-on transfers are the way to go, for an easy, custom look that's not only cute, but safe and comfy for that delicate baby skin. I have used this technique for my own babies and for my friends' babies and each time, the onesies are a hit! Not to mention, it's a lot cheaper than buying a designer brand name piece of clothing, that the baby may soon grow out of anyway. And you're guaranteed that no one else has given the same thing. I've used fabric paint before but that turned out stiff and crusty when dried, which is NOT great for baby's skin and is more likely to crack and chip off after washing. Iron-ons will fade with washing, but it's a more natural worn look, like your favorite t-shirt. I'm still using my DIY iron-on onesies from years ago for my second child. I can't give any advice that has to do with sewing, because I have two left thumbs when it comes to wielding a needle.
Summary of my technique:
- Use pre-washed and dried blank, white, or light-colored onesies for the best result.
- Pick images and text for your design, using free clipart, cute sayings, personalized phrases, photos, or favorite quotes.
- Format your design, flip any text or phrases, print out.
- Carefully cut out your design.
- Adhere the cut-out to your onesie, using an iron on its hottest setting. NO steam. Peel off the backing, and you're done!
Some fun with clipart and cute sayings
Step 1:
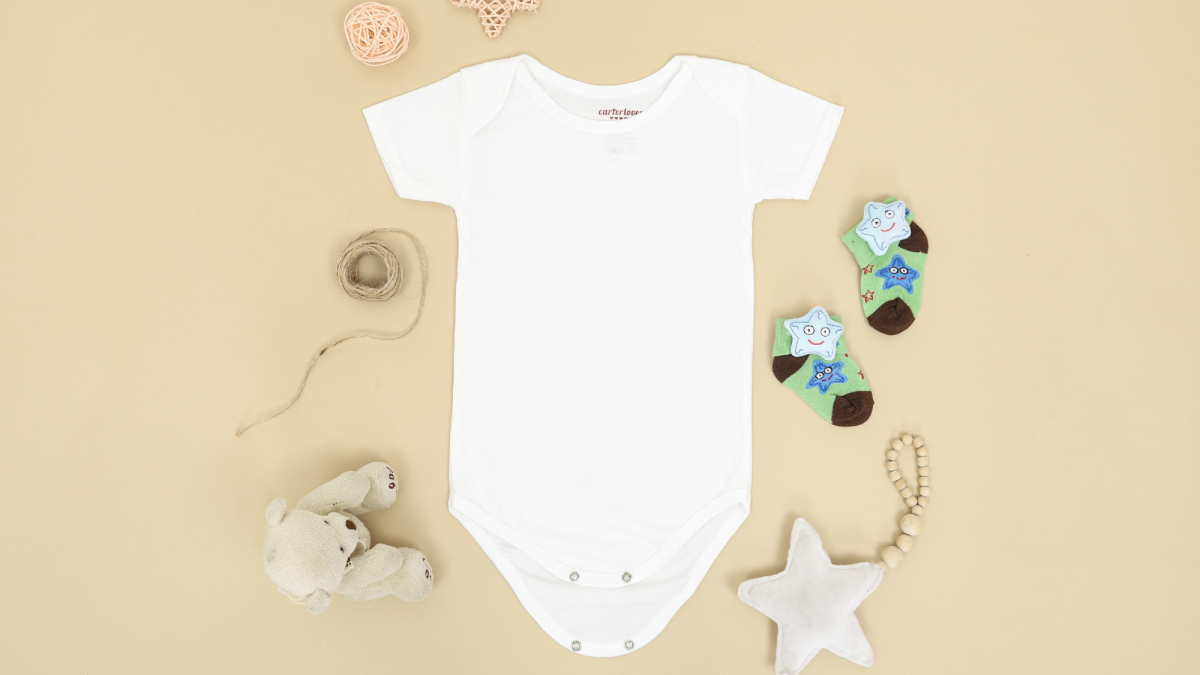
First, you need blank, preferably white or light-colored, onesies (also called bodysuits, or one-piece shirts) or even regular baby shirts. Dark colors like black, blue, and brown will work but the iron-on image will be less apparent. Try the special iron-on transfer sheets for dark shirts if you insist on going this route. A light pattern or stripe on the shirt is okay, as long as the graphic or text you want is still high-contrast. The onesie should be made of 100% cotton (can be organic), and can be any style - long-sleeved, short-sleeved, even kimono wrap-style, but consider the season/temperature the baby will most likely fit into it. For example, if the baby's born in winter, the clothing should be long-sleeved and size NB (newborn) or 0-3 month size. If hot weather is just around the corner, use short-sleeved onesies in 3-6 month size. I like to use 3-6 month and 6-9 month short-sleeved onesies. That way, the baby can grow into it and can wear it through a range of seasons hopefully. Also - pre-wash and dry the clothes before applying this technique (a regular setting is fine but do not use fabric softener; dryer sheets are okay).
Step 2:
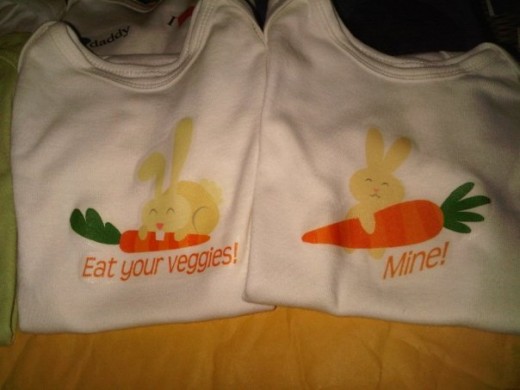
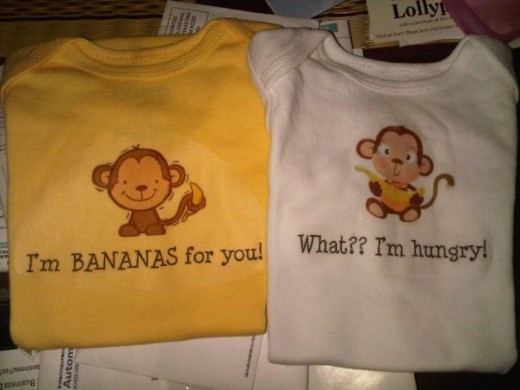
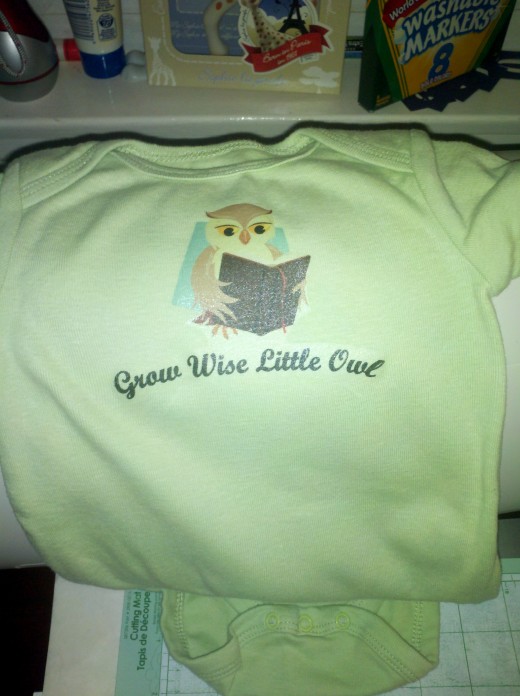
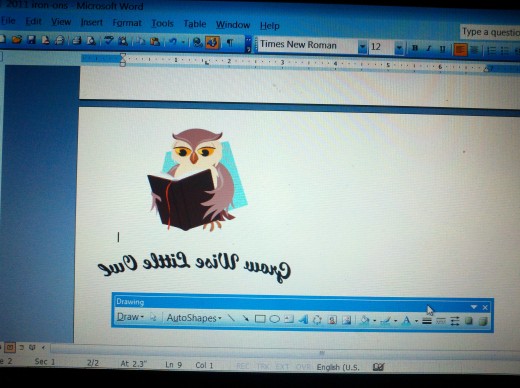
Second, you need to find images, photos, and/or phrases that you want to use. I looked on the internet for free clipart and images. Or couple the new baby's name with a picture (only if you're sure the name is set). If you already have kids, you could probably scan pictures from your kids' favorite books or toys, like baby blocks (preferably something with a flat surface for a nice scan). Or just use your imagination for cute sayings, like "Future MVP" or "Team Blue/Team Pink" if you know the sex but not the name (or "Team Green" if the parents are keeping it a surprise!). My favorite thing to do is coordinate with the theme of the baby shower, if there is one, or use the mom-to-be's favorite colors or animals. Or you can design something personal, that shows you know the mom or dad-to-be, like using pictures of books, sports teams or favorite quotes. I knew one of my pregnant friends was using an owl and books theme for her nursery, so I (serendipitously) found a Microsoft clipart image of an owl reading a book! Underneath, I put the saying "Grow Wise Little Owl" which she had as a decal on her nursery wall already. Talk about custom coordination!
Step 3:
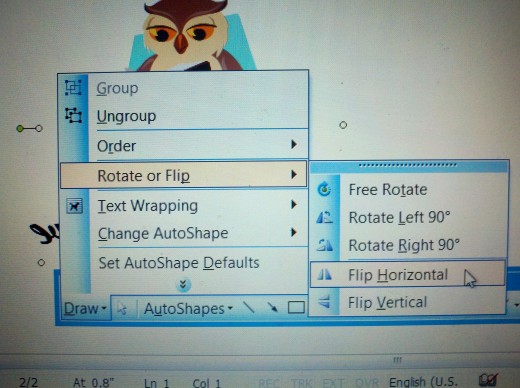
Third, use a program like Microsoft Word or Microsoft Publisher to size, color, and format your images and text. Think of the size and placement you want for your design. Is it going on the chest of the shirt? What size is the shirt? Obviously, don't make it too big to fit. Try putting an image on the "butt" of the onesie for a unique alternative to the usual front/center of the chest. Or put little images all over the onesie for a unique patterned look. Sometimes, you can change the color of the image. Use editing software like Photoshop if you have that. If you want to add text, you can use a text box or Microsoft WordArt. In either case, remember to flip the text so that a mirror image prints out. This is because you will be putting the image and text face-down onto the shirt before ironing it on. So this is key! You have to either "flip horizontal" or use a mirror-image function (for MS Word, it's on the Drawing toolbar) so that what you see on the computer screen is backwards. When you're ready, put the iron-on sheet into your inkjet printer and print according to your printer's specifications (usually the blank part of the sheet is facing up). You can print a test run on a normal sheet of paper first if you're unsure of how it'll look.
Step 4:
Once you've printed the design, carefully cut it out. How closely you cut around the image depends on several things. Do you have an intricate design? Then you may just want to cut a simple circle or square around the entire image for a neat look. Remember though that you may be able to see the filmy, clear, blank part of the iron-on sheet if a lot of it remains around your image (called the "ghost image"). I like to cut the image out as precisely as I can and cut rounded corners around text (the fewer sharp corners, the less likely the iron-on will lift up inadvertently). The package of iron-on sheets I used came with all these tips and I found them helpful.
Step 5:
Lastly, adhere the design to the onesie, following the manufacturer's instructions. I like to place a flat, clean pillowcase on the floor (which is hardwood) or use my mini foldable ironing board, laid flat on the floor (not raised). This is to ensure a hard surface that you can iron on; it would be difficult to exert an even, firm pressure on a raised ironing board, and learn from my mistake - do NOT iron, even on top of a pillowcase, on any table surface that has paint or varnish (I melted the varnish off my brother's table once...sorry bro!) or any surface that can wobble. Then place the cut-out design face-down on the onesie. If using text, be sure to be level! Your iron should be on its hottest setting, but do NOT use steam (in fact, I make sure the iron has no water in or around it before starting). Exerting even, firm pressure while moving slowly across the cut-out design (about 25 seconds moving horizontally, and 25 seconds moving vertically) will do the trick. Be careful not to let your cut-out design move at all, or else the ink will smear. Let it cool for a couple minutes. Then carefully peel the backing off. Hopefully, you will be left with your cute custom design perfectly where you want it on the onesie! Step back, admire, pat yourself on the back for a job well done (at least, that's what I do). When you give the onesie as a gift, include in the card or tell the mom that the onesie can be washed normally but turn inside out first to reduce fading.
Other handmade gift ideas:
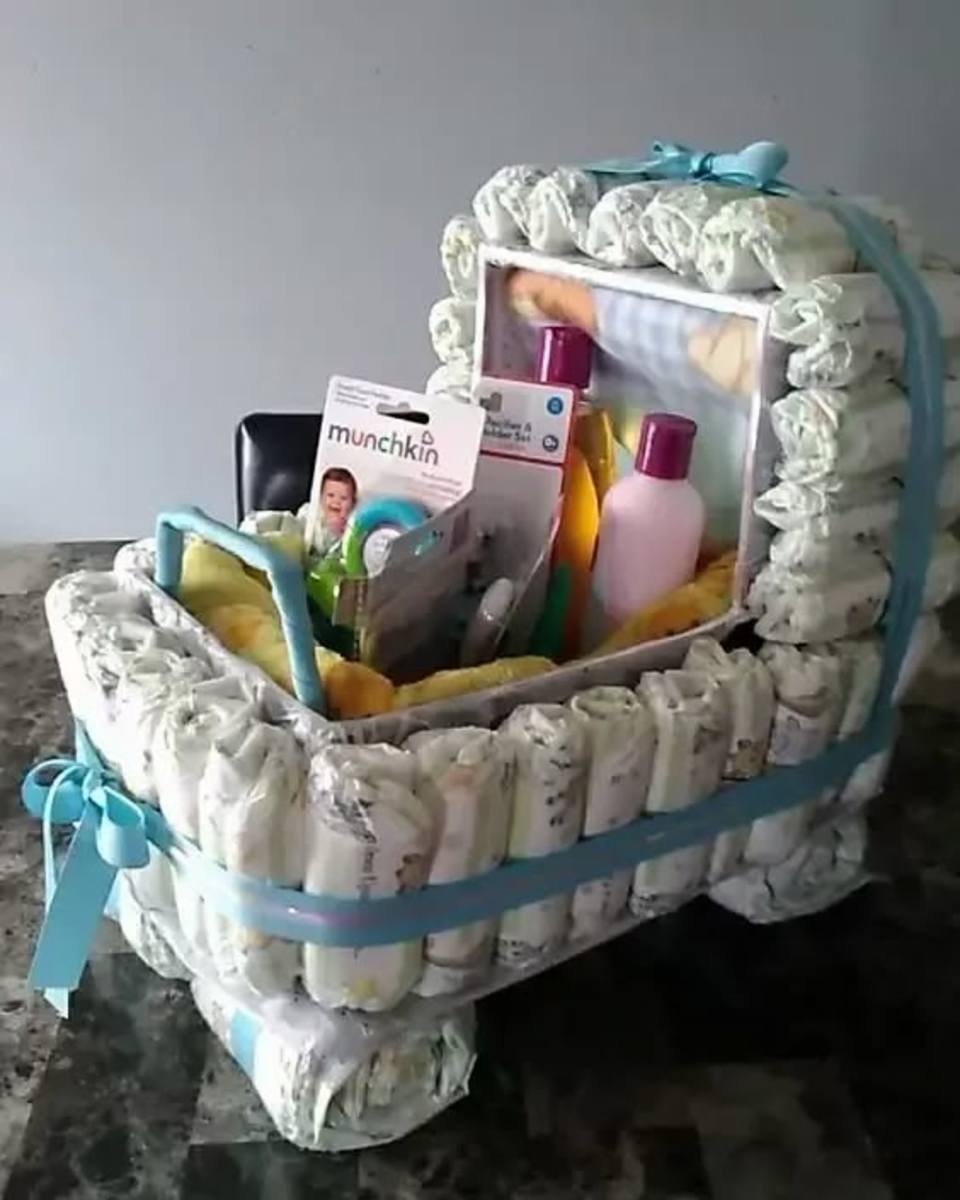
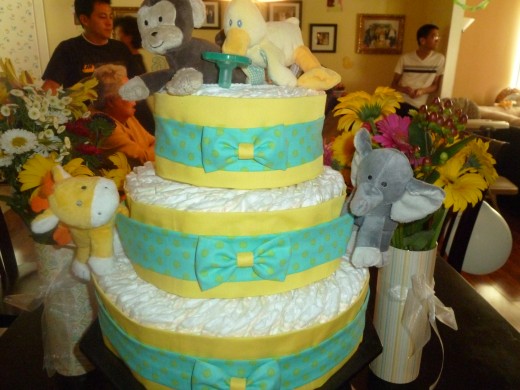
Along with your DIY onesie, you can include another gift from their baby registry, or buy other articles of clothing, hooded towels, washcloths, or blankets. Packaging the gifts together in a reusable box, basket, or caddy is always a good idea. Diaper cakes are also a great hit. A hint for ensuring a well-received diaper cake: get diapers in the brand you know the mom wants (the registry usually has a clue) or just get Pampers Swaddlers or Huggies Snugglers (premium diaper brands), maybe even in their Sensitive versions. You can use Newborn (NB) size but that means your "cake" will have to be disassembled right away to be used, and most infants grow (or are even born) too big to wear Newborn size for very long (not even a couple weeks). So use Size 1 or 2, and be sure to let mom know what you used. I like the method of not rolling each diaper (see the related hub article below). That way, the mom-to-be doesn't have to unroll or un-rubber band each diaper before using it. Wrapping or decorating the diaper cake with fabric bows, ribbons, baby toys, or blankets is always a good idea. I once made a "cake" out of towels and washcloths, with a rubber ducky as a cake "topper." Think cute but practical!
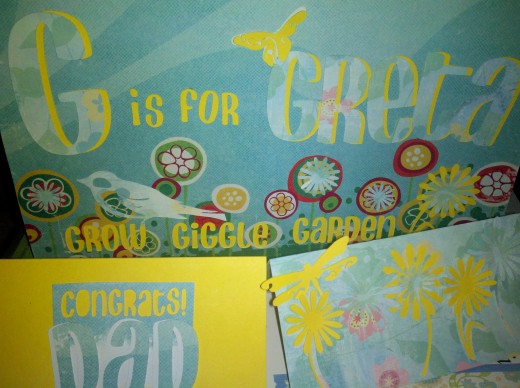
Another handmade baby gift is a personalized scrapbook or baby album. As a baby shower activity once, we all made scrapbook pages that would later be part of a baby album. The mom can fill them in as she gets pictures printed of, for example, baby's first car ride, baby's first trip to the zoo, etc. For all you scrappers and crafters out there, a baby name banner made of nice paper, or some sort of personalized sign or card (like the one I made pictured above), is always a cute and thoughtful gift - but be sure the name of the baby is set! And be sure of the preferred spelling!! Try to pick paper that coordinates with the new nursery or colors and theme of the baby shower.
However your gift is handmade or personalized, the gift recipient will be sure to love it. It's a nice way to say you took the time to make something and it will probably evoke memories and be treasured for years to come.
Read my other Hubs
- How to create a Very Hungry Caterpillar themed birth...
Everybody loves a themed kid's birthday party. It's even more fun when you use your child's favorite book for inspiration. Follow my steps and ideas for an easy, economical, frugal, DIY, and low-stress
Read More Hubs All About Onesies:
- How to Make a Baby Onesie
Read this article to learn how to make a onesie the easy way. Cute pictures are included to inspire you. - Onesies--a Mommy's Best Friend!
Want to know the best baby gift you can get for a new mom? Onesies and lots of them. They make changing your baby so easy and come in trendy styles as well. - Handmade Baby Gift Ideas
Check out this hub for examples of cute baby-related phrases that would be perfect on a onesie.
Learn About Diaper Cakes & Other Practical Baby Gifts
- Give an original diaper cake as a baby shower gift. Learn how to make a great diaper cake
- Practical and Useful Baby Shower Gifts and Other Items for First Time Moms
Not sure what to buy for a baby shower? Intimidated by the registry list? Read this article to find a list of practical and useful gifts that I like to give to new mommies. - How to Build a Diaper Cake Without Rolling Diapers
A diaper cake is the most appreciated gift you can make for expectant mothers. Here are detailed instructions for making your own easy diaper cake without lots of messy tape or tedious rolling...


