2 Easy Ways to Cook a Whole Pumpkin, Butternut, Kabocha or Other Winter Squash from Scratch
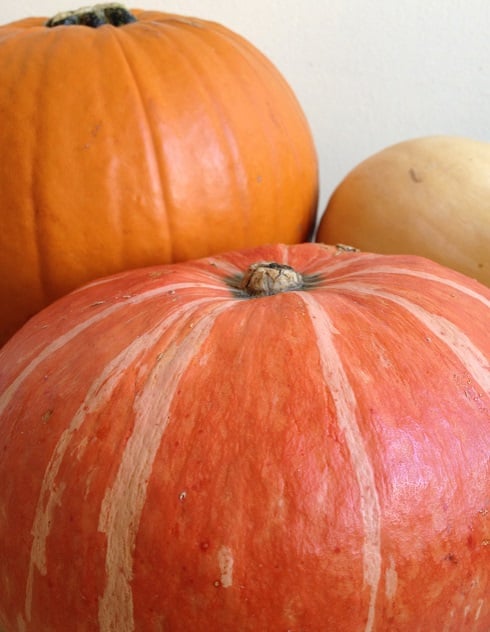
The easiest ways possible to enjoy winter squashes and pumpkins
Pumpkin pie from scratch. Butternut squash soup you make yourself. Sweet kabocha squash hot from the oven. If you love these superbly healthy, colorful, whole foods but feel intimidated at the time and strength it takes to slice and chunk them raw, let me tell you: You don't have to!
These hard winter vegetables are amazingly easy to cook whole, then skin and chop, dice, or mash to your heart's content.
I love the winter squashes, but no matter how sharp my knife, I haven't the strength to cut through the thick skin and hard flesh without risking cutting off my arm. So I don't cut into a raw winter squash. Ever.
Below are two methods for cooking squash without pre-cutting. The first is oven-roasted. The second is a steam method.
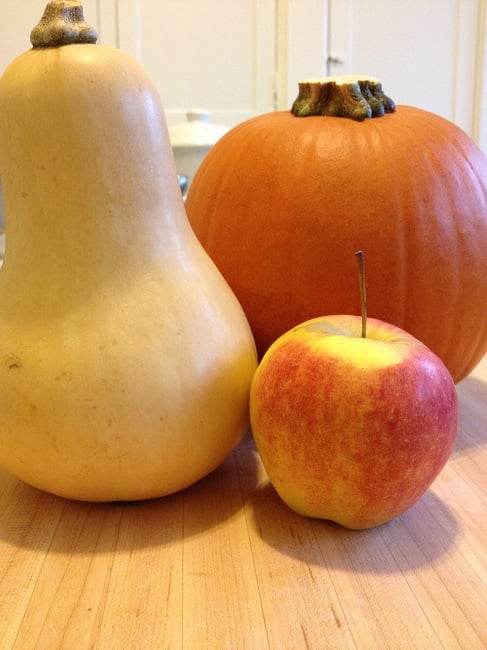
Method 1: Roast your whole pumpkin or squash
The easiest way to cook a whole winter squash or pumpkin is to roast it. This works beautifully with large squashes, like butternut, kabocha and larger sugar pie pumpkins. It also works well when you're cooking up a batch of the smaller acorn squash.
I like to roast a couple varieties on the weekend and use the cooked flesh in recipes throughout the week.
Cooking times vary, depending on size of the vegetable and how much moisture it contains. I've had rather large pumpkins roast tender in thirty minutes, and smaller ones take forty-five minutes to an hour. I've had similar results with both butternut and kabocha squashes.
If you have room in your fridge, you can roast your squashes one day, refrigerate them, then peel, dice and mash--whatever you need--another day.
They store nicely in the refrigerator for three to four days. Once peeled, the chunks and puree freeze well too.
How to Roast a Whole Squash or Pumpkin
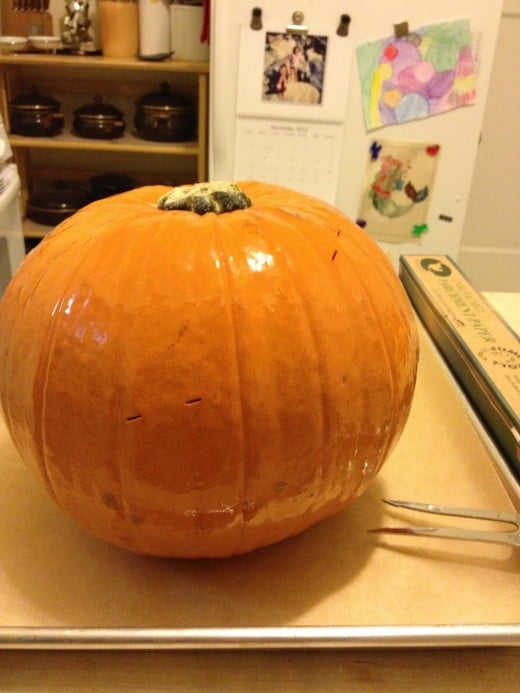
Tools you need to roast your squash
Take a close look at the photograph above. Right there, you see the three tools you need, apart from an oven, of course, to roast a squash or pumpkin.
- Jelly-roll pan
- Roll of baker's parchment
- Long-handled, two-tined fork
- Sharp knife
In fact, the first two are the most used items in my baking/roasting kit.

Start with a good baking pan
This large Nordic jelly roll pan is the one I use several times a week for baking and roasting. It's heavy enough not to give when I take large items such as pumpkins and squash to and from the oven.
It serves me equally well when I make homemade granola, oven fries or one of our favorite suppers, a medley of roasted vegetables.
Baker's parchment saves cleanup time
Baking parchment comes in handy so many ways, and the fact I can toss the If You Care brand in the compost bucket without a worry is a big plus.
One way or another, I use it every single day. It saves elbow grease and cleanup time when it comes to baking or roasting vegetables.

Ready? Let's get started.
Ingredients
- 1 or more Pumpkin or winter squash, Whole
- 1/2 t Organic extra virgin cold-pressed olive oil
Cook Time
Instructions
- Line a large baking pan with baking parchment. Do not preheat oven.
- Wash the squash and pat dry with a clean towel
- Using a meat-carving fork, carefully pierce the sides of the squash in five or six places about 1/8-1/4 inch deep.
- Rub the squash all over with olive oil.
- Place squash on the lined baking pan and set on rack in oven so the squash, or squashes, if roasting more than one, are approximately centered and tops do not touch oven ceiling. If using an electric oven, do not let tops touch heating elements.
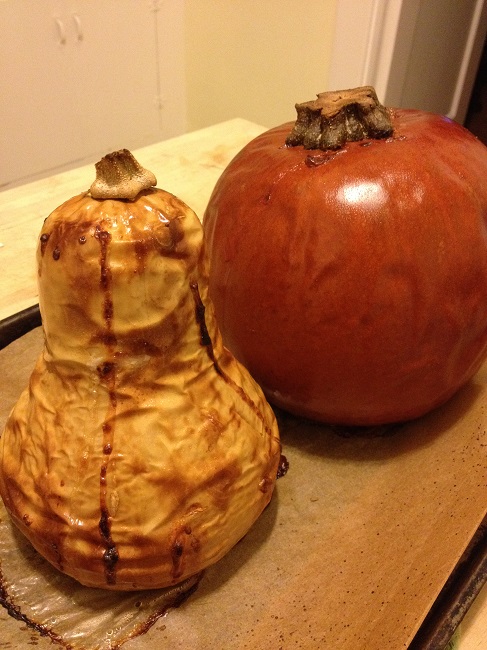
- Set oven temp for 375°F and bake to desired tenderness. If planning to mash or puree for soups or pie, bake until completely tender: Fork slides easily all the way into the center of the flesh. If planning to serve chunked or cubed as a side-dish, in a casserole, stir-fry or in soup, bake until firm-tender: Fork slides in, with some give. Skin is puckered, but flesh is relatively firm.
- Carefully remove baking pan from oven to wire rack and cool until squash is easy to work with bare hands. If not planning to serve immediately, let cool completely. If serving immediately, let cool enough to work without burning yourself.
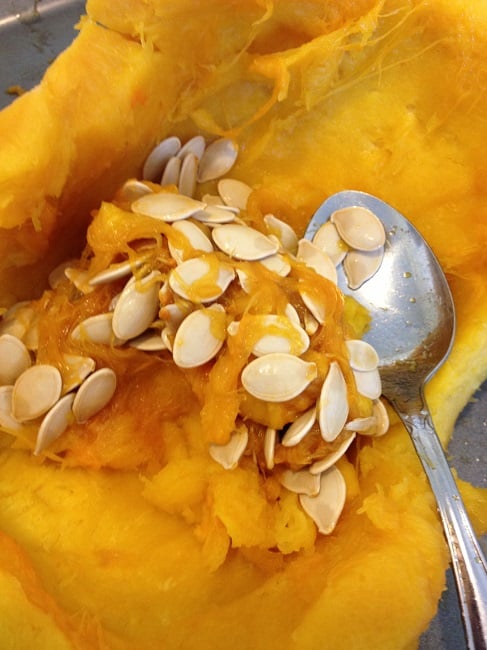
- Cut squash in half and remove pulp and seeds.
- Using a knife or fork, peel away and compost the skin. It should come away easily.
- Chunk the flesh and use as required in recipes for soups, stir-fries, pasta dishes, or mash or puree for use in breads, pies and soups. The flesh freezes well in an airtight container.
Test your knowledge of winter squash
view quiz statisticsLearn more about squashes and pumpkins
- Squash: Basic Facts and Cooking Tips
You can find all the answers to the quiz on this page, as well as the differences between gourds, pumpkins and squashes, how to cook squash blossoms, and much more.
Method 2: Steam small squashes on your stove top
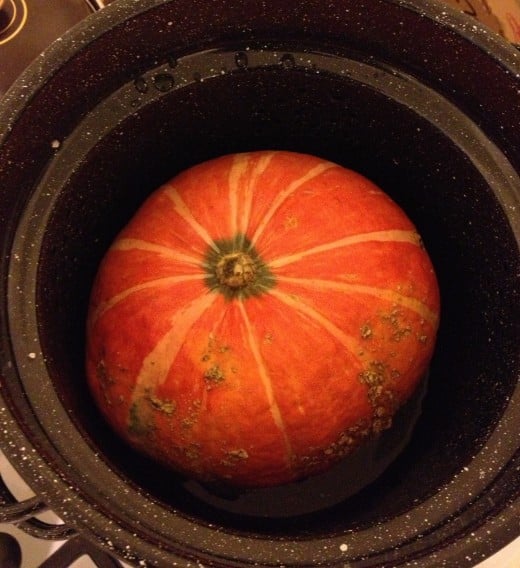
How to steam a whole squash or pumpkin
Method two, steaming the squash, is a good way to go if you're in a hurry. I've used it to cook sugar pie pumpkins when I wanted a pumpkin pie from scratch the same day. It saves time, and the steam method is almost as easy and nutritious as roasting.
The size of the squash or pumpkin you can steam is entirely dependent on the size of your stove top cooking pan and rack. Cooking time also varies according to size.
Tenderness is another factor that affects cooking time. If you plan to puree or mash the cooked squash, steam until tender. If you plan to cube for stir-fry, pasta dishes, soup or breads, avoid over-cooking. Steam until just tender enough to cut through, but not mushy.
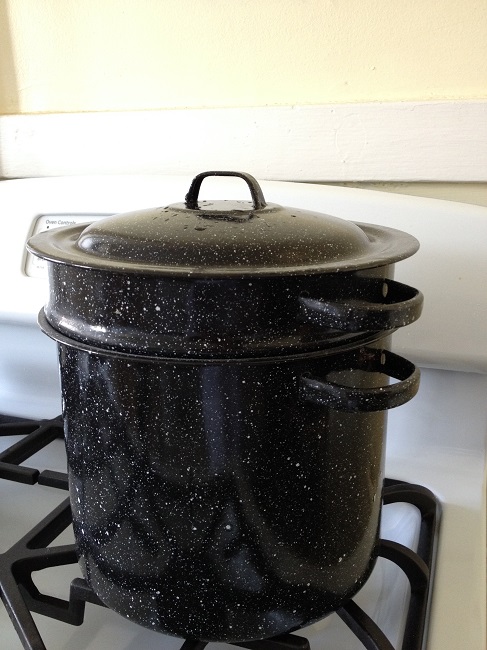
Tools you need to steam your squash
You need only two tools to steam and prepare small squashes and pumpkins.
- A large kettle with steamer and lid
- A sharp knife
Any large, lidded kettle will do, as long as you have a steamer to fit.
I use my tall Granitware blancher/steamer. It holds a small sugar-pie pumpkin, two or three acorn squashes, even a small butternut or kabocha squash just fine.
Cook time
Prep time: 10-15 minutes to remove skin and seeds after steaming
Cook time: 30-90 minutes, depending on size of squash
Ready in: 1-2 hours depending on size of squash
Yields: 4-8 servings per pound, depending on how you use it afterward
Ingredients
Any small pumpkin or hard-skinned squash that will fit in your kettle
Instructions
- Wash the squash and pat dry.
- In a large stock pot with steamer pour just enough water to reach the bottom of the steamer unit, but not to cover.
- Bring the water to a boil, gently add the whole squash or pumpkin, cover and steam until reaches desired tenderness when pierced with a fork, about 30-90 minutes, depending on size of squash. Cook to barely tender if you plan to use it cubed or chunked in side dishes and casseroles. Cook more tender if you plan to puree or mash.
- If water runs low during cooking time, add a small amount of boiling water from a kettle.
- Carefully remove steamer from pan and set on a draining rack. Cool to a temperature that is easy to work with bare hands.
- Cut squash in half and remove pulp and seeds.
- Using a knife or fork, peel away and compost the skin. It should come away easily.
- Chunk, cube or puree the flesh as required for recipes. Can be frozen for use later.

Any large stock pot with steamer will do
I use a 7 quart Granite Ware blancher just like this one.
Every pot and pan in my kitchen has to do double or triple duty. This blancher comes in mighty handy whenever I have to steam anything big, like whole squash or a batch of corn on the cob.
Another way it's worth it's footprint on my pan shelves: Making big batches of jam. I don't have to worry about boil-over if I turn my head for 3 seconds at just the wrong moment.
Rate these recipes
Try a combination of the two methods
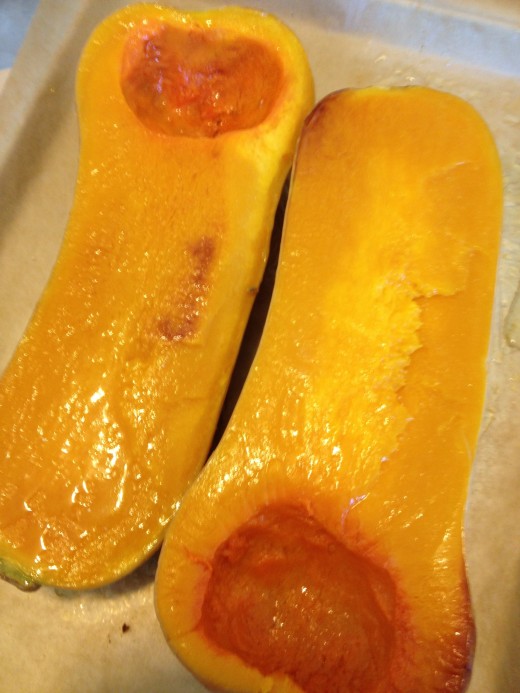
Enjoy stuffed squash? Lightly steam it before slicing and stuffing
We love stuffed squash. A popular winter holiday dish is cranberry stuffed acorn squash. Before baking, I steam the squash lightly for a few minutes to soften the rind and flesh just enough to cut the squash in half easily with a large, sharp knife. Then proceed as my recipe dictates.
Next time I stuff a batch, I'll take photographs so you can see how gorgeous they are. So many ways to love squash. So little time.
Another reason to steam
Sometimes my oven is in use and, on a time crunch, I want to get a step ahead. Sometimes I have a taller butternut squash than I can stand upright in my oven. During the holidays, I'm looking for any ways to save time on the big day.
Whatever the reason, I sometimes employ a combination of the two methods: Steaming for a few minutes, to soften the toughest outer layers, then baking or roasting to finish the job.
Curious how I used the butternut squash in the photograph above? After skinning it carefully, I cut 3/4 inch slices, laid them in a 9x13 pan, poured a cup of half and half over all, sprinkled a tablespoon and a half of fresh thyme leaves and a little salt on top and baked at 325 Fahrenheit for 40 minutes. It was amazing.
Next time I make it, I'll try to remember to post a photograph here.
Whichever way you cook it ...
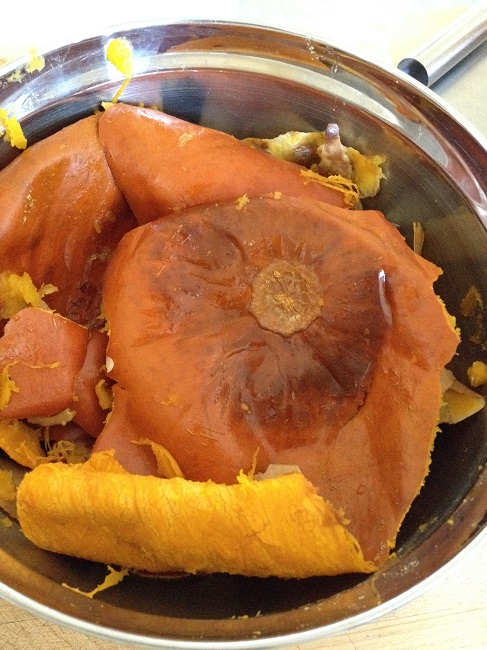
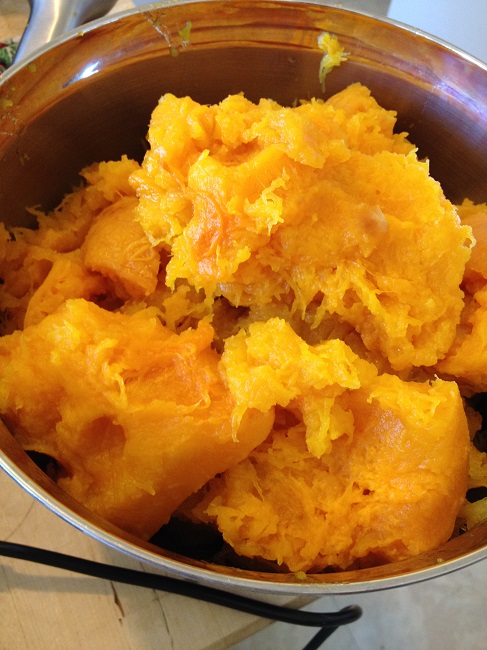
You'll need to skin your pumpkin or squash, remove the pulp and seeds and either slice, chunk or puree it for your recipes. All of that is amazingly easy after roasting or steaming. Take a look.


Remove the skin and seeds
When the squash is cool enough to handle, cut it in half, remove the seeds and peel away the skin. It should come off quite easily, as you can see in this photograph.
To puree your squash
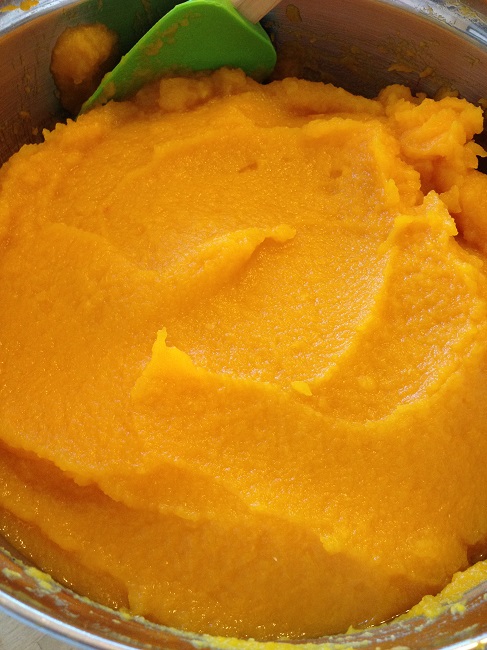
Once you've discarded the skin and seeds, toss your squash flesh in a deep-sided bowl and process with a powerful stick blender to mash or puree.
Use, refrigerate or freeze your cooked squash
Whether you chunk it, slice it or puree your squash, you can use it right away, refrigerate it, or freeze it.
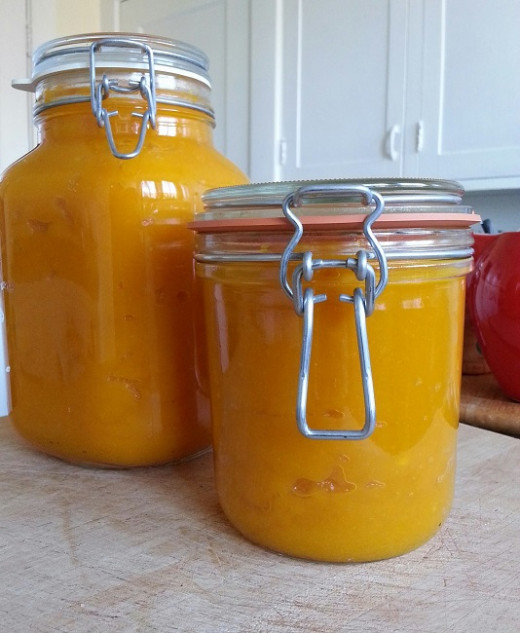
Use your puree immediately in breads, pies, soups or sauces. Alternatively, you can store it up to four or five days in the refrigerator in sealed containers, or freeze for up to three months, longer if you have a deep freeze.
If you've under-cooked the squash slightly, then chunked it, add some of the chunks to your next roasted vegetable mix. Not only do they add color, they add sweetness and flavor. Smaller chunks similarly brighten a soup or stir-fry.
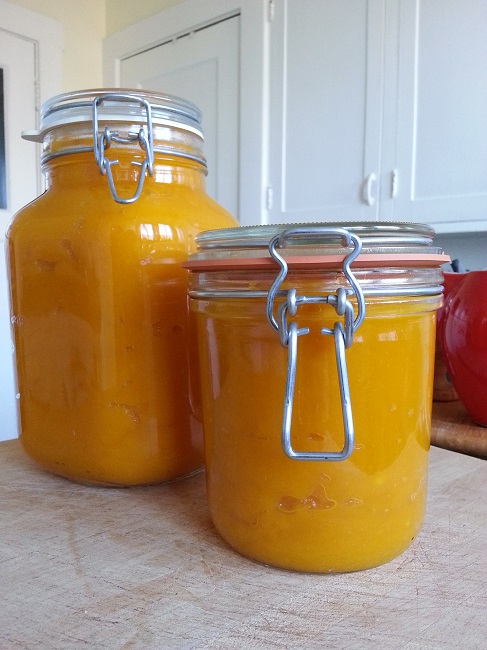
Puree for pies and soups
This particular batch made two pumpkin pies and a fabulous pumpkin soup. What are you planning to make with your next batch of squash puree?
Thank you
Thank you for taking a look at this page. I hope you found what you were looking for. If you didn't, let me know in the comments below. I'll see what I can do. If you did, well, that's always nice to know too!
© 2014 Kathryn Grace

