Ask Carb Diva: Questions & Answers About Foods, Recipes & Cooking, #12

It is my wish that all of you are having a wonderful holiday season. I'm actually writing this on Friday evening and will hit the "Publish" button Sunday evening. There were lots of good questions again this week. We'll start with a comment from Lawrence.
How to Butterfly a Whole Chicken
When Mum was over here in NZ last time I cooked a few 'Butterfly' chickens and discovered Mum had never seen chicken cooked that way, we love it, but I haven't tried just 'Butterflying' the breast before.
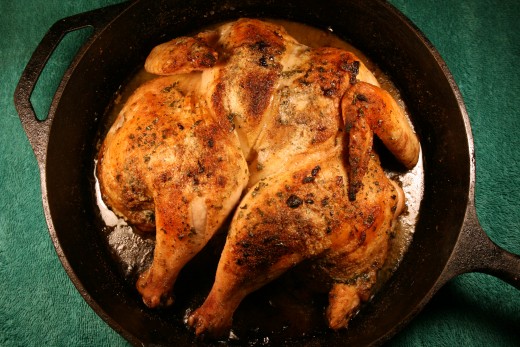
Lawrence, I believe the "technical" name for that butterflied whole bird is spatchcocking (sounds shockingly nasty, doesn't it?). For those who aren't familiar with the term:
- Remove the backbone from the poultry. Kitchen shears make fast work of this. If you don't have a pair, please do yourself (and the Emergency Room) a favor and buy some for yourself. They are relatively inexpensive (certainly less costly than a trip to the ER for stitches and a tetanus shot).
- Spread the "de-backboned" bird breast-side up and flatten it. Think of the dear thing as a book that you are opening at the middle, flipping over so that the cover is facing up, and then push on it so that the spine of the book snaps and it can lay flat (as I write this my vegetarian daughter is wincing).
The benefits of spatchcocking are twofold:
- the meat cooks more quickly
- all of the skin is facing upward and so becomes crisp
On the other hand, butterflying a chicken breast (which is how this whole discussion began) allows for the breast to be thinner and ready to be filled and rolled (like a jellyroll). Equally tasty, but a slightly different goal in mind.
How to Use a Mortar and Pestle
In reading your list of kitchen tools I came across mortar and pestle. I have this tool (I bought it because I like the way it looks :). My question is: what is it used for?
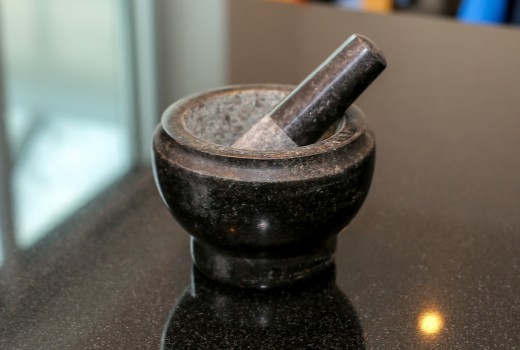
Audrey, thank you for the great question. (And, that proves that you actually read what I wrote last week. You move up to the head of the class!).
The mortar (mortarium in Latin, which means "receptacle for pounding"), and pestle (pistillum in Latin, meaning "pounder") has been in use for millennia. Scientists have found mortars and pestles dating back to (they say) 35,000 B.C.
They have been used in pharmacology to grind various herbs, spices, and other ingredients into powders but they are equally useful in the preparation of peppercorns and other whole spices in the kitchen. And, what would pesto be without the mortar and pestle to coax those fragrant basil leaves into submission, mix their herbaceous oils with garlic, and create that rich paste we love to dollop onto of pasta, on bruschetta, or in a simmering pot of Tuscan soup?
In today's kitchen, the mortar and pestle have pretty much been replaced by the food processor, but there is still something richly satisfying in the grinding of spices and herbs by hand, being able to sense when the size of the grain has become "just right" and to catch the first wisps of basil oil emerging from the fragile leaves, reacting and blooming as it is kissed by the air.
Here's a video to show you how to get the most use of your mortar and pestle.
Lexicon of Cooking Terms
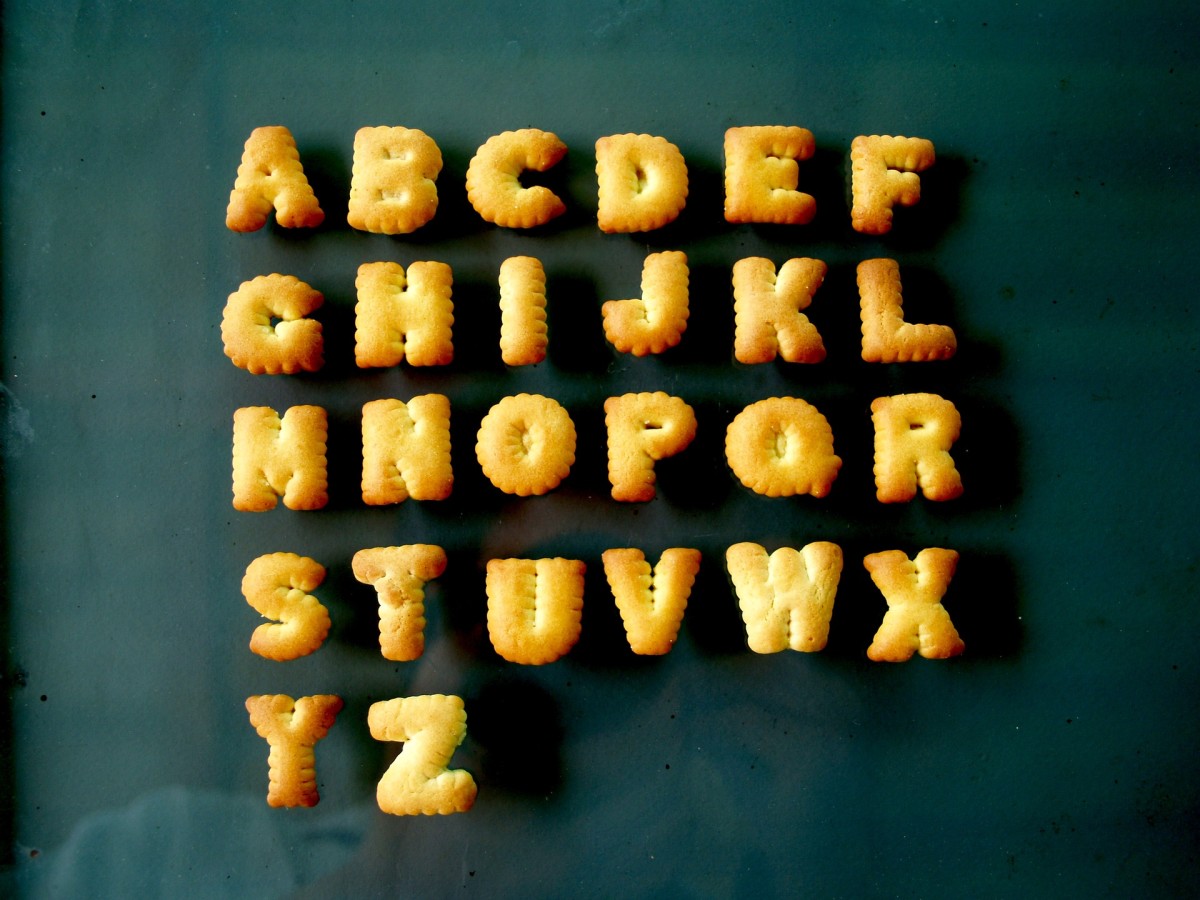
Continuing our weekly series of explaining the not-so-common cooking terms. I started two weeks ago with Letter A and last week provided five more definitions. Here's another batch for your entertainment.
Blanch - To immerse in rapidly boiling water and cook ever so slightly, just moments and then plunge into an ice water bath to quickly remove the heat. This is often done with green vegetables (such as asparagus or broccoli) to remove the raw quality but not totally cook. Notice how brightly green and pretty a piece of blanched broccoli looks compared to its raw counterpart.
Blend - To incorporate two or more ingredients thoroughly.
Blind bake – To bake a pie crust without a filling. You would blind bake the crust for a pie that is not baked. Lemon meringue, banana cream, and ice cream-filled pies are good examples. A pumpkin pie is NOT blind-baked because the liquid filling is poured into the raw crust and then both are baked together in the oven.
But, blind baking requires a few steps before tossing that pie crust in the oven. First, cover the pastry with foil. Push the foil snuggly against the crust, both the bottom and the edges. Next, fill the foil-lining with a bit of weight so that bubbles won’t form on the crust. You want to hold that crust down so that it stays nice and flat. The weight can be dry rice or beans or, if you do a lot of baking, treat yourself to so ceramic pie weights. You can purchase them at kitchen supply stores or on Amazon.
Boil - To heat a liquid until bubbles break continually on the surface. This isn’t a mere simmer. We’re talking full-on bubbles jumping and leaping.
Bouquet garni – This is a little bundle of herbs, tied together or placed together in a piece of cheesecloth, used to enhance the flavor of a soup or stew. The classic combination of herbs is parsley, thyme, and bay leaf. The herbs are tied together or placed in a cloth so that they can be easily retrieved from the pot once the cooking is done. (Trust me, you NEVER want to bite down on a bay leaf).
How to Cook Tilapia
Tilapia for the first time later this week. Any suggestions?

Bill, I suggest that you keep it simple. Rinse the fillets, and then pat dry with paper towels. Dust with flour, shake off the excess, salt and pepper a bit, and pan fry in a little olive oil (just enough to coat the bottom of the pan). It should only take a couple of minutes per side (depending on how thick your fillets are). Remove from the pan when cooked through. Add a pat of butter and 2 tablespoons of lemon juice to the pan and let melt to form a sauce to drizzle on top of the fish. Easy peasy.
However, if you are feeling adventuresome, you might want to try this recipe I posted a few years ago on HP for Olive Garden Copy Cat Tilapia with Shrimp. This is my 2nd most-viewed hub, with over 14,000 clicks and counting.
How to Manage an Over-Abundance of Basil
I don't know if you have any experience with basil plants, but I have a local type of basil that has grown from 3 straggly sticks into a huge mass. It is starting to flower but I want to preserve it before it goes to seed. Any ideas? I don't have a dehydrator and our humidity is about 75%
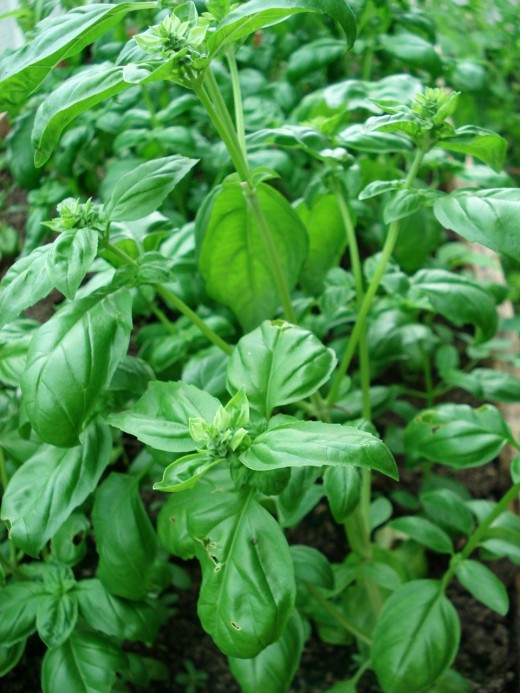
Mary, I am dripping with envy as I write this. I love basil with a passion but have NEVER been able to grow it in the garden. Your first priority should be to snap off all of those flower buds. Once the basil sets flowers it will stop producing leaves and your plant will start a rapid down-hill descent. Basil (like parsley, cilantro, and dill) is an annual plant. That means that it lives for just one year and then dies. If it flowers and a few errant seeds fling themselves to the ground you might be lucky to see some "volunteers" as we call them the following year, but don't hold your breath.
Basil is one of those wonderful herbaceous herbs that I would never consider drying. In fact, most herbs perform at their best when fresh. (The only exceptions are marjoram and oregano which are better dried). So, since you can't use all of is up fresh, and drying is not an option (nor should it be), I recommend that you make pesto. That preserves the basil's freshness, and you can FREEZE that pesto for later use.
Here's a link to my recipe for Pesto Perfected.

The next time we "talk" will be the start of a new year. Keep those cards and letters coming in.
© 2017 Linda Lum


")