Burgers - Tips for Grilling the Perfect Burger
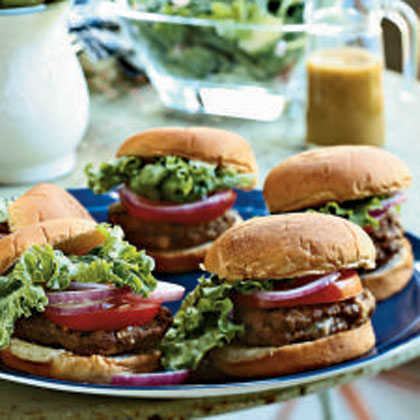
If you've read much of my work you'll already know that among my many food obsessions the grill and the burger rank near the top. I love them both. They're just plain good - no matter what you make one out of. And the truth of the matter is that a good burger is super simple and very easy. Most people get off track with a burger by attempting too much.
The rule for grilling perfect burgers can pretty much be summed up in one phrase – “leave it alone ”. The good news is that this means that most of the things you thought you had to do to produce a juicy, succulent, beefy grilled little beauty can be tossed out. The even better news is that there really isn't any bad news. Perfect burgers are easy to produce and much of what I'm going to tell you will be about why NOT to do things. Which leaves you more time to enjoy whatever else you might want to do.
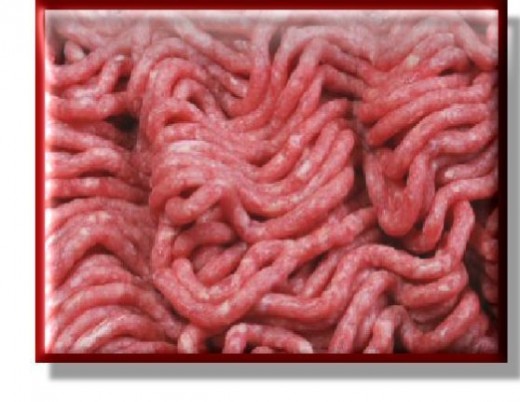
The first step is to choose the ground meat you wish to use. I can and do make burgers out of almost anything – but in this case we’re talking about beef. Go middle of the road here – different supermarkets label ground beef in different ways, so look for the fat content numbers. Burgers can be made out of any ground beef - from chuck to tenderloin, but you really just need to pay attention to fat content. Look for ground beef or chuck with a number on the label reading 85/15 - meaning a 15% fat content. This is enough fat to render through the burger and keep it moist – less fat and you’ll run the risk of having a dry burger. A higher fat content will probably taste good, and much of the fat will render out onto your coals. But it also means you’ll lose more volume – meaning your burgers will shrink, sometimes alarmingly so.
If you're choosing other types of protein, there are a few things to keep in mind, although much of it is the same principle as you use for beef. Fat content is king. Fat means flavor, but it also means the burgers will be less likely to fall apart on the grill. Lamb is naturally somewhat high in fat, so should be good to go as you find it. But most other things will be lean - seafood and poultry especially. You can look for dark meat for chicken or turkey burgers, which is much more moist for a burger than white meat. For any of them though, mix a couple of beaten egg whites into the meat as you season and shape the patties. This will help both maintain juiciness and help keep them together during cooking.
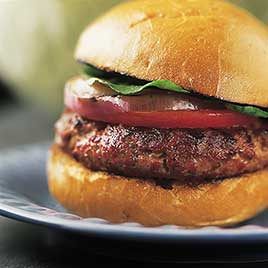
Your next step is to preheat the grill - you can do this before you start making the burger patties. Make sure you have a nice hot grill - this goes a long way to searing the outside of the burgers, as well as helping to prevent them from sticking. Burgers will stick much more quickly on a cooler grill. Whether you are using gas or charcoal is up to you - just make sure that you allow for a 'zone' either way - a place where the heat will be indirect, so that you can cook the burgers off direct heat if you wish. The easiest way to do this is make sure the charcoal is on one half of the grill and not the other, or simply turn the burners off on one side AFTER the grill has preheated. This also allows for developing grill marks, as they are done over direct heat, and it's those grill marks that are the pride of old-hand grillmasters.
When you make the burger patties, there are a couple of tihngs to keep in mind. You really don't need eggs, breadcrumbs, milk, oatmeal or any of the other additives that people tout as binders or extenders. Those are for making meatloaf. These are burgers – so skip all of that. You do however want plenty of salt and pepper, and maybe onion or garlic powder and a touch of Worcestershire. Anything else really can be overkill (not always but often). One of the glories of a great burger is the essential 'beefiness' - so allow it to shine.
Take the meat out of the package and loosely break it up into a very large bowl. Give yourself as much surface area as possible. You want to be able to season the meat thoroughly, while also handling it as much as possible. Handling ground meat too much will toughen and compact it - resulting in the dreaded 'hocky puck'. A large surface area allows you to season more of the meat - and you want to season liberally. Many think salt will dry meat - but that only happens if it's done too far ahead of time. Don't be afraid of salt or pepper either one - beef loves salt!
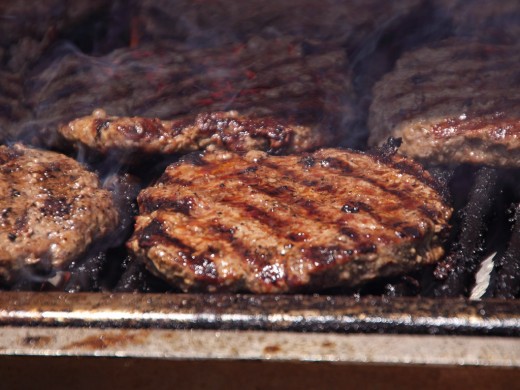
To make the burgers themselves, just divide the amount of beef you have by the number of servings you wish. Typically I use 1/4 lb portions of raw meat for each burger. Gently, but firmly form them into patties, pressing enough for them to hold their shape, but don’t worry too much about it. If you have a reasonable fat content and a nice hot grill, they won't fall apart. Especially since once they go on the grill you will be leaving them alone. Once you make each patty, gently make an indentation in the top of each one. This will prevent them from swelling in the center and trying to turn into meatballs.
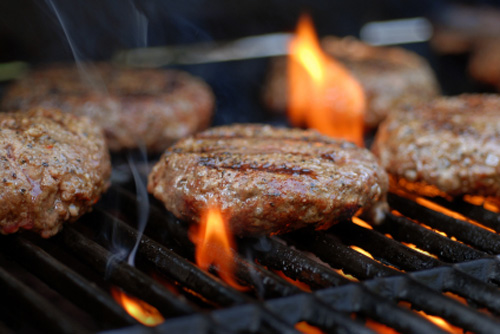
When your grill has preheated, transfer the patties to the grill, then do not touch. Don’t you dare start the ‘squish and sizzle’ with your spatula – that’s the sign of an amateur griller. Yes, it sounds great, but what's happening is that all the juices are running out of your burger and on to the coals. The coals can’t taste it – so don’t do it. If you let the meat stay in contact with the hot grill for 2 minutes – several things can happen. The Maillard reaction will be the first – basically that’s when the natural sugars in the food caramelize. That’s what gives you flavor, but also where you get grill marks. Another thing is that burgers are less likely to stick - once that crust forms, they release themselves from the hot grill. After 2 minutes, rotate (not flip) the patties, and give it another two minutes. After the second 2 minutes you’ll flip and repeat. So you’ll have a total of four 2 minute increments. Otherwise – don’t mess with the burgers. Also, try to leave the grill lid shut between flips or turns, to keep the internal temperature up.
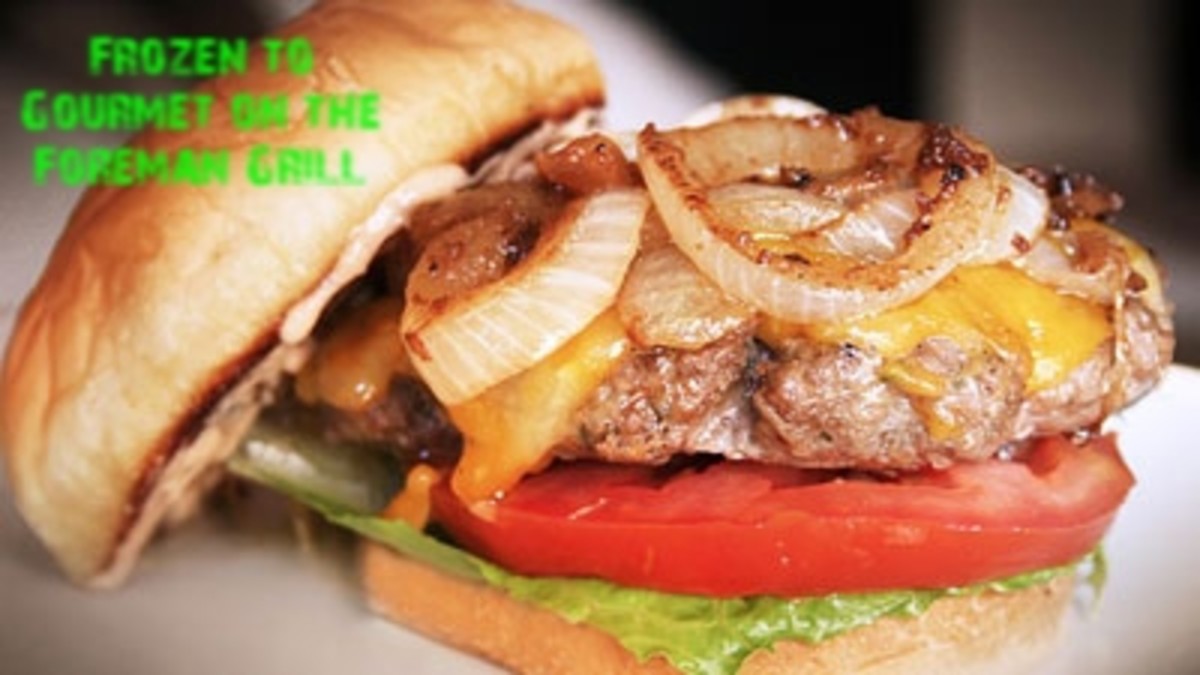
This 8 minutes of cooking time will give a 1/4 lb burger a doneness of rare to medium rare. If you want yours more done, then move the burgers to the cooler part of the grill, close the lid, and add two minutes for each additional stage of doneness. I almost always use a thermometer to take the internal temp of the burger itself, shooting for 145 for my own preferred medium – but under no circumstances should you cut a burger open to look. Again – you’ve just lost all the juices. If you want cheese, which was made to adorn a burger in my opinion, simply place it on top for the last two minutes of cooking time. It’ll melt and ooze like a dream.
When you've reached the doneness you desire, move the burgers to a platter, and again - leave them alone. You're after carryover cooking here - the internal temperature will continue to rise a little even after the meat is off the heat source. In addition, the juices that rushed to the surface of the burger during cooking will redistribute throughout the meat. Don't underestimate the importance of this step - this is what can most often insure a great burger. Let them rest for at least five minutes - although going a full ten minutes is even better. Put the rest time to good use - prep any topping you want to use, and grill off your buns.
That's all you have to do. Remember the basics - don't over mix the meat, season well but simply, and make sure you let the burgers rest. A great burger on the grill is simplicity itself - it really just means taking good ingredients and not messing them up. Nobody will know that the amazing burgers you can crank out are a result of what you didn’t do!
- The Thrillbilly Gourmet
Combining classic techniques with everyday food for spectacular results!

