Chicken Fingers for the Whole Family

Do chickens have fingers?
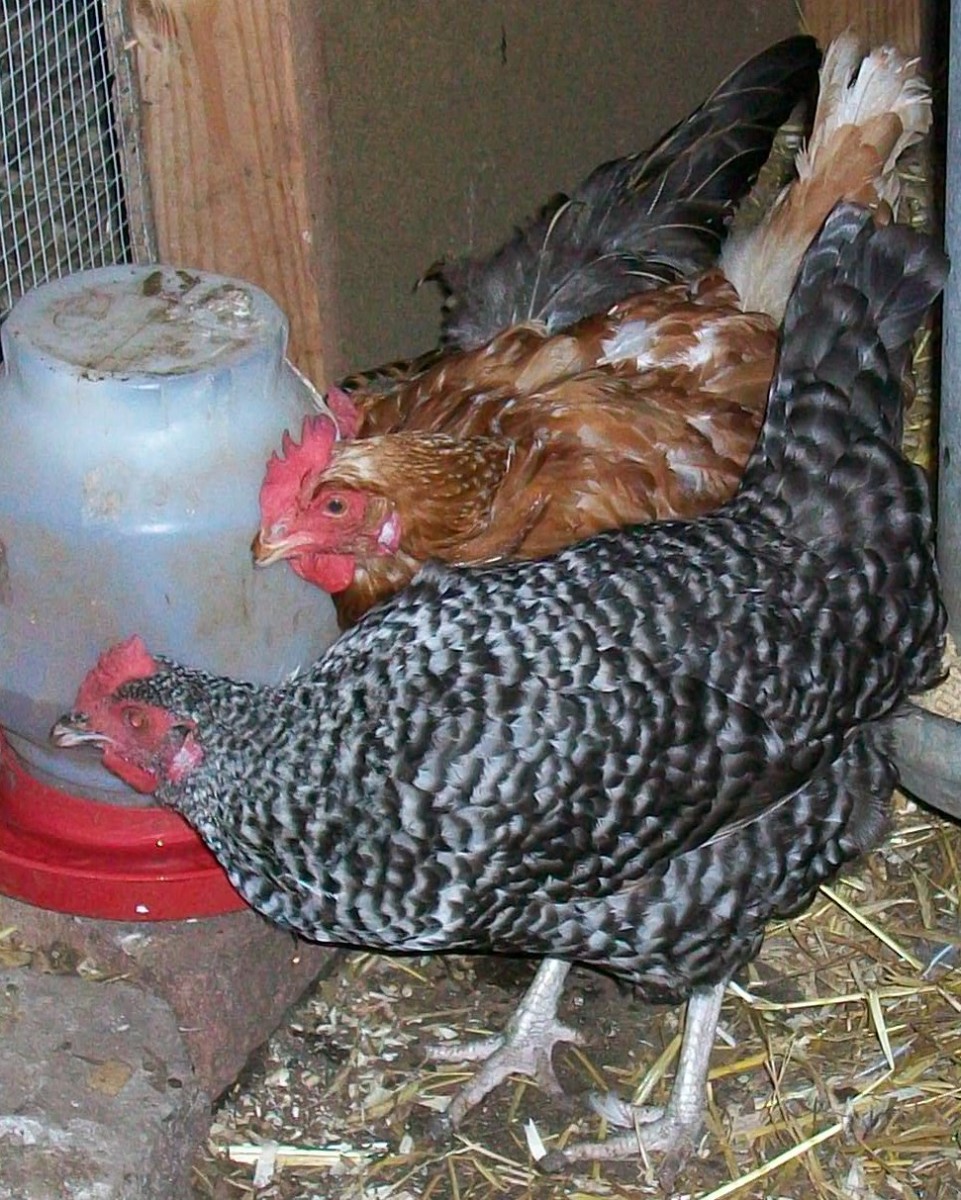
Where do you find the fingers on a chicken? I'm a city girl, myself, but I petted a chicken once, and I promise you, it had no fingers. So where can we find chicken fingers? On a dinner plate! That's right—you and your kids can make a delicious dinner that you will all enjoy, and it starts with these ladies right here.
Ingredients
- boneless chicken breast
- fine seasoned breadcrumbs
- egg
- olive oil


Getting started
You're going to make this for the whole family to eat, right? So get the whole family involved! Send your kids on an ingredient hunt while you get out a cutting board, sharp knife, skillet, and tongs. Have everyone wash their hands with soap and hot water (my kids always forget that part), and then get to work.
Cut up the chicken
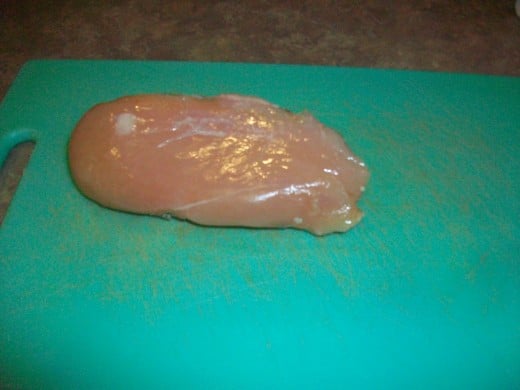
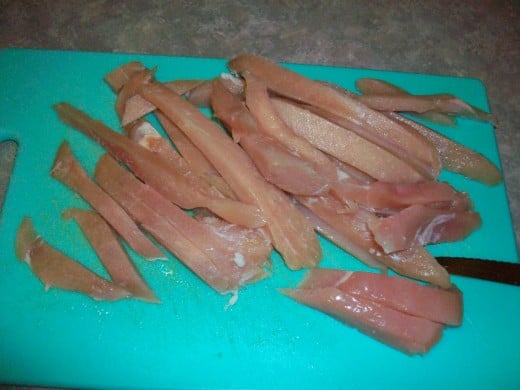
1. Slice the chicken into long, thin strips. If your chicken breasts are very thick, don't pound them to make them thinner; just slice through the breast horizontally as if you were cutting open a bagel.

Get the breadcrumbs ready
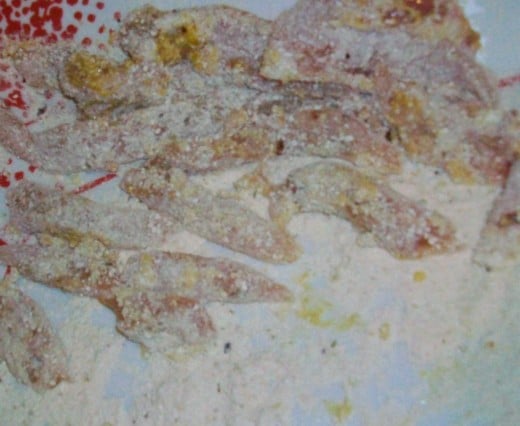
2. Prepare your breadcrumbs. If you have fine, seasoned breadcrumbs in a package, that's great. Just pour some onto a plate. This is a great task for a kindergartner, because if he pours too much onto the plate, it's no big deal. I can't always find the brand of breadcrumbs I prefer, so sometimes I use matzo meal left over from last Passover. I add some garlic, oregano, and red pepper flakes, and mix it all together so the topping will be evenly seasoned. (The mixing is also fun for a young child, but don't let a toddler pour the red pepper flakes unless you want to be shooting steam out of your ears all night.)
3. Let your child crack an egg into a glass or shallow bowl and stir it up with a fork. (Pick out any stray bits of shell first!) If you plan to serve these with pasta, get that started now.


Cook the chicken fingers
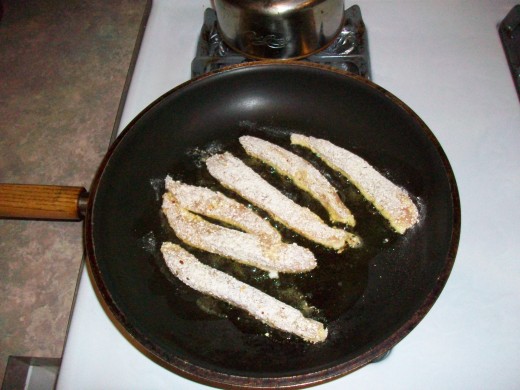
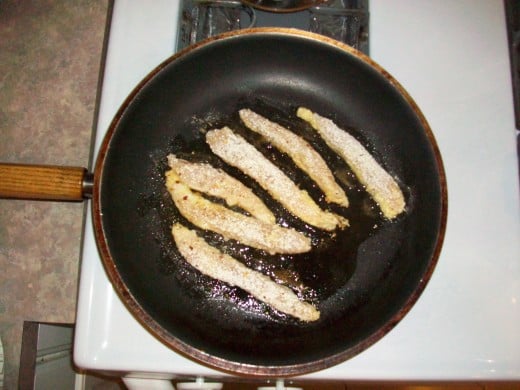
4. Pour a small amount of olive oil into your skillet and turn the heat to medium high. Don't use too much oil; you're not deep-frying these. You can always add a little oil later on if your pan gets dry.
5. Start your assembly line. If you have two kids, have one dip a chicken strip in egg and the other roll the strip in breadcrumbs. Then you place it in the pan. It's best to have a bunch of strips to put in at the same time, so they can cook in a batch, and it's easier to know when to turn them.
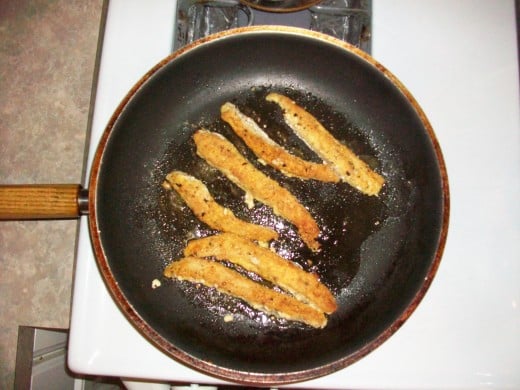
6. Let them sizzle in the pan for a couple of minutes. When you can see the edges are starting to get cooked, turn one over. If it is a beautiful golden brown color, turn the rest over. If not, give them another minute to cook without poking at them. Don't pester the chicken! It'll be done when it's done, and not a minute sooner.
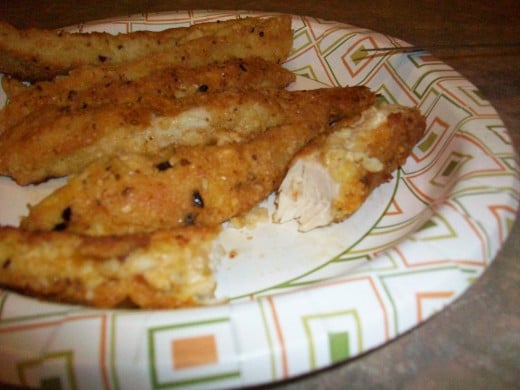
Get ready to eat!
7. Cut open a piece to test it if you're not sure they're cooked. They should be white all the way through but still moist. If they are dry or hard to cut, you're cooking them a bit too long.
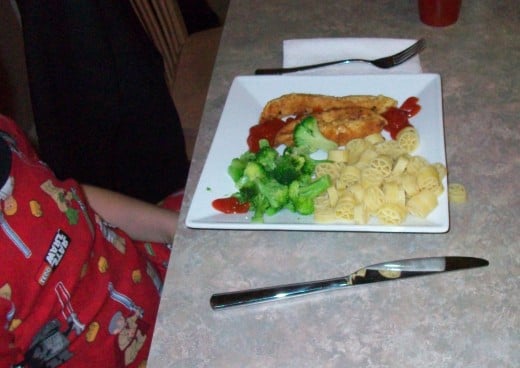
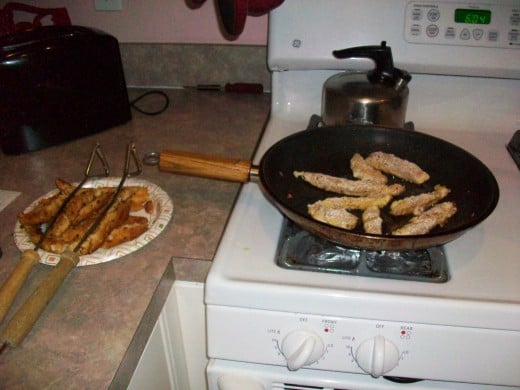
8. While you're cooking the final batch, your kids can set the table, get the ketchup out of the fridge, and choose a veggie. We're partial to broccoli, which only takes a couple of minutes to zap in the microwave, but chicken fingers are great served with salad, too.
