Cider Press for Apples and Other Fruit
My Cider Press Facts
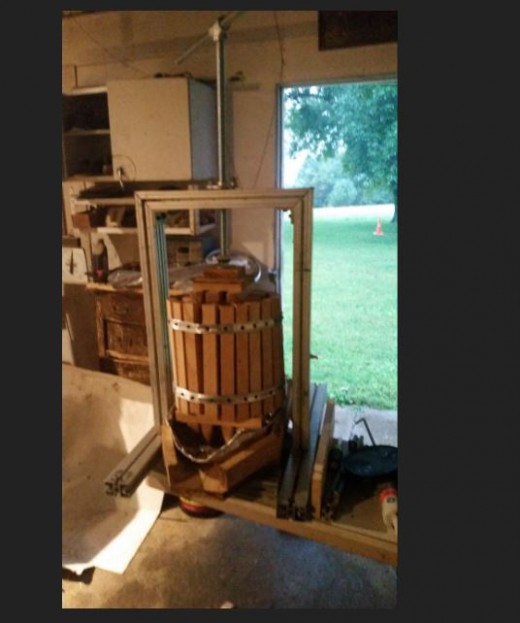
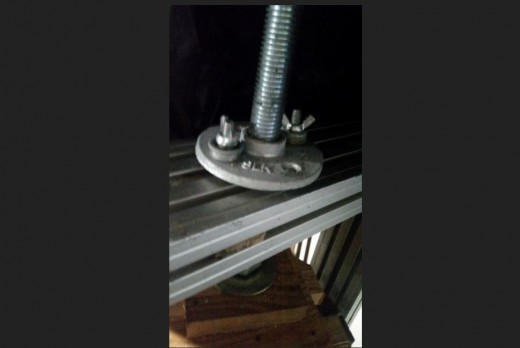
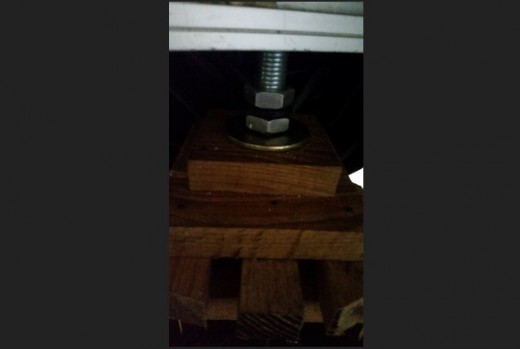
I had some extrusion from an auction, so I built my pressing with it. Some recommend a piano bench seat for the screw, but since I didn't have one, I had to make my own. In Menard's hardware section, I found the 5/8 inch threaded rod, and in Menard's plumbing, I located a metal, 1/2 inch threaded Tee-pipe. The 1/2 inch Tee pipe was the same threading as my 5/8 rod. I'm sure, if you go to the Menard's website, you can order tee pipe online, but I have seen it at Fleet Farm and Ace Hardware stores as well.
Voila, the handle and screw for my cider press. In plumbing, they also had some sort of flat plate, which also fit my threaded rod. This was added to the top of my extrusion. I had to buy a brass insert for the hole in the aluminum so my threaded rod could spin freely.
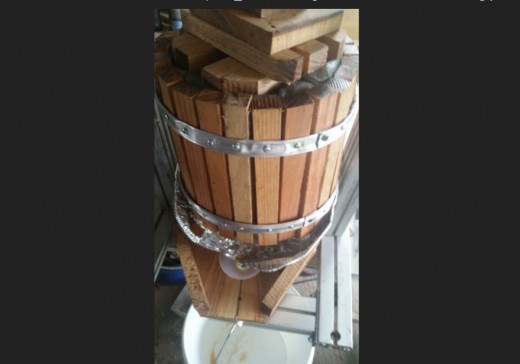
The pressing plate, was built from oak stakes, that were precut to 24 inches. I cut them in half for my cider press bucket and cut them down to size.
Extrusion
As I said in the previous section, I purchased a modular extrusion unit, disasembled it, reassembled it, and used it for my press. I have seen presses built with a wooden frame as well, built with 2 x 4 lumber.
Whatever method you choose, it is important that it maintains screw pressure on your ground apples.

Pressing Bucket
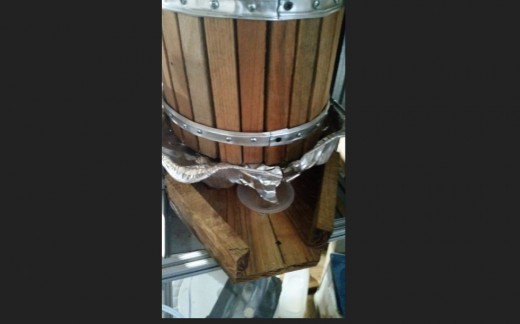
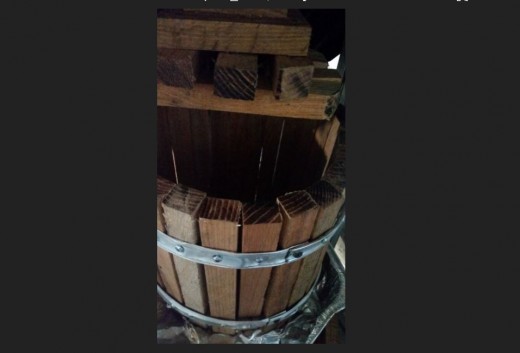
My pressing bucket was made from a screen kit. There were four aluminum sides which I cut with a chop saw to length, and proceeded to flatten them on an anvil with a sledge hammer.
Then, I took my shortened oak stakes and screwed them to the hoops, placing them on the side of a 2 x 4 piece, that I had a two finishing nails pounded into at each end. These finishing nails were the spacing needed for the space between each stake.
Other Facts
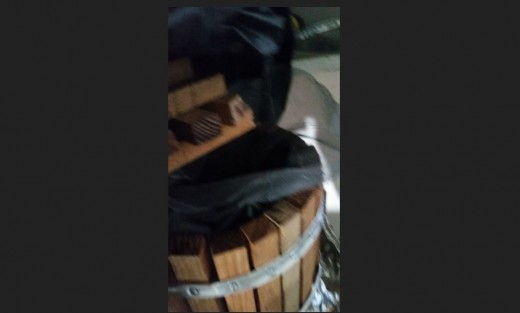
The science involved with pressing is fairly simple. The apples, in my circumstance, are confined to a screen bag that I sewed on a sewing machine. The screen bag is filled with apple grindings and set inside the pressing bucket.
The screw is turned to tighten and as it reached resistance, I had to stop and let it drain. After a bit, I was able to turn the screw again, letting it drain once again. The process is time consuming.
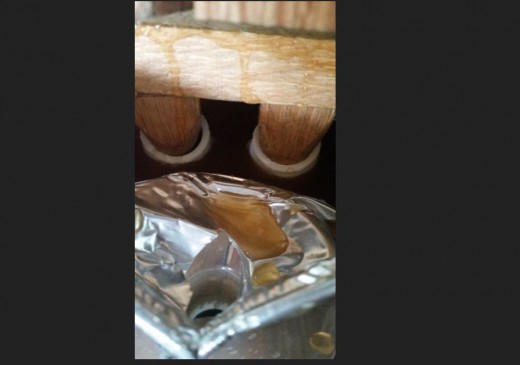
I catch the drippings in a aluminum baking pan, and the pan fills up with juice and overflows at one end, into a funnel. The funnel is connected to a plastic tubing, which goes from the end of the funnel into a five gallon bucket with lid. This helps keep the flies out of the juice. Helps, not eliminates.

Juice Receptacle
I cut a hole in the lid of my 5 gallon bucket for my tubing. I drilled the hole for a smaller tubing, then, used a scissors to enlarge for the bigger tubing.
Juice or Cider - The Choice
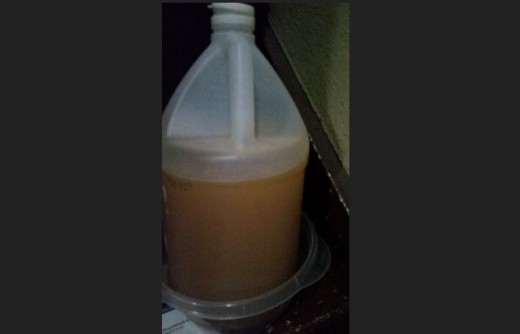
Once you have juice, you can drink it. I found that a one gallon vinegar jug worked well for holding the juice. It's a heavier plastic and it doesn't hold aroma from the previous contents.
The jug was placed in a room temperature spot and allowed to ferment. There is natural yeast in the apple skins, so when you cut your apples, leave the skins on. I removed the seed core. The skins were discarded after the apples were pressed.
After a few days, the juice will start to make noise. The flavor will be fizzy. As the fermentation continues, it will bubble up and create a yeast cap. This is normal. After a week, I added a cup of sugar. This feeds the yeast and makes the alcohol content increase.
Trial and Error
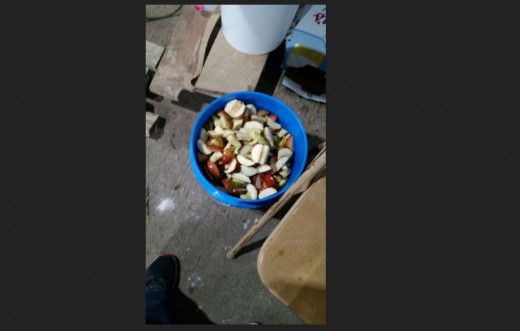
It is in making mistakes, that we learn to change. My current arrangement is to core and cut the apples into wedges with an apple cutter. Discard the core and any bug spots or extra brown.
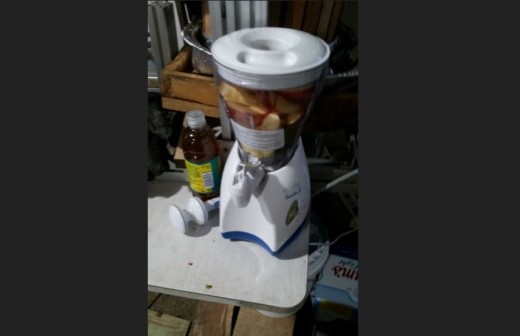
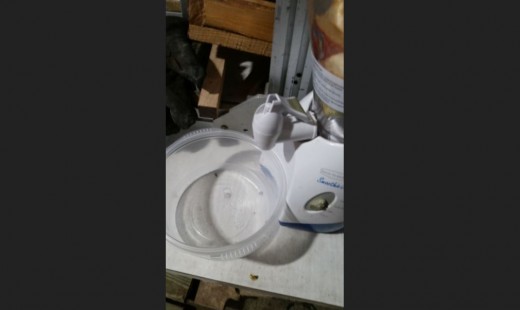
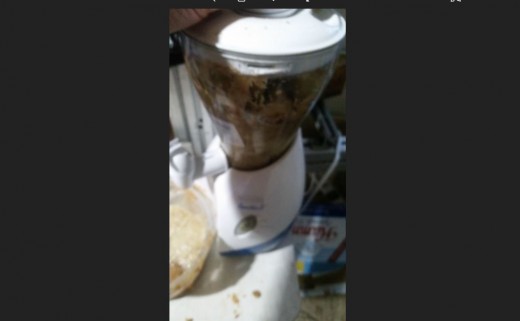
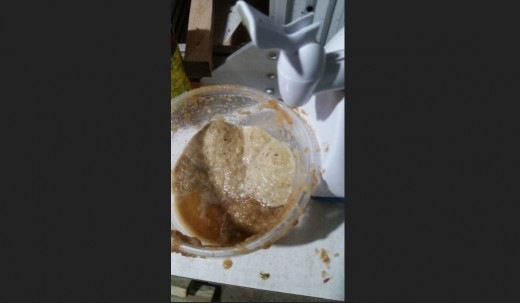
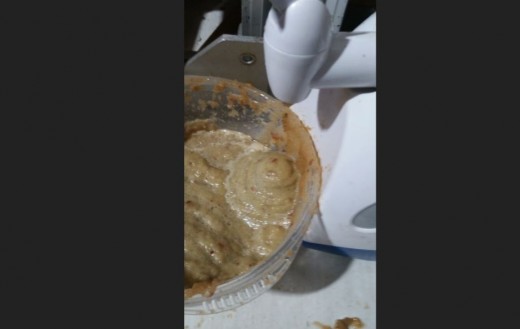
Since I have an old smoothie blender with a spigot, I have been using it to puree my apples into a manageable form. I placed a plastic bowl under the spigot and pureed a few handfuls of apples at a time. Puree, and dump into the screen bag inside my press. The fluid drains to the bottom and goes down the funnel and into my waiting bucket.
Once the bag was almost full, 5 gallon buckets worth, I started squeezing the press. It's a slow process, since you only press until you feel resistance and then, let it ooze, then, later, screw down the press a bit farther, and wait.
Cutting the Apple and Removing the Core
Cutting the apples is a tedious task. The first time, I used my apple slicer/peeler to cut the apples into strips. This method doesn't seem to produce as much juice, as the smoothie does.
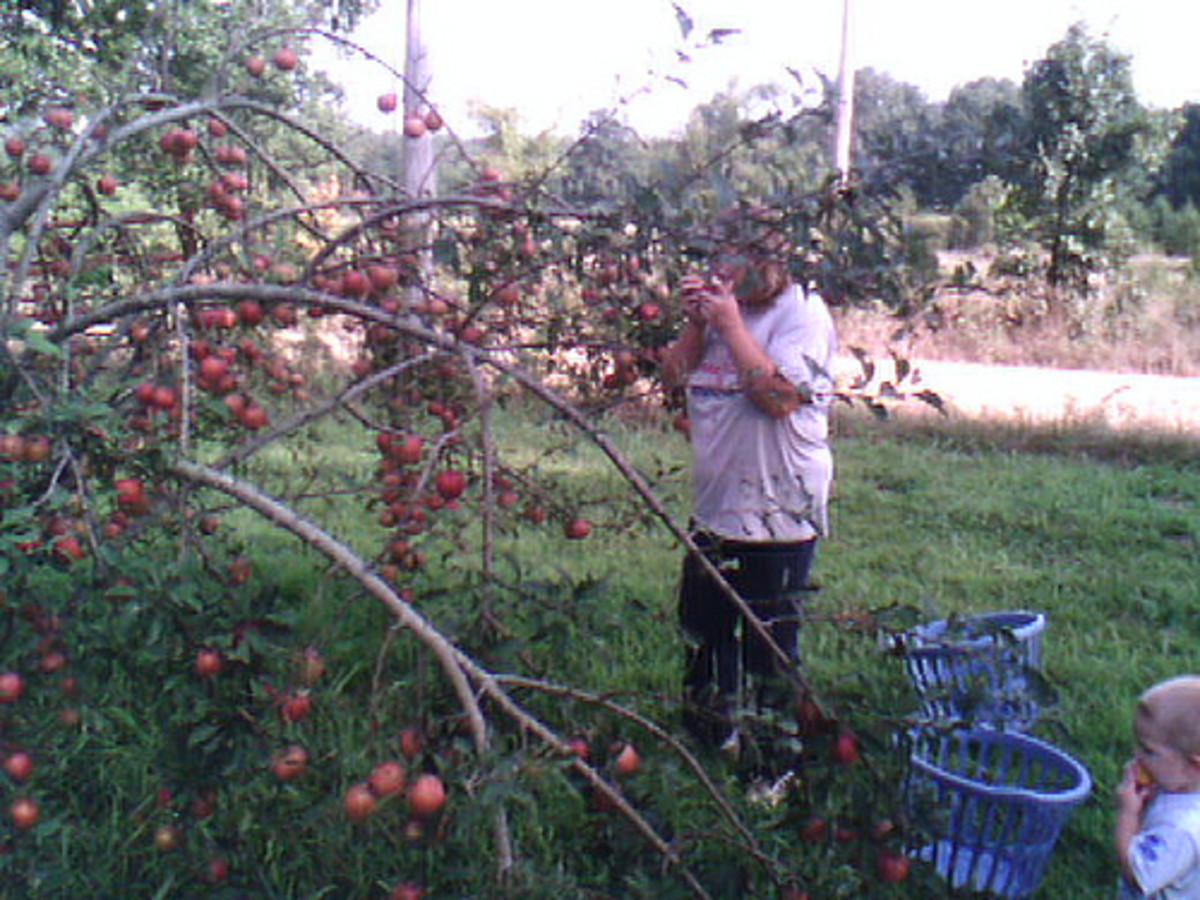
The first time I used my wedger/corer tool, I stood under the apple tree and cut them on a cutting board and discarded the cores under same apple tree and placed my wedges in my bucket.
This last time, I found a 2 x 4 piece that was just a little wider than my bucket, and found two smaller scrap pieces that I could place on the bottom and make it sit on top of my bucket without moving. Then, I put two longer nails through the board, facing up, so I could puncture the apple core and use the nail to steady my apple while I cut it. The tool cuts the apple, and I was able to look for hidden browned areas and discard that section of apple. I discarded the cores and let my wedges fall into the bucket.

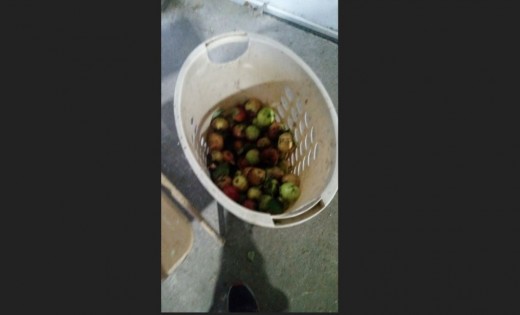




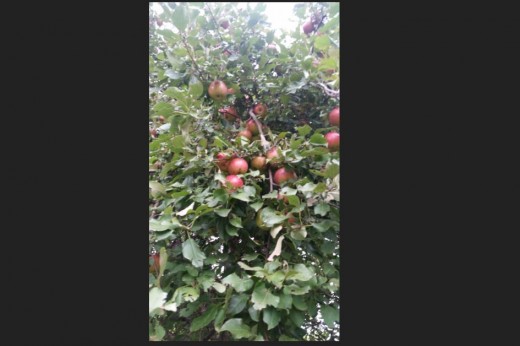

Grapes Plums Apples
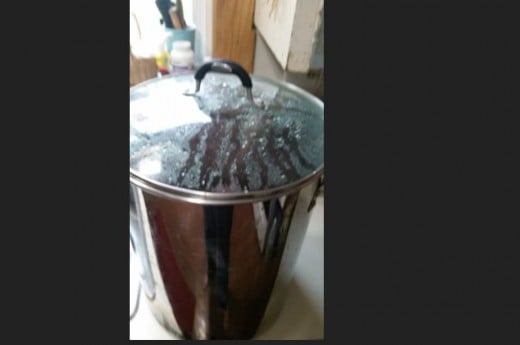
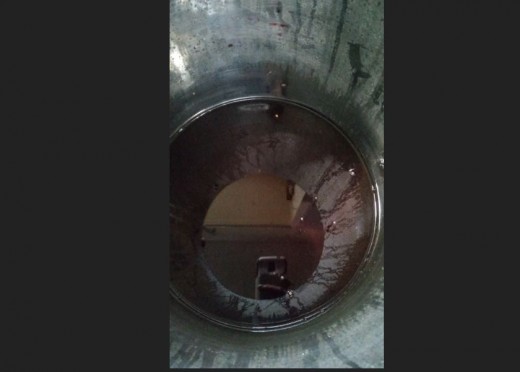
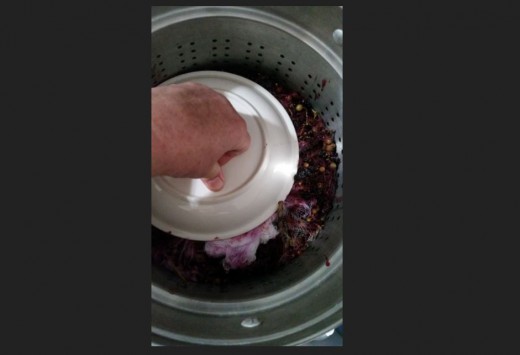
Believe it or not, this adventure started when I picked a five gallon pail of wild grapes, put them in a cheese cloth, added a metal strainer to my 3 gallon kettle and eight cups of water, brought to a boil and steamed my grapes.
After I placed the entire kettle in the garage and let them cool down, overnight, I found that there was still some juice in the cheese cloth. That's when I decided that I needed a press to remove the juice from the fruit.


