Easiest Way to Can Green Beans
Step by step instructions to can your own green beans.
You will need:
1. A pressure cooker
2. 8 pint size mason jars
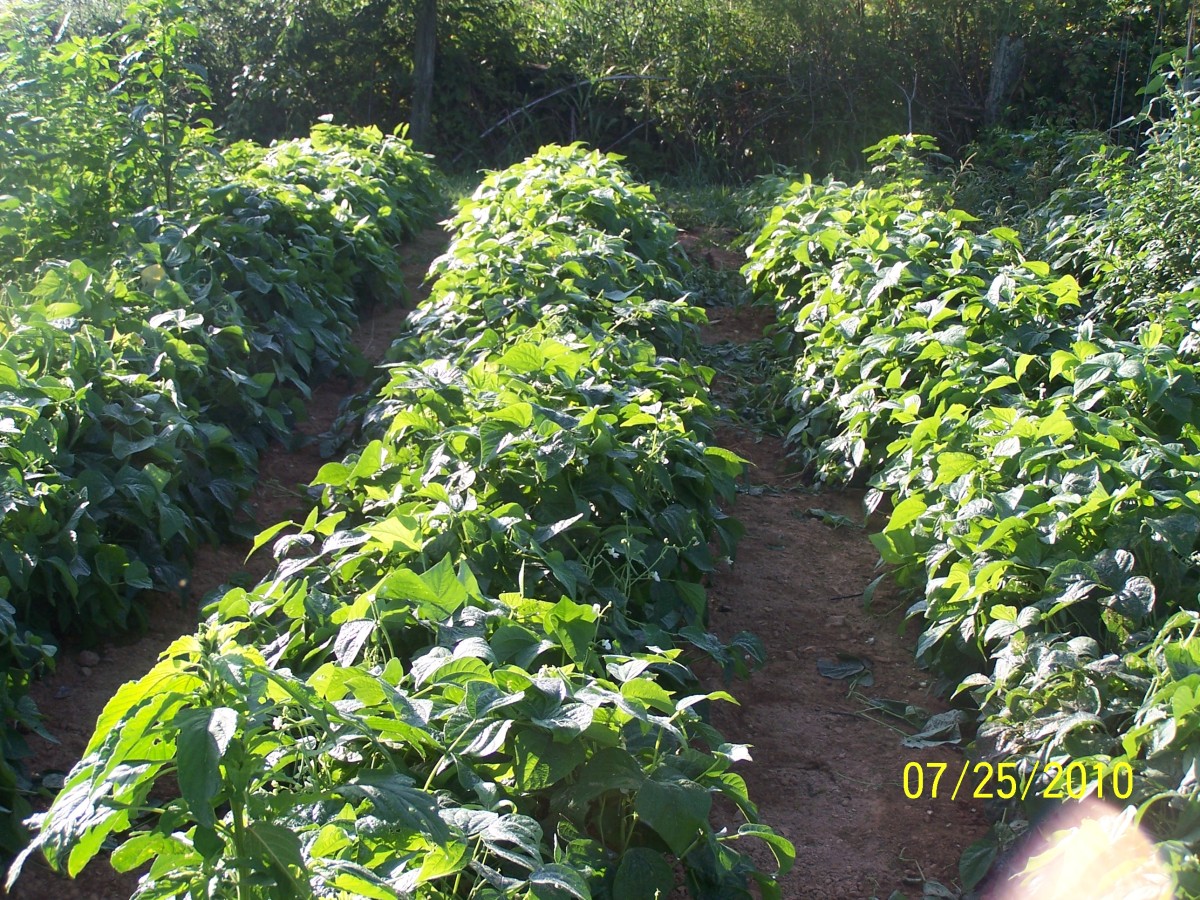
3. 10 lbs of green beans
4. canning salt
Step 1: Snap the green beans. I usually snap on end off and pull the string across the bean. Then snap the other end off. You will want to snap each piece into 1" to 2" pieces.
Step 2: Bring a large pot of water to boil.
Step 3: Fill the jars with green beans. Be sure to leave about an inch of head space.
Step 4: Add 1/2 to 1 teaspoon of canning salt to each jar.
Step 5: Use a ladle to add boiling water to each pint jar. Be sure to leave 1" of head space.
Step 6: Add a lid to each jar and thread a ring on each one. Make sure the rings are secure but not tightened all the way.
Step 7: Place all of the jars in the pressure cooker and cover with water. Cook them in the pressure cooker at 10 pounds of pressure for 20 minutes.
Step 8: Remove jars and let them cool for at least 12 hours
After you have finished canning your green beans make sure you store them in a cool dry place. Green beans can have a shelf life of several years. I would add seasoning when you cook canned green beans. They can be bland after being stored.
Canning vegetables can save you money in the long run. After the initial investment of the pressure cooker and jars, lids and rings you will be able to reuse everything year after year and only need to buy seeds to grow more green beans and lids to replace every year. I use similar methods to can a number of fruits, vegetables and meats every year.
Some of the things you can can just as easily is potatoes, corn, carrots, pears, peaches, apples, chicken and fish.

