A Peck Of Pickled Peppers, Anyone?
Pickling Peppers--The Basics
Why Pickle Your Produce?
So, why pickle your own produce, when you can buy pickled fruits and vegetables in any supermarket? There are lots of reasons, really--at least as far as I am concerned. In my case, I pickle because even in Tucson, when I have a garden, I get a LOT of produce. We recently moved to a new house here in Tucson--an adobe built in 1945--and we are in the process of putting in an aquaponics system and the raised garden beds to go with it. By the time we're done, we'll have enough vegetables and fish to feed our family of four, with plenty of leftovers--and what we can't barter to neighbors or give to adult children or the food bank will have to be preserved. Fortunately, this house has a gas stove, so I can now use my pressure canner--which means canned meats, canned milk for baking, and canned spiced vegetables--as well as lots of different pickled products, including the pickled eggs my other half like.
Canning your own produce, if you have a garden or a source for cheap vegetables, is a big step towards self sufficiency. Even if you live in an apartment, if you have a patio bigger than 16 square feet, you can grow vegetables for yourself and any family you have. This not only saves money over time, it gives you control over your food. Right now, you have no idea when you buy canned green beans what variety they are, where they were grown, what chemicals they were exposed to, or if they they are GMO or not--unless the label tells you. By buying heirloom seeds and growing your own, you can insure you, and your family, get healthy food.
If you have children, teaching them to garden and preserve what they produce also teaches them self sufficiency--and it brings them closer to both the food they eat and the Earth it comes from. One of the saddest parts of living in a modern society is seeing how people have lost touch with the Earth, and with nature. I grew up spending summers on a working farm--so I grew up with my food. I tended chickens, gathered eggs, and plucked them when we killed one for the stew pot. I planted my little garden plot, tended it, and helped my grandmother can the produce, and nothing is more satisfying than sitting down at a dinner table and seeing my family enjoy the fruits of my labor, and theirs.
Giving a child a garden, even if it's only a few five gallon buckets, teaches them that they can do something important--they can feed themselves. My boys learned to garden, hunt and butcher as they grew up, and even though they don't have gardens now, they still help in mine, and share in the products my garden produces. They have been an active part of the cycle of life and death, and they understand things about nature and our food supply that their friends don't understand--and it did them good.
Home preserved produce also tastes better than the stuff in cans. While our boys and my other half will eat green beans that we have grown and canned any time, they won't eat the canned ones from the store--they don't really like ANY canned or frozen supermarket vegetables, as a matter of fact. When you can your own produce and make your own pickles, you can tweak the recipe to get just the taste you want--and your produce is usually canned the same day it's picked, so it is at peak freshness. NOTHING beats a pickled green bean casserole, or some crunchy bread and butter jardinere ;-). Since my other half is on a salt restricted diet, I can also make sure all his food--from bread, to vegetables, to corned beef (yes, I corn my own beef!) is as healthy as possible for him as well.
Since you re-use the jars and rings, and you can also buy reusable lids, you're lessening the amount of trash your family produces as well. While our neighbors make about a bag of trash a week, and have to put out their trash cans weekly, we only put ours out every 2 weeks or so. Granted, our efforts alone won't "save the planet"--but as more people discover that self-sufficiency and going "back to the land" in the city or country is not only a viable lifestyle but an enjoyable one, it can make a difference.
All of these reasons are valid--but when it comes down to it, I would put up my own pickles and veggies even if it weren't cheaper--because I am proud of my ability to put healthy food that I grew myself on my table. It makes me proud when my other half gives jars of my pickles to his friends and co-workers, and when my grown sons bring their friends over for dinner and everyone says I am the best cook they know :-). It made me feel good when my younger son's girlfriend asked me if I could teach her how to make pickles. Yes, preserving your own food is an old fashioned art--but there are a lot of old fashioned things that are worth learning how to do, and this is definitely one of them--especially when you sit down and crunch on the results :-).
The Basics of Pickling
Long before refrigeration, tin cans, and preservatives, people managed to preserve food using various methods. If you happen to live somewhere without modern conveniences, then you are probably familiar with the three basic methods used to preserve foods--fermentation, dehydration, and the cousin to fermentation--pickling.
So, what's the difference between pickling and fermentation? Well--fermentation involves live bacteria, and is actually a metabolic process. The bacteria break down foods, and change sugars in foods to acids, alcohols, or gases. Basic pickling, on the other hand, is storing fruits, vegetables, cooked hard boiled eggs or even meat in a strong acid brine, usually made with vinegar. The brine then soaks into the food, and preserves it.
Sometimes, when the pickling process doesn't go "right", bacteria can grow in food that is stored in pickling brine--but as a rule, this isn't what you're looking for. Typically, if you want to ferment vegetables for instance, you will treat them the way you would treat cabbage in kimchi or sauerkraut--simply submerge them in a salt brine, keep them submerged, and wait anywhere from a half a day to weeks or longer before eating the results :-). We'll take a good look at fermentation in a later hub, but for now, we're looking at a traditional summer favorite--pickled peppers.
Just about everyone has heard the old tongue twister:
Peter Piper Picked a peck of pickled peppers
A peck of pickled peppers, Peter Piper picked.
If Peter Piper Picked a peck of pickled peppers,
Where's the peck of pickled peppers Peter Piper picked?
Back when this tongue twister was common, pickled peppers were common--as a matter of fact, many different vegetables were pickled. Some examples of pickled produce include relishes, chow chow, jardinere, gardiniera, and some types of chutneys. Fermented vegetables, on the other hand, include sauerkraut, kimchi, fermented bean curds, and various types of relish like spreads or salsas. Between these two preservation methods, my personal choice is generally pickling, as you can get a much wider varieties of tastes and textures, and it doesn't make your entire house smell nearly as badly :-).
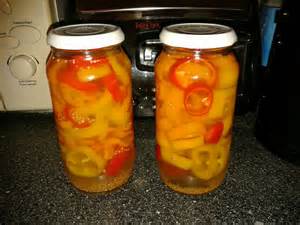
Recently, I got lucky and managed to acquire a large amount of sweet banana peppers, and some nice colored Bell peppers. Since we hadn't moved yet, I couldn't use my 21 quart pressure canner--they don't work on electric stoves. When my other half asked how I planned to preserve this windfall since the freezer was full, I told him I was going to pickle them.
My other half HATES traditional "pickles"--he can't stand dill, and he can't stand cucumbers. I have seen him literally throw a sandwich across a car because the people who made it had included a dill pickle spear--so, naturally, he was less than thrilled with this concept, but he did agree to try one when they were done :-).
I chose to do as I usually do--I made up a gallon of basic "pickle juice", and split it into thirds--then I made one third spicy, one third garlic, and one third bread and butter. In this hub, I will give you my standard pickle juice recipe, so you can doctor it as you wish. I generally make lots of extra pickle juice, since it keeps for years (literally) in the refrigerator or in vacuum sealed canning jars, and can be used over and over again. For this particular canning run, I ended up using 12 wide mouthed canning jars, but the number will vary based on how you cut your peppers and how tightly you pack the jars.
If you have never canned before, pickles are an excellent place to start, because they are almost impossible to ruin. Since they are a high acid food, they can be water bath canned, so the only equipment you need is a very large stock pot (I actually use a tamale pot), the canning jars and lids, tongs for lifting the jars, and Ph test strips. Honestly, the only way you can "ruin" a pickle is to process them for too long, making them soft and mushy instead of crunchy--and the few times I have had that happen, I chopped them and mixed them into relish :-).
The Best Beginning Canning Book

The Burning Question:
Have you ever tried pickled peppers?
Looking for more information on preserving food?
- National Center for Home Food Preservation | How Do I? Pickle
This is another excellent source for information on all types of food preservation--they also offer you a lot of troubleshooting tips for those times when something doesn't work out right (don't despair--it happens to the best of us LOL) - Food Preservation Techniques: Learn How to Pickle - Real Food - MOTHER EARTH NEWS
Pickling can capture the tremendous flavors of crops when they’re at their seasonal peak — which is also when they’re least expensive! — so you can relish them year-round. Learn about different ways to pickle from the best--Mother earth News! - Fermented | Reliable Source of Information About Fermented Products
This website offers a good variety of fermented foods--though they don't have pickles yet, it's still a good site to check out for the kimchi recipe, and the information about fermented vegetables.
Pickled Peppers
Rate This Pickled Pepper Recipe!
The Peck Of Pickled Peppers
Not to be a nursery rhyme or tongue twister critic--but you can't PICK a peck of pickled peppers--peppers don't grow in the pickled form :-). However, if you happen to have harvested or purchased several pounds of banana peppers, colored Bell peppers or Chili peppers--then you have the main ingredient for this old fashioned summer treat. In this recipe, there is a lot of "wiggle room"--while I do list measurements for those cooks who like to use them, the relationship between the pounds of raw peppers and the final number of jars actually depends on how the peppers are sliced (if you slice them), how large they are to begin with, and how tightly you pack the jars--so it's a good idea to have extra jars and extra pickle juice on hand.
You can make your pickle juice well in advance and save it in the refrigerator anyway, so I tend to make it a gallon at a time during the summer. I make three varieties--hot and spicy, garlic dill, and bread and butter. My recipes tend to be lower sodium as well, as my other half is on a salt restricted diet.
While I give you exact spice measurements, pickles are a personal taste experience--so feel free to add or subtract spices until the brine "tastes right" to you. Then I would advise writing your personal recipe down for posterity and ease of duplication :-).
I also keep my brine when the pickle jar is empty, for re-use, and I frequently will add fresh peppers to a jar already in the refrigerator, for "quick refrigerator pickles". If you do that, it's a good idea to move that jar to the rear of the fridge for a week or so.
Basic Supplies
The Ultimate Water Bath Canning Kit

Reusable Canning Lids

Getting Ready To Pickle--Basic Supplies For The Home Canner
Before you begin making pickled peppers, you'll want to make sure all your supplies are in one place :-). You will need:
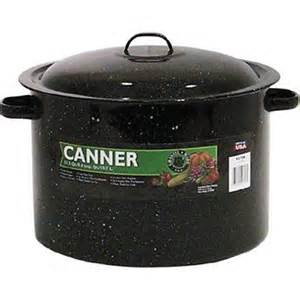
Either a large stock pot or a pressure canner to process the pickles
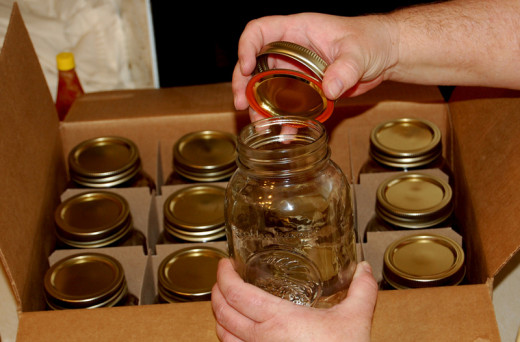
Canning jars and lids--either disposable or reusable
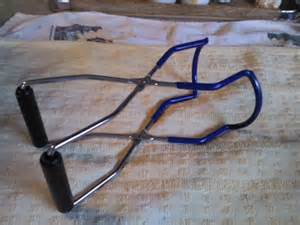
Canning tongs
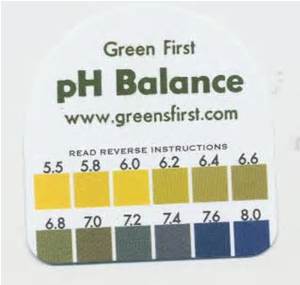
Ph test strips
A sanitized cutting board and knife--I use hydrogen peroxide as my sanitizer, since it breaks down into pure water, but you can use a vegetable sanitizer like Fit brand, or your own bleach water (just make sure if you mix your own you use Sanitizer Test Strips, so it isn't unsafe).
Clean counters, and a clean towel--choose a counter out of direct drafts, and put a nice thick towel on it--this is where the process jars will go.
A wide mouth canning funnel
A clean sink for hot soaking the canning jars and rings, and a bowl for hot soaking and sanitizing the lids
A clean bowl with ice water in it--my grandmother did this so the pickles would stay "crisp". I have no idea whether it really works--but none of my pickles turn out limp :-).
Water Bath Canning For Dummies :-)
How Long Will It Take To Make Pickled Peppers?
Ingredients
- 8 Pounds Peppers, These can be sweet banana, Anaheim chili, or colored Bell peppers, or a mix of peppers
- 5 cups White vinegar, You can also mix in wine or cider vinegar for different tastes--- but it changes the color
- 1 cup Water, this is "more or less"--to taste.
- 4 Tsp Pickling salt or Kosher salt, another "more or less"
- 2 Tbsp Sugar, ANOTHER "more or less" !
- 2 cloves Crushed Garlic, I like To Roast it lightly and crush fine
- 1 tsp Dill
- 2 tsp Mustard seed
- 2 tsp Italian seasoning mix
- 1 1/2 Tbsp Crushed red pepper, *Optional!
Prepping Your Pickled Peppers
- Wash your peppers thoroughly in warm water, then put them to soak in a bowl of iced water.
- In a large saucepan, mix all the ingredients for your pickling brine--and begin tasting as you bring it to a SIMMER. Pickling brine should never go above a simmer, and I usually keep it just under a simmer. Pickles are a very personal art, so use the ingredients listed as a "starting point" for your pickled peppers. **AT THIS POINT: you can divide your pickling brine into thirds or in half, and make different flavors--like one pan full of hot and spicy, one that is sweet bread and butter (I add ginger and a little clove to my bread and butter) and one extra garlic and dill--just be sure each type has enough brine to fill several jars. I will often double the initial brine recipe on the side, since you can store the excess--and I don't have to worry about running short. USE THE Ph TEST STRIPS TO TEST THE BRINE! A food is considered "high acid" if the Ph is 4.6 or LOWER. If it is higher than 4.6, you can NOT use a water bath, unless you lower it by adding more vinegar.
- Once you have your pickling brine tasting "right" for you, turn it way down or off, and cover. At this point, you can slice your pickles. I like to just cut the tops off banana pickles and remove the seeds--since they taste wonderful when you stuff them with tuna or egg salad :-). I also do this with smaller chili peppers or poblanos. Colored bell peppers I will usually cut in strips about as wide as my finger. Once the pickles are prepped, dump them back in the ice water.
- Prepare your canning jars by filling a sink with pure hot water, and adding a 1/4 teaspoon of household bleach--it should smell FAINTLY--not nearly as strong as a pool, but slightly stronger than tap water. Submerge your canning jars and the rings in this water, and in a bowl you also submerge, put the lids. This way they won't be all over the bottom of the sink :-).
- Prepare your water bath canner or pressure canner--a water bath canner should be simmering, and the pressure canner should have about three inches of water in it. I prefer to water bath pickles, just because I am used to doing so.
- Once the canner is ready, begin packing jars with chilled peppers. The peppers should be short enough so they stay below the "shoulders" of the jar! If they are too long, cut them down :-). I pack mine fairly tightly--there are almost no gaps between them. I also like to pack some strips of Bell pepper in with some whole sweet bananas, so I have a variety in each jar.
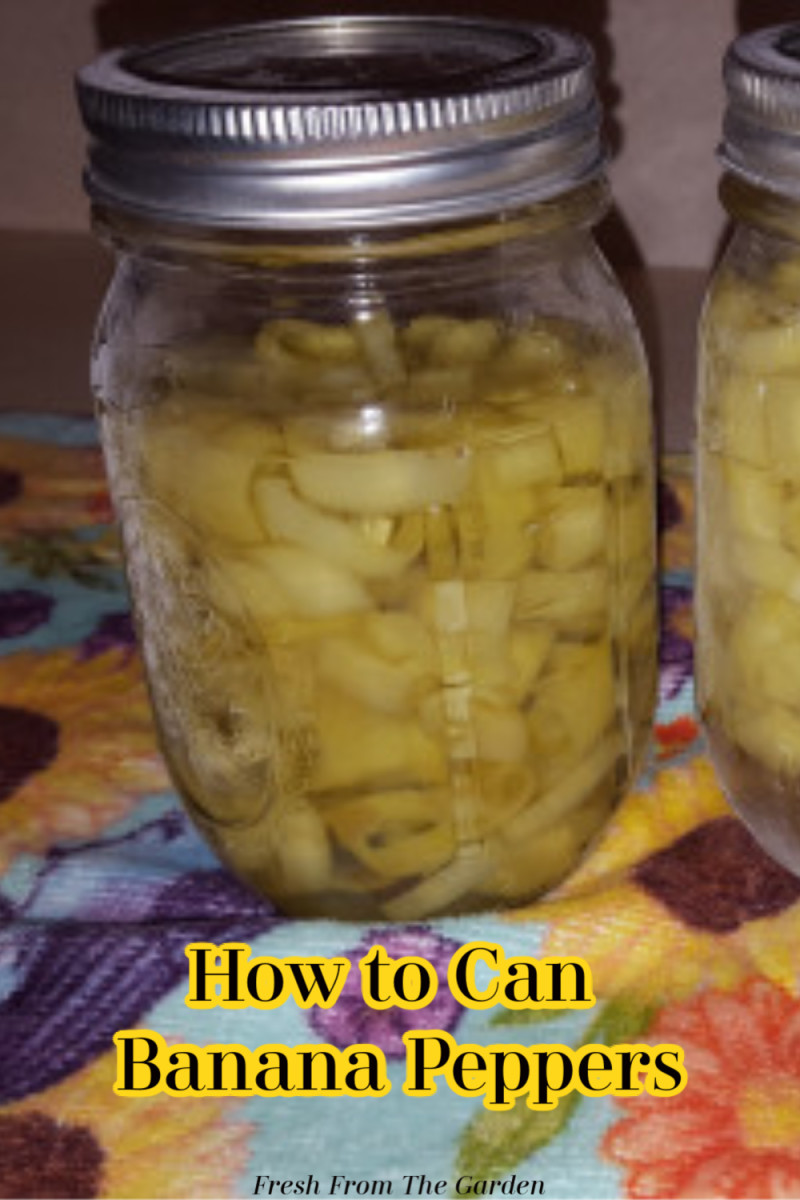
- Use the funnel to pour brine into each jar, leaving about 1/2 inch or so (no more than two fingers) of "head space". Run a knife around the inside of each jar quickly to get rid of any air bubbles, put on the lid and get the ring finger tight, and either submerge in the water bath or place in the pressure canner. Do this with each jar until your water bath or pressure canner is full--typically, a water bath will hold all nine pints, as will a pressure canner, though it does depend on the brand of jar.
- IF YOU ARE WATER BATHING: The water should cover the jars--so put the lid on when the water bath comes to a full boil and process for 15 minutes.
- IF YOU ARE PRESSURE CANNING: Close the canner, and put the pressure disk at 5 pounds. Once it starts "jiggling", process for no more than 5 minutes, then remove from the heat and open once the steam has been released--when it stops "jiggling", and you don't hear steam coming out when you lift the "jiggler".
- Use your canning tongs to slowly lift each jar out of the canner, and place them on the towel covered counter, and tighten the rings if needed. You'll know the jars have sealed when you hear a "PING" from each lid as it locks down--if you have canned before, you'll recognize the sound. If you haven't--you'll recognize the sound :-). When you check the lids, the center of each will be depressed fully--if you push on it, it won't "pop" up and down.
- Once the jars are completely cooled, check the seals--and any jars that are not depressed as described above go directly in the refrigerator. The other jars can be labeled for type and dated, and stored in a dark place. If you have canned several different varieties, you can use a Sharpie to mark the lids before they go in the canner.
- And that's it :-). The peppers will reach a good flavor in about a week or so, whether in the fridge or on the shelf--and when I eat all the peppers in a jar, I pour the brine into the "pickle juice" jar at the back of the fridge. I have 3 quart jars in the back of the fridge, one for each type of brine--so when I have mo0re peppers (or other veggies), I already have the brine handy :-). It works for pickled eggs too, as a matter of fact, and you can make "cheater" pickles by stuffing a jar with rinsed veggies, filling with cold brine, and putting it in the back of the fridge--and in TWO weeks, you'll have wonderful pickles!
The Best Book For Food Preservation

Pickled Peppers are Good For You!
| Nutrition Facts | |
|---|---|
| Serving size: 1 cup | |
| Calories | 51 |
| Calories from Fat | 0 |
| % Daily Value * | |
| Sugar 9 g | |
| Fiber 2 g | 8% |
| Protein 1 g | 2% |
| Cholesterol 0 mg | |
| Sodium 197 mg | 8% |
| * The Percent Daily Values are based on a 2,000 calorie diet, so your values may change depending on your calorie needs. The values here may not be 100% accurate because the recipes have not been professionally evaluated nor have they been evaluated by the U.S. FDA. | |
Another Pickled Pepper Video
About Nutritional Values
Some of the fields are empty in the nutritional information--because the form doesn't accommodate decimal values :-). For the curious, here they are:
Total fat--.24 g
Saturated Fat 0.062g
Polyunsaturated Fat 0.119g
Monounsaturated Fat 0.012g
Vitamin C 225%
Calcium 1%
Iron 2%
A cup of pickled peppers is about 6 ordinary sized Banana peppers, or one and a half Bell peppers, or 1 large Anaheim or Poblano chili pepper. If you have pickled Jalapenos or Habaneros, there are about a dozen in one cup.
So, What Do You do With A Pickled Pepper, Anyway?
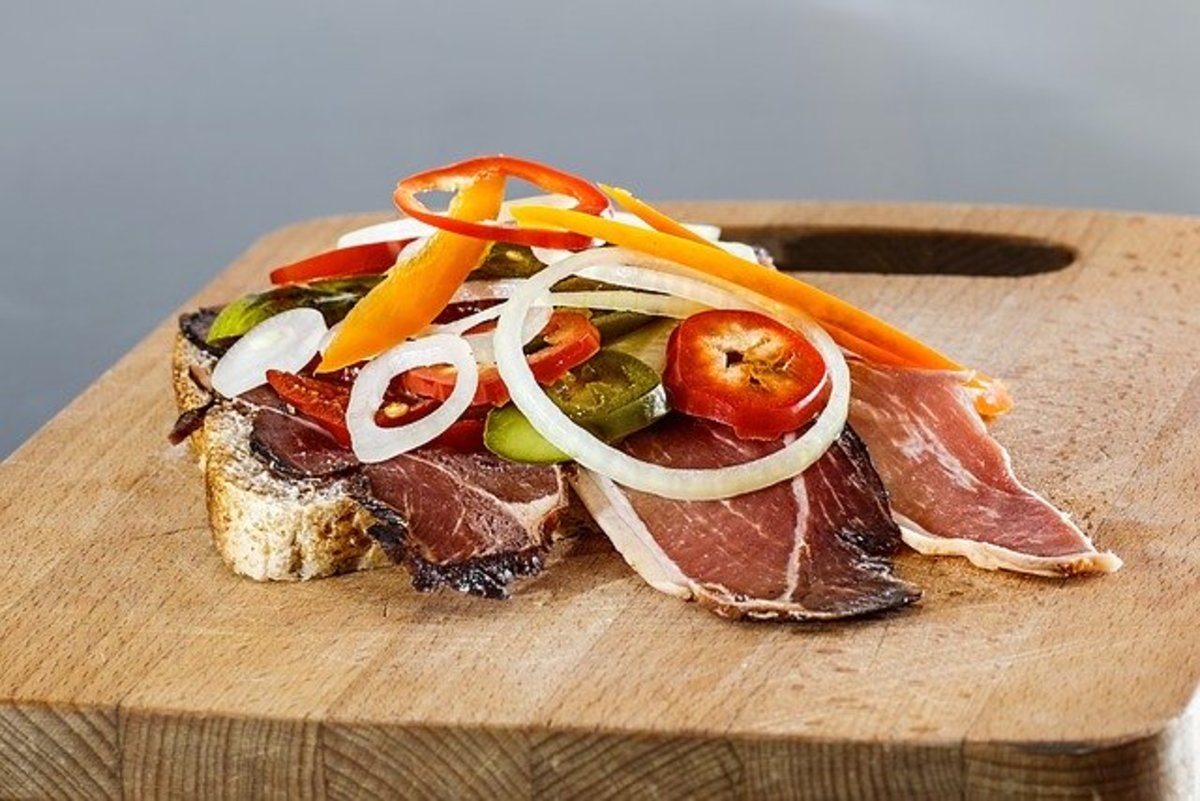
There are a lot of things you can do with pickled peppers--once I got my other half to try one (and he discovered they are delicious), he started using them at every opportunity. Here are a few of my favorite uses for pickled peppers:
- Stuffed: Take the small sweet peppers or banana peppers, and stuff them with tuna salad, chicken salad, or egg salad--serve chilled on a hot summer night.
- As a relish additive: I like to chop up some garlic dill pickled peppers and add them to my relishes just before I can them--when I have pickled baby onions, I dice and add those too :-).
- Slivered and used to garnish hamburgers or hotdogs, or slivered and added to sauerkraut on hotdogs. This works best with the hot and spicy or garlic dill varieties as far as I am concerned.
- Slivered and added to stir fry--especially teriyaki beef stir fry. I do this frequently with my bread and butter pickled peppers--I also sliver them and add them to ginger chicken. YUM!
- Tied with a bow and given as gifts--along with eating suggestions--you'd be amazed how many people have never tried pickled peppers! Everyone I know loves getting my canned goods as gifts at holiday time as well as during the year.

