Fluffy Sweet Cinnamon Raisin Bread
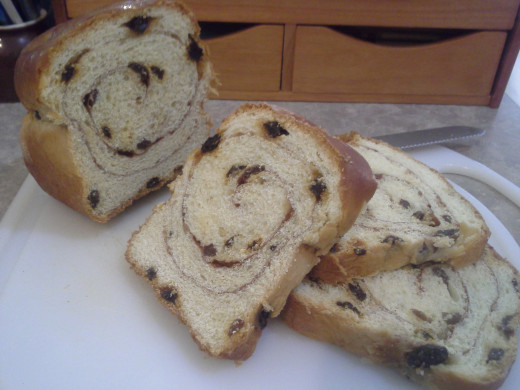
So this is one of my family's favorite recipes for snacking during the holidays.
I am posting this recipe now because it has been requested that I bake my cinnamon raisin bread to take to the cabin for the entire family (we're talking like 20 people) for Christmas.
I've spent all afternoon mixing, rising, kneading and rising dough for cinnamon bread (and yes, taking tons of great pictures for you!).
I'm currently making 3 loaves to take with me, even though I really should make 6 of them, but I'm also taking Chex Mix and I know the other girls will be making tons of cookies as well.
This is a recipe that I make quite frequently for my husband because he loves slices of cinnamon raisin bread for breakfast, snacks, and even after dinner.
This is like having delicious cinnamon rolls without the calories all wrapped up in a fluffy, sweet slice any time you want.
I challenge you, if you are interested in making this for your family, make sure you have muscles on loan to stir this mixture when it gets super thick, or just take a few breaks in between stirring, and a large area for rolling out your dough.
Because this is going to be so much dough, you'll want plenty of room as it will take all that you give it.
This recipe makes 3 loaves of bread. If you don't have a big family, or can't eat that much bread at once, keep one in the refrigerator, and freeze the other two until you are ready.
When you want another loaf, just set it in the refrigerator for a day or so and let it thaw naturally before eating it.
Trying to thaw it on the counter or in the microwave will just leave you with a sticky, wet mess and that's not fun after you've slaved away in the kitchen to make these delicious loaves.
It's going to take some time and a little hard work on your part, but I promise you it will be worth it!
Ingredients
- 1 1/2 cups + 2 tablespoons milk
- 1 cup warm water
- 2 (0.25oz) packages active dry yeast, (or 2 tablespoons of bread machine yeast)
- 3 large eggs
- 1/2 cup + 1/2 cup sugar
- 1 teaspoon salt, (needed for the yeast to work)
- 1/2 cup + 2 tablespoons butter
- 1 (12oz) box raisins
- 6 1/2 cups flour
- 3/4 cup cinnamon
Cook Time
Instructions
- I always begin by getting the water heating up in the sink.You'll need warm to hot water for your yeast.
- Next, pour 1 1/2 cups of milk into a small saucepan and heating it slowly to boiling over medium-low heat.
- While your milk is heating up, Fill up a measuring cup with 1 cup of warm to hot water, and shut off the sink.
- Open up two packets of Active Dry Yeast and pour them into your water. Mix well and let sit until creamy, for about 10 minutes.
- Check on your milk. Once boiling slowly, turn off heat and set milk aside to begin cooling.
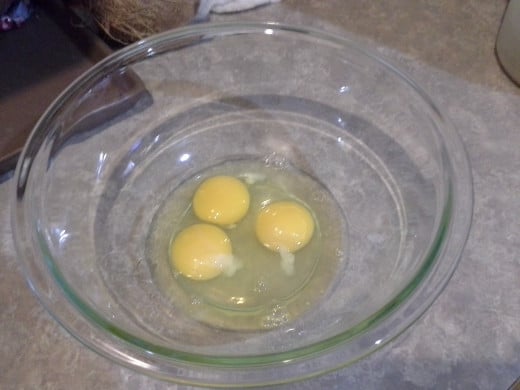
- In a large bowl, crack your three eggs and beat well. I just used a fork.
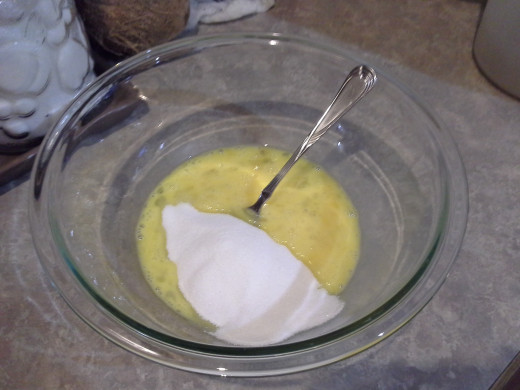
- In that same bowl, add 1/2 cup of your sugar and 1 teaspoon of salt. Mix well.
- The salt helps the yeast to do it's job. If you don't use salt at all, your bread won't rise properly. If you don't use the right amount of salt, your bread won't rise properly.
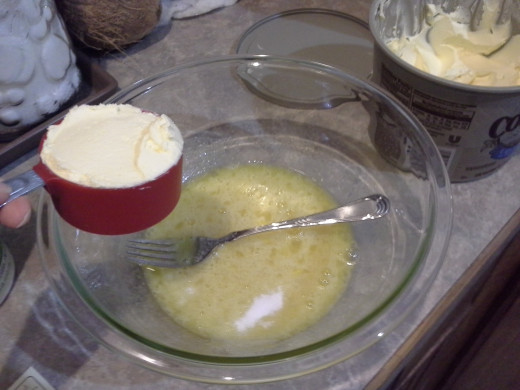
- Add 1/2 cup of softened (not melted) butter to your mixture and mix well. I had to step it up to a hand mixer to handle the added ingredients.
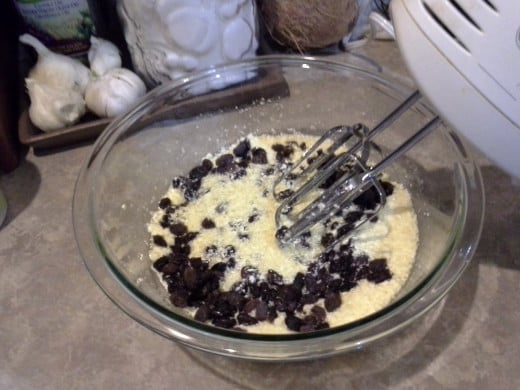
- And now add your raisins. This is when I added my raisins and they just got in the way of mixing. Next time, I would wait to add these until just before the flour, or maybe halfway through my flour.
- Now you can add your dissolved yeast, and stir everything together.
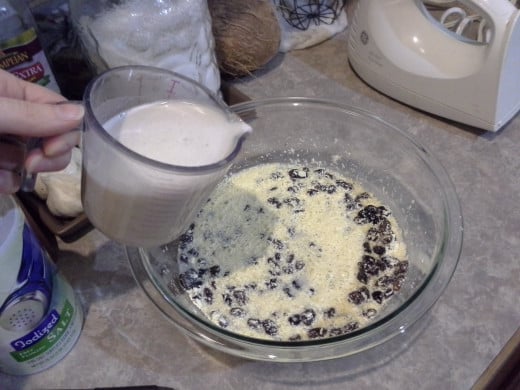
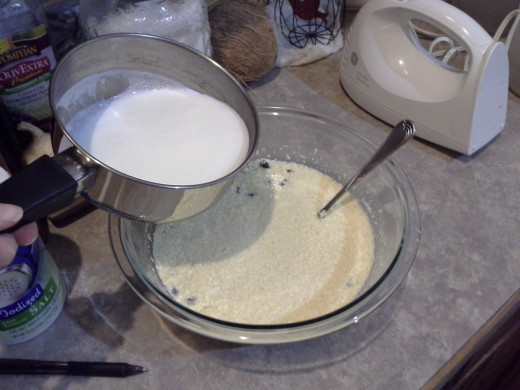
- Finally add your heated milk that is now pretty cooled. Mix everything together well. At this moment you'll have kind of a soup consistency, but it's about to get a lot thicker really fast.
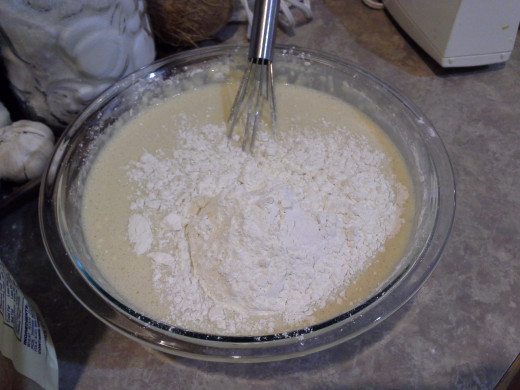
- Add your flour 1 cup at a time and mix in thoroughly before adding in another cup. Because the raisins were in the way, I had to step it up to a whisk to sufficiently mix my ingredients at this point.
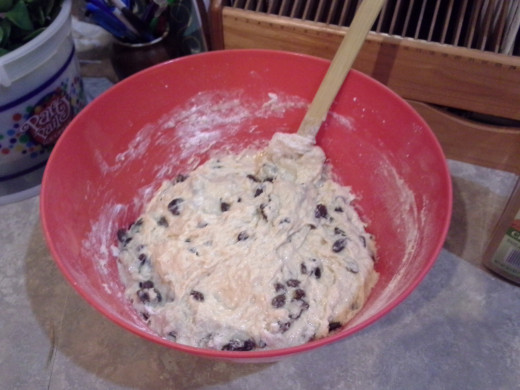
- At 3 cups of flour, my large bowl was just about full and I had to transfer my mixture to a bowl I normally reserve for Chex Mix and keep adding flour.
- After 4 cups of flour, all of my dough was getting stuck in the whisk and I had to transfer to using a spatula to continue mixing. It was still way to wet and sticky to try using my hands.
- When trying to mix in the 6th cup of flour, it was way too thick for my spatula, so I had no choice but to mix with my hands from here on out.
- One more 1/2 cup of flour and it was time to turn it out on my countertop and knead it for a few minutes.
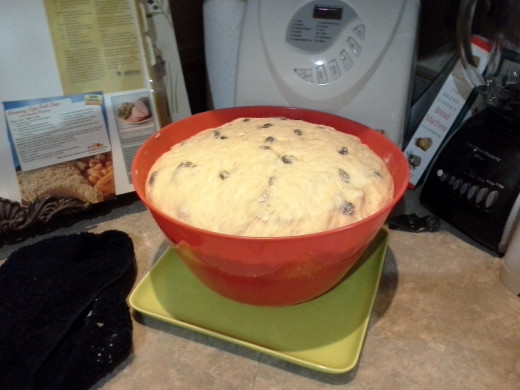
- Then return your dough to your bowl, soak down a hand towel and squeeze out all excess water, cover your bowl, and set it aside to let your dough rise for 1 1/2 hours.
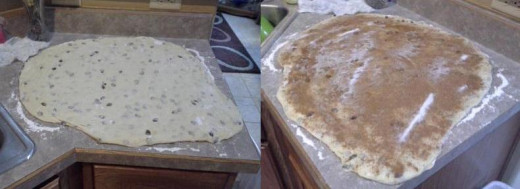
- Once risen, dump your dough out onto a clean, floured surface and pull out your rolling pin.
- You'll need a little extra flour for any sticky parts in the dough. With your rolling pin, roll out your dough to about 1/2 inch thickness all the way across. You can see that my dough took up almost my entire counter. It's going to be huge.
- Pour your 2 tablespoons of milk across the top of your dough and rub it in evenly across your dough to make sure the entire top is wet and ready for your cinnamon and sugar.
- Now sprinkle your cinnamon to lightly cover the entire dough. You won't want it to be thick, but you'll surely want to taste it in every slice. You can choose how much you use.
- Then lightly sprinkle sugar on top of your cinnamon. Realize when doing this that there is already sugar in the bread, so you won't want quite as much sugar as you sprinkled cinnamon or it will be way too sweet.
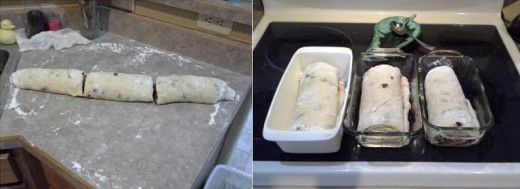
- Roll your dough tightly the long way and then you'll want to divide it into three equal sections.
- On the side, you'll want to spray three loaf pans generously with cooking spray.
- Tuck each of your three sections of dough into its own loaf pan.
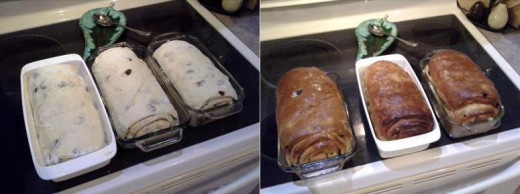
- Cover them again with your damp towel to rise for another hour.
- About 10 minutes before your hour is up, preheat your oven to 350 degrees F.
- When your loaves are done, remove the towel and slide your three loaves into the oven to cook for 45 minutes.
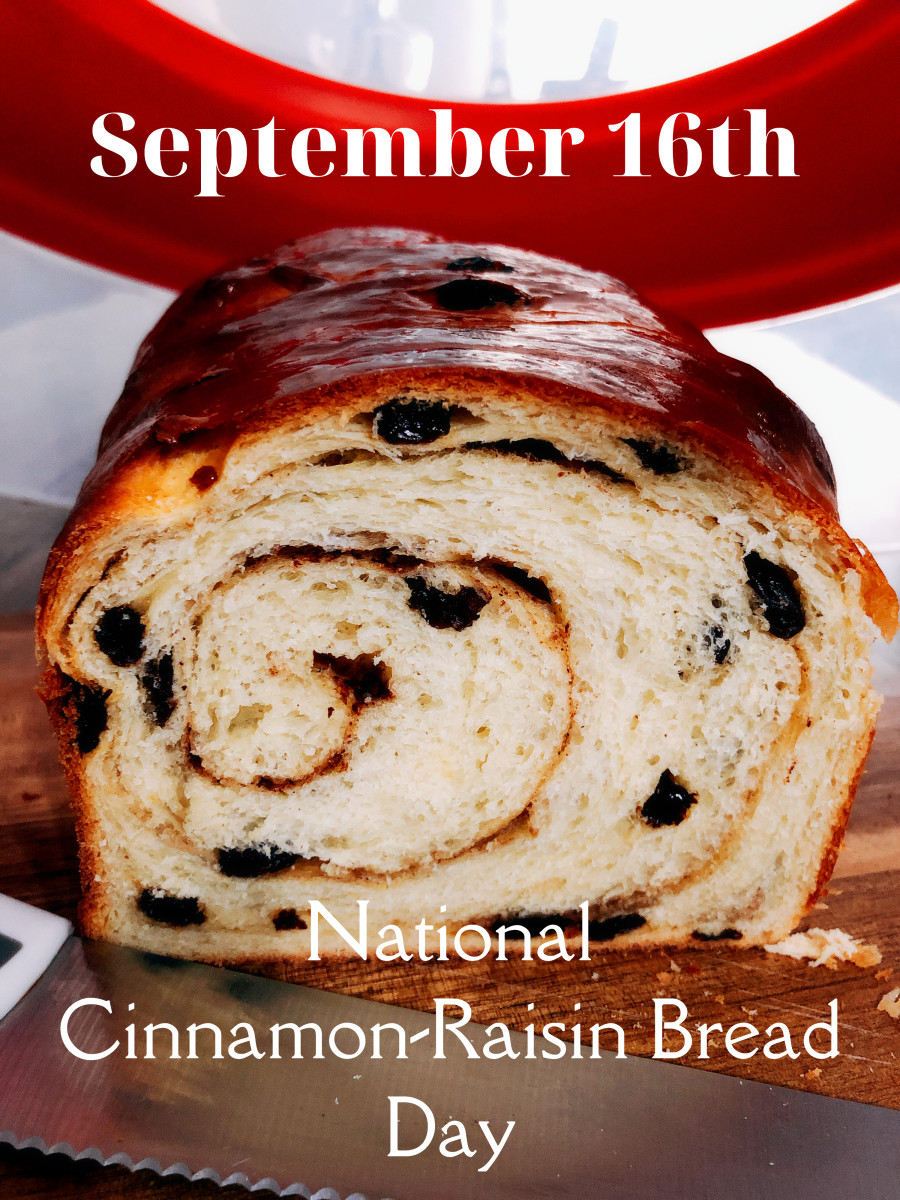
- The last 15 minutes of baking, I had to lay a piece of aluminum foil over the top of all three to keep them from burning on the top. You can see they each got pretty brown, but what's important is that you can also see the roll in the dough on the sides of each of them. Yummy!
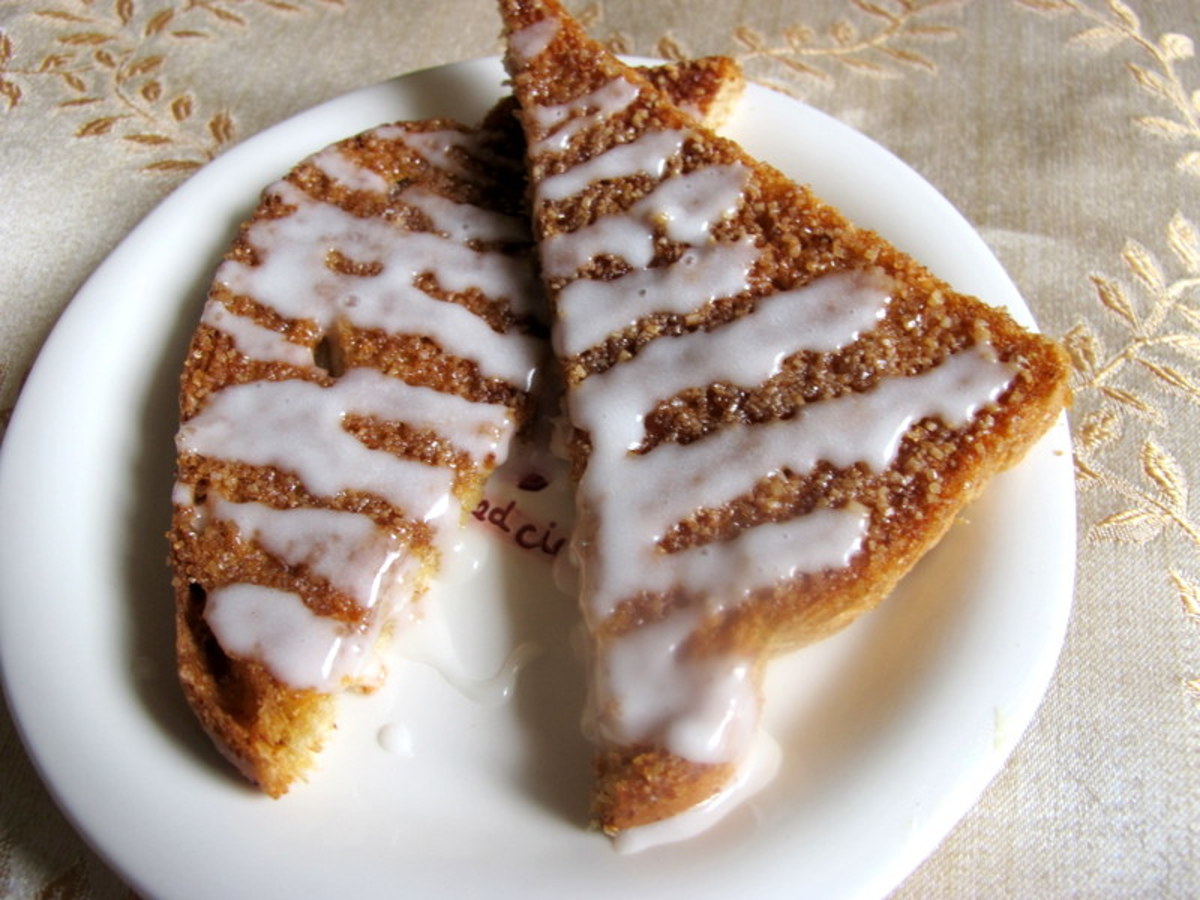
- After they have cooled, melt about a tablespoon of butter in the microwave, and brush the tops of each loaf with butter.
- Enjoy! Yummy! Yummy!
Nutritional Information
| Nutrition Facts | |
|---|---|
| Serving size: 1 slice of bread | |
| Calories | 190 |
| Calories from Fat | 36 |
| % Daily Value * | |
| Fat 4 g | 6% |
| Saturated fat 2 g | 10% |
| Unsaturated fat 0 g | |
| Carbohydrates 34 g | 11% |
| Sugar 11 g | |
| Fiber 1 g | 4% |
| Protein 4 g | 8% |
| Cholesterol 26 mg | 9% |
| Sodium 83 mg | 3% |
| * The Percent Daily Values are based on a 2,000 calorie diet, so your values may change depending on your calorie needs. The values here may not be 100% accurate because the recipes have not been professionally evaluated nor have they been evaluated by the U.S. FDA. | |
This was an amazing recipe that I know my family is going to love. I've told my husband that if he thinks he loves me, he's going to fall in love again after another slice of my cinnamon raisin bread.
Boy, it looks tempting, especially covered in butter, but I know I have to wait until we are with our family for Christmas before I can have any.
For anyone attempting this recipe, I warn you to give yourself an entire day to make these. This recipe takes a great deal of effort and a lot of time.
If you're trying to make this at the last second, or even in someone else's kitchen, you'll be sorely disappointed.
You saw that I started with a fork, moved to a hand mixer, and then to a whisk, then a spatula, and finally mixed the dough with my hands. lol Each utensil was the right one for the consistency of the dough at that moment.
I even had to move from my large bowl to a bowl I don't normally use for mixing just to hold all of the dough.
But don't be scared to give it a shot. It was a lot of fun and worth the effort.
It's going to be amazingly delicious!! Enjoy it!
Quick Poll
When will you be making this delicious bread for yourself?
© 2013 Victoria Van Ness

