Science of Greek Yogurt & Experiment for Kids
Ingredients
The ingredients needed for making Greek yogurt are quite simple but limitless. As far as essential ingredients, there are only two
- Milk
- Culture
That said, the ingredient options for flavoring are limitless. I always enjoy honey as a sweetener, but don't be shy about using whatever you have laying around.
Equipment
The essential equipment for making Greek yogurt can all be found in a normal kitchen, but there are some specialty pieces of equipment that will allow more control over the process. First for the essentials:
- Non Reactive Heavy Bottom Pot (large enough to fit all of your milk, however much you plan to make)
- Thermometer
- Cotton Cloth
- Ladle
- Range
- Oven
- Large Bowl, pitcher, or measuring cup
- 3 pint jars with lids
- Refrigerator
Optional equipment can help improve consistency of the fermentation by controlling batch size and temperature more closely, as well as help keep lint out of your finished product (I seem to always get some little pieces of my cotton cloth in with my yogurt), but these are definitely not essential for making your first few batches.
- Yogurt incubator ("Dash" is a common one)
- Greek Yogurt Strainer (lots of these available with google search)
Selecting your Milk - Keep your end goal in mind
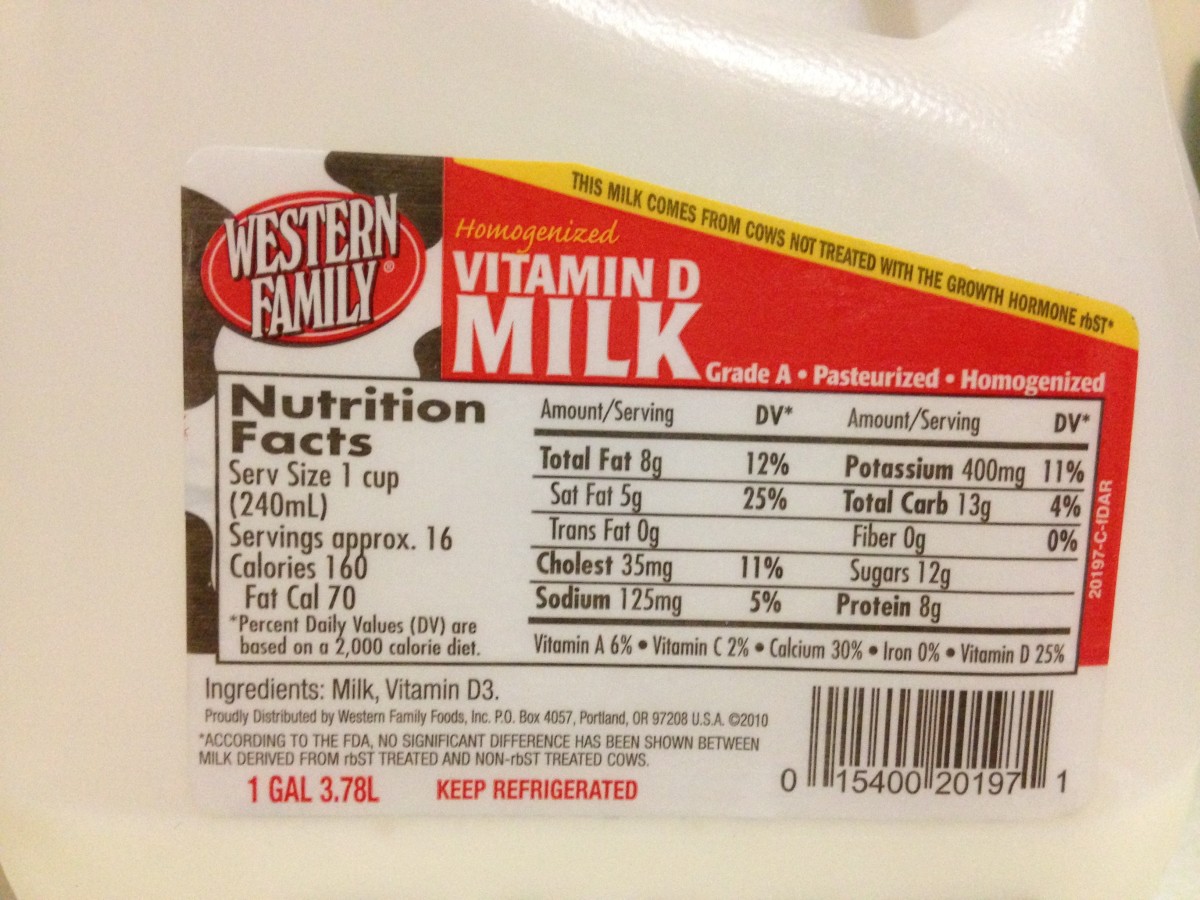
Unlike milk for Cheese making, good yogurt can be made from "abused" milk. Since the process for making yogurt takes you through an "abusive" process, we have nothing to lose when using Ultra High Temperature (UHT) or High Temperature Short Time (HTST) processed milk for yogurt.
This makes milk selection quite easy:
Select milk that is the least likely to have off flavors that you don't like.
This may seem over simplistic, but there are some reasons that I say this. When dealing with HTST (think the normal plastic gallons of milk) milk, it is common for off flavors to develop well before the shelf life is up. For this reason, reach to the back and grab the freshest milk you can. Furthermore, be cautious of taking the front milk carton from a display case. Not only does the UV light from fluorescent lights make the milk taste oxidized and yucky, but the front containers in these cases are frequently not at the proper temperature, and no one likes warm milk.
If you choose a UHT or sterile processed milk, you may be fighting different types of off flavors. Compounds called Lactones are produced during the heating of UHT milk, which give it a cooked flavor (imagine that). Furthermore, with shelf stable milk you may experience the breakdown of fats, giving the milk a rancid taste.
Raw milk is also an option if you live on a farm, or reside in a state which allows its sale. In my opinion raw milk yogurt is yucky and stringy. While raw milk can offer the best quality for some cheese making applications, proper yogurt making requires the heating of milk to over 180F, which is hotter than the requirement for pasteurization. Even if you start with raw milk, you will have pasteurized when you finish. For this reason, the quality preservation characteristics of pasteurized milk will get you better milk more consistently for making yogurt.
Selecting a Culture
It is possible to purchase yogurt cultures online from culture suppliers. These typically will contain a blend of common yogurt cultures including:
- Streptococcus thermophilus
- Lactobacillus bulgaricus
- Lactobacillus delbrueckii
- Lactobacillus acidophilus
- Lactobacillus lactis
- Bifidobacterium lactis
- Lactococcus species
These blends are designed to be used at different culturing temperatures, produce different flavor profiles, and different acidification rates. They are a great option for making yogurt, but it can prove difficult to determine exactly which ones will fit your taste from a listing online. One option for this is to try a sample pack, like the one available here:
http://www.cheesemaking.com/store/p/301-Yogurt-Sample-Pack-Y1-Y3-Y5.html
Another option that I commonly use is to choose your favorite plain yogurt from the grocery store. Almost any yogurt that contains live bacteria can be used as a yogurt culture. This allows you to choose a flavor profile that you know you like. For the yogurt I made to take pictures for this article, I used a packet of toasted coconut flavored Oikos (R), and was very happy with the results. Use caution to choose a fresh batch of yogurt for your culture. While industrial yogurt makers have very clean factories, it is not uncommon to have some residual yeast and molds which could impact your finished product.
Protein - The Root Of Our Process
Essential changes in the milk proteins take place during two of the steps of yogurt making. By skipping one of each step in small separate cups, you can witness the impact of each without adding time or energy to the yogurt making process.
Heating
The first essential change in protein for yogurt making is one of denaturation of whey proteins caused by heat. Heating milk to at least 85C for 20 minutes denatures of 90% of the beta-lactoglobulin whey proteins. this denaturation is essential for proper rheology (texture) and appearance of finished yogurt. If this step is skipped, the yogurt will become stringy (think snot). The stringy texture is not dangerous, but it is also not appetizing.
Acidification
The next step which causes essential changes in the proteins is acidification. Acidification is the result of fermentation from the lactic acid bacteria used in yogurt. Lactose is broken down first into Glucose and Galactose, then into lactic acid. The lactic acid in yogurt plays three very important roles.
- Safety - safety of yogurt is a function of it's acid. Without acid it could spoil like milk, and potentially grow dangerous bacteria. With proper lactic acid development, the main risk is spoilage by mold and yeast, which is a quality issue instead of a safety issue.
- Flavor - the delicious tart tangy flavor of yogurt is a product of the lactic acid.
- Solidification of Casein - Casein, the primary protein in milk, makes up about 80% of the total protein in milk. When the pH drops below 4.7, casein undergoes a change from soluble to insoluble. When this occurs, large molecules containing many smaller casein molecules begin to coagulate, forming a gelatin like solid. This change is the reason that yogurt is eaten with a spoon instead of sipped from a mug.
Recipe
- Turn on the light in your oven (this will provide enough heat to keep the oven close to the optimal temperature for culturing milk)
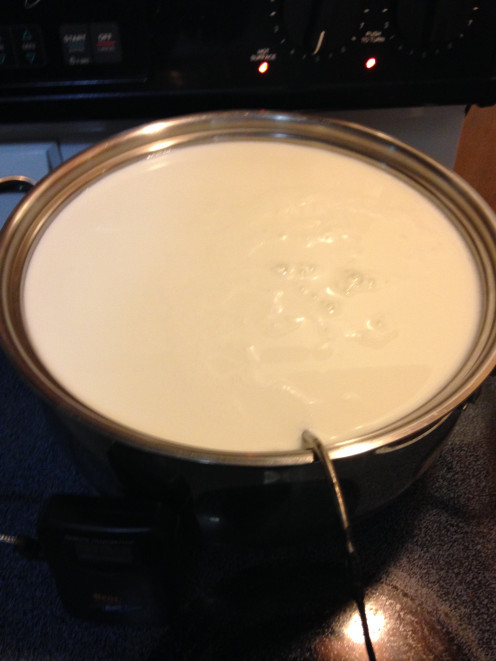
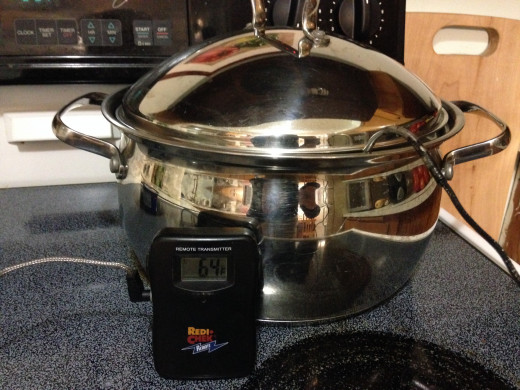
- Empty 1 gallon of milk into a non reactive heavy bottomed pot, place thermometer into milk, and begin heating on low heat.
- Continue heating until the milk reaches 190F
- turn off the heat, cover the milk, and allow to cool until it reaches the temperature of 110F (I set the milk outside in the cold, and this usually takes me a couple of hours or more)
- Place your yogurt culture into a small bowl and slowly stir in some of the warm milk. Once a smooth soupy consistency is reached, stir the tempered culture into the milk in the pot.
- Replace the lid on your pot, and place the pot in the oven
- Wait - this part of the process will vary in time due to the cultures selected and the temperature of your incubation. Check the milk in the large pot after 5 hours to see if it is coagulated. When it is done, you will be able to see a slight separation of whey (clear to yellow liquid) on the top, and it will be the texture of soft gelatin when touched.
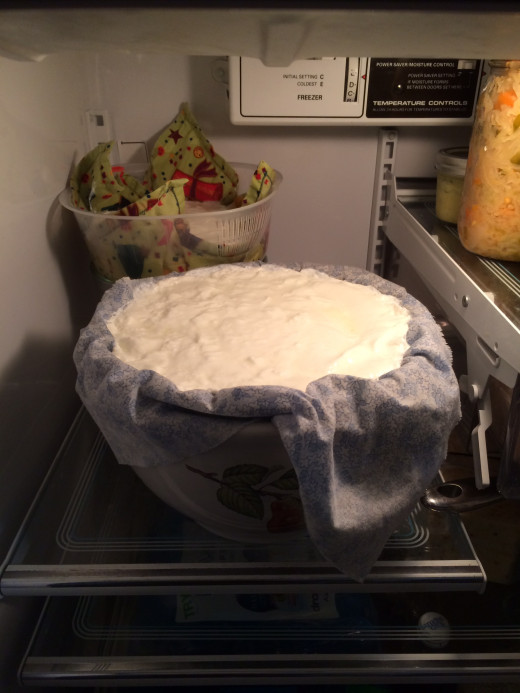
- Line a colander with your cotton cloth and place the colander over a large bowl to catch any whey that is filtered out
- place the entire setup in your refrigerator for between 2 and 24 hours. the longer it strains the thicker your yogurt will be.
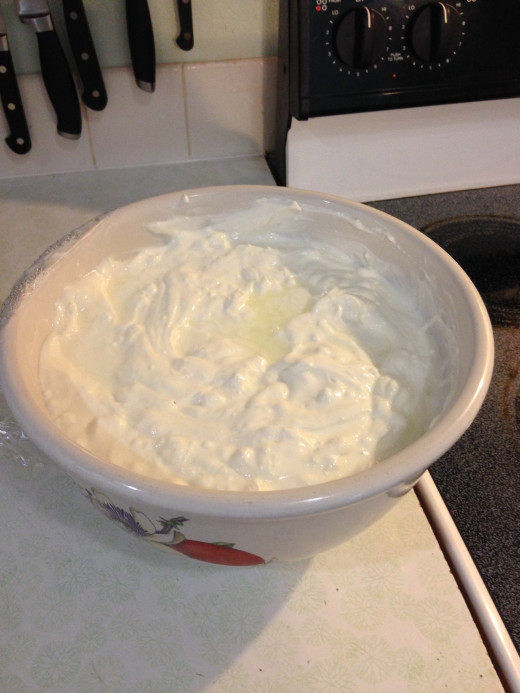
- Remove the yogurt from the cloth and place in a storage container
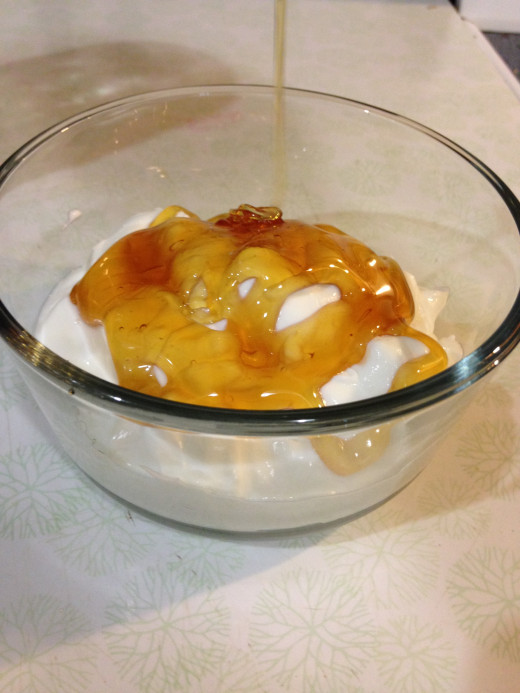
- Mix in your flavoring and Eat!
Experiment Design for Kids (and some good yogurt)
- Turn on the light in your oven (this will provide enough heat to keep the oven close to the optimal temperature for culturing milk)
- Empty all but a cup of 1 gallon of milk into a non reactive heavy bottomed pan, place thermometer into milk, and begin heating on low heat.
- Place the remaining milk back in the refrigerator.
- Once the milk reaches 110F, while still heating the remainder of the milk, remove 2C of milk from the pot and place 1C each in two preheated pint jars (I preheat with hot water from my tap)
- Stir 1 teaspoon of yogurt (or a small amount of your prepared culture) into the milk in one pint jar then place a lid on both pint jars.
- label the top of the jar with yogurt culture "unheated with culture", and the other "unheated without culture" with a sharpie, then place both jars in the oven.
- Continue heating the remainder of the milk until it reaches 190F
- turn off the heat, cover the milk, and allow to cool until it reaches the temperature of 110F (I set the milk outside in the cold, and this usually takes me a couple of hours or more)
- Once at 110F, remove one more cup of milk from the pot, and place in the final (3rd) preheated pint jar.
- Place a lid on the jar, label "heated without culture" and place in the oven
- Place the remainder of your yogurt culture into a small bowl and slowly stir in some of the warm milk from the pot. Once a soupy consistency is reached, stir the tempered culture into the remainder of milk in the pot.
- Replace the lid on your pot, and place the whole thing in the oven next to the 3 pint jars.
- Wait - this part of the process will vary in time due to the cultures selected and the temperature of your incubation. Check the milk in the large pot after 5 hours to see if it is coagulated. When it is done, you will be able to see a small separation of whey (clear liquid) on the top, and it will be the texture of soft gelatin when touched.
- Compare the 4 different treatments! DO NOT EAT the unfermented yogurts, as these could have been incubating some pretty yucky stuff. compare the texture and aroma of all four. Did the heat treatment have an impact on the texture? Can you smell the difference in the cooked milk VS the uncooked? Taste the fermented yogurt in comparison to the milk. Big Difference due to the fermentation!
- Discard the pint jars once you have finished comparing the impact of fermentation and heat treatment
- Line a colander with your cotton cloth and place the colander over a large bowl to catch any whey that is filtered out
- place the entire setup in your refrigerator for between 2 and 24 hours. the longer it strains the thicker your yogurt will be.
- Remove the yogurt from the cloth and place in a storage container
- Mix in your flavoring and Eat!
Flavored Yogurt
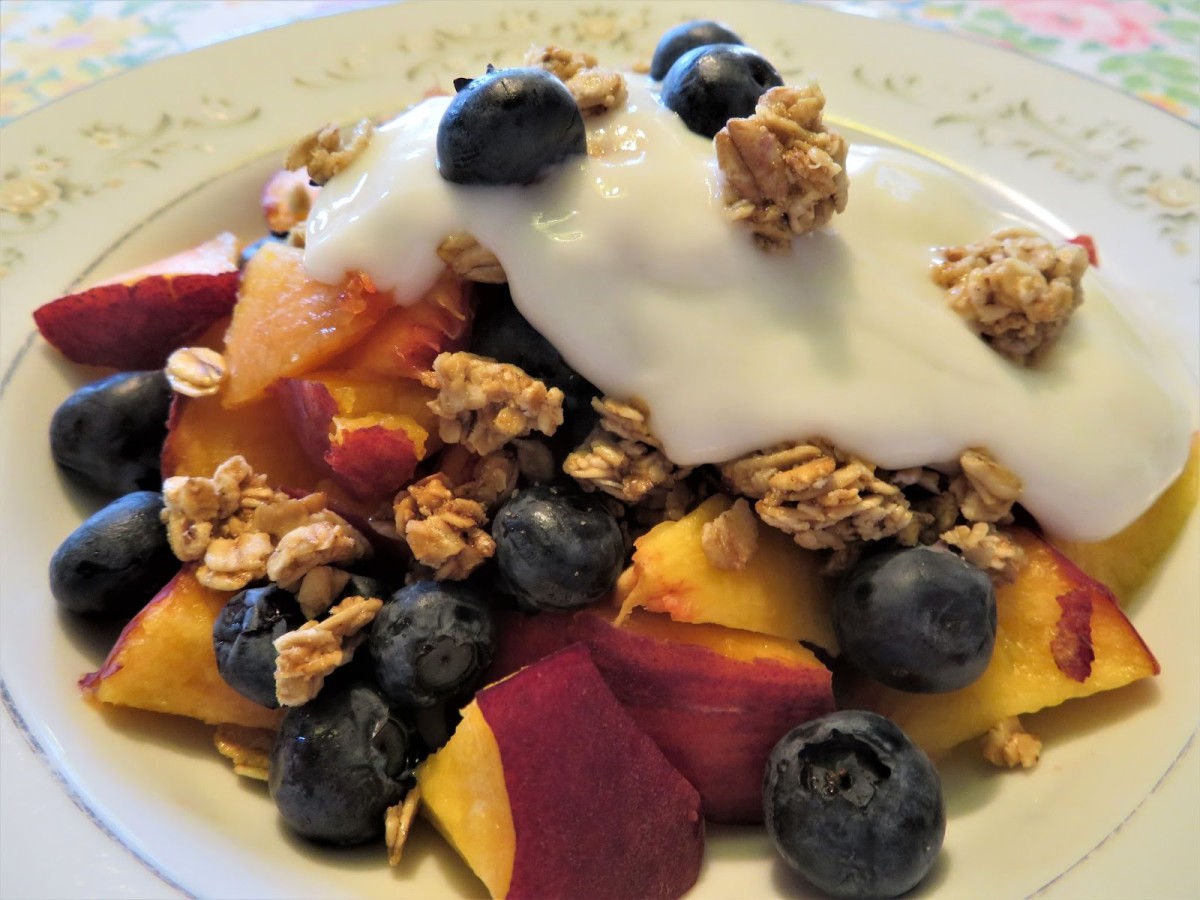
When it comes to yogurt, I take mine with plenty of sugar! I'll admit that I have a bit of a sweet tooth. This part of the process can be extra fun for the kids too. Have you ever had a chocolate yogurt? try mixing in some chocolate sauce. How about a honey mandarin yogurt? Mix honey, mandarin zest, and you're ready to go. Fresh fruit is a quick easy and safe way to add some special pizazz to the yogurt, but you can also think outside of the box.
How about going outside of the box and mixing your fresh Greek yogurt with ranch seasonings and using it as a dip or salad topping? Here's a great easy to whip up recipe for ranch seasoning
http://www.gimmesomeoven.com/homemade-ranch-seasoning-mix/
If you come across an amazing flavor combination let me know in the comments and I will add it as an option.


