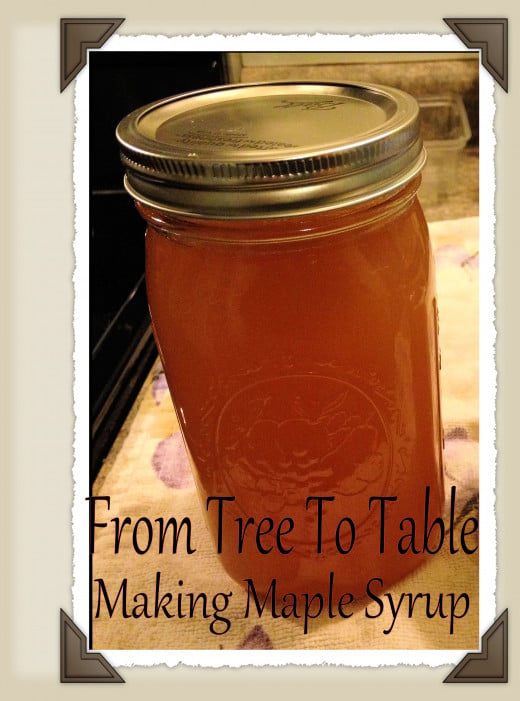
From Tree To Table: Maple Syruping On A Small Scale
Basic Ratio Sap to Syrup
It will take:
- 40 gallons of maple sap collected to make 1 gallon of maple syrup.
- 20 gallons of maple sap collected to make 1/2 gallon of maple syrup.
- 10 gallons of maple sap collected too make 1 quart.
On a small scale system such as this, you will be making 1 quart at a time. You will be boiling at least twice a week, but this will depend on how warm the days get, how fast the sap gets running daily, and how much is in your holding pans due to not enough to begin the process.
Mother Natures Nectar
In January, we all seem to hibernate due to snow falling and not much to do on Tickety-Boo Farm. We begin to get in seed and plant catalogs, look over our graden diary and begin to plan on the coming growing seasons' crops. But as the month comes to a close, we go and search out the maple sap collecting equiptment. Everything gets a thorough cleaning in 1 part bleach to 20 parts water, even though we did this at the end of the season in April.
We begin to dream about the first breakfast of waffles or pancakes drenched in this years deep colored, rich aroma and savory taste of maple syrup fresh from the tree to our table. Along with the dream comes the reality of long days spent boiling and collecting. To some this may sound like a chore, but to us it is a great way to spend time outdoors enjoying the end of winter and the beginning of spring. As you sit watching the pot boil, there are great conversations with the neighbors passing by, birdwatching, enjoying each others company over a hot cup of tea while wrapped in a blanket.
It is an event that the whole family can particiapte in no matter their age. Jobs range from checking the collection buckets, collecting the sap, watching a pot boil, setting up seating, to bringing out some sandwiches and drinks.
Maple Tree
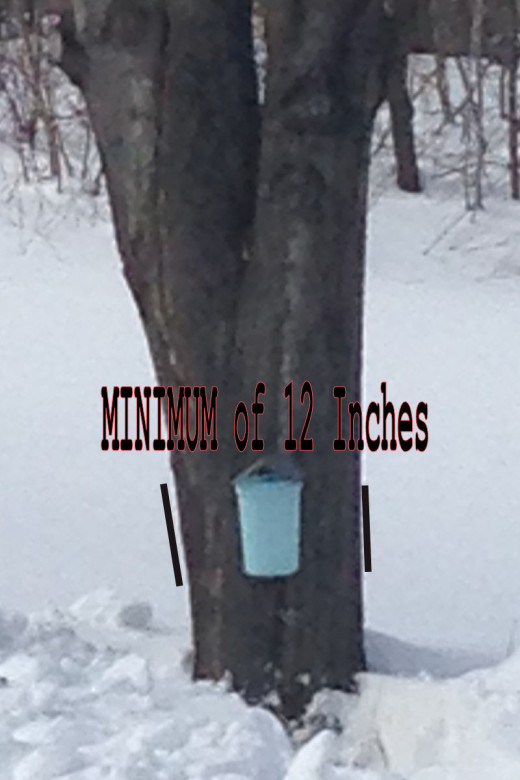
Tree Size And Spiles
DIameter
| Number of Spiles
|
|---|---|
12 to 20 inches
| 1
|
21 -27 inches
| 2
|
28+
| 3
|
Measure Tree DIameter
Know Your Trees
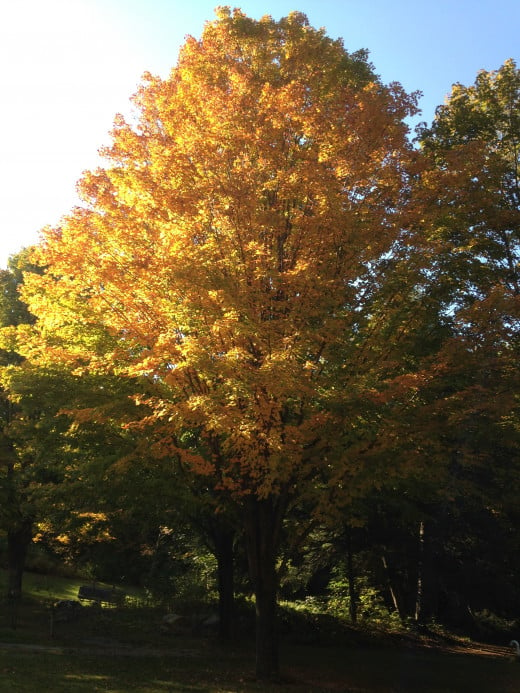
Before all the leaves fall off the trees in fall, you should be making notes of where your Maple trees are. The common maple trees to tap in the Northeast are Sugar, Red, Black and Silver. If you aren't sure about your maple tree, just click HERE. For other parts of the country, there are co-op extension websites that can assist you in what is best for your area.
Once you have located the trees you are going to be tapping for the upcoming season, all you need to do is wait for the worst of winter to be over, end of February to early March, and check that your equiptment will be ready for the upcoming season. I have seen some people tag their trees with lanscapers tape or colored twine if their trees are in a dense grove to ensure they have the trees that they want to tap.
The only other tip I have to offer is that if you live in an area that can recieve feet of snow in a winter make sure you include a path to your trees when you are snowblowing or shoveling. This will make it easier when tapping season comes.
Tree Tapping Tools
Items Needed
|
|---|
Food Grade Buckets for Collecting
|
Lids for Buckets
|
5/16 or 7/16 tap Drill Bit
|
Cordless or Hand Drill
|
Hammer
|
Spile for Each Tree
|
Tree Tapping Tips
- A general rule is tap the tree 3 feet up from the base of the maple tree.
- Spile should be placed above a large root or below a large branch.
- The best place is on the south side of the tree where it will receive protection from north winds. This is also the side of the tree that receives the most sunlight.
- If you have a wide enough treee for more than 1 spile, make sure to place it at least 6 inches away from the first collection bucket site.
- Make sure not to tap in a damaged area of the tree or a deep crevasse in the bark.
- If the tree was tapped last year, do not tap the tree any closer than 6 inches from previous hole.
How to Tap Your Trees
The tree has been marked for tapping, snow cleared away for easier collecting and you have all the equiptment ready to use. Double check that your tree is at least 12 inches in diameter, there are no recent scars to the tree, and that the upcoming temperatures are going to be above 32 degrees during the day with night temperatures are going to be low 32 degrees.
As soon as weather conditions are ideal, gather up your drill, drill bit, spiles and hooks, buckets and lids a hammer and pliers. I place all of my spiles, hooks and tools in a handled bag so that everything I need is with me as I go from tree to tree.
- DRILLING
The size of the drill bit to be used is dependent on the type of spile you are using. Most spiles require either a 7/16 or 5/16 bit. You can place your drill bit over the spile to make sure you are using the correct bit. Just as in other wood projects, you can always be too small and increase the hole but you can not go the other way. If the hole is bigger than the spile, you will have most of the sap running down the tree instead of in your hanging bucket.
Drill a hole 2 to 2 ½ inches deep. It may be helpful to wrap a piece of tape around the drill bit 2 ½ inches from the tip to use as a guide. The drill bit used in the video was just over 2 inches long so there was no need of taping off the bit. Drill at a slight upward angle, approximately 45 degrees, to assist the downward flow of sap from the hole.
The shavings from the drilled tap hole should be completely removed. If there are shavings in the hole, they will block the spile from collecting the stream of sap. Some of the shavings will stick to the drill bit. Make sure the bit is free from shavings before you begin to drill the next tree.
2. INSERTING THE SPILE
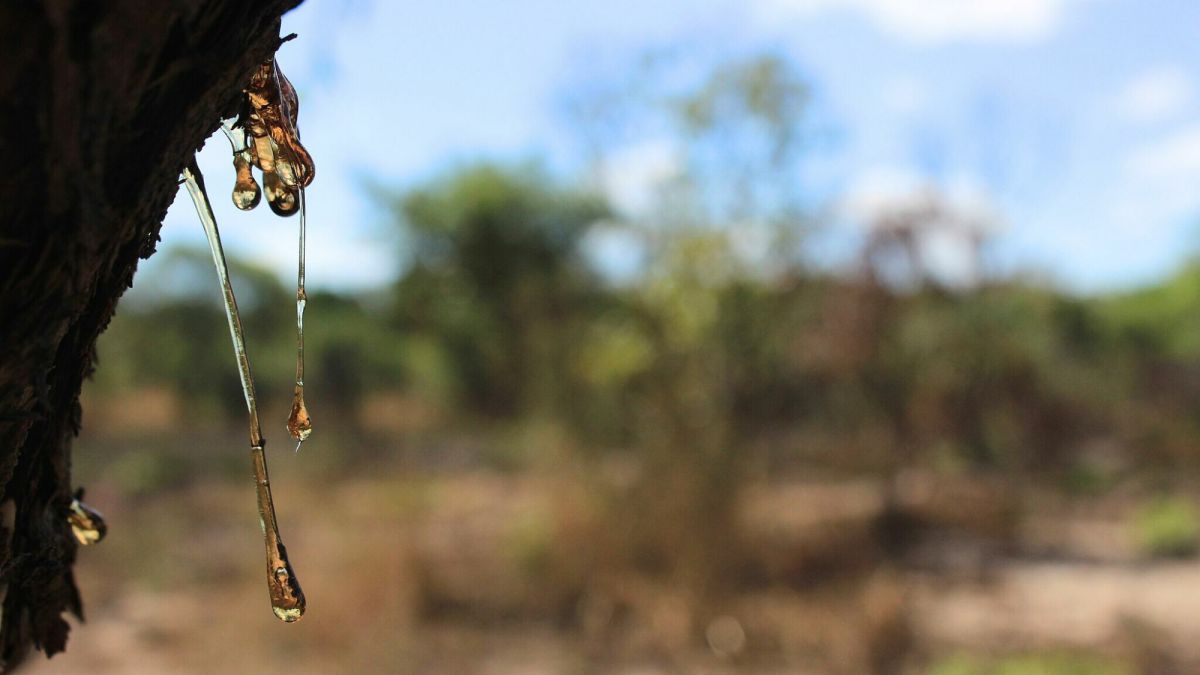
Insert the spile into the loop on the hook (hook facing outward), and then insert the spile into the tap hole as far as you can by hand. Grab your hammer and lightly tap the spile into the tree with a hammer. Do not pound the spile into the tree. This can cause splitting of the wood and breaking the type of spile you are using. If the sap is flowing, you should immediately see sap dripping from the spile. If the sap is slow due to temperature, you will begin to see a drip form during the course of the day.
3. HANG THE BUCKET
There is a hole on the rim of the bucket. place the bucket on the hook hanging down from the spile. If the hook is pinned too closely to the tree, the bucket will net hang properly. Use the pliers to wiggle the spile out just enough to hang the bucket properly.
There are different lids that you can attach to the bucket. Follow the instructions for each individual lid. The lids in the video are easy to install and can be bent slightly to shield the interior bucket from rain, snow or bark debris.
Hear-Hear!! You have just tapped your first Maple Tree. All you need to do is repeat this method for every tree you wish to collect from.
Tapping Sugar Maple Tree
Where to Get Supplies
You will find many sites online to get Maple Tapping supplies. Also check your local Feed & Grain store, an Agway Retailer or ask a local maple sugar producer where the best local place is. In some cases, you can but used equiptment so that your initial set up cost is lower than buying new.
I purchased an outdoor Turkey Fryer kit from my local hardware store, but you can also find this product online at many different retailers.
Tree Spiles
Below is a quick video showing sap dripping into a collection bucket and how much sap gathered after 18 hours. This was filmed on a day that was just above 32 degrees.
Equiptment Needed For Boiling Sap
Outside Boiling Set-Up
|
|---|
Propane Tank
|
Turkey Fryer Cooking Assembly
|
Enamel Or Stainless Steel Pot
|
Cheesecloth
|
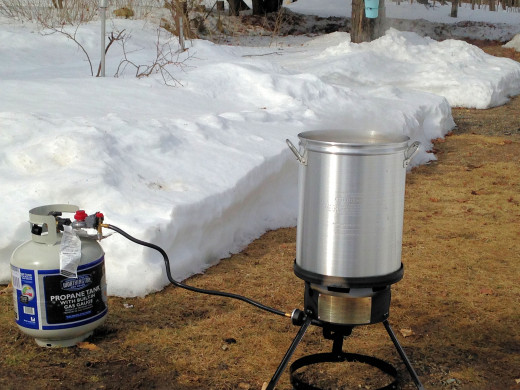
Outside Boiling
There are choices on how to proceed with the setup with the outside boil. Some people choose to build a small firepit, place a grate over to hold the large pan. If you have ample supply of dry wood that does not cost anything this can be a great option. You can be sitting around a campfire for the upcoming boiling days. Others choose to use a propane setup, such as a turkey fryer system. This method will cost you the price of filling the propane tank but can be a bit more convenient for smaller spaces. I will be discussing the propane method. I find it great for the space we have here and can be relocated daily if need be due to winter melt off.
Read the instructions that come with the turkey fryer to ensure proper setup. Before putting a pan on the burner, do the soap test that they recommend. You do not want a gas leak. If you have setup a gas grill, this will be familiar to you. Make sure you have a full tank and a backup tank ready if needed. I find that a tank will last for 9 to 12 hours depending on the wind conditions. You will be doing the first boil for about 9 hours.
Begin to add the maple sap in to the large pot your collections from the trees you have tapped. We use an enamel pan to collect in and bring that to the boiling pot due to the distance between trees and boiling area. Place a double layer of cheesecloth over the collecting pot and drain you tree buckets into the pot. This will prevent tree bark pieces and other miscellaneous debris from getting into your boiling pot. Bring the collected sap water to the boiling area. Place the boiling pan on the frame, and light the gas as instructed in your manual. You want the pan to be between half to three-quarters the way full with sap water. Do not overfill the pot! You need to have some headroom for the sap water to boil.
As the water sap begins to steam and boil, this can take up to an hour depending on how full the pot is, slowly add more sap water in to the pot.To maintain the boil you have going, keep adding the sap water from the collecting pan into the boiling sap water. Depending on how many gallons you have collected, this process can take up to 9 hours for 10 gallons of tree sap water.
Once all of the water has boiled off, and there is no more sap water to be processed, you are coming to the end of the outside boiling. When using the large fryer pot that comes with the turkey fry kit, you want to boil all the way down till about 3 inches of liquid remain in the pot. As this mark is hit, extinquish the flame, turn off the propane tank and get ready to finish the sap water inside. You are almost there!!
From Sap to Syrup
Inside Finish Boiling
|
|---|
Stainless Steel Pan
|
Candy Thermometer
|
Mason Jar, Cap and Lid
|
Cheesecloth
|
Enamel Pan
|
Canning Jar Preparation
- Place the jar, lid, and cap in a pan.
- Fill the pan with water and have the water at least 1/2 inch above the jar. Bring the water to a boil.
- Boil for 10 minutes to sterilize jar, lid and cap.
- Remove jar with canning tongs. If you do not have this, you can use a wooden spoon. Place jar on a clean towel mouth up.
- Pour off the water. if you do not have canning tongs, keep the lid and cap in the pan. Slide these out of the pan with the wooden spoon onto clean towel
Inside Reduction Boil
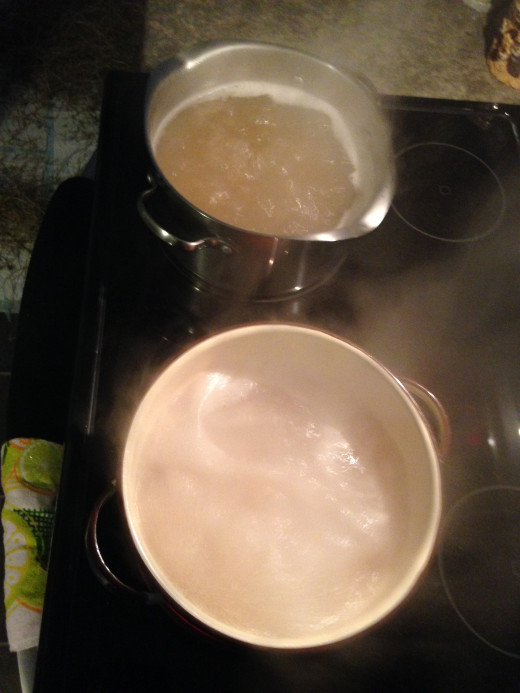
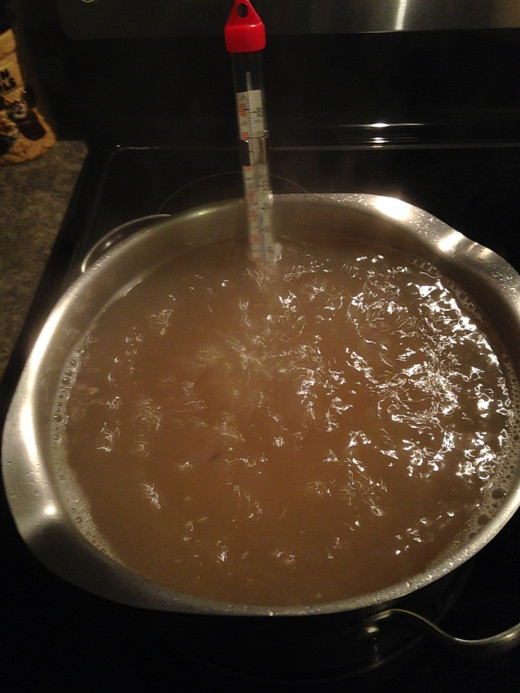
- Have quart jars, pint jars and half pint jars clean and ready to be filled.
- We have used a glass pickle jar as an emergency jar due to not having anything else to pour in when the batch we made was more than expected. This was the jar we had on the table for the next days breakfast. Just keep it in the refrigerator once it has cooled down from the pouring. Clean it in the same method as you would for your other glass containers.
- Label the jars with the month and date. This helps with rotating your stock if you do not use all of the maple syrup in one year.
Final Reduction Of Sap To Syrup
Once your sap is down to the last 3 inches in the large outdoor boiling pan, It is time to bring the boiling sap in and finish it off on the stove. As stated above, make sure you break down all of the outdoor cooking equiptment before you bring in the large outdoor pan. Your attention will be needed in order not to overcook the sap and lose all of your efforts.
Have pans ready and stove fan going. Pour the boiling sap into enamel or stainless steel pans. Begin to reduce the sap one last time. You will see steam and a rolling boil just as it was outside. I chose to make the final reduction pan the stainless steel one. This pan would hold the candy thermometer well and let me control the last boil much better. As the liquid drops in the stainless pan, add boiling sapwater from the enamel pan to it. Repeat this until all of the sapwater is in the stainless steel pan.
Once all of the sapwater is in the last pan, insert candy thermometer. Make sure the tip is not touching the bottom of the pan. This will give you a false reading. Your thermometer should be reading just a bit above 210. Boiling point of water is 212 degrees. You need to watch the pan to see how quickly the water boils off and the sugar begins to boil. When the thermometer begins to rise, you want to watch it closely. Maple syrup will be made once thermometer reaches 219/220 degrees. You will notice that the bubbles in the pans are much different. they are small and not releasing as much steam.
Once the thermometer reaches 219/220 degrees, remove the pan from the burner immediately. Keep the thermometer in the pan and when the temperature reaches 180 degrees, you can pour your maple syrup into a canning jar.
Place a thick layer of cheesecloth around the top of the jar and secure it with a rubberband. Slowly begin to pour the syrup into the jar, through the cheesecloth, and watch your pour fill the jar. You need to leave a small amount of headroom in the jar, usually between to 1/4 to 1/2 inch space. This is usually up to the bottom of where the lid screws on to.( see photo) Place the seal lid on the jar and lightly screw down the cap. The lid will seal to the jar due to the heat of the maple syrup. Tighten down the cap after letting the jar sit for 5 minutes.
Store the jar in a cabinet at room temperature. Once you open the jar, refrigerate the jar till it is used up. Maple syrup, canned in this manner, will last for years before you need to use it up. This is due to: Sugar is a preservative.... Maple syrup is a sugar... and a preservative.
I almost forgot the most important step. Taste it! Get a clean metal spoon out and enjoy the fruits, um syrup, of your labor. Leave enough in the bottom of the pan for all to try. You will see that the color and sugar content will change over the course of making this delectable, golden syrup from nature.
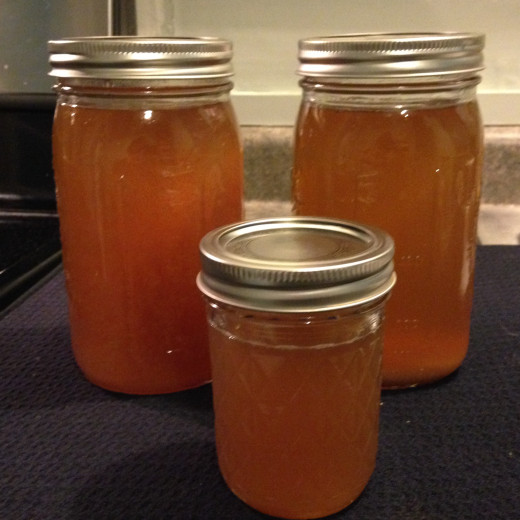
At the Seasons Close
Once you notice nights are not below 30 and the buds on the maple trees are beginning to grow red, it is time to stop your tree sapping. In some cases the sap will stop running. To bring the season to a close, proceed with the following steps:
- Get out the pliers and head to the taps.
- Collect all buckets and pile them together for cleaning.
- Remove the tap with the pliers by slowly pulling out the spile from your maple tree.
- Place all spiles and hooks in a pan that has been filled with 1 part bleach to 20 parts clean hot water.
- Use a rag or scrub brush and clean all of the parts. Then proceed to fill each bucket with the same bleach/water ratio and clean them.
- TRIPLE rinse everything in hot water and dry thoroughly.
- Put everything away till the next season. Make sure the location is dry and free from dust. We use a 40 gallon garbage bucket with a lid that has never been used for any reason but storage.
© 2015 Susan McLeish


