Home Baked Artisan Bread, Step-by-Step
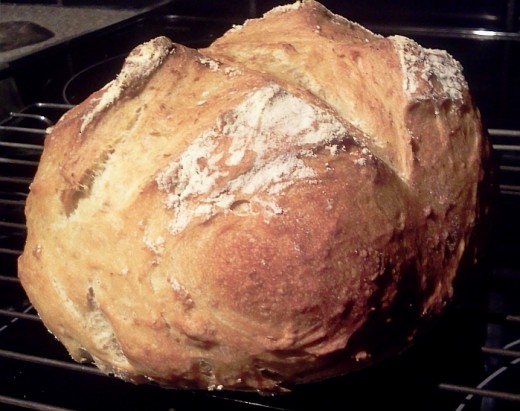
I was a bread making failure!
I've always wanted to be the sort of woman who bakes her own bread. You know the type... round-cheeked, apron-wearing, flour-dusted hands... always smiling. Never been able to get there. I tried baking bread - could've built a dry stone wall with my efforts. I bought a breadmaker and thought I'd cracked it with a perfect honey wholemeal loaf recipe but after a few months my bread began to sink. Think the seal had failed in the breadmaker so I gave up.
© This page was created by TheRaggedEdge. All rights reserved.
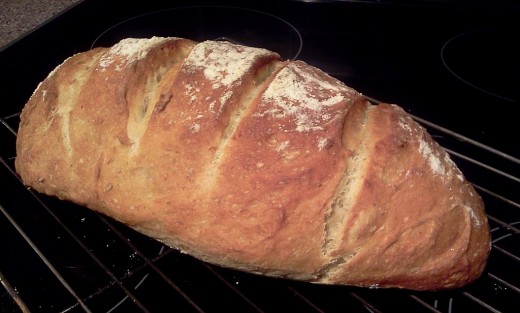
Salvation Appears
After a couple more years feeding my family on the junk that passes for bread in our local supermarket, I treated myself to "Five-Minute Bread" by Jeff Hertzberg and Zoe Francois. I was somewhat dismayed to read that I needed extra kitchen equipment, such as a pizza peel and a baking stone, before I could proceed. Not being in the mood to spend even more money right after 'Laptop Christmas', I decided to adapt their master recipe to my existing resources.
I'd recommend you get the book anyway, or perhaps the newer version, "Artisan Bread in Five Minutes a Day: The Discovery That Revolutionizes Home Baking". There are loads of tips, lots of interesting information and a trillion recipes, well 80 in my book and almost 100 in "Artisan Bread".
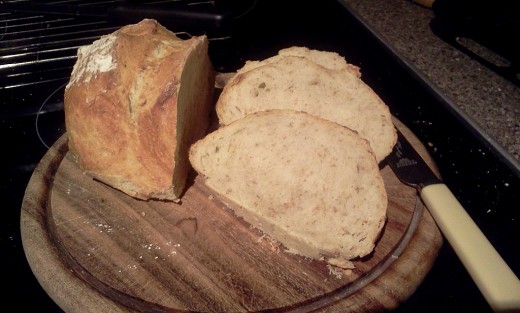
The basic steps are weigh, mix, rest (the dough, not you), refrigerate, rest, bake, wait. You are only handling the dough for a few minutes and can be getting on with your domestic goddessing life while the yeast does its work. The instructions may appear long but after you have completed the process once or twice, you will see just how quick and easy it is to bake delicious, fragrant, crusty and additive-free bread.
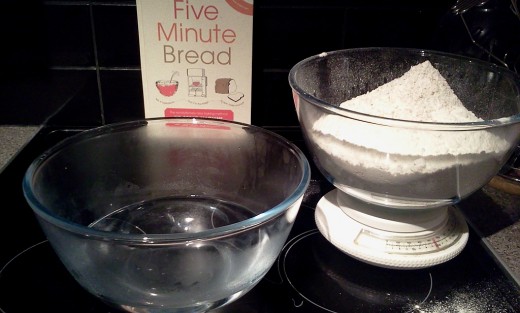
Ingredients to make 2 large loaves or 4 smaller ones
2lb/900g strong white bread flour or a mix (to your taste) of white and wholemeal.
1.5 tablespoons of granulated yeast.
1.5 tablespoons of coarse ground sea-salt. Adjust amount to taste.
1.25 pints/750ml warm water About blood temperature or slightly above. Cold water will work fine but you will need to increase the resting time.
Method Stage One - Dough
1. Pour water into a large mixing bowl, add salt and yeast. Stir. It doesn't matter if the salt doesn't dissolve completely.
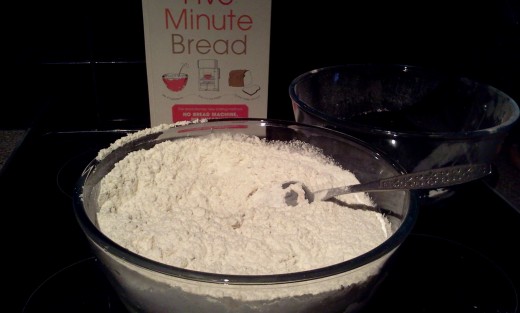
2. Add all the flour - don't bother sieving it. Stir with a wooden spoon or your hands until well mixed. Dough should be floppy and wet. Should only take a few minutes.
3. Cover lightly - the yeast needs oxygen to activate, so don't use an airtight lid. A large plate would work fine. I use a domed stainless steel dish, that leaves plenty of space to accommodate the rising dough.
4. Rest for 2-5 hours at room temperature. I simply leave it sit on my counter top. The dough should double in size and then sink back slightly.
5. Place the whole shebang into the fridge, overnight is best but, if desperate for a bread-fix, you can use it any time after Step 3.
Method Stage Two - Baking
1. Lightly butter or oil a cookie sheet or roasting tin and sprinkle with flour to prevent stickage.
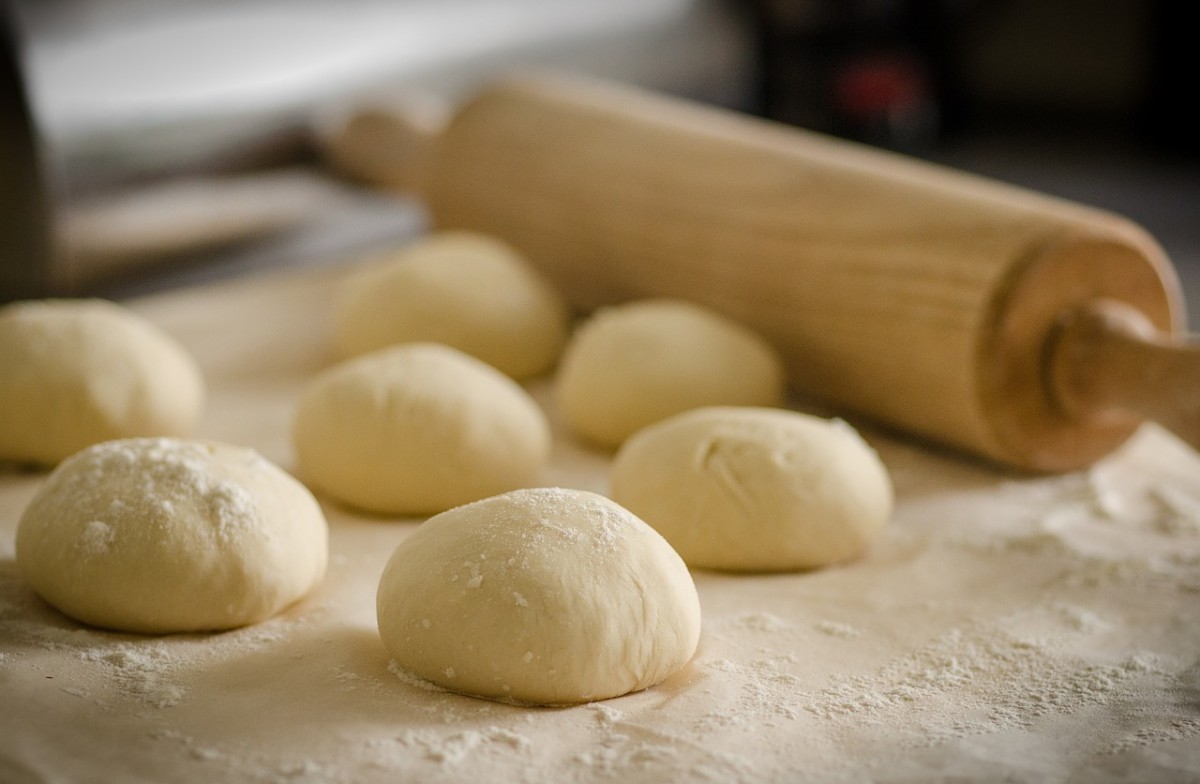
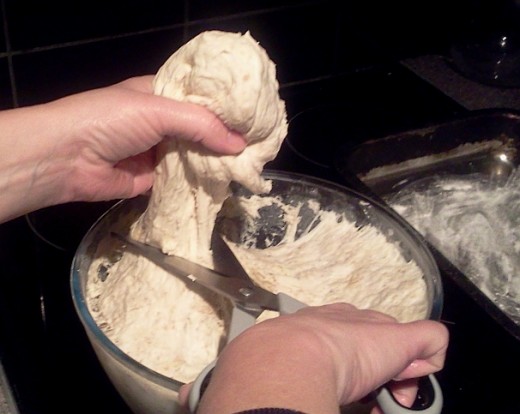
2. Rub a little flour on your your hands and pull off a goodly lump of dough. A grapefruit-size piece makes a smallish loaf that will adequately feed a family of four. Experiment with different sizes. Use kitchen scissors, if you like.
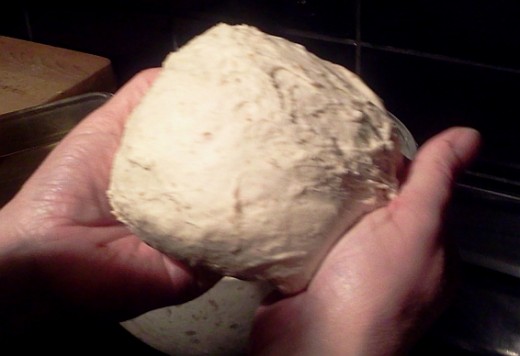
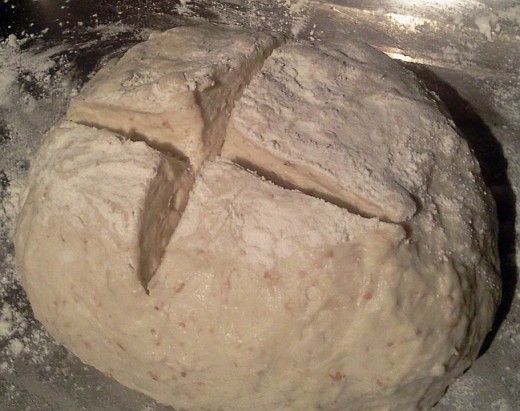
3 Now comes the clever part. Pull a piece of dough from the top of the lump over to the bottom. Rotate the dough 90 degrees and repeat. This is known as the 'gluten cloak'. See photo. Shape dough into a ball or stretch it to make a longer loaf. Place on cookie sheet.
4. Leave it alone to rest at room temperature for 30-40 minutes. You can cover it if you want to - I would if it were summer and there were interested flying things around. Make sure the covering is not airtight.
5. About halfway through the resting time, switch on your oven to 400-425F, 210-220C, Gas Mark 6-7. Grab an oven tray, shallow dish or grill pan and half fill with water. Place it on a low shelf. The rising steam will help give your bread a crispy crust.
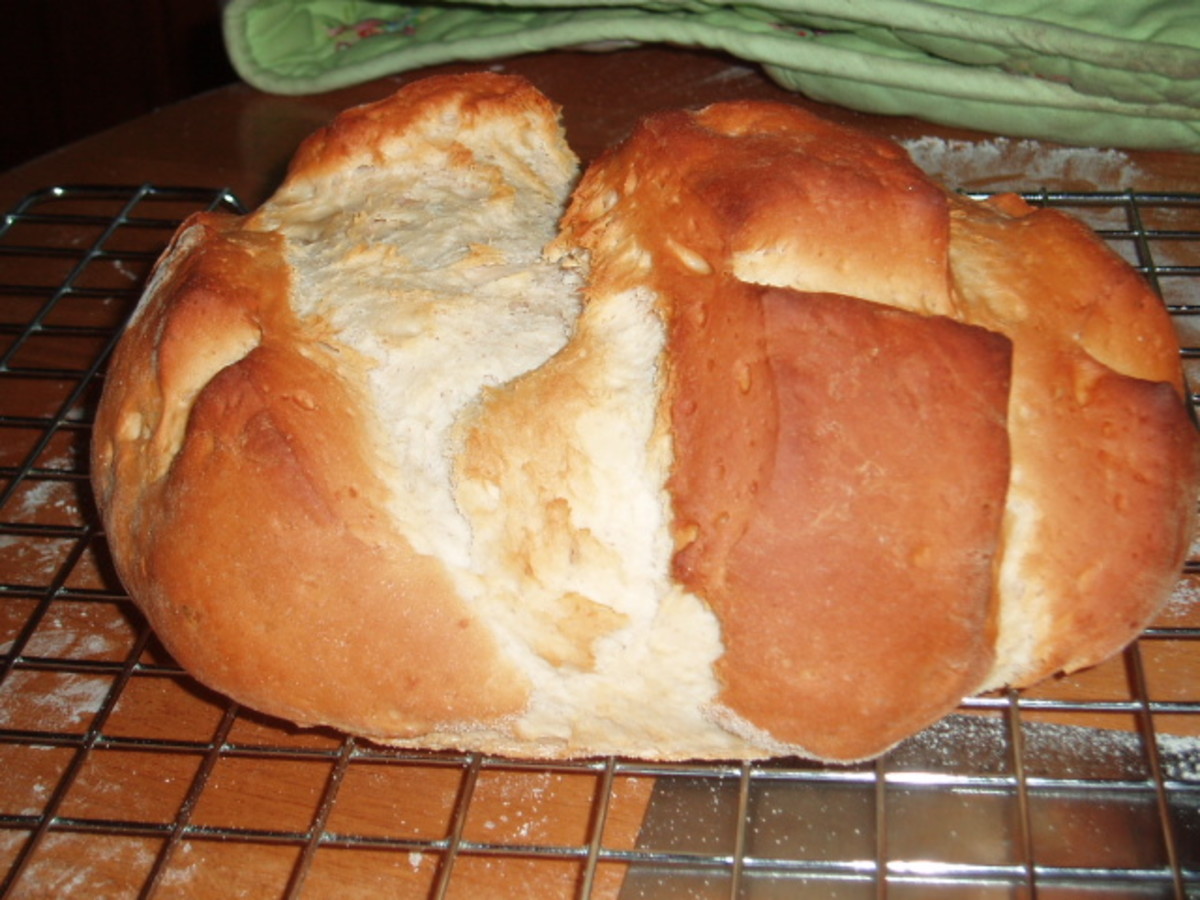
6. Sprinkle a little flour on to a knife and draw through the top of the loaf - score or cross it.
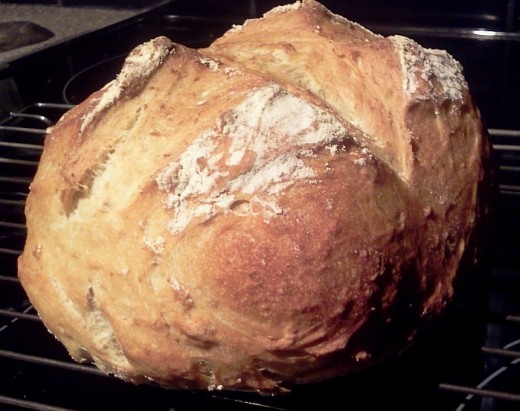
7. When the resting time is up, place your loaf on a middle shelf in the oven. Bake for 30 minutes, or 25 minutes if your loaf is baguette-shaped.
8. Remove from oven, place on cooling rack. It is often said that bread should not be cut while still hot. Give it a few minutes and then rip into it.... I dare you to resist any longer!
8. Slather with real butter and enjoy!
Tips
Dough will keep for up to 14 days in a refrigerator.
The longer it is left, the better the flavor will be.
Start with a plain white batch of dough. Add wholemeal once you are familiar with the method.
Choose organic flour to get the best tasting bread.
