Easy to Make Homebrew and Wine Options
Are You Looking For That Great New Hobby?
Do you have a passion for creating? Do you enjoy taking something like an old, trusted recipe and tweaking it to make something new? Home brewing and wine making could be the perfect new hobby for you.
Not Like the Old Days
Back in a not so distant past, creating the homemade adult beverage was hard. Ingredient kits were often substandard, with expired offerings in not so quality kits. That is not the case these days. There are now options for the budget minded, individuals short on space and everything in between.
Boil Away
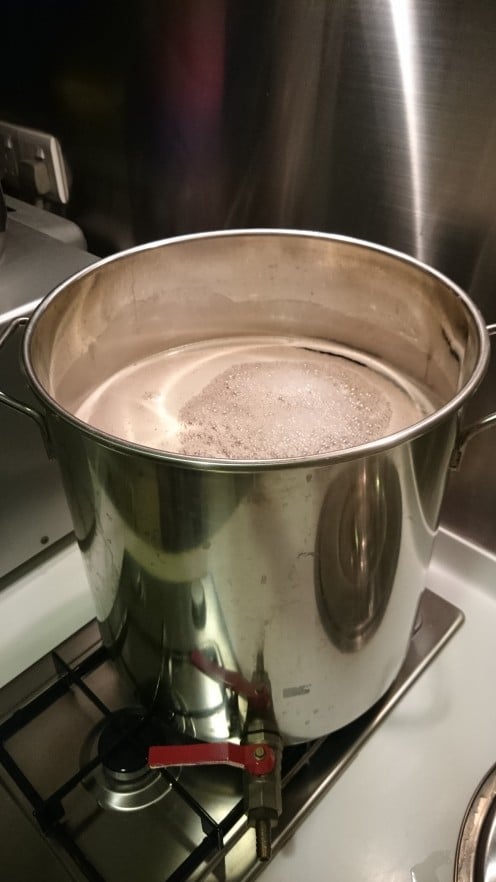
Brewing with extract kits is one of the most popular options. You first need to buy and compile some basic equipment. A large stainless steel pot, thermometer, and fermenting bucket are some of the basic tools. You can also buy complete brewing setups as well, with everything needed too, from the brewing pot to the bottle.
The Extract Kit
The extract kit comes in a box and will yield all the ingredients needed to get going. These kits will produce right around five gallons of tasty brew. Upon opening, you will find the following:
- Malt syrup extract
- Steeping grains and grain bag
- Yeast selection
- Hops
The Proof is in The Water
The water option is entirely up to the brewer. If you have city or municipal water that is treated with chlorine or other chemicals this will most definitely taint the outcome, making an undesirable product. Store bought water would be a good option for you if this is this case as it will produce a good finished tasty brew.
Also, well water can be an even better option, as calcium and other minerals naturally contained in ground water will actually improve the taste and character of your beverage. Water that is softened by home water treatment should be avoided as well, as this can produce water high in sodium.
Extract Brewing Processes..Brew Day is Here
The first step to making extract brew is steeping grains. Bring three to five gallons of your chosen water in your brew pot to anywhere from 140-160 degrees, depending on what the recipe calls for. Your kit should come with a grain bag, just be sure that one is included. What you are now doing is called making ''wort''. Think of this as the base of your extract brew with different types of grain adding unique profiles to the overall taste.
These grains are usually steeped in the water for half an hour or so, again according to the recipe. After this step, your are going to crank up the heat and bring it up to boiling point. At this point, you will add your malt extract, which will either come in a powder or syrup form. Some kits call for the malt to be adding right after the grains are steeped and be stirred in before the boil. Boil time is usually 50-60 minutes. During this time, you also add your hop additions, most times at the start and end of the boil.
Cooling the Wort
As soon as the boil is done, you will want to get the wort down to a temperature of 60-75 degrees. A great way to do this is with a wort chiller. The chiller simply fits right into the boiling pot and cools the wort down via the cold water running through the spiral tubes.
Other methods to get the boil down to temperature are to leave the pot in a sink or tub full of ice overnight or however long it takes to get it there. The downfall of this are long wait time and possibly exposing the wort to infection. Proper sanitation is also a very important step in your brewing procedure.
Adding Yeast And Turning Wort Into Beer
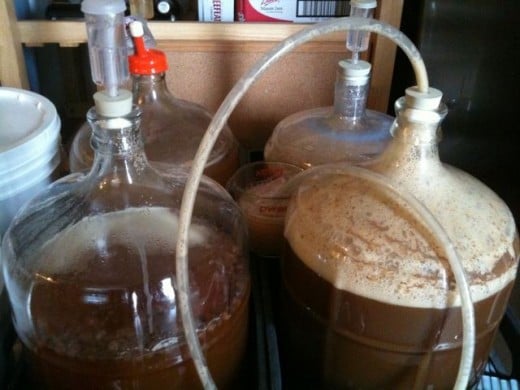
Most likely than not your extract kit will include a dry yeast packet, just be sure you have a yeast option ready to go on brew day because well...no yeast no beer. Yeast is the live active organisms that actually feed off the sugars in the wort, making beer. Dry yeast is pitched directly into the wort and stirred manually to activate oxygen for the yeast to activate.
Hydrometer readings can be taken before the yeast is added and recorded to take take an alcohol by volume reading. Be sure to use a blow off device on top of the fermenting bucket, as gasses produced will build pressure and blow the lid off the bucket causing a huge mess.
Fermentation
Fermentation is the yeast making your beer. After the fermenting process is done, the yeast die and settle to the bottom of the vessel. After this time, you beer may take a little time to age and gain character, anywhere from a few weeks to many months depending on the style of brew. The two most popular options for consuming would be a keg system or to simply bottle.
All Grain Brewing
All grain brewing offers home brewers the most control. Brewers take grain and make what is called a ''mash" that takes sugars from grain instead of using malt powder or sugar extracts. This takes more equipment, space, material and time but gives the brewer more control of the finished product.
No More Stomping Grape's To Make Wine
Wine kits now come very easy to make. Juice concentrate can be put into a fermenting bucket and pitched with the proper yeast to make a tasty full glass of red. The options are vast and just about any of style of wine can be created. Be advised it can take 6-12 months to ferment wine.
Mead Was Once Considered The Nectar Of The Gods By Ancients
Mead is fermented honey. Nothing more, nothing less. The proper ratio of honey is used and the end product is pitched with champagne yeast and left to ferment. Mead takes around a years time to age and ferment properly.

An Apple a Day
If you have some apples or know someone who does, look possibly into pressing some nice fresh apple cider. Many home brewing retail places have complete kits with everything needed, from harvesting to the glass.
Creating Your Own Adult Beverage
Which Beverage Do You, Or Are Most Likely To Make?
© 2015 The Write Life

