Homemade Breakfast Pockets
Breakfast
If you have read any of my other hubs then you might already know that I really like breakfast. Its my favorite meal of the day. Simply put if I was told I could only eat breakfast food for the rest of my life I would be totally fine with that.
Now, as much as I love food, eating, and breakfast sometimes it just isn't enough to get me out of bed in the mornings early enough to enjoy a bowl of oatmeal. It's a sad truth. I work two jobs, run three blogs, and do other work on-line. In addition I also have a sweet little puppy, a good relationship with my family and friends, and a boyfriend. That doesn't always leave a whole lot of time for relaxation or sleep. Nights where I get a full eight hours of sleep are few and bar between. I have noticed that I do have more free-time in the afternoon or mornings when I only work at one job.
There are some mornings where the only breakfast I get is coffee in a travel mug and a banana. I know that for some people that is probably enough. But, I have a healthy appetite. I need more than that. I have noticed that not only am I hungry before lunch if I don't eat enough at breakfast time, but I also get irritable. What really sucks, is at my new job I don't always get lunch breaks. Well, I very rarely get time off for lunch and I don't always have time to eat a snack. The number of days it has taken an hour just to eat an apple is really sad. But, that's just the way it is.
So, long story slightly shortened, I am always looking for ways to bring breakfast with me in the mornings. I prefer to eat healthy if I can. I sometimes make muffins for the week or will toast a bagel and eat in the car. But, sometimes you just need more. So, when I came across this recipe one-way on pintrest I was ecstatic.

The Breakfast Pockets
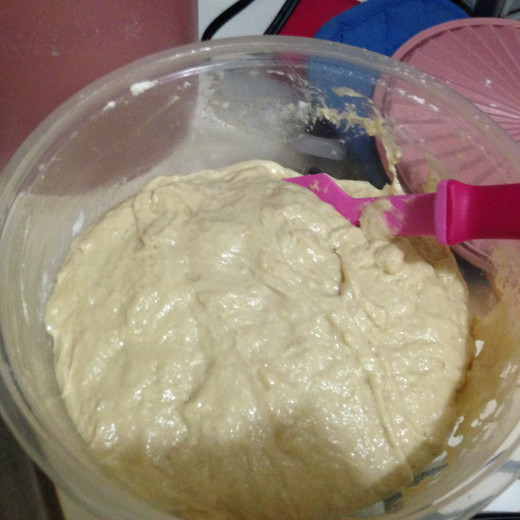
The first time I made them I didn't know how in over my head I was going to be. I have been making bread for may years so I wasn't intimidated by making the dough. I have been a fan of breakfast foods my entire life so the idea of making the casserole to put in the dough was not daunting. I was just not prepared for the absolute stickiness of the dough.
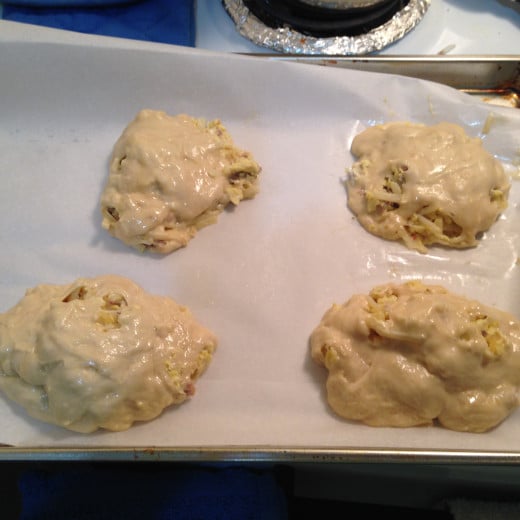
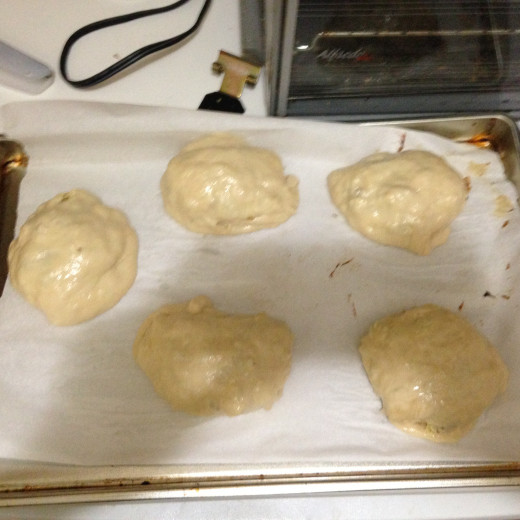
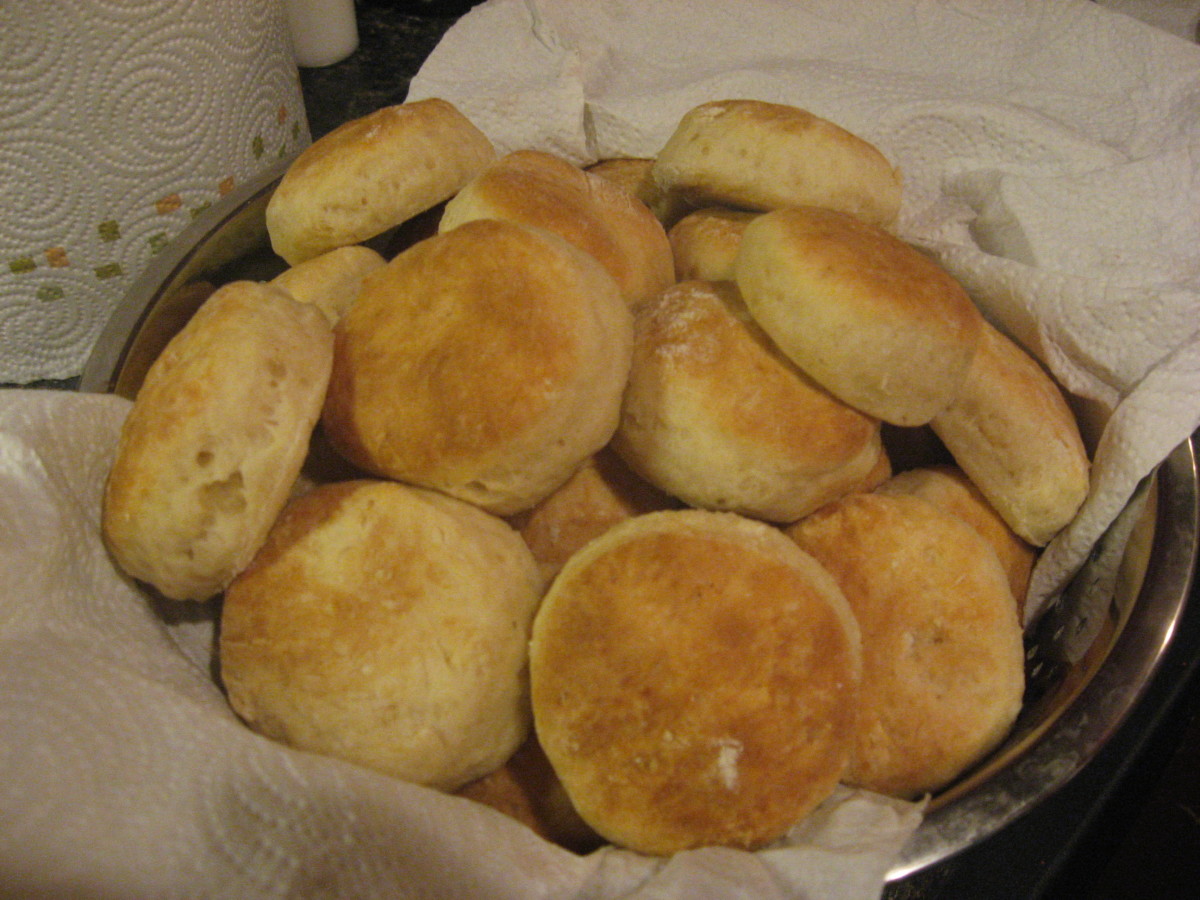
I could hardly work with it. I had followed the directions to a t. I was even baking on a rainy day, which helps the dough to rise. It was horrible. The pockets looked like a breakfast casserole with dough mixed in. They turned out amazing though. My roommates loved them. And my breakfast pockets that I had meant to last for a couple of weeks were gone in three days.
I also was not able to get as many out of the recipe as it said I would. The directions aid that I would get 14-16 pockets. But, when I divided the dough evenly I was unable to make the pockets because the dough was too thin. I was only able to get nine. And some of them had bread that was a little thick when they were done. I also wasn't too happy that I had so much leftover filling when I ran out of dough.
The stickiness of the dough was not enough to outweigh how good they were. I didn't make them again for nearly two years. The dough was every bit as sticky as I remembered it. But, the idea of having breakfast to go was very inviting. Also, they were very good and very filling.
This time I doubled the recipe. I was able to get 18 breakfast pockets. And I didn't even have any leftover filling. I was even able to work out how to deal with the sticky dough!
I've played around with adding different ingredients. Each time I have made these I have loved them, and they have been a big hit with my boyfriend as well.
Making the Dough
Click thumbnail to view full-size


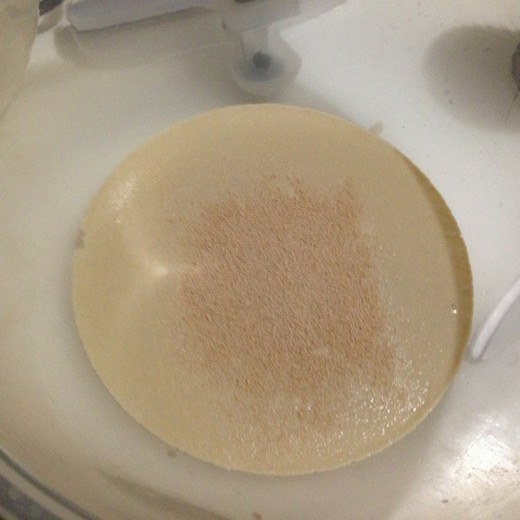
Proofing the Yeast
If you are not using instant yeast you will want to consider proofing the yeast. If you are not someone that makes bread often then you most likely will not be very familiar with this step. You will need warm water (typically between 105 and 110 degrees) and a little bit of sugar.
If you don't have a thermometer, like me, don't fret. Simple microwave the water for about a minute and a half, more of less time might be needed depending on how much water you are using. After you microwave if let it sit for a few minutes. Once the water reaches a temperature where you can stick your finger in it and tell that it is still warm what is what you need.
Simply add the yeast to the water, mix in a spoon full of sugar, and let it sit for about ten minutes. The yeast will do its thing and your bread will thank you.
The original recipe didn't really mention proofing, but thankfully I already knew how to do it. But, just incase these directions were not clear or easy to understand I did find a great video on youtube that I included at the bottom of this hub.
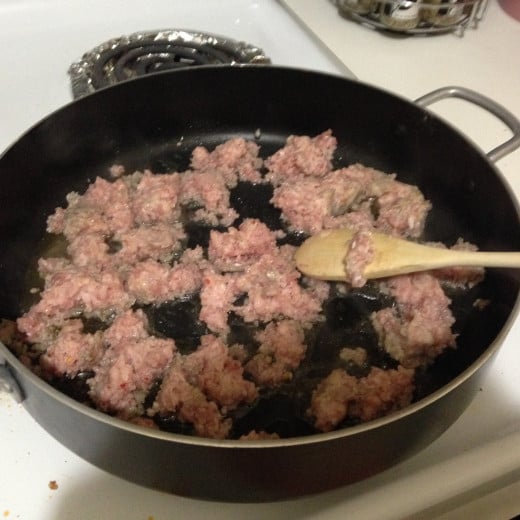
Making the Casserole Filling
Click thumbnail to view full-size


Time and Amount
Add Ins
The type of cheese and how much is up to you. I personally prefer cheddar cheese and to use the least amount possible. As for any spices they are up to you. I am a fan of a little salt, a bit of fresh cracked black pepper, and a little crushed red pepper flakes.
You can use whatever kind of sausage you like. I like to use the leanest kind I can find. I also try to drain away most of the grease.
If you want to your could probably use bacon instead of sausage. Or you could cut out the meat entirely. There is plenty of protein in the filling after all. If you wanted to you could remove the cheese as well. I would be willing to try this with mushrooms, spinach, avocado, or even fresh peppers.
Ingredients
- 11/2 Tbsp Yeast
- 1/2 Cup Water, 110 degrees
- 3/4 Cup Evaporated Milk, 110 degrees
- 1/2 Cup Vegetable Oil
- 1/4 Cup Sugar
- 1 Egg
- 1 Tsp Salt
- 31/2 Cups Flour
- Filling
- 1Lb Sausage
- 2 Cups Frozen Hashbrowns
- 7 Eggs
- 3 Tbsp Milk
- 1 Cup Cheese
Instructions
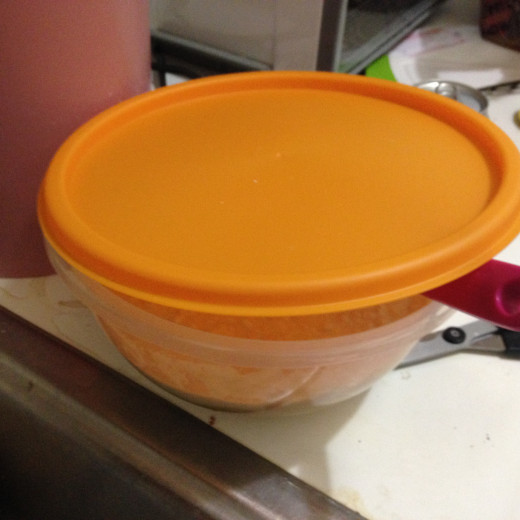
- The first thing you need to do is proof the yeast. Once the yeast has been proofed you can add the evaporated milk, sugar, egg, salt, vegetable oil, and 2 cups of flour. Mix it to a soft dough. Add more flour as needed until reaching 3 1/2 cups.
- Once the dough has been put together cover it and set it in a warm place to rest for one hour.
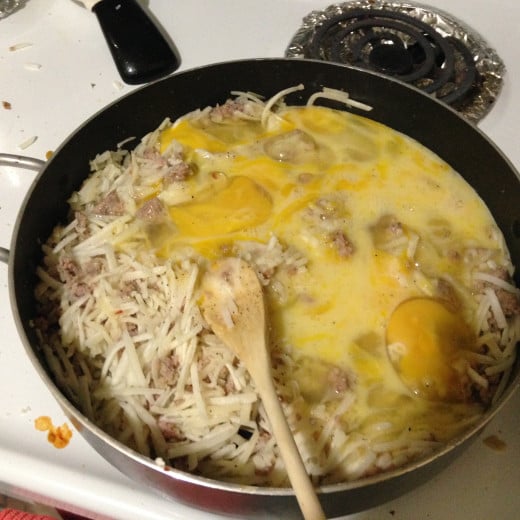
- Now it is time to make the filling. Start with the sausage. Once the sausage is cooked drain away the grease. Then added in the hash-browns, and eggs. Cook until the eggs are set. Sprinkle the cheese on top. Keep this mixture warm until you are ready to make the pockets.
- Pre-heat the oven to 350 degrees. Punch down the dough and divide into equal amounts. From 9-16 pieces. Roll out each piece into a circle.
- Place a few spoon-fulls of the mixture in each of the circles. Then fold the dough around the filling to make a pocket. Place the pockets on a cookie sheet and put in the oven.
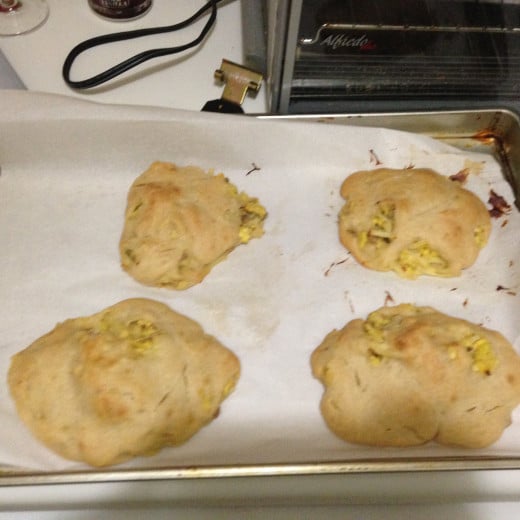
- Allow the pockets to bake for 15-17 minutes. Then remove from the oven and allow to cool on the sheet. Once cooled store however desired in either the fridge or freezer.
The Pockets
Click thumbnail to view full-size


Overcoming the Stickiness
How did I overcome the stickiness? Simple pam cooking spray. The original recipe I found said to use flour on the surface that you were rolling out the dough and a little flour on your hands. But, this didn't work at all for me. In a spur of the moment decision I tried putting pam cooking spray on my hands.
I didn't use regular pam, but the pam that was made for baking. Supposedly it had flour in it. It worked beautifully. After every four or five pockets I just sprayed a little more on the cutting board and on my hands and I didn't have much of a problem at all.
Re-heating and Storage
To reheat the breakfast pockets in the morning simply wrap in a paper towel and pop in the microwave. A minute is perfect for pockets from the fridge. While a minute and a half would be better for pockets from the freezer.
I don't really know how long they will last in the freezer as I have never had any make it to the freezer. The most I have ever kept the pockets in the fridge for was just under two weeks and the last was just as fresh as the first.
Proofing Yeast
The Original Recipe
If you would like to see the original recipe you can find it pinned on my pintrest.
There are also plenty of other breakfast recipes you can also find them on my pintest board.
© 2015 Alexandria

