How to Separate Eggs
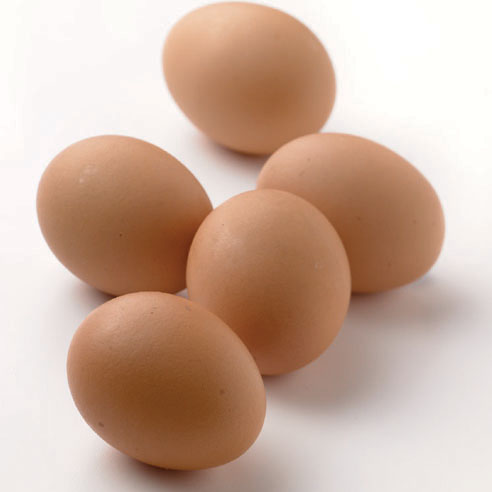
Great Prep Work!
If you do much baking (or even just cooking!) eventually you'll come across recipes that call for separating eggs. In some cases the recipe instructs you to save just the whites (as in meringues) or just the yolks (sauces and custards), and some will call for both. If you use both, then each part of the egg will be treated differently. You may whip the whites for volume, and fold them into a batter in which the yolks have been added for richness.
Either way, a separated egg is a wonderful tool. The whites and yolks act completely differently in recipes, and knowing how to use each puts some pretty powerful culinary magic at your fingertips. However, you can't use each half independently until you know how the separate them. And it can be a bit tricky at first.
Be prepared to mess it up the first few times you do it. It's like riding a bike though - once you get the hang of it, you're good to go forever. You may wobble a bit from time to time, but for the most part you'll be off and running!
There are lots of little tools you can use for separating eggs - and they're called (surprisingly enough) egg separators. Ha! You may end up feeling most comfortable using one of these. I personally find the best tools for this quick little job is my own hands (although it feels gross!) or the shell of the egg itself.
Tips!
Cold eggs have yolks that don't break as easily as those at room temperature. Many recipes call for eggs that have been separated and are room temperature, or whites that are chilled and yolks that are room temperature - or any combination of the above. To work most easily, separate eggs when cold, then allow the yolks to come to temperature by themselves. It won't take but a few minutes.
The older the egg, the dryer it is. Egg shells are permeable. As the egg ages, it loses moisture through the shell, and the membrane that holds the yolk together does too. Fresher eggs have yolks that hold together more completely. You still have to be careful - but not quite as careful. Fresher whites also hold more volume when whipped.
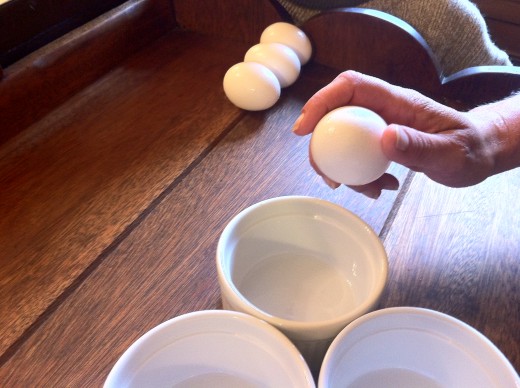
As you work, use three bowls. Crack your eggs over one bowl, then move the yolks and whites to individual bowls as you work. This will avoid contaminating the finished components. It also allows you to check the eggs as you work - a bloody yolk is a rather nasty surprise and you don't want to get bits of yolk in your egg whites, or they won't whip. You'll also avoid getting bits of shell in the eggs, or if you do, you only have to fish it out of one egg -- not ten or twelve.
The Method!
Hold the egg so that the 'equator' is perpendicular to the counter. This is just the fat part - this is the spot where you want to crack it. Cracking the egg at the fat part helps make sure that both halves will be roughly the same size - making the actual separation easier.
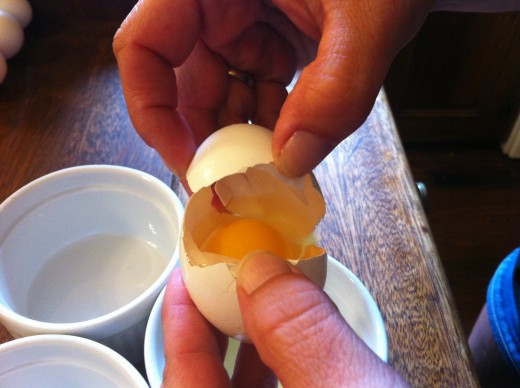
With a firm, swift motion, tap the egg sharply against a counter. Using a flat surface makes it less likely that you'll end up with egg shell in the whites, and makes it less likely to break the yolk. You can use the edge of a bowl if you wish, and you'll get more even halves this way, but a greater chance of having to fish eggshell out of the whites.
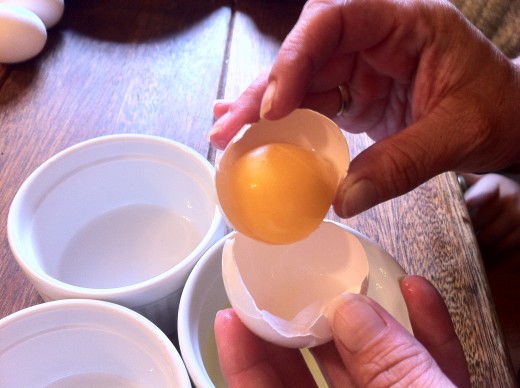
Working over a bowl, gently pull apart the two halves of the shell. Allow the white to drop into the bowl, and catch the yolk in one half. With gentle motions, transfer the yolk back and forth between the two halves until the white has completely dropped away and only the yolk is left. Transfer the yolk to one bowl, the white to another and continue working over the original bowl.
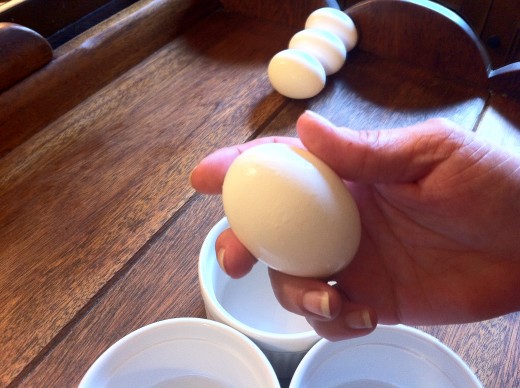
Alternatly, once the egg is cracked, drop the egg into one hand, holding your fingers tightly together. Holding the egg over a bowl, hold your fingers slightly apart, allowing the white to drain away between your figners, and retainig the yolk. This is honestly the fastest way to separate eggs - and is incredibly efficient. I personally get pretty freaked out over the feel of the whites slipping through my fingers. Sort of a 'nails on the blackboard' kind of thing - except slimy. I use the shells. :-)
One of Our Favorite Uses...
© 2011 Jan Charles
