How to Bake Soft and Chewy Chocolate Chip Cookies
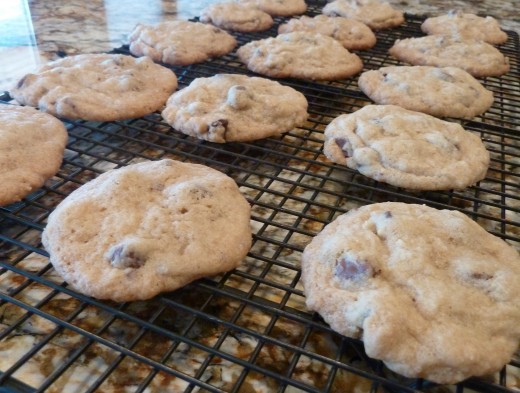
There are some bad cookies going around. You know the ones. They are so hard and dry that you feel like you've bitten into sandstone. Some people like crunchy cookies but cookies, in my opinion, should be deliciously tender and chewy. I've baked a lot of cookies and read advice from several bakers and have come up with a few tips on how to achieve the perfect, soft and chewy cookie.
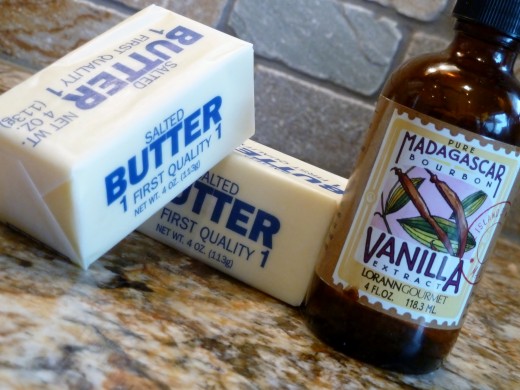
Real Ingredients. Real tasty.
First of all, you need to use real butter, real sugar, real vanilla extract, and real chocolate. Artificial or imitation ingredients just don’t taste the same. Look, you’re not making a health food here. You are making cookies. I think it’s better to make your cookies as tasty as possible and then eat less of them if you’re worried about the calories. Home baked cookies made with authentic ingredients are an indulgence that is easy to make and well worth the effort.
Follow the recipe precisely and don't over mix.
After you have collected the ingredients and mixing bowls, you need to remember this: be patient. Follow the recipe. Baking isn’t like cooking on the stovetop. You can’t just wing it. So, if the recipe says to soften the butter, of course, you should follow the recipe. Cold butter does not mix well. It just turns into little butter clots and your cookies will collapse where the butter melted in baking. A quick way I use to soften butter is to place it on my counter under the cabinet lights. Don’t microwave it. Believe me. It will either explode or melt. Just leave the butter in a somewhat warm place until it softens.
Be sure you measure the ingredients precisely. When measuring a cup of flour, you want to loosely scoop the flour into the cup and then swipe off the top. Many bakers make the mistake of firmly packing the flour into the cup which will give you more than you need. Only firmly pack an ingredient in the measuring cup if it is in the recipe instructions.
Some bakers are impatient and will want to dump all of the ingredients at once into the mixing bowl. That’s a very bad idea. Put the dry ingredients in a separate bowl. Whisk them together so everything is evenly distributed. The wet ingredients can go in the main bowl, which will be the larger of the two. Usually, I mix the butter and sugars together until they are thoroughly blended and then add the eggs and pure vanilla extract. After mixing again until the eggs and vanilla are just combined with the sugar and butter you can then add the dry ingredients. It is very important that you only mix the dry and wet ingredients together until they are combined. The longer you mix it, the tougher the texture will be. I am a golfer. A teaching pro once told me that my golf club should be held as if it were an egg. If you squeeze and egg too hard, it will break. I like to think of my cookie dough in the same way. Mix it too hard and it is ruined.
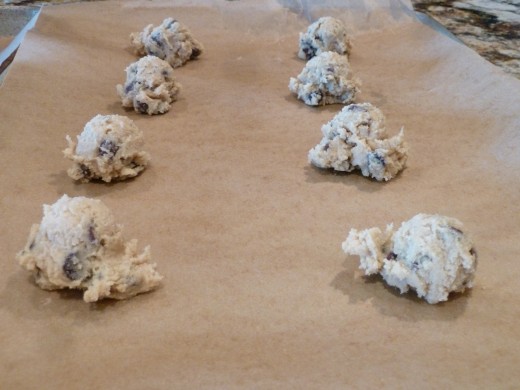

Don't over bake.
After your dough is made it’s time to bake. I prefer to bake at a low heat so generally I go for recipes that instruct you to preheat your oven to around 300 degrees. Oh. Did I say preheat? Yes. Before baking, you must preheat your oven or they will not cook properly. If you don’t like cleaning up, I suggest lining your cookie sheets with parchment paper. Throwing away paper is a lot easier than hand washing and parchment paper is completely non-stick. The cooking times will vary from recipe to recipe. Here is my big secret: bake your cookies just until they are set. By “set”, I mean that when you touch it lightly, it doesn’t sink. It will kind of spring back. If you bake it any longer you will get hard, crispy cookies.( I learned that little tip from the Mrs. Fields Cookie Book .) Usually, I bake using the least amount of time suggested by the recipe and never longer than 18 minutes. The reason is, the baking process does not stop the moment you remove the cookies from the oven. They continue baking until they are cool. So, if you bake them until they are dark, golden brown and hard, they will be over baked. Once they are done, transfer them to a hard, cool, flat surface or a cooling rack with a spatula.
If you're looking for a good cookie recipe book, I highly recommend Mrs. Fields Cookie Book: 100 recipes from the Kitchen of Mrs. Fields by Debbie Fields and the Editors of Time-Life Books. I have made nearly every cookie in that book and have been pleased with each and every one.
So, there you have it. Use authentic ingredients, follow the recipe exactly, and do not over bake. If you follow these tips, you should achieve your goal of baking perfect, tender and chewy cookies. To get you started, here is a recipe taken from Mrs. Fields Cookie Book . I have used it many times and use it as a base for many of my cookie baking experiments.
Blue-Ribbon Chocolate Chip Cookies
Taken from Mrs. Fields Cookie Book, Copyright 1992
Ingredients
- 2 1/2 cups all-purpose flour
- 1 tsp baking soda
- 1/4 tsp salt
- 1 cup dark brown sugar, firmly packed
- 1/2 cup white sugar
- 1 cup salted butter, softened
- 2 eggs, large
- 2 tsp pure vanilla extract
- 2 cups semisweet chocolate chips
Instructions
- Preheat oven to 300 degrees F
- In medium bowl, combine flour, soda and salt. Mix well with a wire shisk. Set aside.
- In a large bowl with an electric mixer, blend sugars at medium speed. Add butter and mix to form a grainy paste, scraping down the sides of the bowl. Add eggs and vanilla extract and mix at medium speed just until blended. Do not over mix.
- Drop by rounded tablespoons onto an ungreased cookie sheet, 2 inches apart. Bake 18-22 minutes or until golden brown. Transfer cookies immediately to a cool surface with a spatula.
Rate this recipe
©Denise Mai, February 21, 2012
Follow me on Twitter! @denise_mai

