- HubPages»
- Food and Cooking»
- Dessert Recipes»
- Pies & Tarts
Perfect Pie Crust Recipe, or How to Make Pie Crust
I had tried to use at least a dozen pie crust recipes over the years, and none of them were quite right. Some were too flaky, others too dry, and some too cake-like. Some attempts, the dough was too crumbly to roll out. Tweaking ingredients or messing with the preparation method almost always ended in disaster.
So I finally got hold of the old recipe that my mother has used to make all of her perfect pies and pastries. And I was surprised to find that it had pretty sparse instructions. It appeared that most of my mother's pie crust recipe was in her head, based in experience. With experience and a few mistakes, I've fine tuned all of the steps and written them out. The below recipe is what resulted.
This is unlike most of the other pie crust recipes that I've come across, for it is a two-part recipe. The first part is for a pastry mix that you can store, ready for the next time you need to make pie. You can find the recipe for the Homade Pastry Mix here. The second part tells you how to use that pastry mix for a pie. This recipe is very detailed and thoroughly explained for beginners with little experience, but offers fine-tuned pie crust techniques for the experienced baker as well.
Perfect Pie Crust Recipe:
makes either a 10-inch one-crust pie or a 10-inch two-crust pie
Ingredients:
For a one-crust pie:
- 1 3/4 cups of this homemade pastry mix*
- up to 6 Tablespoons cold water
For a two-crust pie:
- 3 cups homemade pastry mix
- up to 8 Tablespoons cold water
* For homemade pastry mix, use the recipe here.
Preparation Instructions:
Making the Dough:
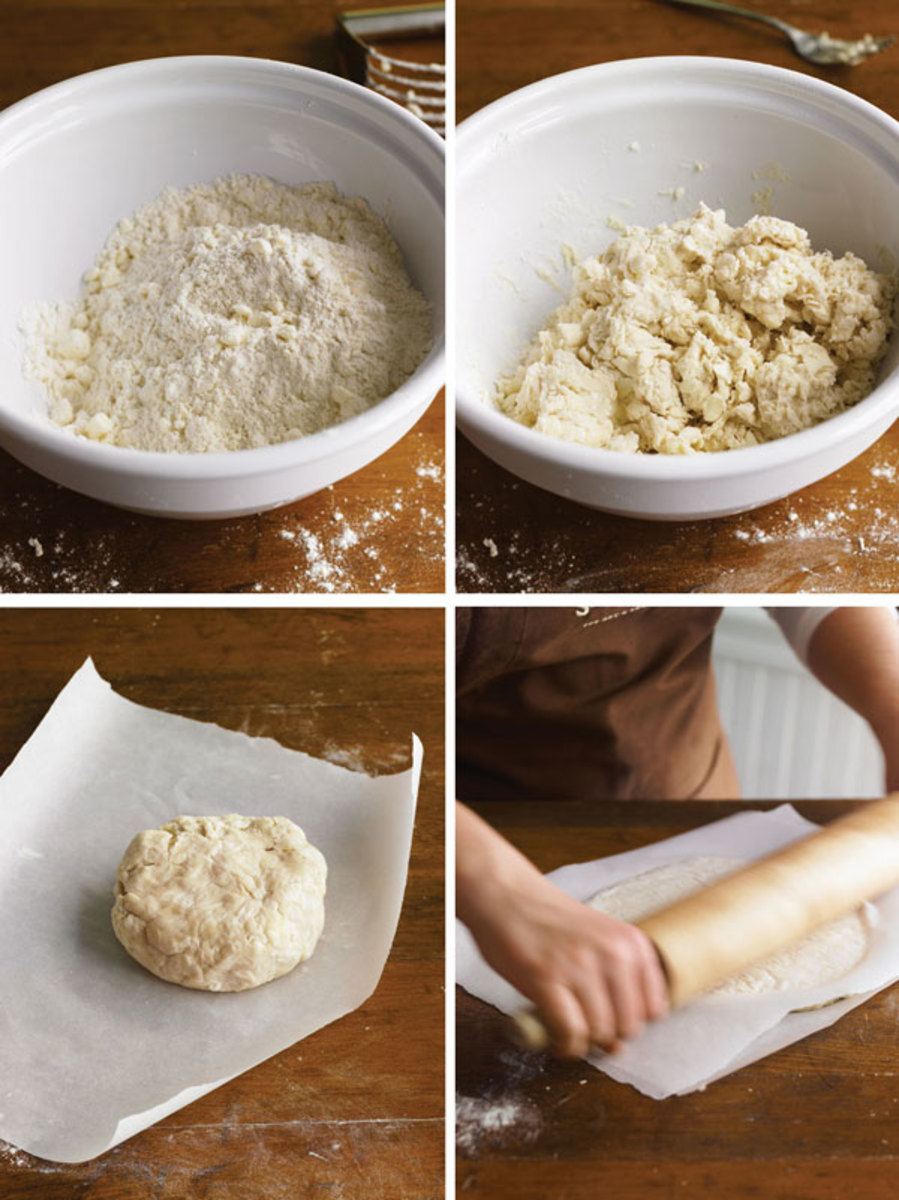
1. Measure the appropriate amount of homemade pastry mix into a medium-sized mixing bowl.
2. Using a pastry cutter, break up any chunks that have formed in the mix until it once again resembles coarse meal. Be careful not to work the mix any more than you need to!
3. Sprinkling only a very small amount of water at a time across the mix, use a fork to quickly and evenly mix the water in. Keep adding small amounts of water until the dough has just started to hold together into a ball. Take care not to use any more water than necessary (you do not need to use the full amount), and do not mix the dough with the fork any more than necessary.
4. Lightly push the dough together into a slightly-flattened ball shape, and place it into a piece of saran wrap. (For a two-crust pie, divide the dough in two for this step and use two pieces of saran wrap).
Let it Rest:
5. Chill in the refrigerator for 20 minutes.
Rolling the Crust:
6. Spread a generous amount of flour over a wooden breadboard or other appropriate rolling surface. Flour your rolling pin.
7. Remove the dough from the refrigerator, unwrap it, and place it on the floured surface. Sprinkle a little flour over it.
8. Gently begin rolling with the rolling pin from the center out to the edges for each stroke. Move the pin's orientation to the dough frequently so that all sides roll out at an even rate, forming a circle. Be very careful as you reach the edge with the pin each time, making sure that the dough does not stick to the pin as you lift it. If the dough starts to crack apart, gently press it back together. Add flour to your rolling pin if it starts sticking to the dough. When your dough has reached about one eighth of an inch in thickness, stop rolling.
Prepare the Pie Pan:
9. Prepare your pie pan. Grease it with shortening. I like to use an earthenware pan. If you have a very juicy filling that will probably spill over, a "gutter" on your pan will save you the mess in your oven.
Transfer the Crust to the Pie Pan:
10. Carefully transfer your dough to your pie pan. This can be very tricky. I have used two different methods pretty successfully.
One method is to roll the dough lightly around the rolling pin and then "roll" it out into the pie pan. (If your rolling pin is made of two parts so that the handles do not move while you are rolling, take care to hold the main shaft as you carry it so that your dough does not slip off!)
The other method is simply to carefully fold the dough over on itself (in half), then fold it over again (quarter), so that it can be more easily carried to the pan and then unfolded there.
Do not let much time pass between rolling and transferring, or the dough will dry out and may break or split.
11. Carefully arrange your dough so that it rests evenly around the pan. Trim the crust so that it hangs one inch around the edges of the pan. If there are gaps in the crust, don't worry, simply cut the excess from another area and press it in to fill the gap.
Finishing the Bottom Crust (Shell):
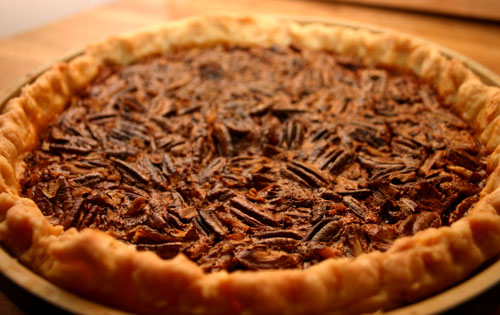
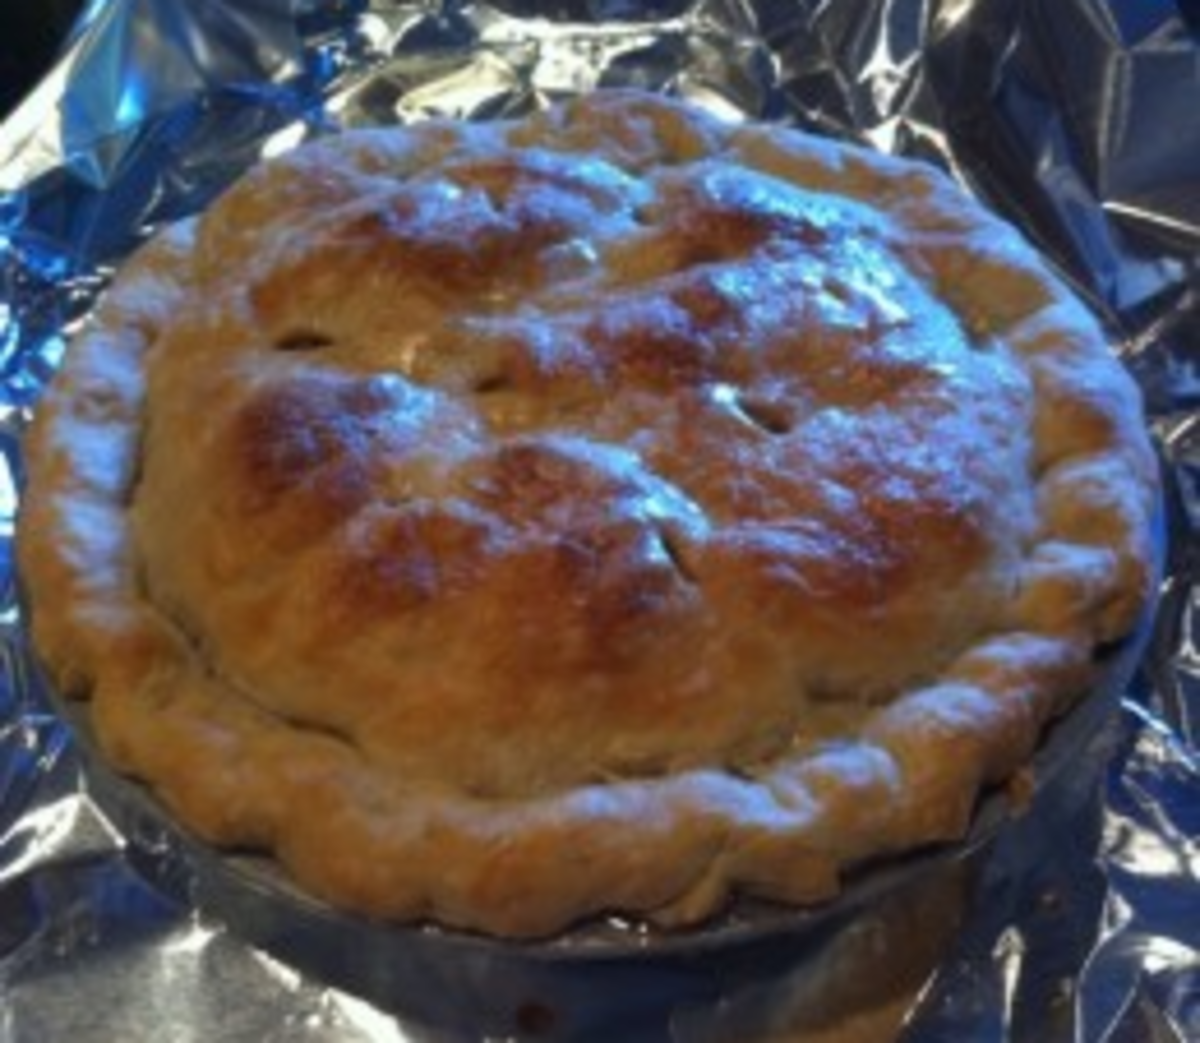
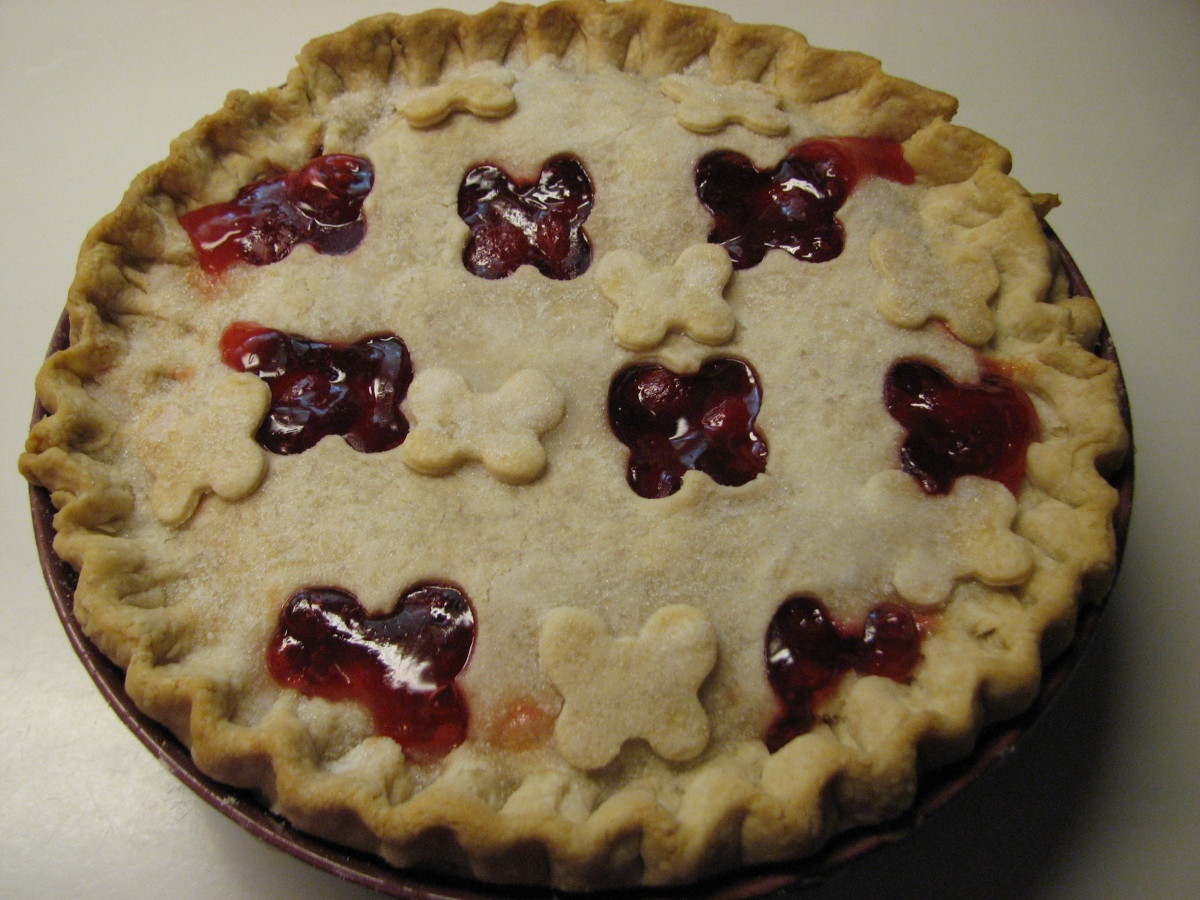
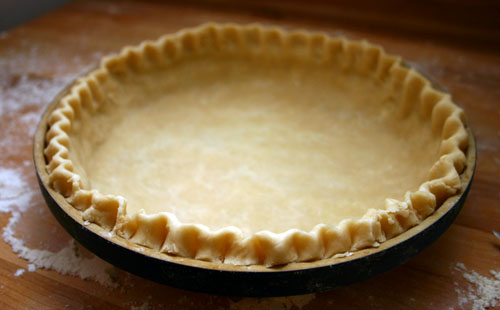
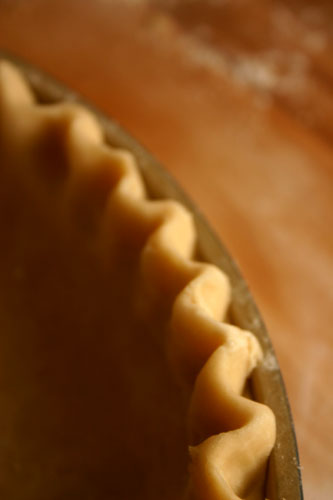
12. If making a one-crust pie, fold the excess edges in under and pinch around the sides to make a wavy pattern, as in the picture. If making a two crust pie, wait to pinch until the top crust is on (see image below).
13. Depending on what sort of pie you are cooking, you will either want to hold moisture in (juicy fruit pies) or let moisture escape (quiche).
To let moisture escape, poke holes across the bottom with a fork.
To hold moisture in, brush the pie shell with an egg wash. To make an egg wash, simply add a tablespoon of water to an egg and beat it until well mixed. If making a two-crust pie, save some egg wash for the top.
14. If your filling calls for a pre-baked crust/shell, stop here and proceed as indicated in the pie recipe.
Filling:
15. Put your filling in the pie shell. If you are not using a second crust, stop here and bake the pie as instructed in your recipe.
Preparing and Adding the Top Crust:
16. Again prepare your rolling surface, then take out the second ball of dough and roll it as indicated in steps six through eight. Transfer it to lay it over the pie as you did with the bottom crust in step ten. Again, do not let much time pass between rolling and transferring, or it will dry out and may break or split. Cut off excess, press the two layers of crust together around the edges, fold over, and pinch (as in step twelve for a one-crust pie).
17. Cut air holes in a pleasing pattern. I also like to make a little garnish with the dough, perhaps cutting out leaves or berries from the excess dough and attaching them to the pie. To give the top crust a slight gloss, brush it with an egg wash (see step thirteen).
18. Bake as indicated in your recipe. Enjoy!
How to Use the Excess Dough Cuttings
What my mother always did with the excess dough cuttings is brush them with melted butter and sprinkle them with cinnamon and sugar. Then she would put them on a baking sheet in the oven with the pie, and pull them out when they turned golden brown. A sweet, tasty little snack.
The excess dough could also be re-rolled for a mini-pastry, if you have enough.
Other Recipes That Use This Crust:
