Making Easy Bread With A Breadmaker

Why homemade bread?
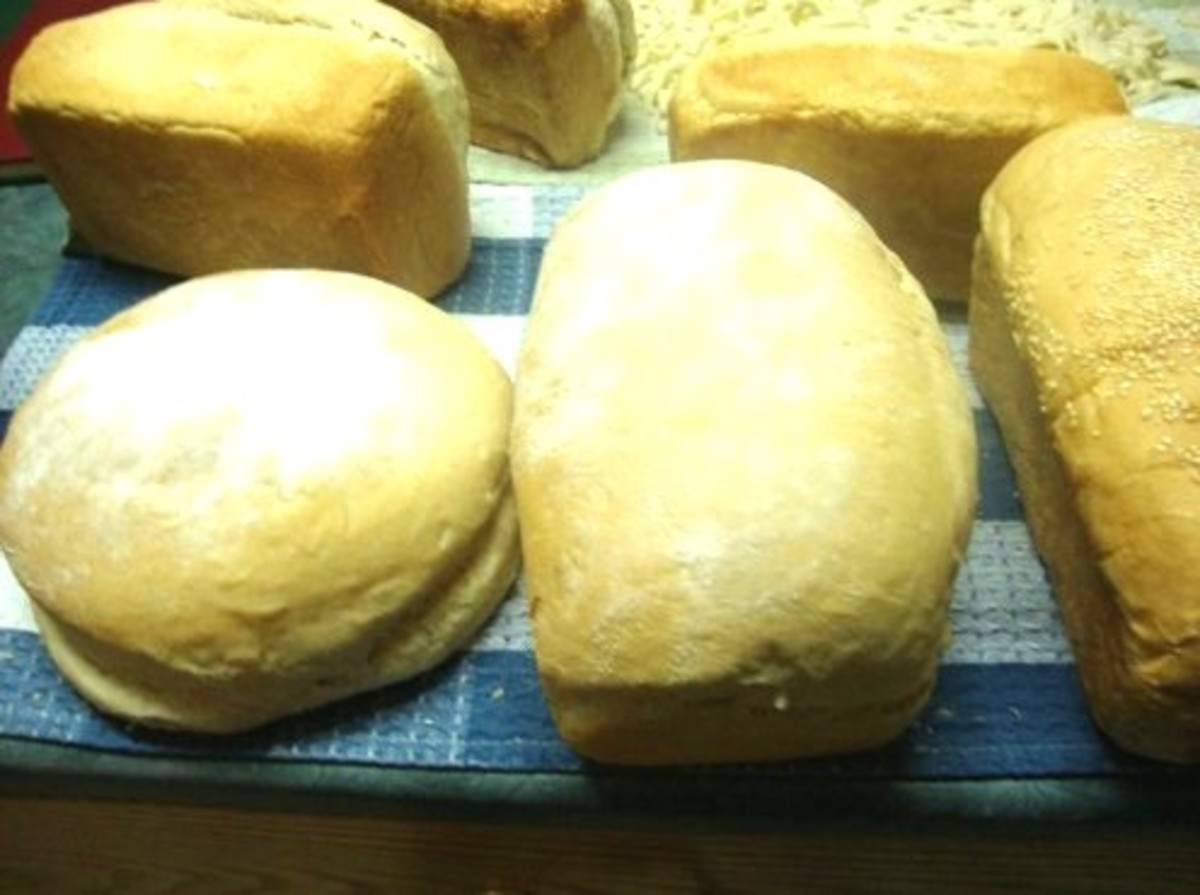
Are you tired of trying to find healthier bread at your grocery store? Are you tired of seeing these ingredients in bread that sound like they belong in a car cleaning kit? Let's talk a little bit about making your OWN bread! This way, you can control the ingredients to your liking and KNOW what you are eating! Not to mention, its yummier!
Now, I know that using a breadmaker is not the down and dirty version of kneading your own and letting it rise, but I have yet to master that art. I feel that using a breadmaker is the happy medium for me (for now) until I become Betty Crocker.
So, why homemade bread?
- Fewer ingredients (means no preservatives or confusing chemicals)
- Healthier (because there are no preservatives or confusing chemicals)
- Tastier (you cannot beat fresh bread! Nothing compares to it!)
Choosing a breadmaker.....
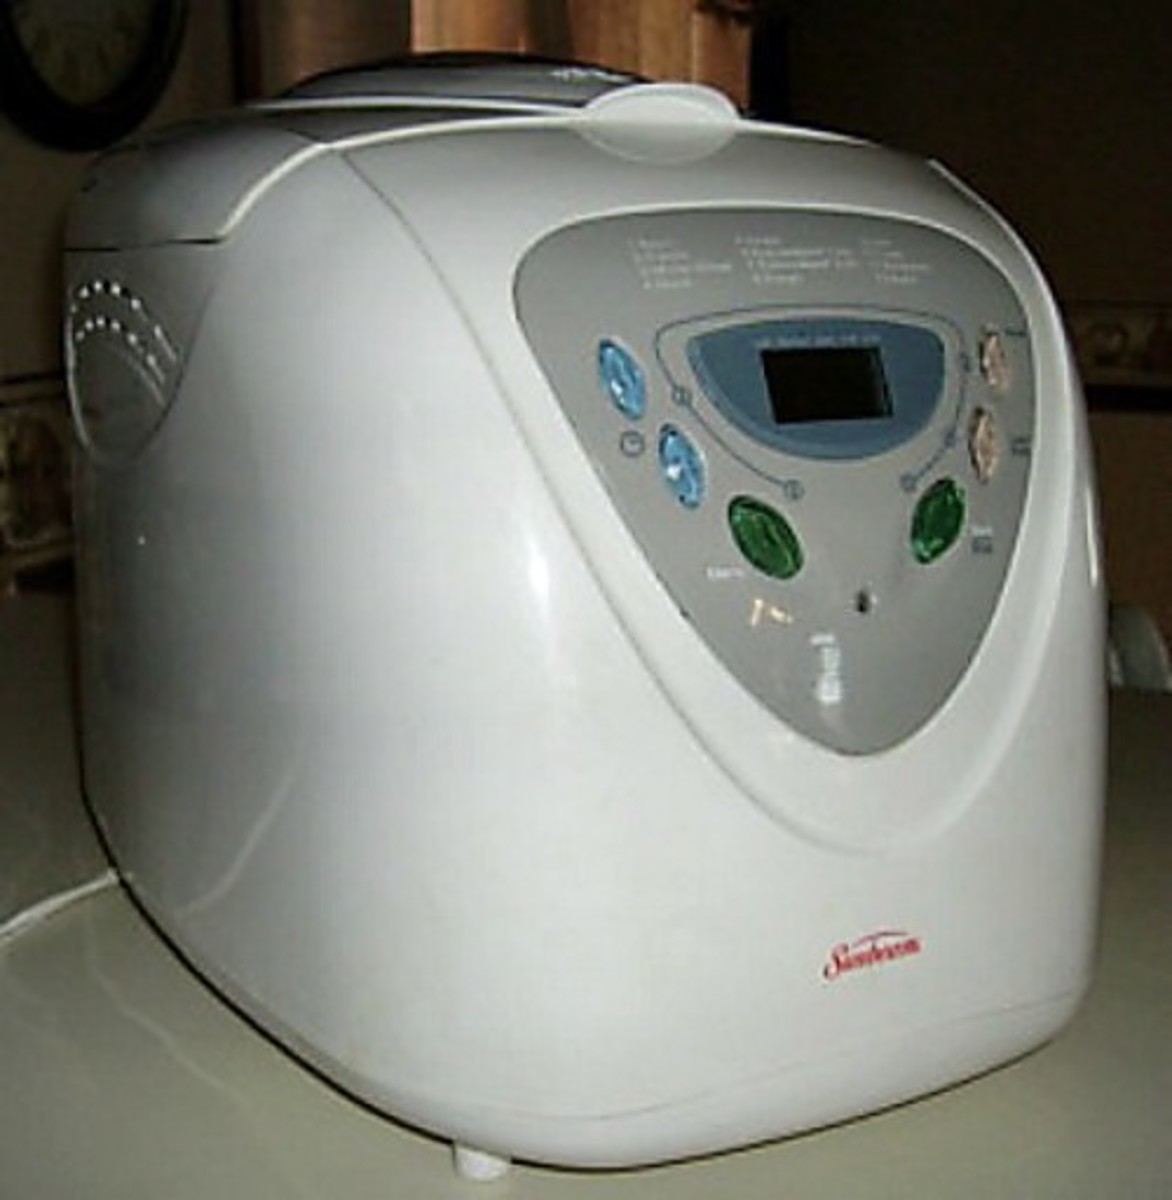
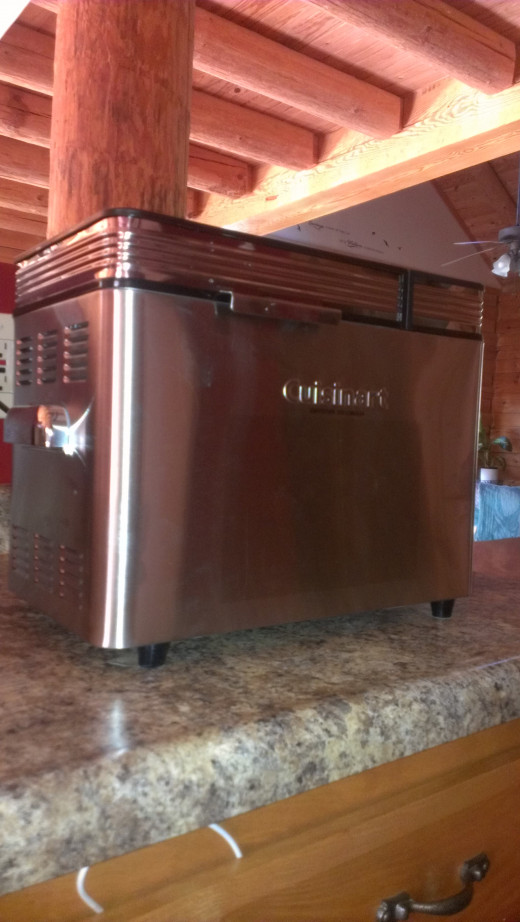
The first step is finding a good breadmaker!
You can do some research online and be sure to read the reviews from other people. Some breadmakers may sound great, but have poor reviews from those who have used them.
Things to consider when finding the right one:
- What size loaves do you want? 1 pound? 2 pound? Bigger? Some breadmakers only do smaller loaves, while a few I've seen can make them as large as 3 pounds. Base your choice on the size of your family and how often you eat bread. For my family, I make 2 pound loaves. I make a loaf about every 2-3 days, since sandwhiches are a hit for lunch.
- Bread making instructions! If you are a novice, you will want the breadmaker to include an instruction booklet with a few recipes! My breadmaker came with not just recipes for breads, but for jams too!
- The cheapest isn't always best, but the most expensive one isn't either. Often, it is the middle ground one that will work best for your needs. Again, read reviews from others. If you plan to make bread consistently, you want a more expensive one that will last a long time. If you only plan to make a few loaves a month, then a cheaper one may work just as good for your needs.
The Basics
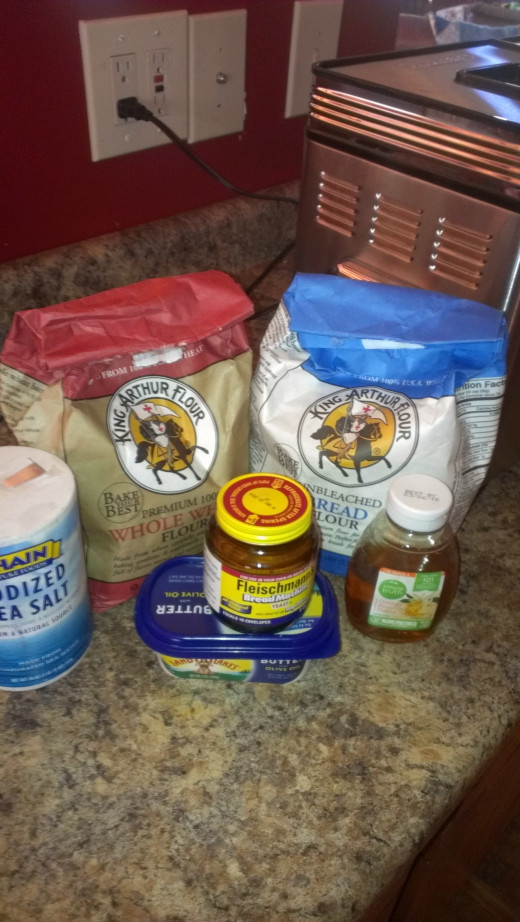
The basics for homemade bread in a breadmaker are the following:
- Bread flour
- Whole wheat flour (used in many breads)
- Yeast
- Salt
- Honey (or sugar in some recipes)
- Butter
- Water
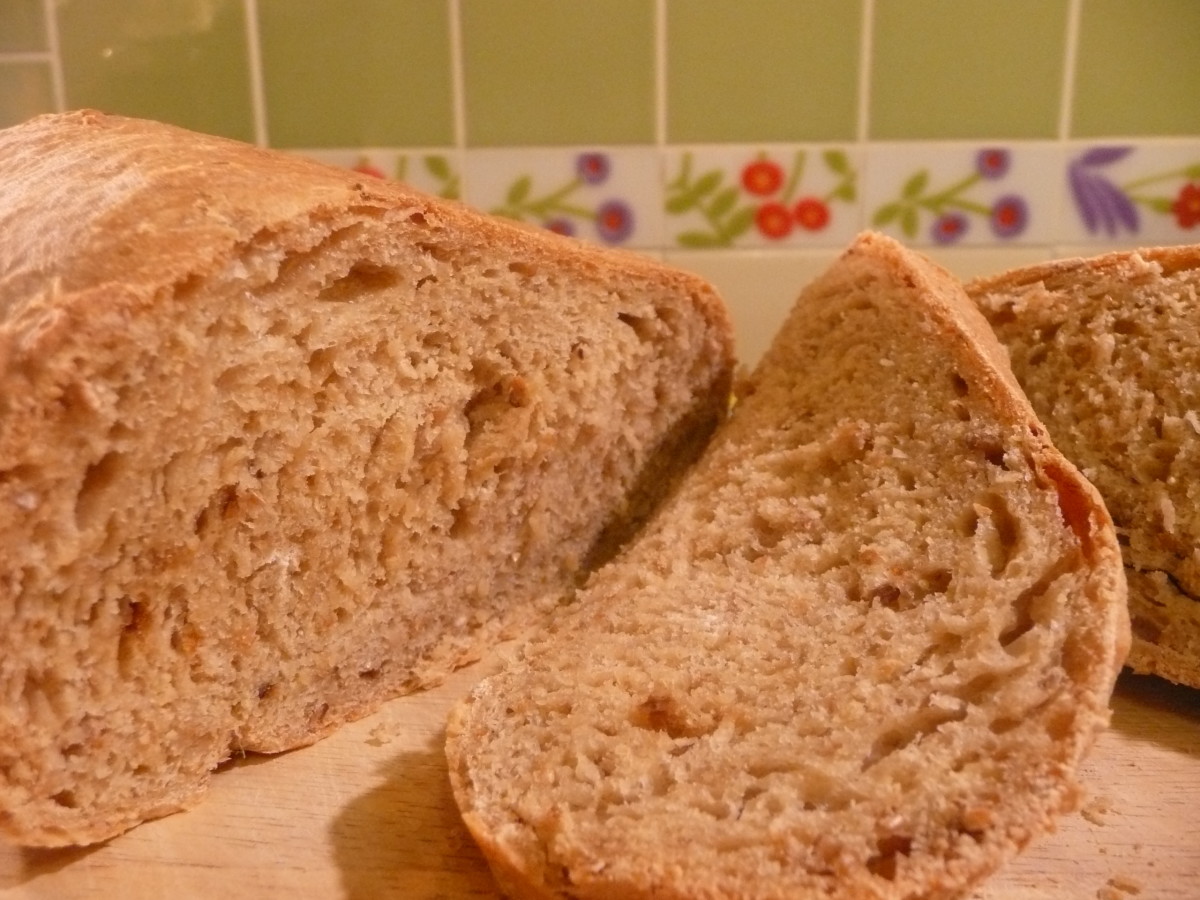
Each recipe is quite different, and the ingredients above are what is used to make Honey Whole Wheat. I often choose to add whole wheat flour to my bread flour to add some fiber. A bread that is mostly bread flour will bake much larger and more "fluffier." The more whole wheat flour you use, the more heavier the bread (but it will have more nutrients).
Some recipes (like for the white bread) call for a milk ingredient. Others may call for actual granulated sugar. I like the Honey Whole Wheat best since it is easy and natural! With a breadmaker, you should try different recipes to see what works best for you.
Important Tips to Remember
When getting ready to make a loaf of bread, keep in mind the following:
- Read the ingredients and instructions FIRST before mixing or adding anything to the pan! (I am speaking from experience, since I began adding ingredients without realizing that the first ingredients were to be separate! Yes, I had to throw out what I had and start over!)
- Realize that the ingredients must be placed in the breadmaker in the specific order that it says! Often, it is the water and/or milk that is first. Your bread WILL not bake and knead right when the ingredients are not in the correct order!
- Your water/milk should be as close to the temperature the recipe says. In my recipe book, it calls for water between 80-90 degrees. I do not have a food thermometer, but I know what 80-90 degrees feels like; however, your bread WILL be different if your water is too cool or too hot. Be prepared to be disappointed.
- My breadmaker comes with a removable "paddle" that helps knead the bread. Often, just before baking, the breadmaker allows you to remove the dough and pull the paddle out. The reason for this is because the paddle will create a large hole in the bottom of your bread. You do not want this. It is best to remove the paddle!
- And speaking of paddle, be sure that the paddle is IN the pan BEFORE you add the ingredients. Once again, I am speaking from experience.....I added all of the ingredients, only to discover the paddle sitting on the counter. Instead of throwing the ingredients out and wasting them, I proceeded to gently move aside what was in the pan to "find" the knob that holds the paddle. Of course, this really messed up the order of my ingredients, and yup, you guessed it.....my bread turned out quite disfigured! We still ate it, but the entire top of the bread was caved in!
- Try not to substitute the ingredients in the recipe. Sometimes, you need exactly what the recipe says; however, you ARE able to experiment to see if an alternative works, but just know that the bread may not come out the way it should. For example, I used a butter alternative instead of regular butter. The results were fine. BUT, I used Almond Milk instead of regular milk and the bread didn't bake right.
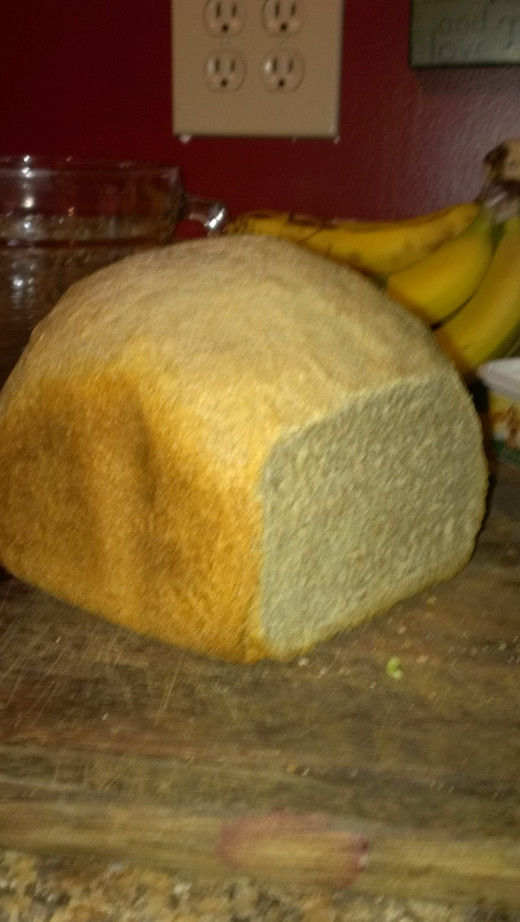
- When your bread is done, be sure to place it on a rack to cool. Do NOT slice into the bread until it has cooled down. You will end up with some smashed pieces!
Do You Own A Breadmaker?
Enjoy your bread!
I have found it to be so much easier and less stressful just making my own bread at home. My children actually eat the crusts on my bread! It is nice to have peace of mind knowing you are not consuming strange ingredients on a regular basis! There are so many possibilities! Garlic bread! Cinnamon Swirl bread! Banana bread! And so much more that I have yet to experiment with!
Here's to a healthier and yummier bread!

