Angel Food Cake - Just Shy of a Miracle


Angel Food Cake
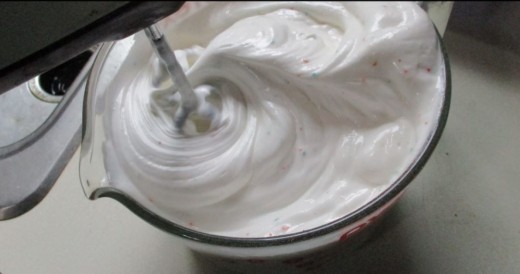
When you start to create an angel food cake, there are some facts to consider. The cake is baked in a two piece metal pan. The pan needs to be clean, and dry. The cake mix needs to be mixed in such a way that the batter is almost like the a shaving cream consistency. You know what I mean, right? When you spray shaving cream upon your hand, it forms a pile of cream and you can turn your hand upside down and it will not move.
The same is true of angel food cake batter. You must achieve a foamed - sticks to itself batter, and it must not be runny.
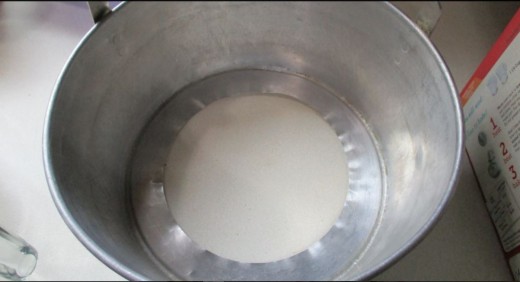
Clean and Dry
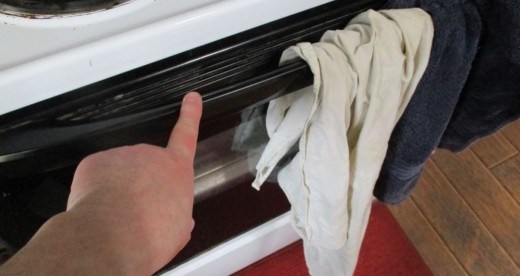
I washed my two pieces of pan, dried them and placed them together and put them in the oven on the rack for a couple seconds. The oven was at 350 degrees. My belief was that the brief couple of seconds would encourage my pan to dry.
Research
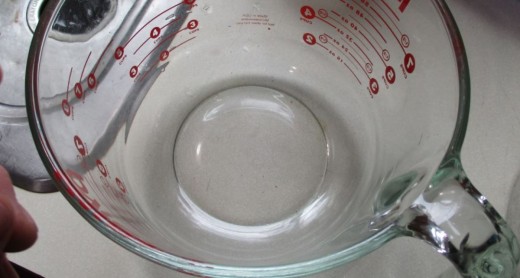
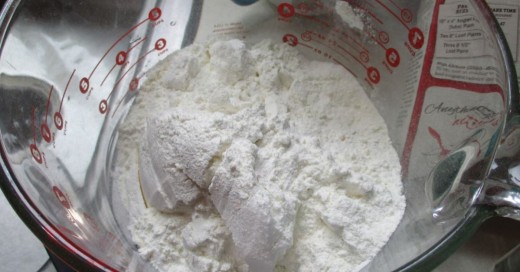
The bowl that you mix it in, needs to be one of two materials. It needs to be glass or metal. Don't ask me why. I have a two quart glass measuring bowl from Pampered Chef and it worked great. I thought that it would puff up and overflow my glass, but it was just the right height. Just the right size. 8 cups.
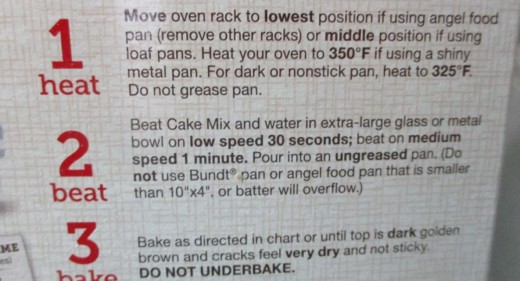
I was on Google and I was trying to find out facts about baking an angel food cake. One of the facts that I found, was that you cannot grease your pan. That's right. No grease. No cooking spray.
The actual fact of the matter is, the batter is designed to crawl up the sides of the pan and it adheres itself to the side of the pan and when you are done baking the cake, it needs to be oil free.
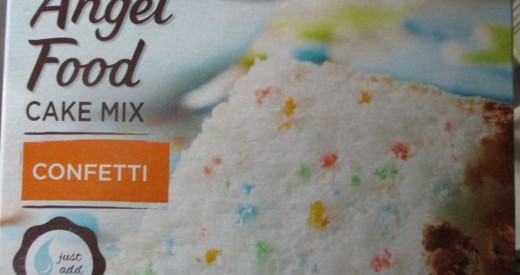
The Cake Mix
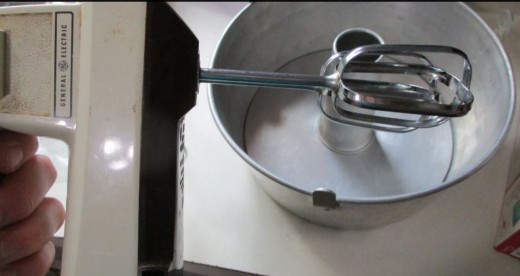
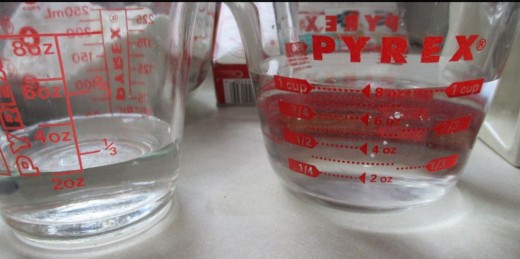
The actual cake mix was simple. You took the cake mix and added 1 1/4 cups of cool water to it, and then, I took my mixer and put the speed on low and started mixing up the batter.
The batter started to thicken. After I spun the mixer blades through the batter for almost two minutes, I started increasing the speed. It kept building up bubbles, and getting harder and harder.
Have you ever made a meringue? It was almost a meringue consistency.
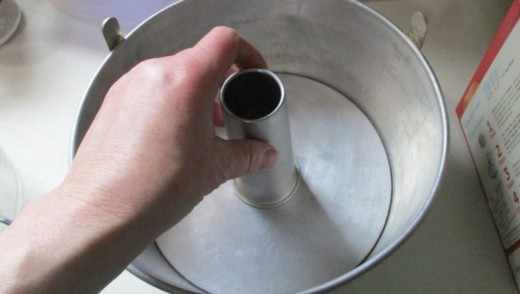
The Mold
The mold fits together loosely, and if you scrape your batter out of the bowl with a rubber scraper, it seems to just plop into the pan and once all of it is inside the pan, you'll need to smooth the top slightly.
Oven Temperature and Rack Position
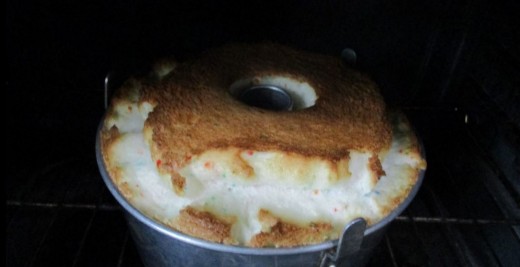
The temperature of the oven needs to be 350. I had to remove one rack from the oven and set it aside. The rack I left in the oven was placed on the lowest rack setting, right above the heat.
This is key. The batter needs to set quickly on the bottom and the cake will continue to climb until it exhausts itself. Then, the rest of the time it bakes, the top will set and brown. Once the top has browned and when you touch the top, it is sticky and dry, it is done.
The advice at this point is, make sure you bake it at least to the minimum minutes of time required. Don't under bake. It needs to cook all the way through.
Inverting Cake onto Glass Bottle
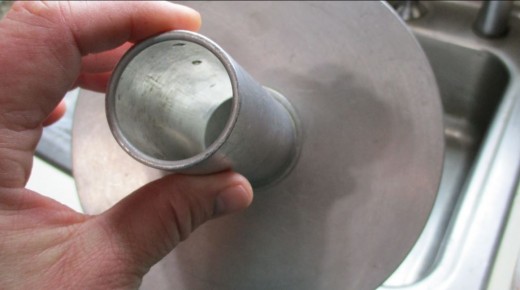
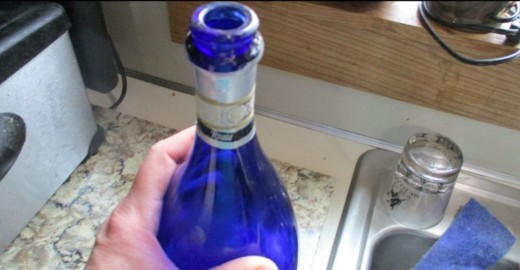
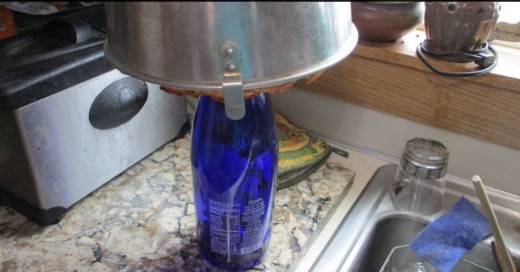
Get an empty wine bottle ready to set the cake on when you take it out of the oven. That tube that is in the middle of your mold, that's the target area for the wine bottle. It needs to hang upside down, and a wine bottle is perfect for that process.
The wine bottle is tapered at the top and it doesn't touch the cake. It is also hollow. The hollow tube and the hollow bottle will diffuse the heat energy generated by the cake and the gravity of the browned top will pull the cake so it sets in a full manner. Another words, the cake will not fall in, it will fall down and get bigger. And, just like a warm chocolate chip cookie hardens as it sits and cools, so will the angel food cake.
It's all very surreal.
Wait for it!
Cooling Takes Time - Don't Rush the Cooling Process
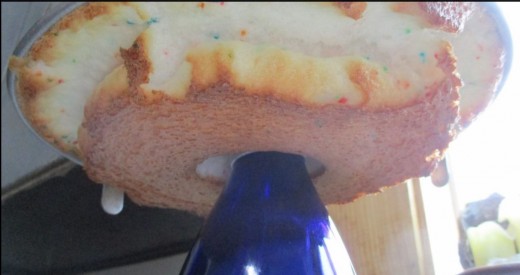
My cake sat upside down for several hours. It was good for it.
Actually, I was rather proud of the fact that it did not leak into my oven. It baked with the browned top, and, when I cooled it, it actually looked like the angel food cakes my mother used to bake for me, umpteen million years ago when she was alive.
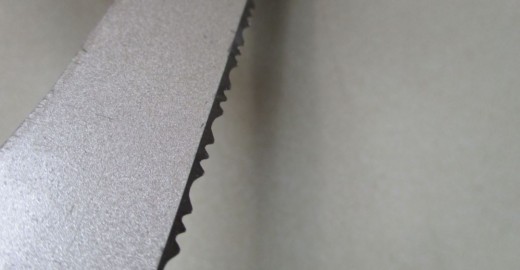
When you remove the cake from the mold, you need to cut the sides with a serrated knife. Mostly, you need to get in between the cake and the side of the pan and cut all the way around the outside. The inside mold will let loose from the bottom and then, it's a simple matter of slicing along the bottom edge of the mold. Then, take a bowl, place it on top of the browned top, and flip it over.
Then, take an electric knife, and slice it into wedges.
Frosting
Now, as I recall, she used to make some frosting that was so yummy. It was white and creamy and, well, I wish I knew how to make it.
My sister claims that it was merely cool whip smeared on the cake. I don't know if that is what it was, or not. I'd like to take her word for it, but it was almost a marshmallow topping. I may never know for sure.
I did not frost mine.
Topping
I think that it would taste pretty good with thawed, frozen strawberries on top and perhaps some cool whip on that.
It would probably taste good with pie filling on the top, as well.
Now, I'm getting hungry to experiment.
Are you?


