FoodSaver - Repackaging Foods Bought in Bulk is Easy with FoodSaver
FoodSaver is the Brand
For years, thirty-three to be exact, my hubby and I have packaged food for our freezer in either plastic wrap, plus freezer paper or we have used specially marked plastic zipper bags.
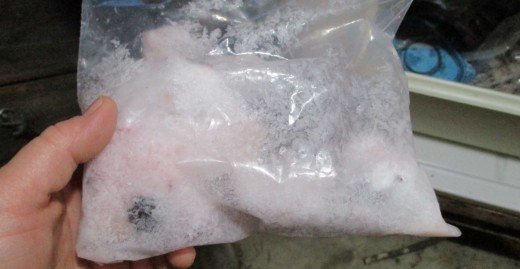
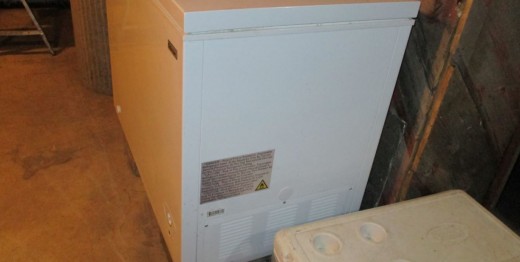
We don't always get to our food immediately and oftentimes, our food would get dried out by our freezer, since we weren't good at sealing our packages and the resulting air would add a dehydrated burn to our foods. Unappealing, and of course, we'd throw that food away. Gross!
Vacuum Sealing
There was one time, we transported sleeping bags to the cabin up north by placing them in a large garbage bag and putting the nozzle of our vacuum cleaner into the mouth of the bag and sucking all the air out of the bag around the sleeping bags and then, twist tieing them shut. It was kind of fun to see the sleeping bags become a mere inch thick instead of the twelve inch roll they started out as.
So, when we purchased the FoodSaver, we were at least, somewhat familiar with the process.
No Need to Be Afraid of New Technology
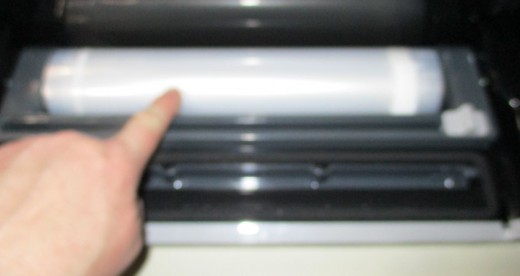
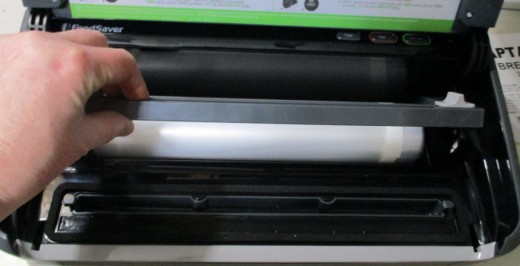
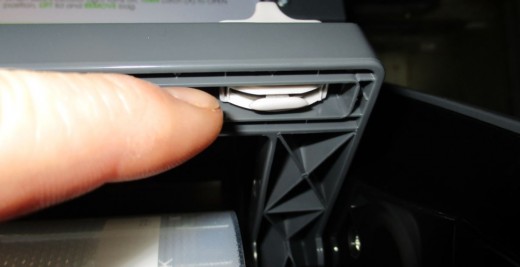
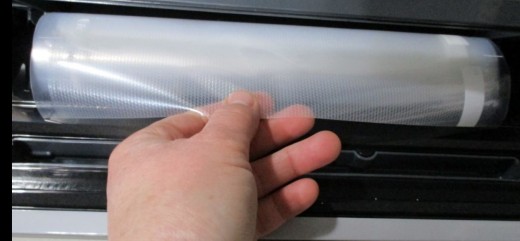
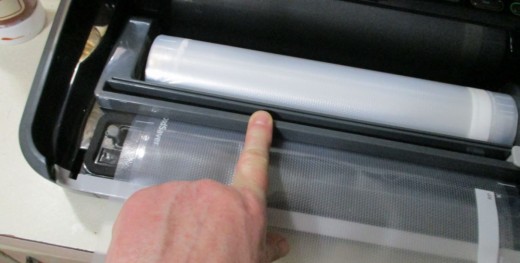
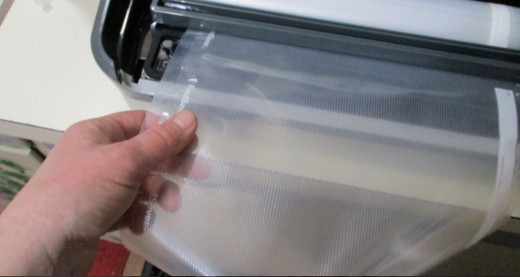
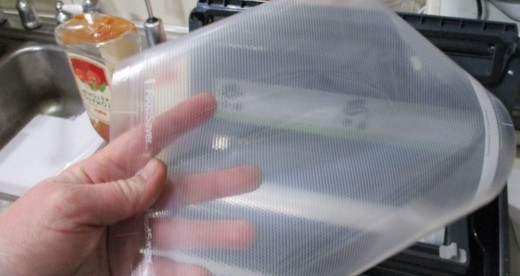
The machine that we purchased is called the FM2100. It opens like a clam. Today, we were using a roll of bagging. The roll is stored in the machine and there is a handy cutter that you can use to slice a neat, straight edge on your bag.
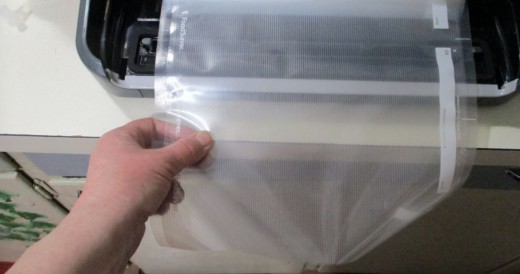
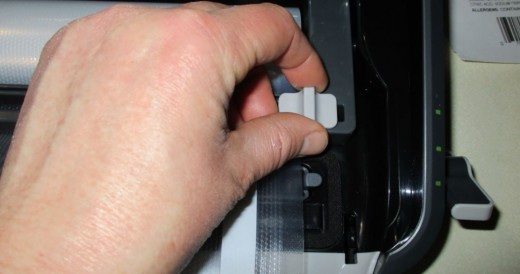
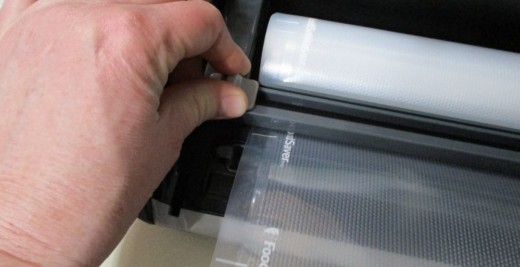
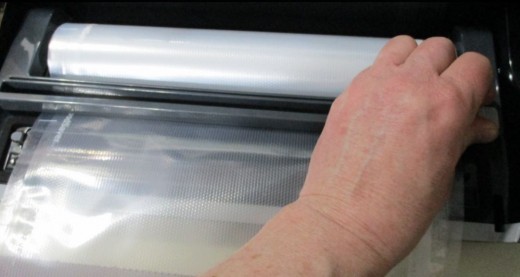
Yes. Making your bag is the first step. You pull enough of the roll bagging out of the holder, and place it under the blade system. Press down, and pull the slicer across the bag. There is a slight hook at the edge of the slicer and it hooks underneath your bag and as you slide the slider sideways, it neatly separates your measured bag from the rest of the roll.
Making a Bag
Sealing the Edge
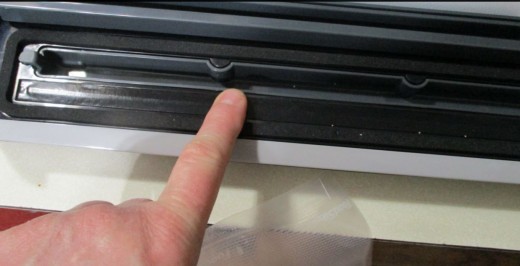
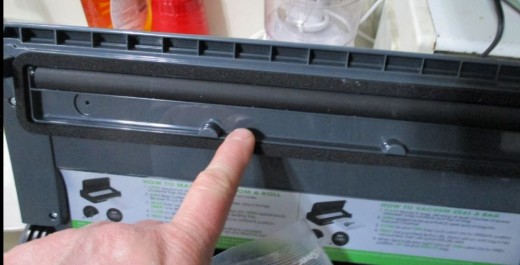
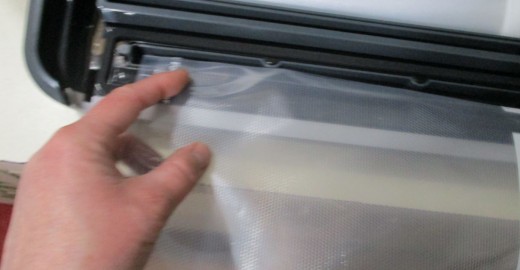
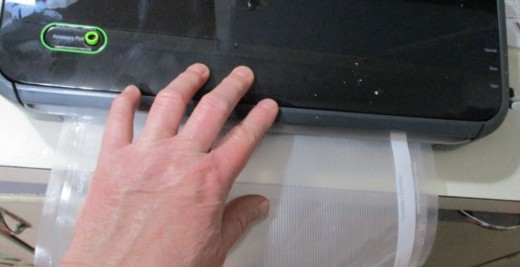
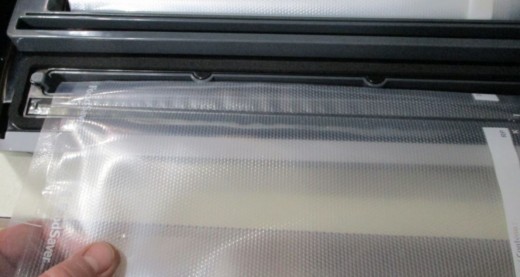
The next step is sealing one edge of the plastic, so that your food will not fall out. It is open on both ends and sealed on the sides. Pick one end and place the end in the sealing machine, across the drip tray. There are foam pads on the sides of the hole and you just need to get your plastic across the hole.
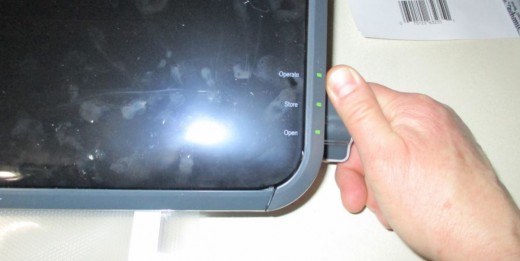
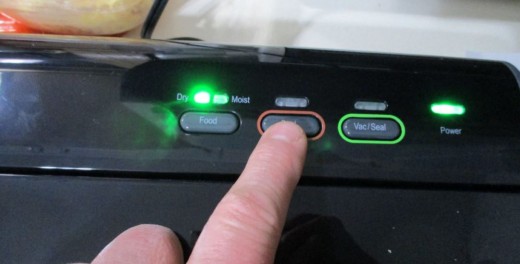
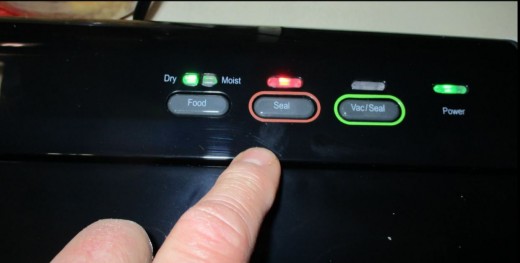
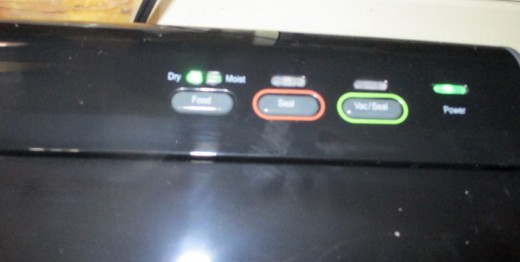
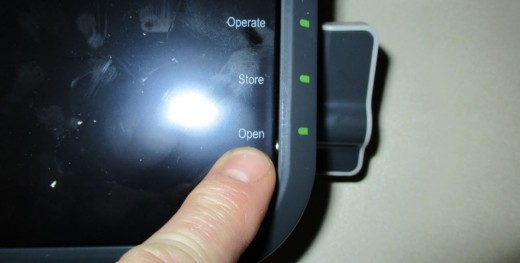
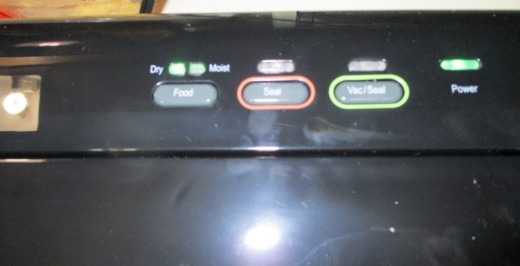
Then, you close the lid to hold the end of your bag and turn the switch to operate. There are a couple buttons at the top back of the unit and when you are making the bag, you need to press the button labeled Seal. A red light will come on, and will go off when the seal is complete. Wait for it.
Light out, turn switch to open and remove your bag.
Sealing One Edge of New Bag
Food Into Bag
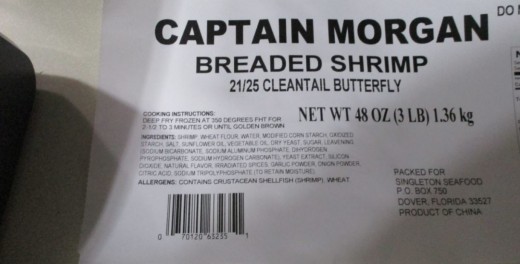
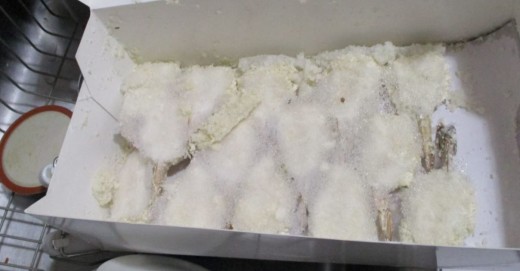
I had a box of frozen shrimp that we had in the freezer for a while. It was a box full of about 5 layers of shrimp. We had purchased several boxes of them at Sam's Club a while back and, well, you can only eat so much before you turn to something else for dinner.
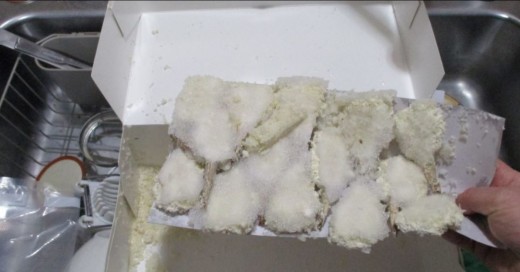
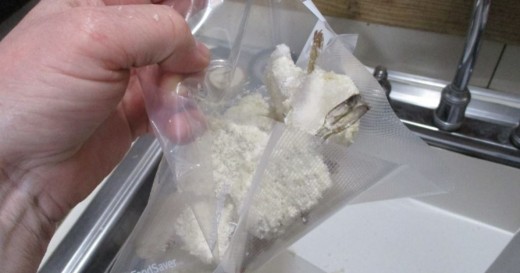
This seemed like the perfect first trial for trying out my new Foodsaver machine. So, armed with my first correctly sealed bag, I lifted one layer of shrimp from the box and inserted the cardboard end into my newly made bag, and let them slide into the bag.
That was nice. I didn't even have to touch the food, just chute them into the bag.
Placing Bulk Food into a Bag
Vacuuming and Sealing the Bag
Here's the moment I was waiting for. My first attempt at using my vacuum and seal button on the Foodsaver.
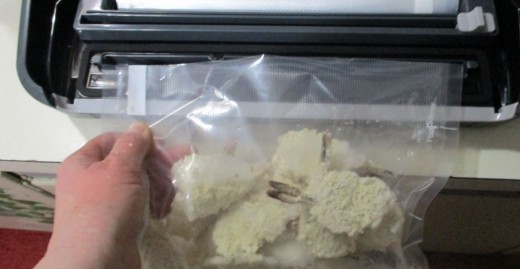
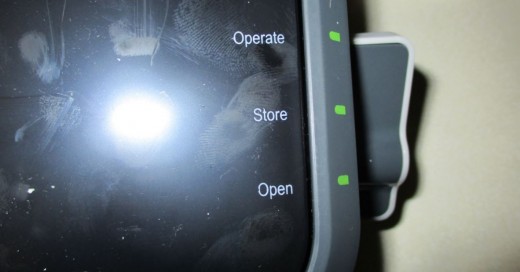
So, I placed the open end of the bag into the Foodsaver and made sure that end was centered across the drip tray. Then, I closed the lid down to hold my bag and pressed the switch to Operate.
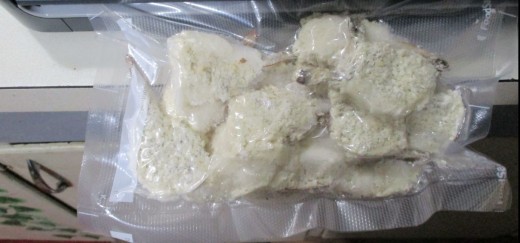
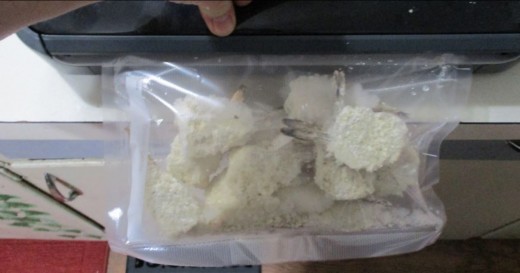
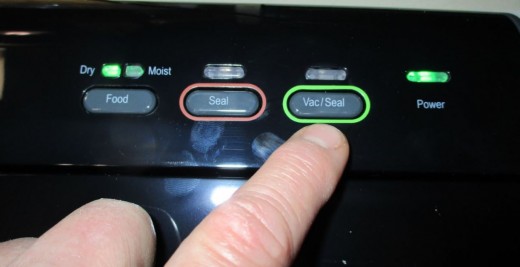
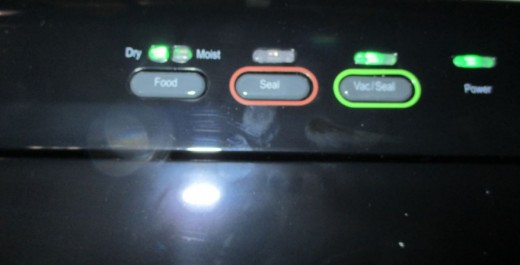
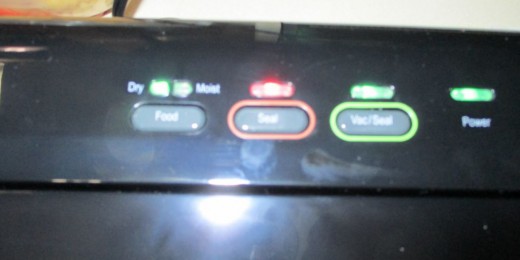
Now, I pressed the switch that says Vacuum and Seal. I heard a noise. It was the vacuum. Almost like the vacuum cleaner that I use on my floors. The bag started to move and flatten around the shrimp. One it had removed all the air, it switched to seal. The red light came on above the Seal button and I waited until it turned off.
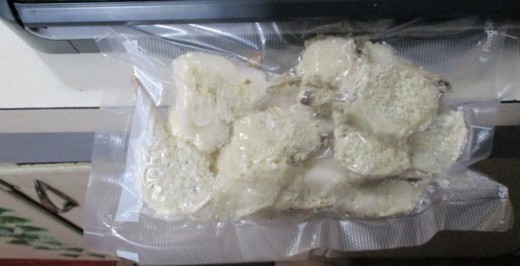
It took a few seconds and then, I turned the switch on the side from Operate to Open and removed my bag. It was sealed. It was sucked down tight around my food. It was amazing!
Vacuum and Seal the Bag
Labeling the Package
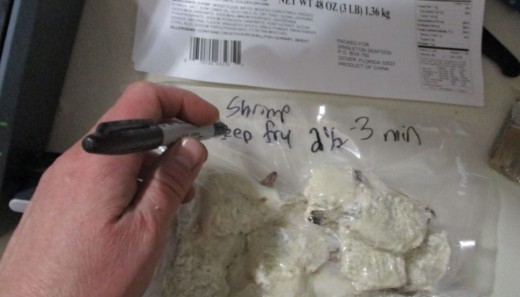
Since the food was in the bag, and sealed tightly, now was the time to make sure the package was labeled so that later, when I decided to open and deep fry the shrimp, I knew that the shrimp needed to be deep fried for 2 1/2 to 3 minutes.
I wrote all the information on the bag with a black sharpie marker.
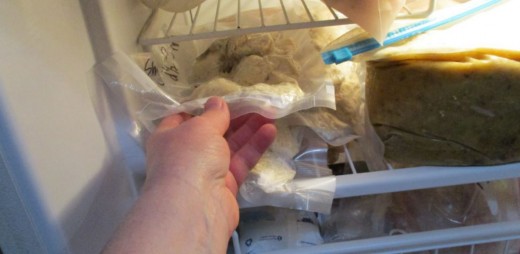
Label and Place in Freezer
Purchasing More Bags
I found that the price we paid at Fleet Farm for our bags was a really good deal. We got 5 rolls for $35. It was on sale. I also found a place online that sells the bagging for $20 for a fifty foot roll.
When I was reading the description for the fifty foot roll, it mentioned that you could actually cook your food while still wrapped in the plastic. If you had vegetables in that bag, you could just fill a pan with water and place the package in the water until the food was cooked. Now, mind you, these bags are rather large, and I'd need a 12 inch pan to accommodate the bag, but, still - what a concept.
I also learned that if you poked a hole in the bag, you could put the bag into the microwave and cook your food.

![Specialty bags for Game, like Venison steak or Squirrel Jerky [Smile] Specialty bags for Game, like Venison steak or Squirrel Jerky [Smile]](https://usercontent2.hubstatic.com/13943073_f520.jpg)
