Lets Grow Some Natural Yeast (Sourdough)
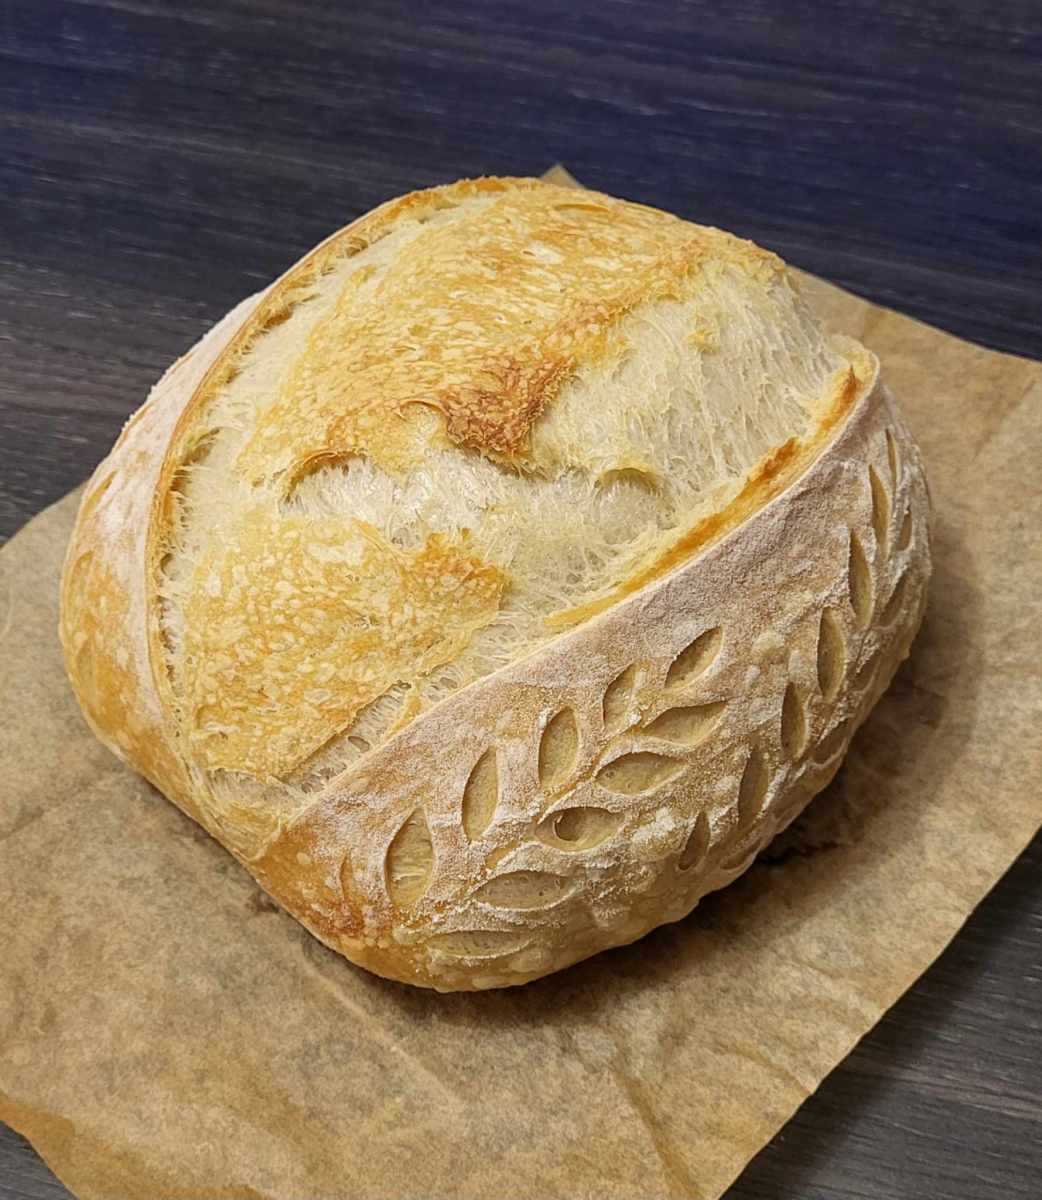
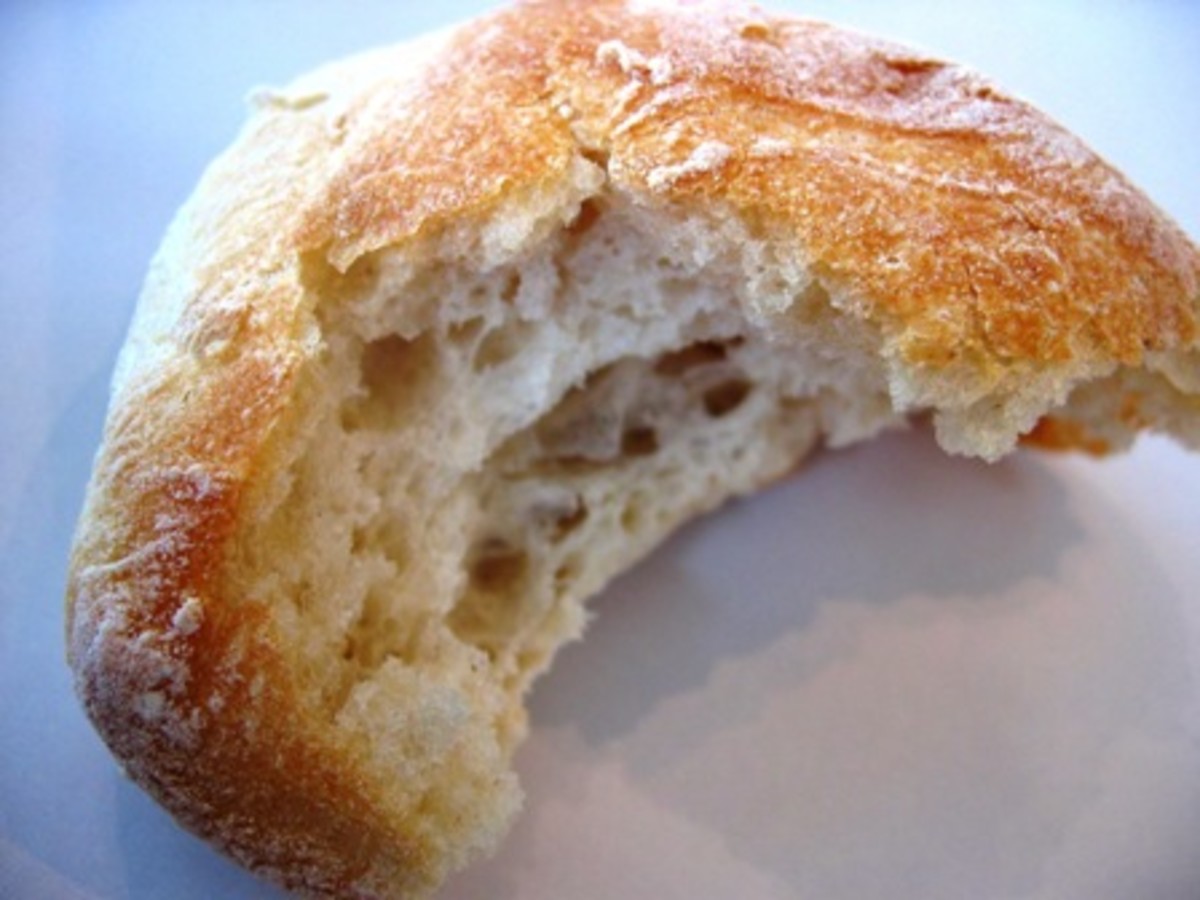
Loaf Made from Home Grown Yeast
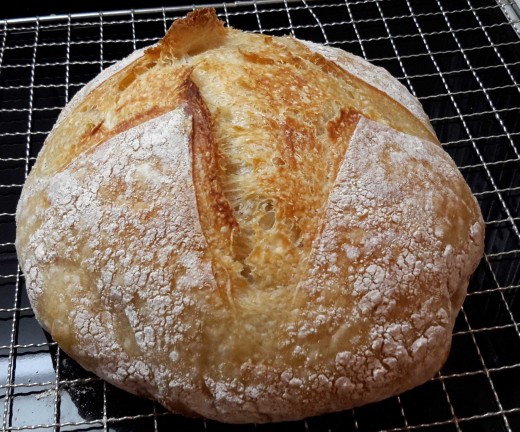
Sourdough Bread Made from Natural Yeast
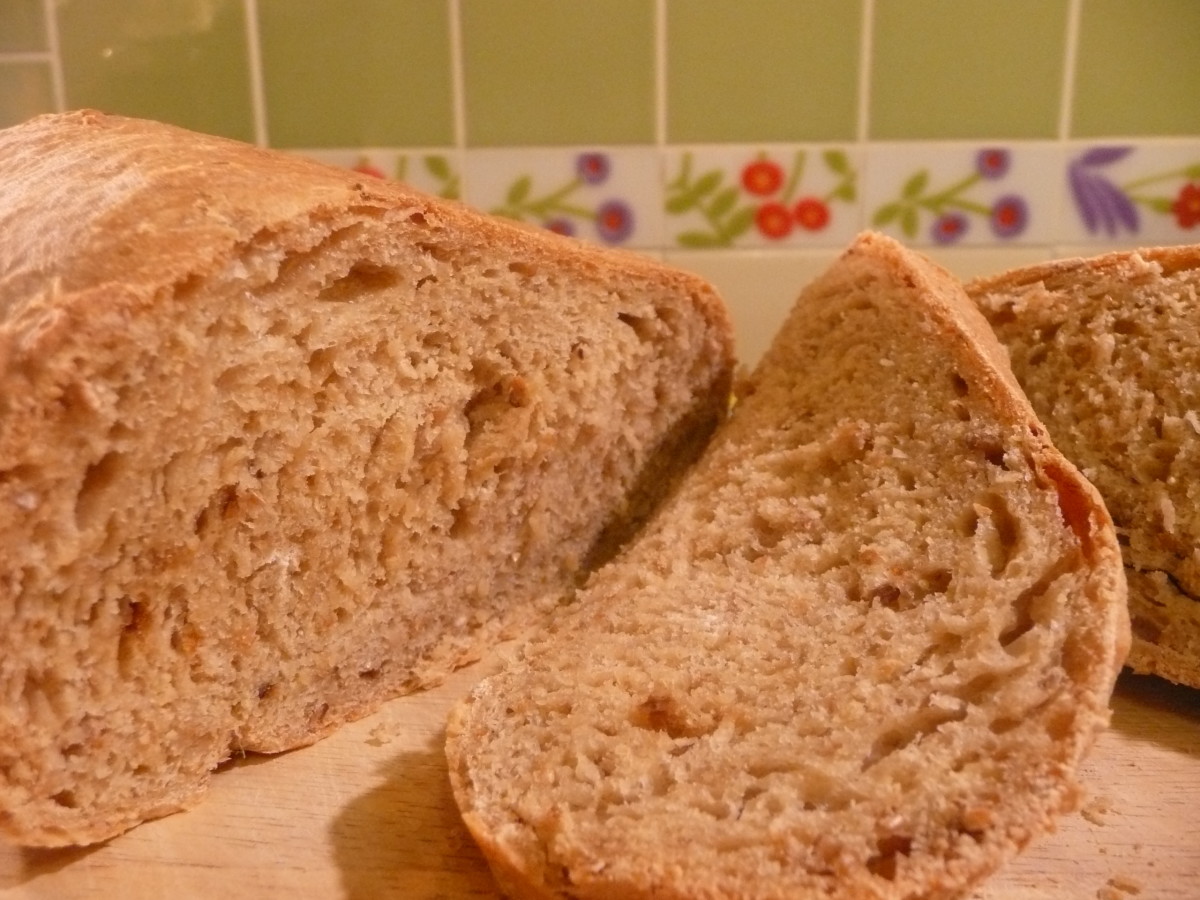
This is the first loaf of sourdough bread that I baked using the yeast that I made using my instructions below. I baked this loaf using a recipe from Alex French Guy Cooking on Youtube. His recipe calls for 1 part sourdough starter, 2 parts water and 3 parts flour.
My New Oven
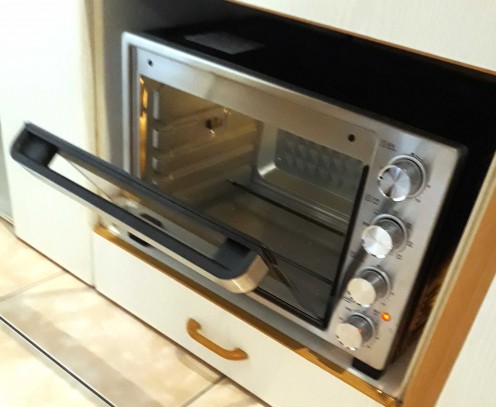
Baking Bread In Tiny Spaces
A word about my oven.
For many years I have baked bread in a small gas oven in the UK. Now I live in Taipei where a surprisingly large number of even quite modern apartments are not equipped with an oven. Considering my passion for baking bread, I chose an oven that would accommodate a small dutch oven, or a good size loaf tin and that will get to 230°C fairly quickly.
I mention this by way of encouragement for those who, like me, don't have a kitchen with all the mod cons.
Sourdough Starter from the beginning without waste.
Having made a few attempts at growing yeast from flour, I have decided to start from fresh and share my experience here. I seem to have watched endless videos on the subject and found many contradictions. Some say that there is a need for precision and others say no. I will try to take the middle ground and not be too serious. As a former engineer I tend to like careful measurements, but logically, baking has a lot to do with feel and I don't think it will make any significant difference if I use good approximations. Many instructions call for increasing amounts of flour to be added to the starter causing it to grow. Then they tell you to discard half each time you feed it. Here I am starting small with a view to having a manageable quantity by the 6th, or 7th day. At that point I will bake a loaf of sourdough bread and keep the balance of my starter in the fridge until I bake again.
In the begining
The Method
You will need a scale, a fork and spoon and a large glass container, some people use plastic.
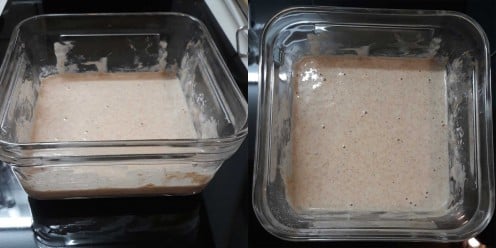
Start by pouring 30ml of pineapple juice and 10ml of water into a large glass container. Important:Use water that has no chlorine, either bottled water, or leave tap water uncovered for at least a day. Then stir in 40g unbleached rye flour and leave it covered loosely for a day.
The next day there may be a couple of bubbles also it may have a slight smell. From now on only add plain, unbleached, wheat flour and water. Add 40ml water and 40g of flour. Since we want to end up with a known hydration (in this case 100%) The water and flour are added by weight, not volume. Here is a picture of day 2. There are some small bubbles forming after an hour, or so.
NOTE: I live in Taipei and it is summer. The temperature is typically 26°C in my air conditioned apartment. If you are in a cooler environment you could speed things up a little by finding somewhere warm to keep your starter.
2nd Day, Some bubbles are appearing.
For the next few days
Each day for the next few days add 40ml water and 40g of plain flour, as previously described. I will put pictures of each day's condition. We want to get to the point where the starter is very active and bubbly. This could take around seven days, or so and will depend on your local conditions and flour etc. The yeast is mainly present in the flour, this is why it should be unbleached. Rye flour in particular seems to have a lot of natural yeast, this is why I started with it, but if you keep adding rye it will make your bread dense.
Some notes: I enjoy making all kinds of bread. Consider that a regular loaf will take 3 - 5 hours, start to finish. Bread made with a sourdough levain could take 2 days, or more.
Natural yeast appears to be more sensitive than the dried yeast that I use in regular bread. Chlorine really seems to inhibit it.
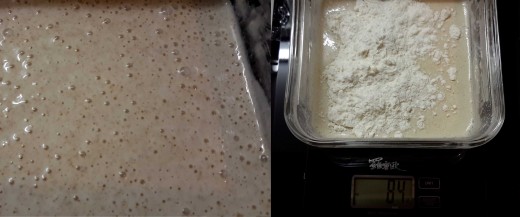
Third Day
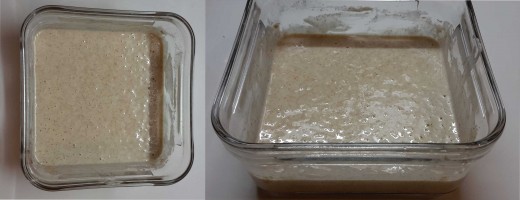
The picture shows the bubbles that appear after giving it a stir, then add another 40ml of water and 40g of plain flour. At this point the starter may have a strong smell.
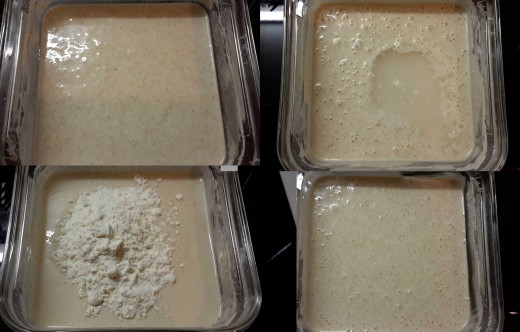
Day 4, not looking very lively.
On the fourth day, in my case there was a strong smell , but not much action as you can see from the top left picture. Add another 40ml of water (Top right) and give it a stir. Then add 40g of plain flour (Bottom Left). Give it a good stirring (Bottom right) looks a bit bubbly.
We are making a very wet starter, so the bubbles will quickly be dispersed rather than growing the volume.
Last day, ready to try.
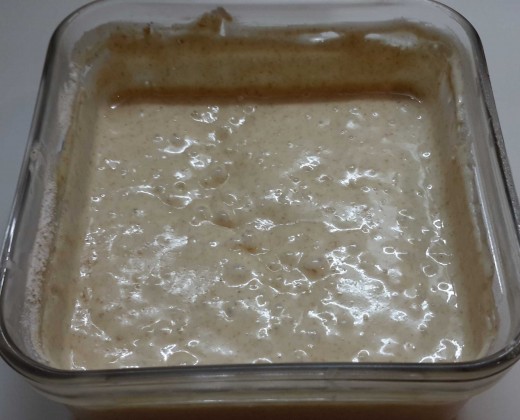
Final days
On days five and six it may look a little thin. I decided to skip the water and just add 40g of flour on each of these days. By Day 7 there should be lots of bubbles and the starter may be ready to use. Depending on your environment, it could take a little longer to get to this point, but persevere. It will get there in the end.
Lately I have been using 200g of starter to make a loaf. I then add flour and water, in equal weight, to my remaining starter (mother) and keep it in the fridge until I bake again. I take the mother out of the fridge the day before I bake and feed it by making it up to the amount I will need plus around 100g.
Please let me know how you get on.
© 2018 Mr Bytchy

