- HubPages»
- Food and Cooking»
- Dietary Restrictions»
- Dietary Restrictions for Health
Quick and Easy Gluten-Free Almond Flour Pie Crust
Being gluten-free can be tough sometimes, especially when it comes to trying to find ways to make the foods you used to love but can't eat anymore.
Gluten plays such a big role in breads as it provides the texture and volume to all of your favorite dishes, and also holds everything together so your bread doesn't just crumble in your hands when you try to eat it.
With the advent of gluten-free diets, and the desire for gluten-free Sandwich Breads, Tortillas, Pizza Crusts, and pie crusts that look, good, taste good, and have a nice texture, it's more important than ever for individuals to find good recipes that they can use on a daily basis.
Too many of these gluten-free recipes offer bread products that are dry, tasteless, or even fall apart in your hands as you try to eat them. Aren't you ready for a great recipe you can turn to for each of your bread desires that will make you forget you were ever without?
Of course, you can just purchase gluten-free products from the grocery store or a health food store, but do you really know what you're getting?
The FDA allows food manufacturers to list their foods as "gluten-free" even if their products still contain up to 20ppm (parts per million) of gluten, and they don't have to list how much gluten their products truly contain.
Even this small amount can be extremely detrimental to those with a high sensitivity to gluten. Check out my article on What Gluten-Free Really Means for more important information on gluten and gluten-free diets.
Cook Time
Ingredients
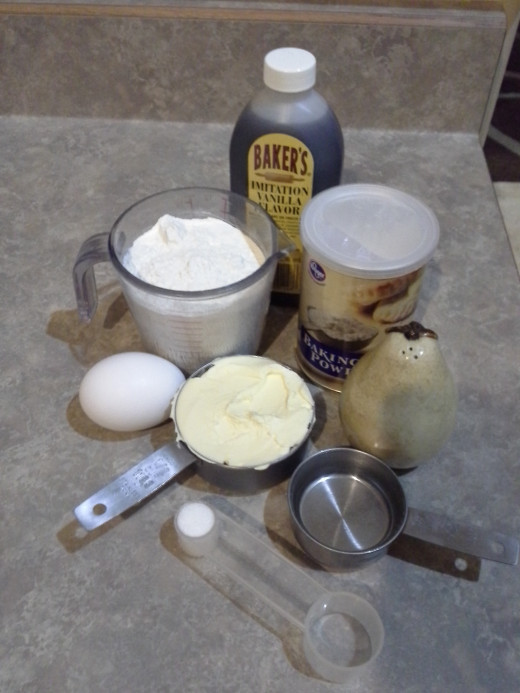
- 1 cup almond flour
- 1 cup tapioca flour
- 1 stick (1/2 cup) butter, (make sure it's gluten-free)
- 1 large egg, (make sure it's gluten-free)
- 1/4 cup sugar, (make sure it's gluten-free)
- 1/2 teaspoon pure vanilla extract
- 4 tablespoons ice cold water
- 1 teaspoon xanthan gum, (if your flour doesn't already contain it)
- 1/2 teaspoon salt
Instructions
- Start by preheating your oven to 425 degrees F and preparing a deep dish pie pan by spraying it generously with cooking spray.
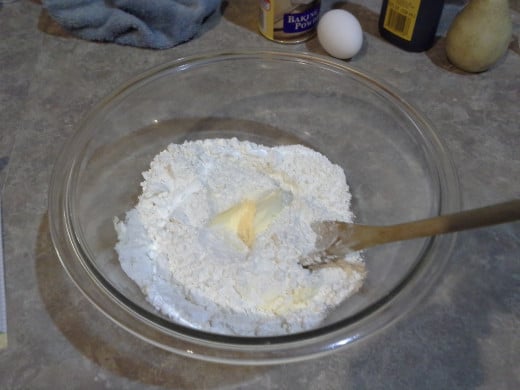
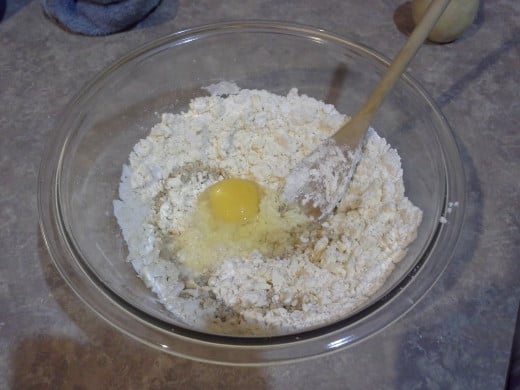
- In a large bowl, combine both your almond flour and your tapioca flour. They will be different colors and textures, so it will be necessary to make sure that these two combine thoroughly and essentially become one consistent flour.
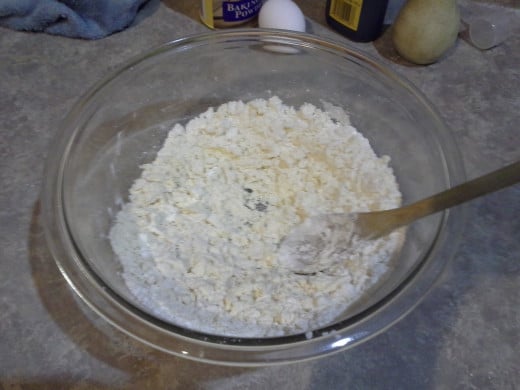
- Next, cut in your 1/2 butter of cold butter. You can use a pastry blender to do this, or simply carefully do this with a large spoon or a dinner fork.
- Your dough mixture will become extremely crumbly. This is what you want it to look like.
- In a separate smaller bowl, beat your one egg well.
- Add your sugar and vanilla and mix again thoroughly.
- Combine your wet ingredients with your dry crumb dough mixture and blend well. You might want to do this with a hand blender and dough attachment.
- At this time, sprinkle in your xanthan gum (if your flour does not already contain it) and 1/2 teaspoon of salt. Mix in well.
- This last step is important as it finishes your pie dough.
- Add in your 4 tablespoons of very cold water, one tablespoon at a time or so, and mix with your hands. You are trying to create a solid but slightly moist (not sticky) mixture for your dough. You may not even need all of the water.
- Now, dump your dough onto a clean floured surface. I would not use cornmeal in this case, but a sprinkling of one of the flours you used in your recipe.
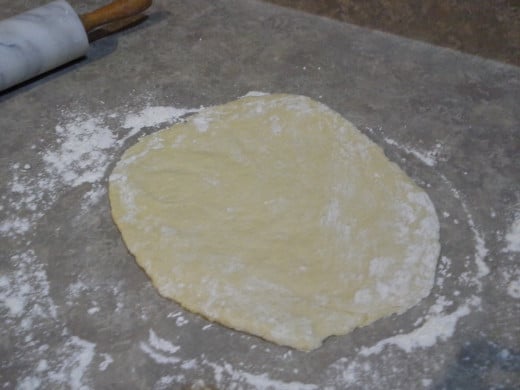
- Knead your dough (pushing your hands into it, folding it and pushing it out again) for about 5-10 minutes to thoroughly combine.
- With a rolling pin, roll your dough out into a large flat circle, just bigger than your pie dish, so you can make the edges fancy.
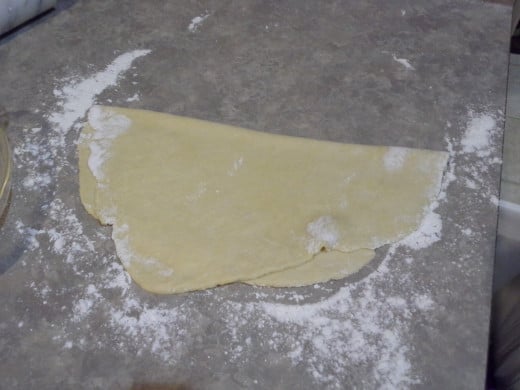
- Once your dough has been rolled out, fold it in half to transfer it to your pie dish.
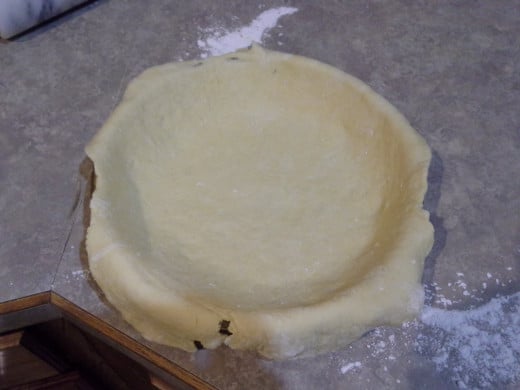
- Lay it gently over your pie dish and unfold. Press the dough carefully into the bottom of the dish.
- Trim or fashion the edges of your dough as you wish.
- Now pop into the oven to set it before adding your fillings. This way your know that the dough will be fully cooked, leaving no wet or soggy areas in the middle.
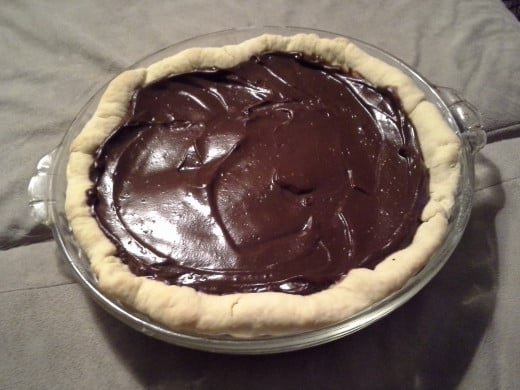
- If you are making a cold pie, like I did last night, you'll want to fully cook your pie crust ahead of time (for about 12 minutes in your preheated oven) and then cool completely before filling.
- If you are making a pie that you will return to the oven, you only need to cook it partially (about 6-8 minutes) as it will finish cooking once you've added your fillings.
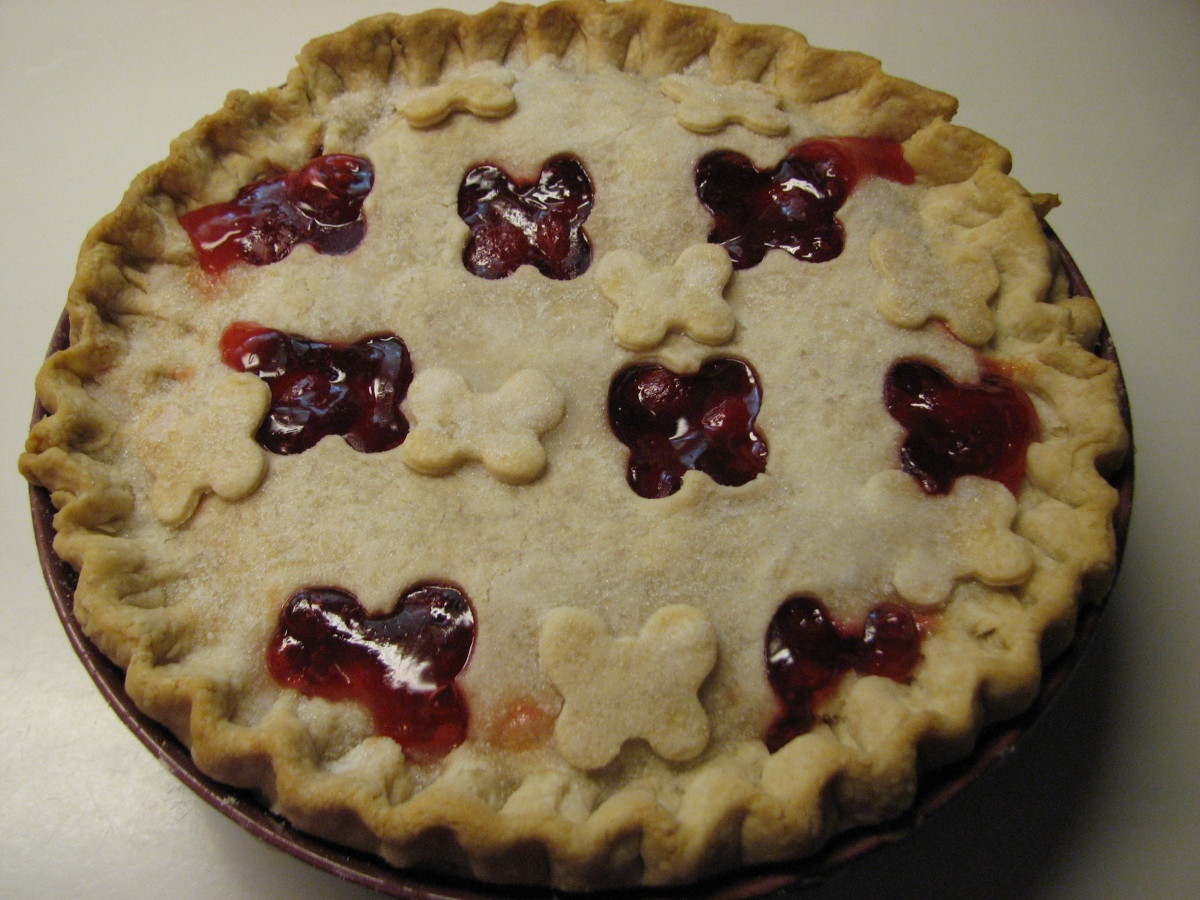
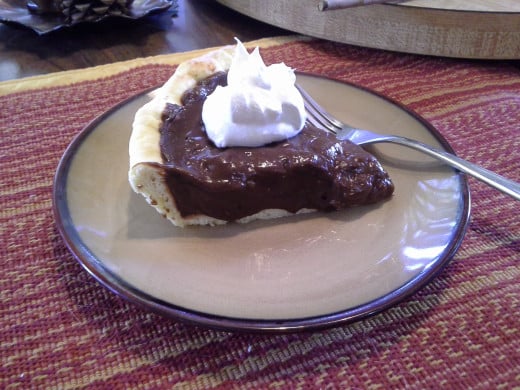
- Yummy! Yummy! My husband normally doesn't even bother to cut out slices to eat it. He just takes the entire pie to the couch with a tub of whipped cream.
- I should have taken the picture of him and the whipped cream smeared across the top of the pie. lol Granted, I'm just glad he enjoys my cooking!
Nutritional Information
| Nutrition Facts | |
|---|---|
| Serving size: 1 pie crust | |
| Calories | 287 |
| Calories from Fat | 126 |
| % Daily Value * | |
| Fat 14 g | 22% |
| Saturated fat 2 g | 10% |
| Carbohydrates 39 g | 13% |
| Sugar 7 g | |
| Fiber 2 g | 8% |
| Protein 0 g | |
| Cholesterol 0 mg | |
| Sodium 146 mg | 6% |
| * The Percent Daily Values are based on a 2,000 calorie diet, so your values may change depending on your calorie needs. The values here may not be 100% accurate because the recipes have not been professionally evaluated nor have they been evaluated by the U.S. FDA. | |
If you are one of those people looking for a great pie crust recipe that seems impossible to find, you're in luck! You're going to love this crust!
The extra egg in this recipe isn't truly necessary, but it tends to give the crust a tad bit more flavor, a little more moistness, and an extra fluffiness.
This is a bread recipe if there ever was one!
To change the flavor, instead of adding vanilla, add a little rum flavoring. Boy that's delicious!
Everyone will wonder how you discovered this out-of-this-world pie crust recipe, and you can claim it as your own (even though it was just a dash of rum flavoring, lol).
If you like this one, also check out my recipe for Scrumptious Gluten-Free Oatmeal Chocolate Chip Cookies and Light and Fluffy Gluten-Free Pancakes.
Quick Poll
How helpful was this recipe?
Related Recipes
© 2013 Victoria Van Ness


