The Homemade Twinkie Recipe Experiment
The minute my husband discovered Twinkies were no longer on the market, he panicked! He lamented the loss of a great American icon. On the other hand, I was never a fan of those sweet cakes so I could not understand the reason for such a demonstration of woe.
He searched the net and found a box of ten count Twinkies going for $1,000. That was an outrage! This was when the news first broke out, we later discovered the authorities must have had a say in pricing since they are now reduced to $13.92 for the same box of ten.
A look at the Hostess Brands site disclosed "We are sorry to announce that Hostess Brands, Inc. has been forced by a Baker's Union strike to shut down all operations and sell all company assets. Thank you for all of your loyalty and support over the years." Upon reading this, you would have thought my hubby was reading an obituary. After mourning the loss and saying good-bye, he declared making his own homemade Twinkies was the only solution.
Thus, we have the highlights of our homemade Twinkie recipe experiment. It's not goodbye. It's hello!
Love Twinkies!
Voice Your Opinion
Do you miss Twinkies?
Twinkie History
In 1933, Twinkies were introduced to Americans by The Continental Baking Company in Indianapolis, Indiana. A baker named, James Dewar got the idea for the Twinkie while delivering one of their products, a cream filled strawberry shortcake. The machines sat idle after the strawberry season was over so he came up with an idea to produce a snack cake with banana filling. The proposed cost was five cents for a package of two.
Due to the shortage of bananas during World War II, Hostess had to come up with a different filling and switched to vanilla creme. Later in the 1950's the Twinkie rose to popularity due to the sponsoring of the Howdy Doody show. Lastly, during the 60's, because of the fear of a nuclear attack, the Twinkie was highly sought since it was believed they would stay fresh forever (It is reported that they actually only stay fresh for 25 days.)
The company headquarters in Irving, Texas permanently closed its doors on November 12, 2012. Hostess owned nearly 600 baking and distribution facilities in the US and the resulting layoff affected approximately 18,500 workers.
The company also produced brands such as Wonder®, Nature's Pride®, Dolly Madison®, Drake's®, Home pride®, Merita® and Blue Ribbon®.
Source: hostessbrands.com; kitchenproject.com
Cast Your Vote
Homemade Twinkie Highlights
Click thumbnail to view full-size


Forming The Cake Molds
Click thumbnail to view full-size


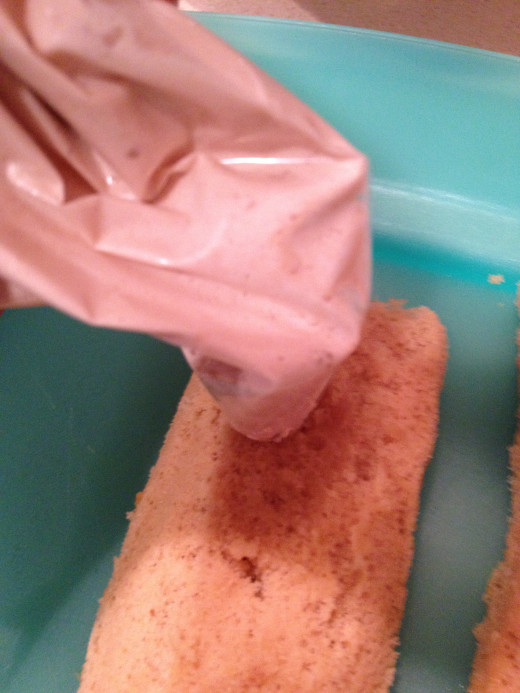
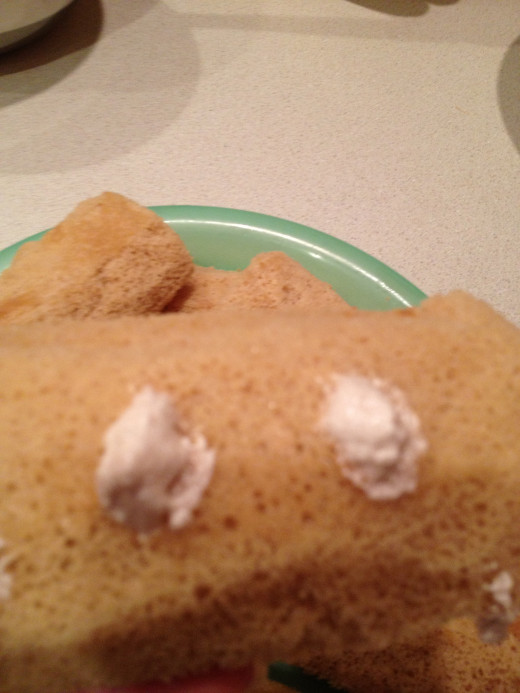
Filling The Twinkie Cakes
Click thumbnail to view full-size


Twinkie Recipe (Source: Leite's Culinaria)
Ingredients
- 1/2 cup cake flour
- 1/4 cup all purpose flour
- 1 tsp baking powder
- 1/4 tsp salt
- 2 tbs. milk (whole preferred)
- 4 tbs unsalted butter
- 1/2 tsp vanilla extract
- 5 large eggs at room temperature
- 3/4 cup granulated sugar
- 1/4 tsp cream of tarter
- 1 can Nonstick cooking spray, or bottle of vegetable oil
Instructions
- Preheat the oven to 350°F (175°C) and adjust the oven rack to the lower-middle position.
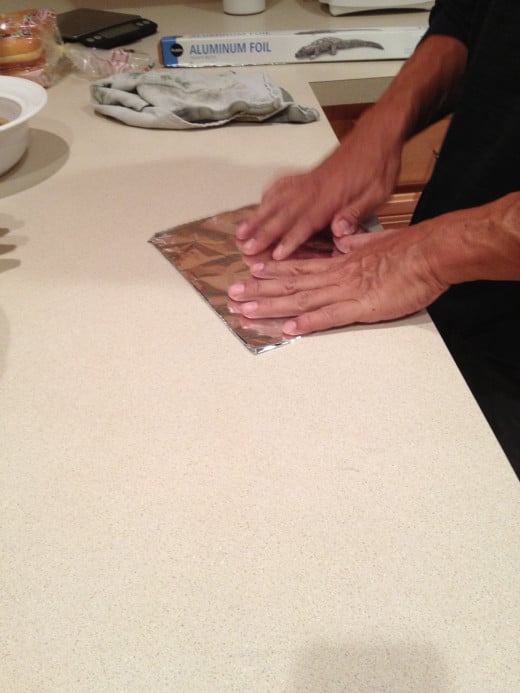
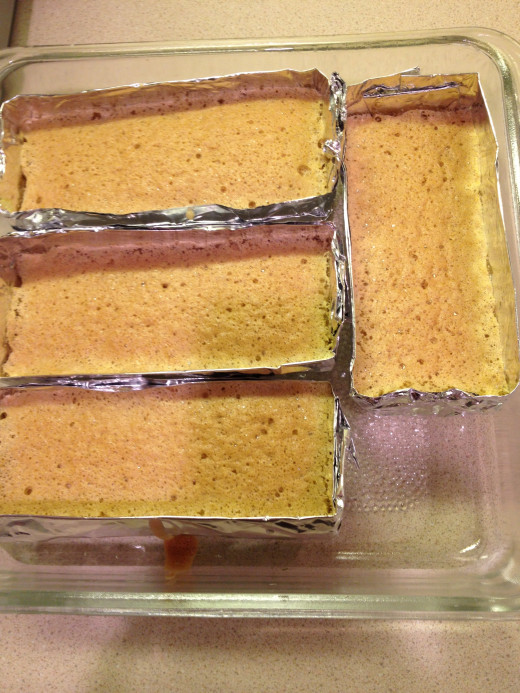
- To make your shiny, single-use Twinkie molds, start with a piece of aluminum foil, preferably heavy-duty, that’s approximately 14 inches long. It should be just a little longer than it is wide. Fold the foil in half lengthwise, then fold it in half again to create a rectangle that’s about 6 inches long and 7 inches wide. Repeat to make a dozen rectangles.
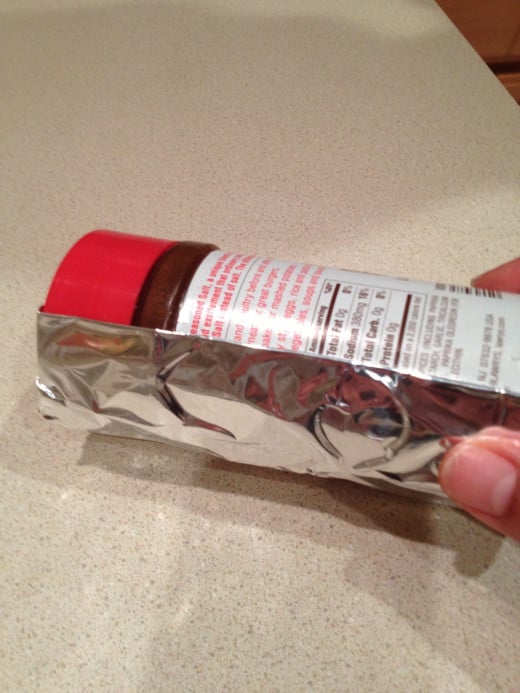
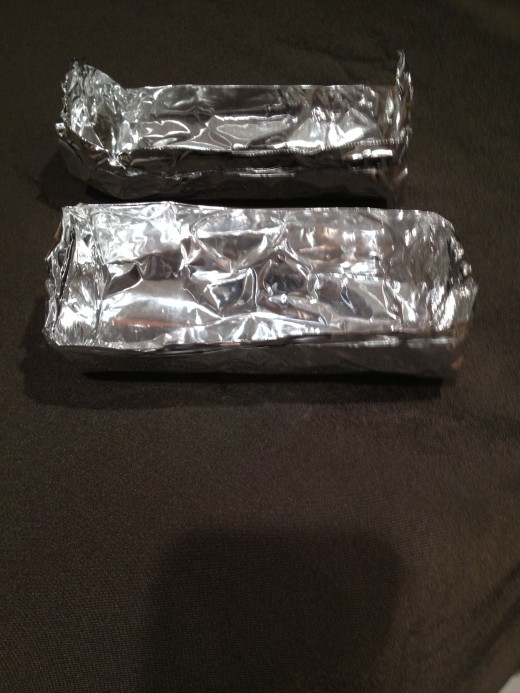
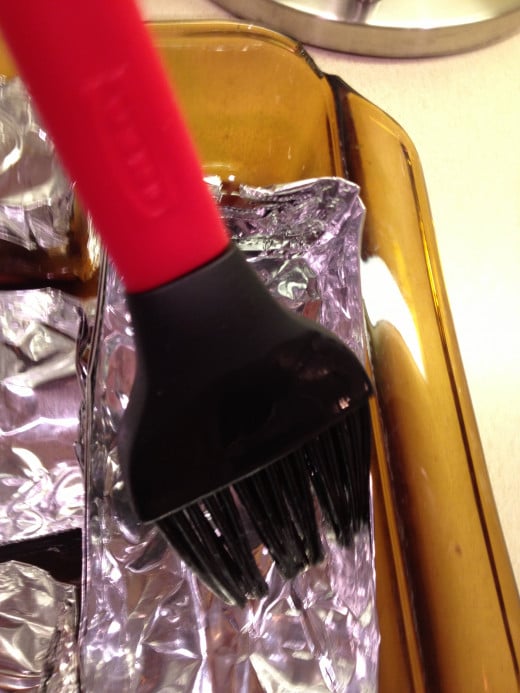
- Place 1 sheet of folded foil on your work surface, with the long side facing you. Place a standard-size plastic or glass spice bottle on its side in the center of the foil, the bottle's long side also facing you. Bring the long sides of the foil up around the bottle. The foil won’t reach all the way around, and that’s okay. Fold the foil in around both top and bottom ends of the spice bottle, nice and tight. You’ll end up with a sort of trough situation. Repeat until you have 12 foil Twinkie molds. Spritz the molds with a generous amount of nonstick spray or use your fingertips to coat the molds with vegetable oil. Place the Twinkie molds on a baking sheet or in a roasting pan.
- Whisk the flours, baking powder, and salt together in a bowl.
- Heat the milk and butter in a small saucepan over low heat until the butter melts. Remove from the heat add the vanilla. Cover to keep warm.
- Separate the eggs, placing the whites in the bowl of a standing mixer fitted with the whisk attachment (or, if using a hand mixer or whisk, a large mixing bowl) and reserving the yolks in another bowl. Beat the whites on high speed until foamy. Gradually add 6 tablespoons of the sugar and the cream of tartar and continue to beat until the whites reach soft, moist peaks.
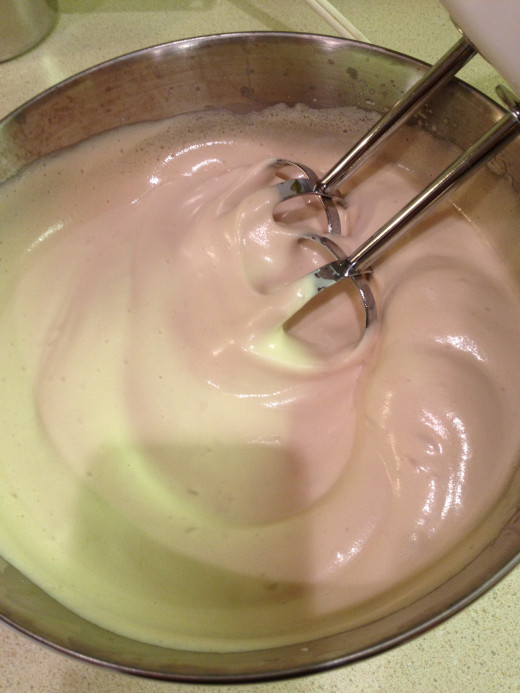
- Transfer the beaten egg whites to a large bowl and add the egg yolks to the standing mixer bowl—there’s no need to clean the bowl (or, if using a hand mixer or whisk, simply place the egg yolks in a separate large bowl). Beat the egg yolks with the remaining 6 tablespoons sugar on medium-high speed until the mixture is very thick and a pale lemon color, about 5 minutes. Add the beaten egg whites to the yolks, but do not mix.
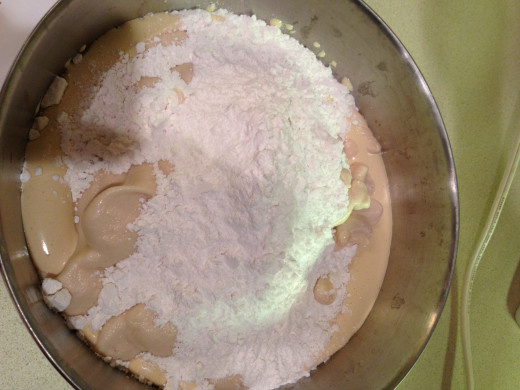
- Sprinkle the flour mixture over the egg whites and then mix everything on low speed for just 10 seconds (or, if using a hand mixer or whisk, until blended but not thoroughly combined). Remove the bowl from the mixer, make a well in one side of the batter, and pour the melted butter mixture into the bowl. Fold gently with a large rubber spatula until the batter shows no trace of flour and the whites and yolks are evenly mixed, about 8 strokes.
- Immediately scrape the batter into the prepared molds, filling each with about 3/4 inch of batter. Bake until the cake tops are light brown and feel firm and spring back when touched, 13 to 15 minutes. Transfer the pan containing the molds to a wire rack and allow the cakes to cool in the molds.
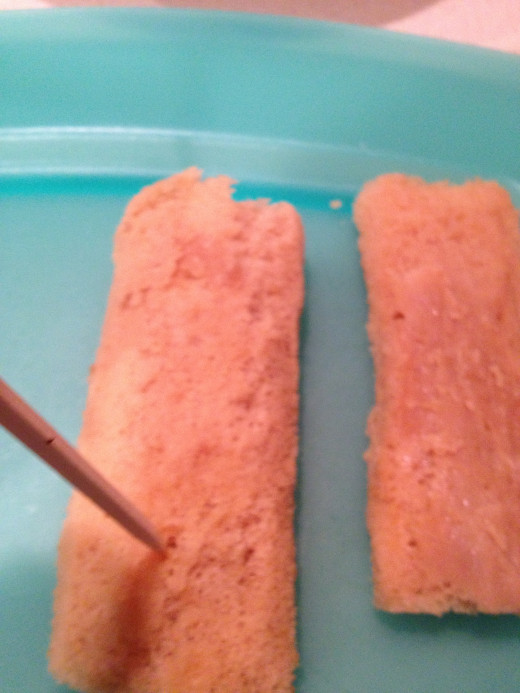
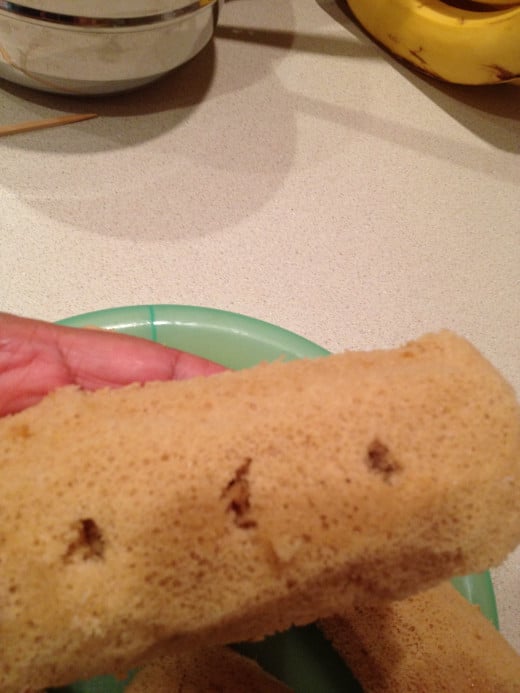
- Just before filling, remove each cake from the foil. Using the end of a chopstick, poke three holes in the bottom of each cake, just like in the bottom of real Twinkies. Wiggle the tip of the chopstick around quite a lot to make room for the filling.
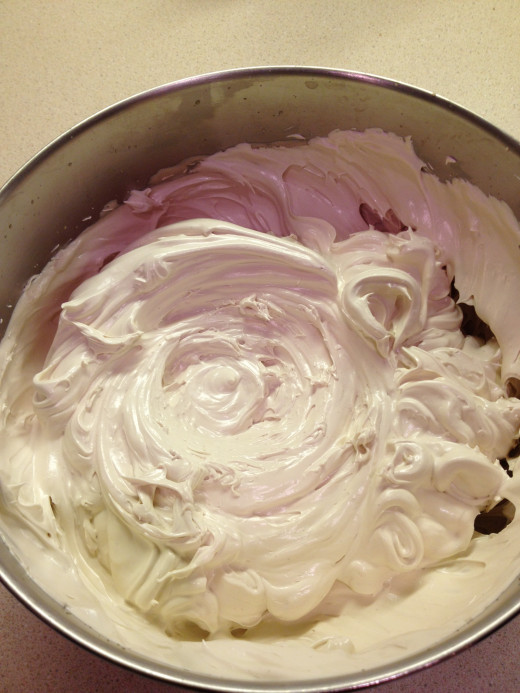
- Transfer the frosting to a pastry bag fit with a small tip (about 1/4 inch across). Pipe the frosting into the holes you created in the bottom of the cakes. As you fill each cake, hold it in your hand and press your palm gently around it so you can feel the cake expand, taking care not to overfill and crack the cake.
- Unlike real Twinkies, these won’t last indefinitely. They’re best served still slightly warm.
Twinkie Creamy Flavor-Filling Options
Item
| Flavor
|
|---|---|
Fruit
| Cherry, Strawberry, Apricot, Banana
|
Vegetable
| Jalepeno, Carrot, Sweet Potato
|
Other
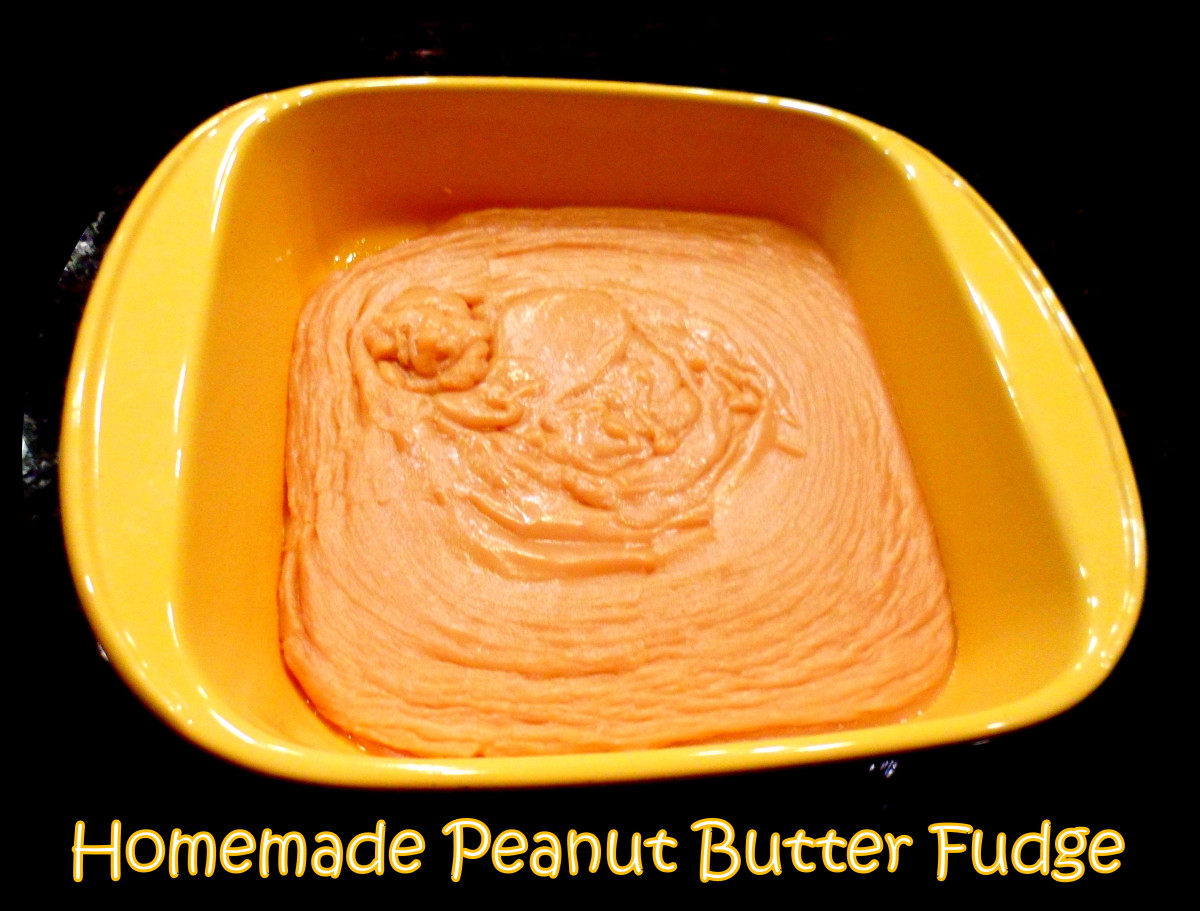
| Chocolate, Maple, Peanut Butter
|
Twinkies Nutritional Breakdown
| Nutrition Facts | |
|---|---|
| Serving size: 1 cake | |
| Calories | 150 |
| Calories from Fat | 45 |
| % Daily Value * | |
| Fat 5 g | 8% |
| Saturated fat 3 g | 15% |
| Unsaturated fat 0 g | |
| Carbohydrates 27 g | 9% |
| Sugar 18 g | |
| Fiber 0 g | |
| Protein 1 g | 2% |
| Cholesterol 20 mg | 7% |
| * The Percent Daily Values are based on a 2,000 calorie diet, so your values may change depending on your calorie needs. The values here may not be 100% accurate because the recipes have not been professionally evaluated nor have they been evaluated by the U.S. FDA. | |
Hello Twinkie, Not Goodbye!
You May Also Enjoy This Recipe
- How To Make A Twinkie
Michele Travis posts a great recipe for making your own homemade Twinkie!
Twinkie Recipe Findings
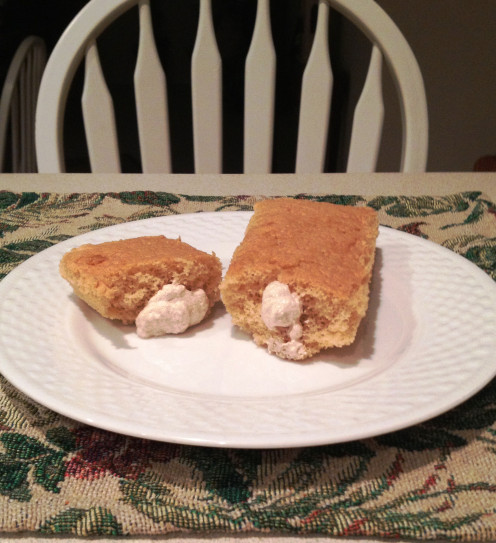
This recipe actually makes wonderful Twinkies. Our version did not exactly look like the original cake, but it was just as tasty. My husband slowly savored his first Twinkie and quickly finished off the rest over the next couple of days. And, I will admit I had one. They are now just a memory.
What we learned:
- They are probably much better if made using actual cake molds. The foil was practical, but the molds would have given them a polished look.
- We also decided that using butter instead of oil on the walls and bottom would have been a better choice. The oil dripped down into the bottom quickly leaving the sides with little coating.
- Using a piping tool would have made filling the cakes a lot easier.
- Lastly, I think my husband has decided to use a boxed sponge cake instead of homemade batter the next time we make Twinkies.
In conclusion, we have decided that homemade Twinkies are good but we have to give credit to Hostess for making these sweets with perfection. However, don't let this stop you from making a batch. You may just come up with a new and better version!

