The Ultimate Simple Playdough Recipe

Moms, teachers and childcare professionals everywhere are always on the look out for fun ways to keep the kids entertained especially if it is simple and doesn't break the budget. One thing I have found that kids LOVE to do is make and play with playdough. I mean, really, what's childhood with out playdough? Below, you will find not only a playdough recipe, but a step-by-step guide for making it with as little insanity as possible. If you have great ideas of your own, feel free to modify, and if you feel so inclined, share with the rest of us.
Step 1
Measure out your ingredients before hand. It is usually easier to get things situated before you have "help." Something I like to do is divide up the ingredients so that each child can make their own single sized portion. This goes a long way toward preventing arguments over who gets to pour what. It also makes dividing up the finished product that much easier. I usually use old applesauce or yogurt cups for individual ingredients.
Step 2
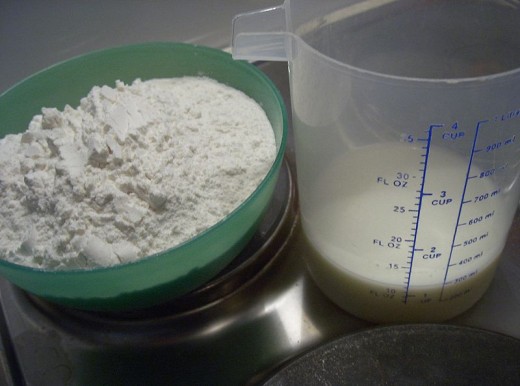
Start with the dry ingredients. Give each child flour and salt to put into their bowls first. I let the kids use their (washed) hands to mix these two ingredients. Young children love anything tactile. You will want to make sure that these two ingredients are well mixed.
Step 3
Add the wet ingredients. Because the single portion of oil is so small, I usually just add it to the water and then let the kids put it in as one item. You may, if you choose, allow the kids to mix wet ingredients into the dry ones with their hands, however, I find this is not terribly effective. When first adding wet to dry, the result is usually pretty goopy until you get enough of the dry stuff mixed in. Besides being messy, you get most of it stuck to the kids hands and end up with very little finished product. I have found it is easiest to use a fork. Be prepared-- depending on the ages of the children, you will probably be doing most of the mixing your self.
Step 4
Forming the finished product into a ball. I usually have quite a bit of flour left in the bowl once the dough has reached the desired consistency. The resulting dough, however, is usually in bits and will simply need to be pressed together pretty well to make a single lump. Again, this is something you may be "helping" with.
Step 5
(And the most important step. . .) Color! I like to have the kids use their finger to make a small indentation in the dough. Then I place a couple of drops of food coloring into the indentation and have them fold the dough over the indentation and press it as flat as they can with their hands. Then I have them fold it over again and repeat. Continue to do this until the color has been worked into the dough pretty well.
Now you let them play. My last recommendation, however, is that your preparations include ziplock baggies with their names. When they are done playing you can put the play dough away to be played with again later. If you are a babysitter or day care provider you can send the playdough home with the child. Parents enjoy seeing that their child has had a good time and having a useful product to show off is a great self-esteem builder for the child as well.
Playdough Recipe
1 1/2 cups flour
1 cup salt
1/2 cup water
2tsp vegetable oil
Or here is the recipe quartered for individual size
6 Tblsp Flour
1/4 cup salt
2 Tblsp water
1/2 tsp oil
Don't forget the food coloring!
Enjoy!
- Dying Eggs Without A Kit
Another fun thing to do with kids! - Make Learning Fun with Educational Childrens Games
Learning can be fun when you give your child educational and yet fun games to play. With very little effort, time or expense, you can provide your child with games that will keep them entertained while... - Children Games To Improve Creativity And Intelligenc...
4 Best Children's Educational Toys's & Games To Improve the Creativity & Intelligence.Improve Memory Power, Calculation Speed and Problem Solving Ability with Chidren's Buliding Blocks|Abacus|Bananagrams|Puzzles.


