Tips on Starting Seeds
Easy Seed Starting
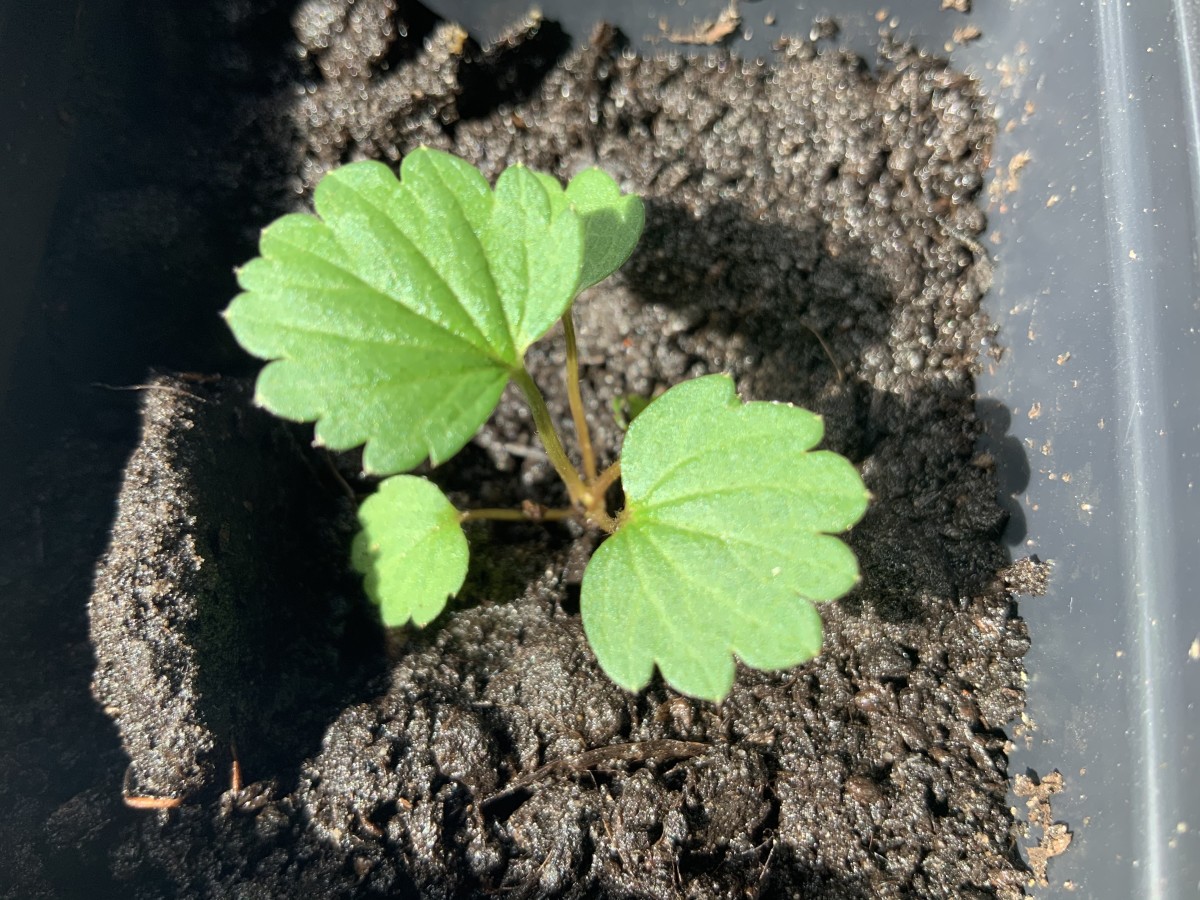
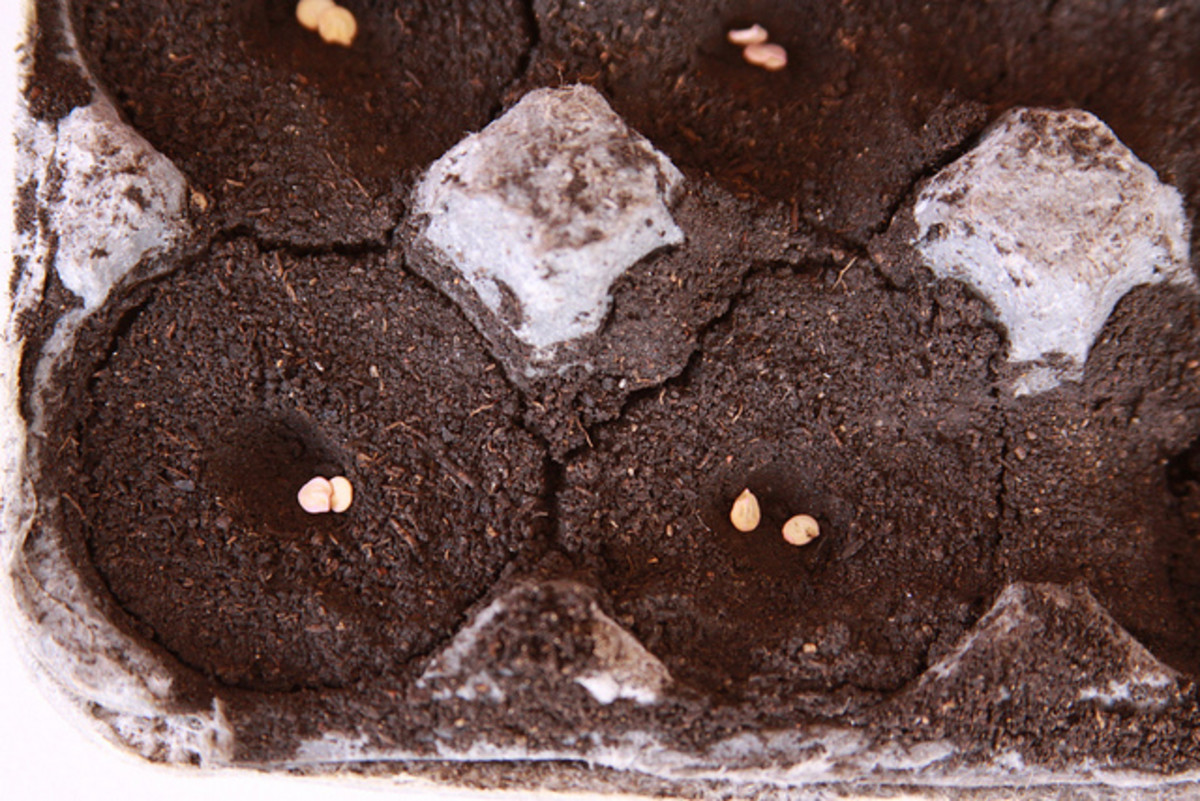
To make the process easy, use these tips on starting seeds. They are easy to follow and will get your seedlings a quick and strong start.
When you germinate seeds yourself, it opens up a huge variety of flowers and vegetables to you, since seed catalogs and internet seed order companies are all within your shopping area. This means that you will be able to grow unique and interesting plants that you just won't find in your local nursery or hardware store.
Seed starting is also a great money saver. By starting your own, the cost of each seedling is much less than what you will pay at the store. Not only will you have a huge variety of seeds to select from, you'll pay for it at the same time. After a few modest start-up costs that will allow you to get seeds started indoors, the annual cost of germinating seeds is very low.

Tip 1: Buy Fresh Seeds for the Garden
It's true that most seeds will germinate for more than one year from the time they are collected or purchased, and it is surely a money saver to use a single packet over more than one season if you don't need them all. However, germination rates will begin to decline as time moves along.
For the highest germination rate, use seeds that you saved last year, or purchase new seeds prepared for the current growing season. This will maximize your germination rate and get your new seedlings growing as quickly as possible. The faster your plants germinate and get going, the smaller the window is for soil-borne diseases to strike them down.
Tip 2: Use Proper Soil For Starting Seeds
One of the most important tips for seed starting is to use the proper soil, or growing medium, when starting new plants. Many people will try to use soil from outside or grab a bag of potting soil, such as one they might use every year for potted plants. This is the wrong way to go.
Use a very light seed starting mix that will allow the roots to breathe and retain some moisture for best results. You will find bags of seed starting mix in a nursery that works well. These are usually made of peat with other additives. They may come with or without slow release fertilizer. Choose without if you can, so you can control your own.
To make your own, simply combine equal parts peat and vermiculite. This creates a perfect mix that allows seedlings to grow quickly, yet resists soil-borne diseases much better than any soil you can get around the house.
Tip 3: When to Plant Seeds Indoors
Timing is everything when starting vegetables or flowers from seed. When you plant the seeds indoors is just as important as how you plant them.
To pick the right date, you need to know the typical last frost date for your hardiness zone. The USDA has a great zone map that allows you to enter your zip code to find your zone. Once you have the date of your typical last frost, you can pick the right date to plant.
The next step is to determine how many weeks ahead of that date to plant seeds. If the seed packet indicates that you should plant 6-8 weeks before setting plants in the garden, consider using the lower or middle range of 6-7 weeks as your starting point. Resist the urge to plant earlier. There is nothing worse than having seedlings ready before the weather is ready. This leads to overgrown plants that won't be as strong. By timing it right you'll get the best start possible.

Tip 4: When to Water Seedlings
The number one killer of young plants is water. Not too little, but too much water. The proper amount of water is absolutely imperative.
Water plants only when the soil is nearly dry. Your plants will be much stronger if they go through cycles of watering as they would in nature. Consistently wet soil will attract diseases that can strike down tender young plants. Just lift the pot or seed tray to figure out if it is light enough to water again. You will quickly learn how heavy a wet tray or pot feels.
In addition to watering only when needed, always water from the bottom. Soil-borne diseases love to hang out on the soil surface. Watering from below wets the top of the soil last and drys it out first, and by watering from the bottom you won't compact the soil. To water from below, simply fill a tub with water and set the seed tray or pots into a nice bath. Let them drink for several minutes, and lift them out. You can also add liquid fertilizer to this bath when it is needed.
Tip 5: How Much Light is Needed for Seedlings?
You can easily grow seeds in a sunny spot near a window, but if you can take total control of the light source it will have an amazing impact on the quality of the plants. Making use of the proper seed starting supplies includes lighting.
If you want total control, use artificial lighting. The major advantage of this light source is that you control exactly when it is on and off, and for how many hours each day. Young plants will appreciate 12-14 or more hours of this light each day. Natural sunlight can be hot and inconsistent, stressing out young plants.
The other advantage is that seedlings will grow straight and tall, since the lights can be suspended directly over the seedlings. This also means that an interior room in the basement works just fine. The main problem with a window is that plants will reach for the sun, causing them to grow crooked.
How to Start Seedlings Strong
Seed starting is a wonderful hobby, a money saver, and a great way to get some gardening in while the snow is still falling. To maximize your success, remember to use all of these tips for seed starting, and greater success will follow. Here is a quick recap:
- Plant fresh seeds
- Use a seed starting soil mix
- Time planting with your last frost date
- Water only when needed
- Control your light source
Now it's time to hit the seed catalogs and figure out what beautiful flowers and vegetables you will plant this year.

