What are the Benefits of Chard
Where did Chard Originate
By all accounts the chard we eat today was cultivated from the
sea-beet of the Mediterranean area. Though there is little written
evidence, archaeological digs indicate the beet was eaten as far back as 2,000 BCE. Current evidence suggests that Mesopotamians ate the leaves not the root, so in this way these early civilizations were actually eating Chard.
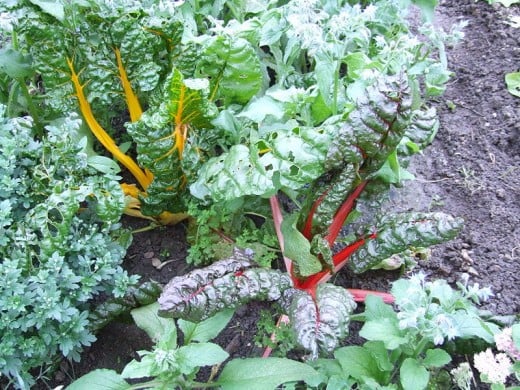
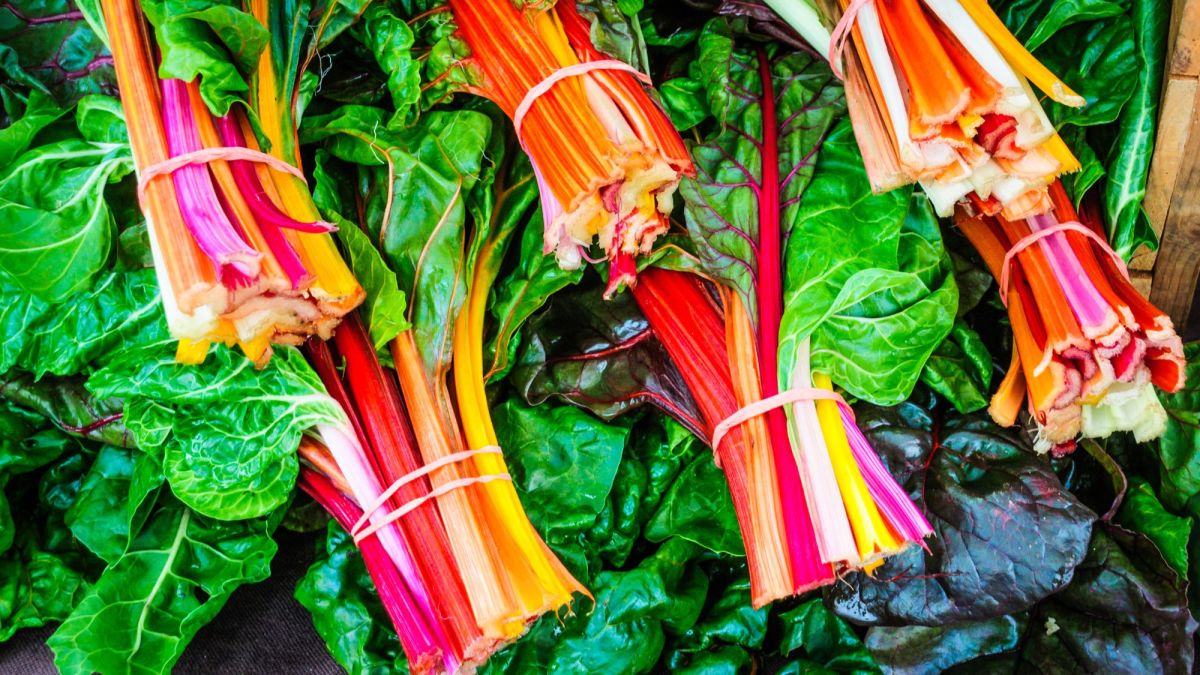
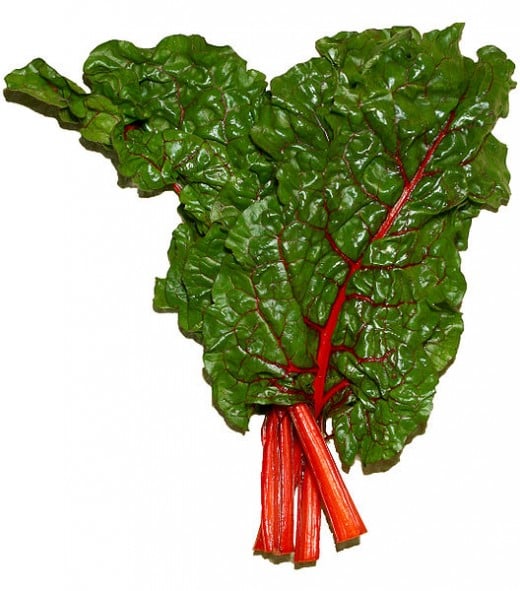
By the nineteenth century the one species was being referenced as two different cultivars; French Chard and Swiss Chard. They are readily distinguishable by the color of their stems.
So though the two plants are the same species, beet and chard, are considered two distinct edible plants based on the part of the plant that is to be eaten.
Young chard can be eaten raw in dishes such as salads. Mature chard can be cooked to make it more tender. In either case the chard has bitter undertones. Cooking removes this bitterness.


Nutritional Benefits of Chard
A three and a half ounce serving (100 grams) has 7 calories. It contains 0.1g of fat, 0.0g saturated fat, 0mg cholesterol, 77mg Sodium, 1g total carbohydrates, 0.6g dietary fiber, 0.4g sugar, and 0.6g protein.
It also provides 44% Vitamin A, 18% Vitamin C, 2% Calcium, and 4% Iron. It is also a good source of thiamin, folate, phosphorus and zinc. Additionally it is a good source of Vitamin C, Vitamin E Vitamin K, Riboflavin, Vitamin B6, Calcium, Iron, Magnesium, Potassium, Copper and Manganese.
On the negative side, chard has a lot of sodium. So for those of you on a low sodium diet you'll either want to balance your remaining meals for sodium content or avoid chard altogether.
Health Benefits of Chard
Of course Chard is an excellent source of fiber.
Because chard contains phytochemicals, beta-carotene, and vitamin K it is loaded with antioxidants. The riboflavin in chard helps the body produce glutathione, which is also a powerful antioxidant. Riboflavin also works with the B6 in chard to make the B6 more effective. The vitamin A content is known to both help preserve and protect vision; it is also good for the skin.
A three and a half ounce serving provides almost 15% of the dietary fiber requirements.
On the down side, though Chard contains iron, the oxilates also found in chard bind to the iron and prevent its uptake in the body. Like spinach, if you are eating chard for the iron you might want to look elsewhere.
Choosing Chard
As with most leafy greens you want to avoid chard which has been a meal for insects. Discard any leaves that have obviously been eaten. You also want healthy looking leaves that do not display wilting or drying out.
Chard is best if eaten within days of purchase if not on the same day. Chard spoils quickly too.
Growing Chard
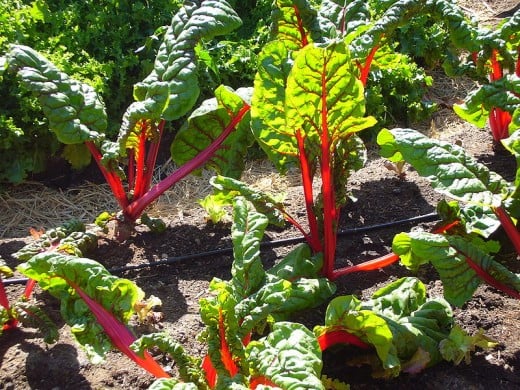
Chard prefers full sun in a loose soil rich in organic materials. e.g. compost. If compost is not available you can use blood meal. This recommendation is due to chard's need for nitrogen.
Chard should be planted one or two weeks before the last frost. Seeds should be sewn 1/2" deep and 3" apart. As the plants mature you may need to thin these rows to allow the hardier sprouts more room. Use the "rejected" sprouts in salads.
Once started chard will tolerate frost well. It is also a rapid and hardy grower once established.
Chard will mature in fifty to sixty days from planting. You can harvest the outer leaves when they are 1/2" from the ground. Once mature you can have an ongoing supply of edible chard if you pick the inner new leaves growing from the center once the plant has grown five to six inches tall.
Chard has few natural enemies and thus requires little maintenance. Aphids are known to attack the plant, but this typically takes place late in the season when chard has started to become bitter.
Less Than Usual Chard Recipes
Chard and Raisins
Ingredients
- 2 1/2 Pounds red Swiss chard, about two bundles
- 1 1/2 Tablespoons extra-virgin olive oil
- 1/8 pound (2 slices) bacon or pancetta, chopped
- 1 small yellow skinned onion, chopped
- 1/4 cup (2 handfuls) golden raisins
- 14 ounces chicken stock or broth
- Coarse salt
- 1/8 teaspoon nutmeg, a couple pinches ground or equivalent of freshly grated
Directions
- Heat a large skillet over medium high heat.
- Coarsely chop the red chard.
- Add oil, pancetta (or bacon), and chopped onion to the pan and cook 2 or 3 minutes.
- Add chopped chard to pan in large bunches, adding remaining chard as the greens wilt.
- Sprinkle in raisins, pour in broth and season with salt and nutmeg.
- Bring liquid to a boil, reduce heat and simmer greens 10 to 15 minutes until greens are no longer bitter.
Fresh young chard will not be bitter to begin with and will require less cooking time. The raisins will aborbe some of the moisture and become more grape-like.
Chard and Onion Omelet
Ingredients
- 3 Tablespoons olive oil, extra-virgin
- 1 large red or white onion, quartered and thinly sliced crosswise
- 1 bunch chard, no stems, chopped
- Salt and freshly milled pepper
- 1 garlic clove
- 6 to 8 eggs, lightly beaten
- 2 Tablespoons chopped
parsley or cilantro
- 2 Tablespoons chopped basil (optional)
- 2 teaspoons chopped thyme
- 1 Cup grated Gruyère (or other savory cheese)
- 2 Tablespoons freshly grated Parmesan
Directions
- Heat 2 Tablespoons of the olive oil in a 10-inch skillet.
- Add
the onion, and cook over low heat, stirring occasionally, until
completely soft but not browned.
- Add the chard and
continue cooking, stirring occasionally, until all the moisture has
cooked off and the chard is tender, about 15 minutes.
- Season well with salt and pepper.
- Mash the garlic in a mortar with a few
pinches of salt (or chop them finely together).
- Transfer garlic to a bowl and then stir it into the
eggs along with the herbs. Your fry-pan should now be empty.
- Combine the chard and egg mixture in the bowl and stir in the Gruyère and half the Parmesan.
- Preheat the broiler.
- Heat the remaining oil in the
skillet and, when it's hot, add the egg, cheese & chard mixture.
- Give a stir and keep the heat
at medium-high for about a minute, then turn it to low.
- Cook until the
eggs are just barely set. You want a bit of moisture remaining at the top of the eggs.
- Add the remaining Parmesan and transfer skillet to the broiler for (4 to 6 inches from the heat) until browned. No more than five minutes.
Because of the look of the prepared dish you can serve directly from the fry-pan.

