Your Easiest and Most Delicious Holiday Turkey Ever - on the Grill!
Free your oven for other baking and have an easy, golden and tasty smoked turkey on your table.
A lot of incredible cooks live in this world. Unfortunately, I’m not one of them. While I like real food, if I have to make it, it also has to be easy to cook.
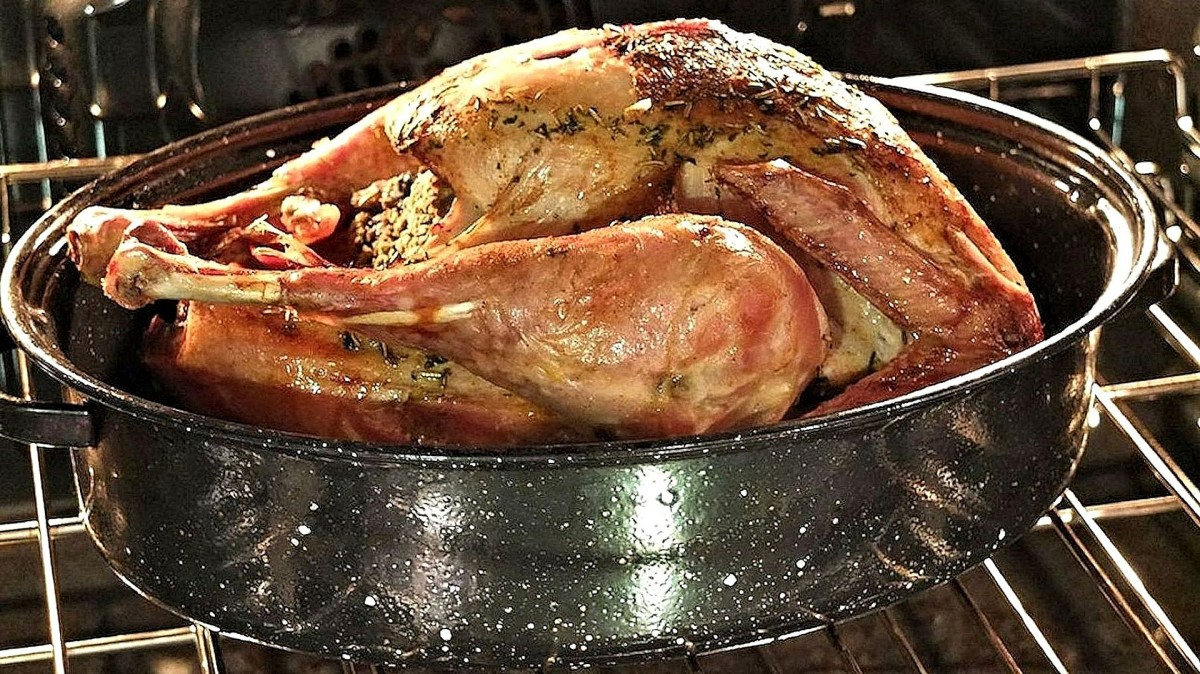
That said, my grilled, lightly smoked turkey is usually the star of the show! And, satisfying my number one strict requirement as a lazy cook, it’s also easy to make. Not only is this turkey easy, but the oven is empty, so it’s available for your other baking and warming needs.
I use a two-burner gas grill, so the instructions here are for a gas grill. I know that some purists will find this a little unsettling, but if you’re a purist about charcoal grills, you are also already an expert on using indirect heat in your grill, and you’ll easily adapt this recipe. Whether you are using a gas or a charcoal grill, it has to be covered.
This is not a stuffed turkey, but that’s to your advantage, because it does not take as long to cook, and the stuffing is not a worry as a source of food poisoning when the bird is sitting on the table for any length of time.
If you want to make stuffing separately, you can use any stuffing recipe you like, and even cook the giblets on the stove top and add them to your stuffing for extra flavor.
Now let’s do the turkey!
I usually order a free-range turkey, but if you can’t do that, try to get one that has not been pumped full of extra liquids and flavoring. I have never used a turkey that has a pop-up thermometer in it for this recipe, but I don’t see why that would not work. The turkey will not be exposed to any flame that would ruin the thermometer, so it should pop up fine when the turkey is done. (Famous last words – so, if you have to cook the turkey more after the thermometer pops up, please let me know and I’ll correct this article.)
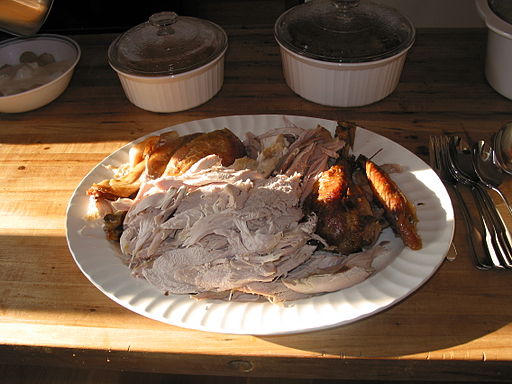
Nothing beats a good brining recipe!
The first step is making brine the turkey. The brine is important not only for flavor, but to keep the bird plump and juicy as it cooks in the covered, smoky grill. The brine recipe comes from a fantastic recipe book for using the grill called, oddly enough, The Ultimate Grill Book. I love this book; it’s full of fantastic tips, ideas, instructions about all kinds of grills and, of course, recipes. Their brine recipe, which I use below, is on page 20.
Use a container large enough to completely cover the bird with the brine. The container has to be from material that won’t corrode, such as glass, plastic or stainless steel. ( I use a five-gallon plastic bucket that’s used only for food.)
In the container, add:
3 quarts of water – cool but not extremely cold
2 cups firmly packed brown sugar
1 ½ cups salt
3 cloves garlic (the book says to halve the cloves, but I crush them or slice them.)
2 teaspoons whole black peppercorns
4 bay leaves
When you have the brine ready, if the giblets are still in the cavity of the bird, remove them. Thoroughly wash the bird inside and outside in cool water. Remove any pin feathers, and any hanging whatevers inside the cavity. Then submerge the bird in the brine. I put it in the brine head first, so I can be sure air isn’t trapped in the belly cavity. If the bird is large and is not completely covered by the brine, add water until it is covered. If you need to add more water, for every quart, also add ½ cup of salt. I mix any additional water and salt in a pitcher, then add it to the brine. Then, when all of the needed water is added, use a long spoon or your hand, and make sure all of the brine is well mixed. If the bird floats a little, put a plate on it and put something fairly heavy on the plate to weigh it down, so the bird is entirely underwater.
If the weather is cold, I let the bird soak overnight in my unheated garage, but the book actually says you only need to soak the bird in brine for a few hours. I’d say for a 14-24 lb bird, soak it for about 3 hours. If you plan on soaking it in brine longer than that, put it in the refrigerator. Or, if there’s no room in the fridge and you don’t have an unheated garage, you could possibly set the bucket outdoors if it’s cold, but not freezing. (Well, if you have no animals around who would appreciate some very salty, raw meat.)
After the bird has soaked long enough, take it out of the brine and wash it thoroughly, inside and outside. You want to wash it well to remove the excess sugar and salt, because all you will want for flavor, and to keep the bird plump and juicy, has already soaked into the meat. After you have washed off the brine, make sure the cavity has no liquid in it, and dry the bird with paper towels or a clean dish towel. Rub your favorite oil all over the turkey. At different times, I have used olive oil, grape seed oil and corn oil, and they have each worked fine.
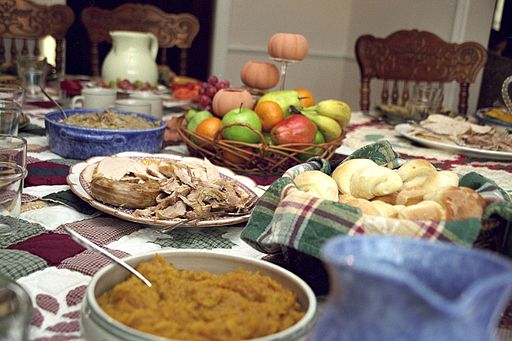
A good smoked turkey starts with a good 2-burner grill
Set up the gas grill for good smoked meat
To set up your grill, have one side that gets direct fire, and another side that gets no direct fire. I have a gas grill that has two burners, and having only one burner turned on works perfectly. Set that burner on low. Your grill may differ from this, but I can’t imagine that you’d need it turned up higher than medium-low, or possibly medium. You want to cook the bird slowly enough that it cooks evenly inside and out, without any burning. If the flame level is set correctly, the turkey will be beautifully golden brown and fully cooked, but still juicy inside. So it’s better to start too low and increase it, than to start too high.
Soak two cups of wood chips in water for about 20 minutes. Drain the excess water. For a gas grill, put a flat tin with wood chips in it on the rack over the burner that’s turned on. (You can usually get both the rectangular tin and the wood chips at any place that sells grill supplies.) I use mesquite wood chips, but you could also use hickory or some other wood. If you don’t have a flat tin for wood chips, you can make holes in the bottom of a disposable aluminum pie tin, or make a tin by forming aluminum foil into a rectangular shape with sides, and pierce the bottom in several places.
On the side of the grill with the burner turned off, set a drip pan the size of the bird (a disposable aluminum foil turkey pan works well) under the rack where the bird will be sitting. Set the bird, breast down, on the rack, over the drip pan - I don’t tie the wings or legs, as I want them to cook well and to absorb the smoke flavor. (If you prefer the turkey to be extra-lovely looking, you could set it breast side up on the rack, but the breast is incredibly juicy if it’s cooked breast down.)
The grill book I mentioned above says that you could also add a container of water to keep the smoking moist, but I haven't ever found that necessary.
Smoked turkey is the centerpiece to build a meal around
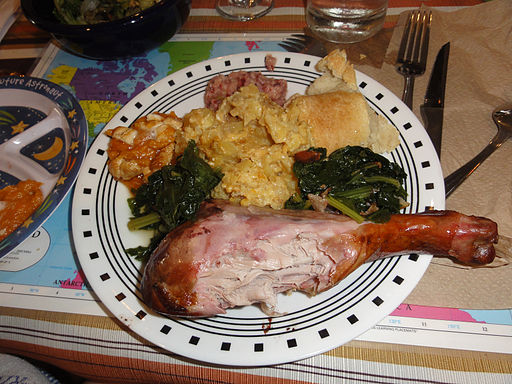
Close the grill lid and wait for that perfect smoked turkey
Close the grill lid.
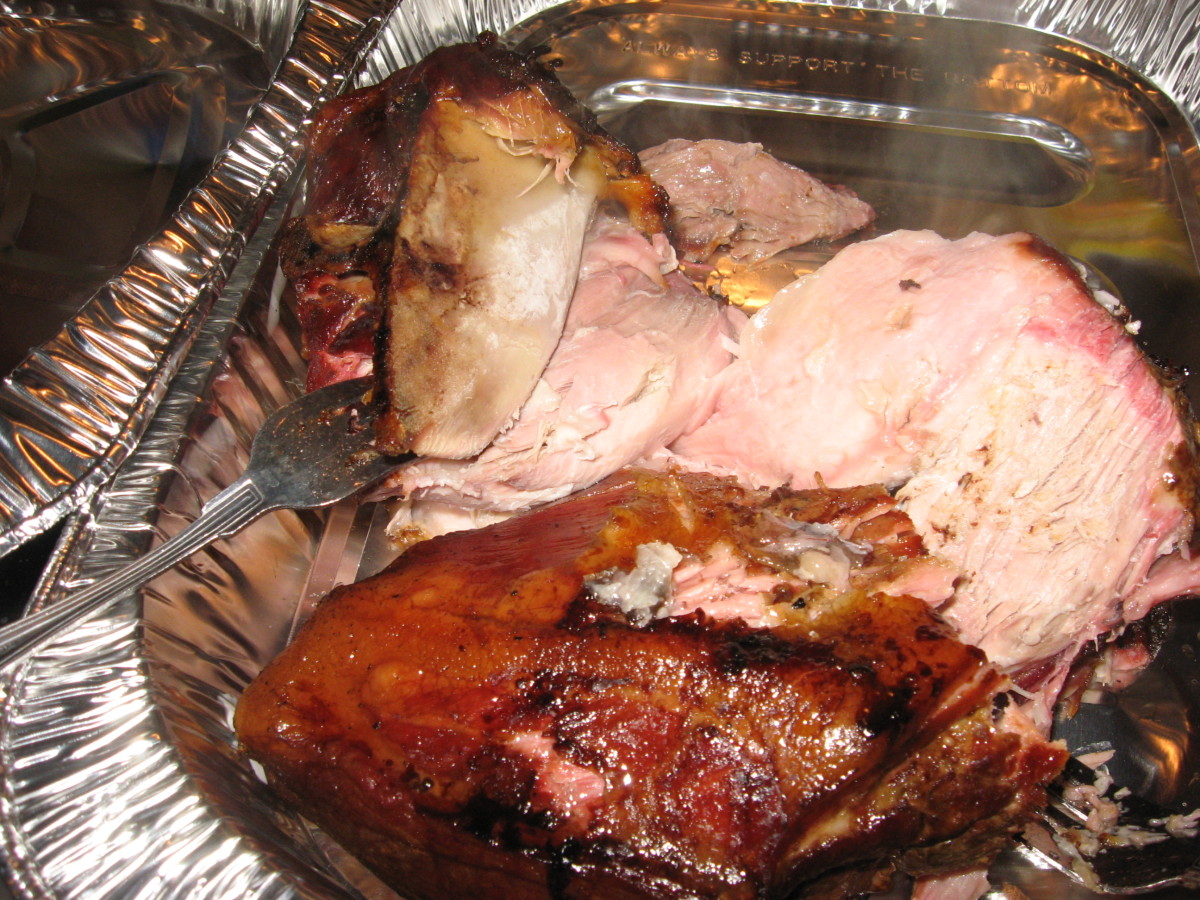
I use a turkey that’s about 15lbs. For that size, it takes, maximum, 4 hours. I only check the bird once. Until you know how your grill works for this, you could check more often, but every time you check it, the smoke is released and everything has to heat up again. I check the bird to use a bulb baster to baste it with the drippings, to see how it’s doing and to make sure there are plenty of wood chips still in the tin. Yes, I only baste it once, about half way through the cooking time. You could do that as many times as you want, but, again, it will need to heat up again every time the lid is opened.
I test the turkey by the meat thermometer – it should be 165 degrees when it’s inserted in the breast meat, but not touching bone – but you could also grip the end of the drumstick and twist it a little to see if the bone rotates easily away from the meat. Be sure to use a potholder.
After the turkey is done, set it aside on a platter to rest. Remove the pan of drippings from the grill. Depending on the turkey, you may need to separate the extra fat from the drippings. If you plan to serve the turkey as cold meat and have grilled it long before your dinner, you could put the drippings in the refrigerator, and later remove the fat that’s risen to the top and solidified.
However, most of the time, the turkey will probably be served warm. If that’s the case, you can use a fat separator, which means you need enough time for the fat to rise to the top, but at room temperature. Then it can be drained off. I use a fat separator cup for this purpose, and really like it. The drippings are perfect for thickening in any way you choose. I normally use cornstarch or arrowroot dissolved in cold water, as it adds the least extra taste to the already wonderful drippings. Don’t add any seasoning to the drippings until you have tasted them, because they are already thoroughly seasoned by the brine and smoked turkey juices.
I hope you enjoy this easy and tasty turkey, and I’d love to hear how you liked it!
If you read through this and find any of my turkey instructions hazy, please feel free to contact me via email, and I’ll make them (hopefully) more understandable.
Oh, by-the-way, this recipe is easy enough (and during Thanksgiving and Christmas season, Turkey is cheap enough) to test your grill technique by cooking a turkey before the big day. You can easily freeze the smoked turkey meat and have it ready for another holiday event as a snack or cold meat. I've also used this recipe, with less cooking time, to grill and lightly smoke three or four chickens at a time.
How do you use the grill?
If you haven't smoked a turkey on the grill, do you think you'd try it now?
Please remember to support the writing that you like
If you vote up or vote down an author's writing, you will show the people who follow you what you feel the quality of the writing is. Please support writers by voting up their work.


