Brew Beer at Home Using a Kit
Brewing Beer at Home is easier than you think!
My father has been brewing beer at home for years now, and we usually get him a beer making kit for Christmas to support his hobby. In the past, I have never participated in brewing beer, but I decided to change that.
I found that brewing beer can be a simple and fun way to spend a few hours, plus after a month you have an excellent home made beer to enjoy!
What you will need
While it seems a shame to spend a money on what amounts to be two buckets and assorted equipment, the easiest and quickest way to get brewing is to buy a kit. This kit is almost precisely the same as which my father has, and works quite well. You'll notice there is no carboy (a big glass bottle you sometimes see with beer kits). This piece isn't really necessary.
So, how do I start?
The kit above includes the equipment, but you will need ingredients as well. You can source these locally, and even make your own recipe, but when you first start out, a kit with everything measured will be best.
Oh, start saving your pry-off bottles. Plus, it's a great excuse to buy some extra beer. You will need to buy some bottle caps to cap your beer.
The kit comes with a capper, so you should be good there.
Cover the bucket as much as possible
Everything should be sterilized. There are lots of different ways to do this, both chemically via Star San, bleach, or iodine, or via heat (like in the oven)
Once everything is sterilized, try to keep it covered as much as possible. There are wild yeasts floating all around us (believe it or not). These can and do get into and onto your equipment, so you want to try to keep it as clean as possible.
Incidentally, this is one of the major differences between mead and beer. Mead uses wild yeasts to ferment, whereas beer uses a specific kind of yeast.
I asked my dad what would happen if we used bread yeast to ferment, and he said it would make a rather weak beer.
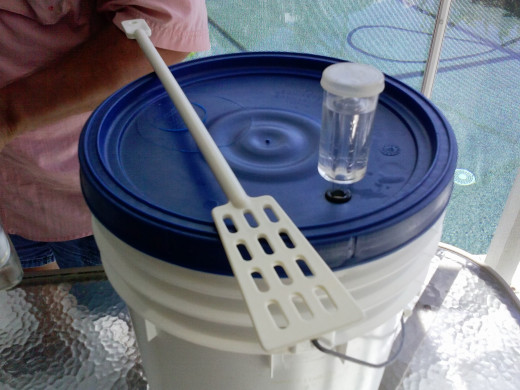
We got some Vodka at this point
(not for the reason you think)
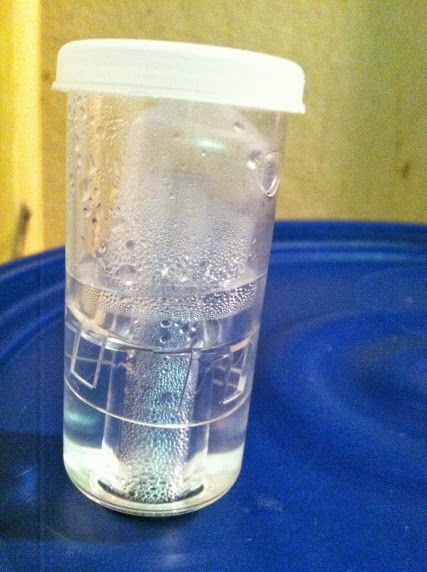
In the top of one of your buckets, there is a hole. This is the spot for a device that lets the carbon dioxide out.
This is important because if you don't let the CO2 out, it can build up and pop the top off. No good.
See the little clear cylindrical thing in on the right side? Full of vodka. Vodka, because it has alcohol in it (no, really?) helps to keep foreign yeast and bacteria out, as well as insects. Just don't get any vodka inside the bucket if you can avoid it. Alcohol presence is generally the limiting factor for fermentation. If you add extra alcohol during the fermentation process, less alcohol will be created by the yeast, limiting the character imparted to the brew.
Make the wort
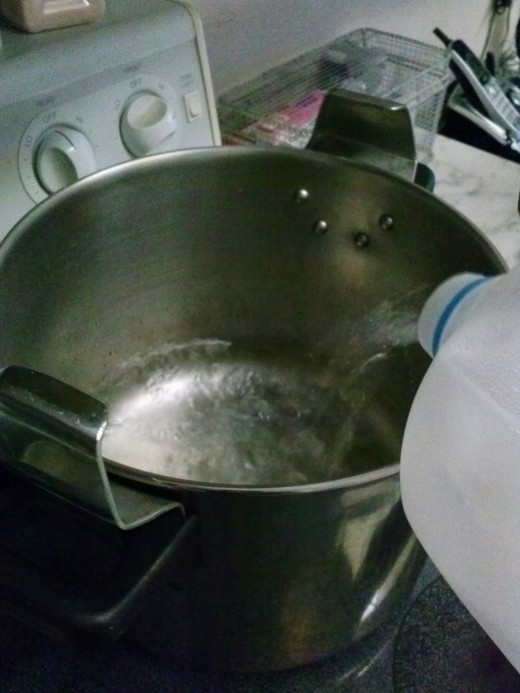
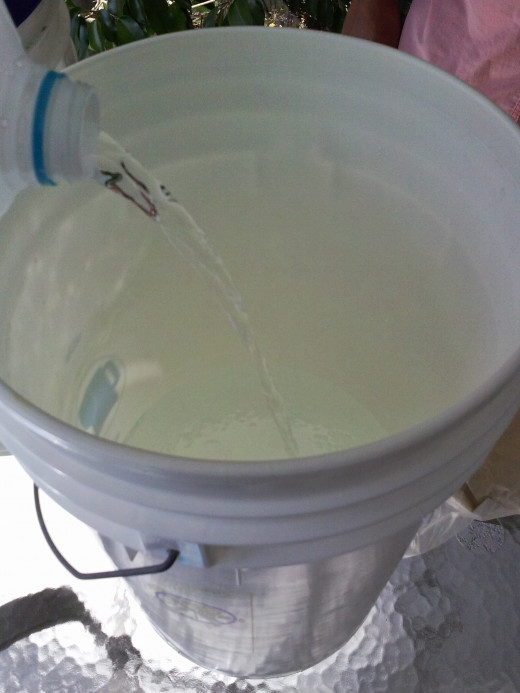
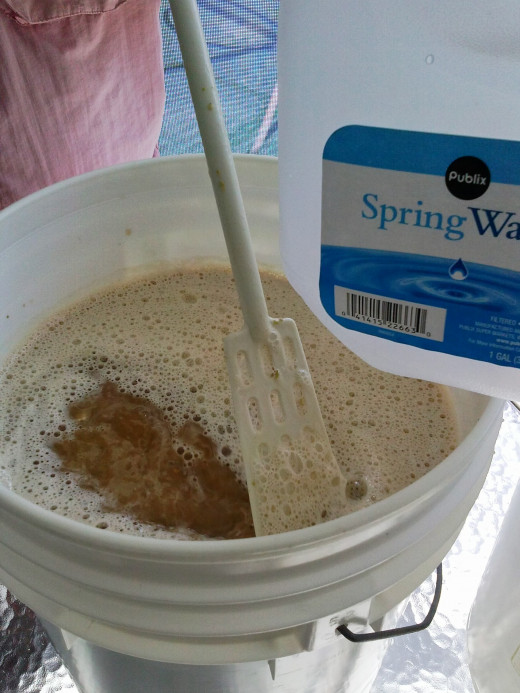
You can use boiled tap water, but we have found that simply going to the grocery store and purchasing water by the gallon is better. A note, do not buy de-ionized or pure water, spring water is best. The reason for this is that the electrolytes in the water add to the taste, and are needed for proper yeast development. Most beer kits are 5 gallons, and you will be using 1 gallon here.
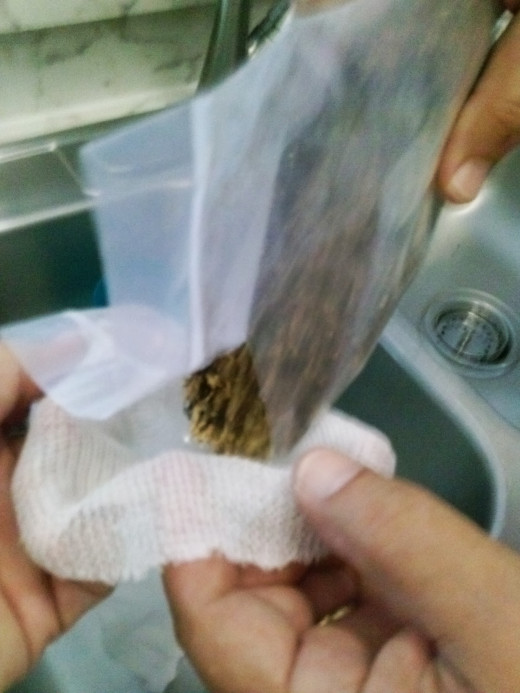
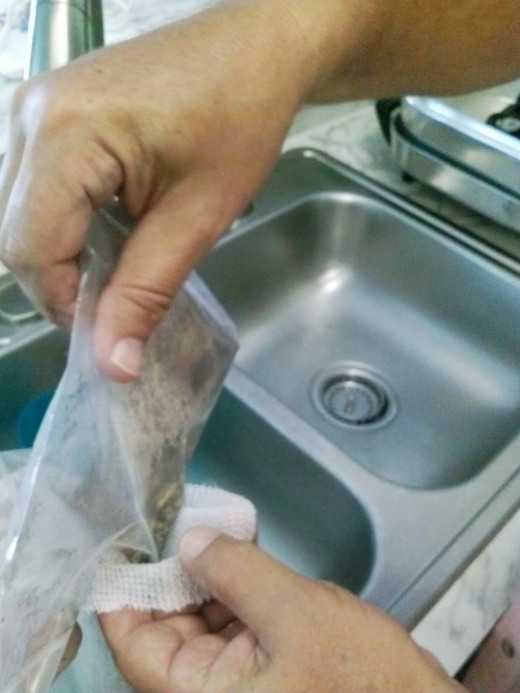
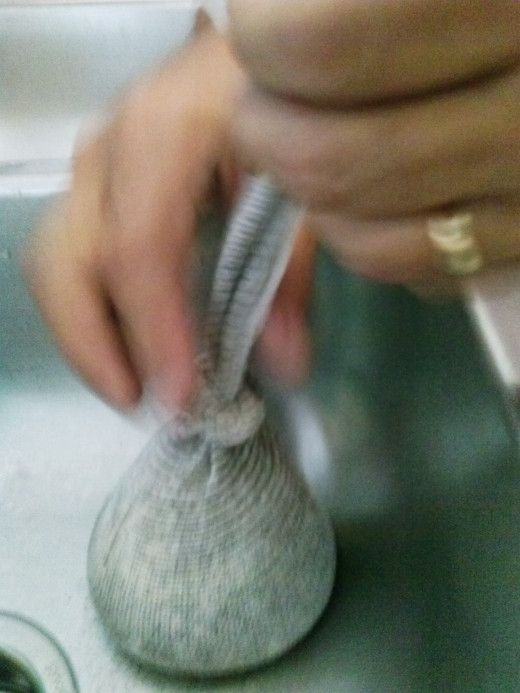
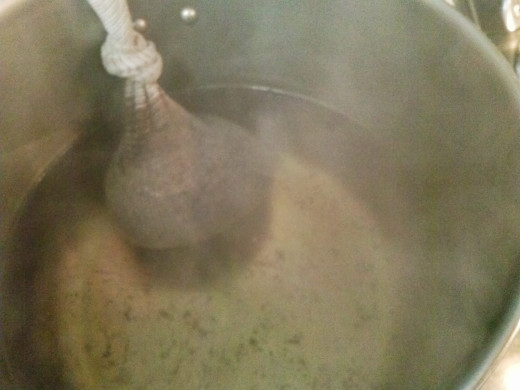
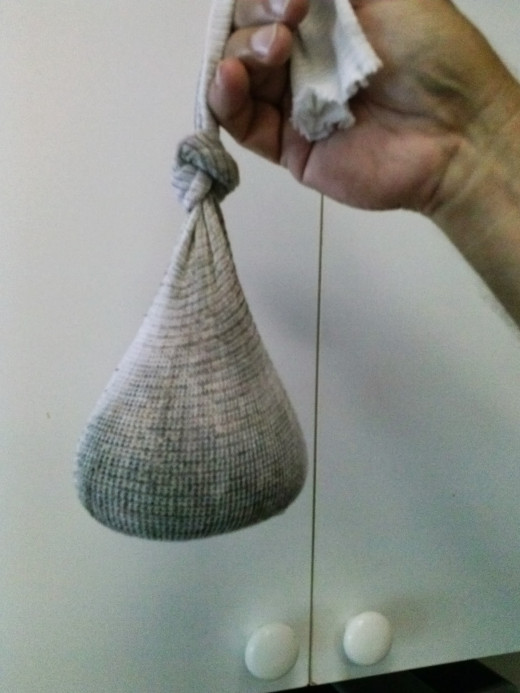
Included in your kit should be a package of grains. Empty this bag into the cheesecloth (the sock-looking thing). Tie a knot in the cheesecloth.
Wort making Process
Get a large pot and get it to the right temperature. Our kit specified 170 degrees, so use a cooking thermometer to check that it is the right temperature.
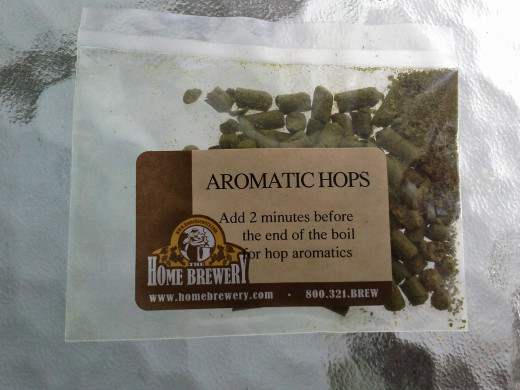
Add your hops when the instructions say. Hops help create the distinctive beer taste. IPA (India Pale Ale) is a very hoppy beer, to give you an idea of what Hops accomplish for you.
Pictures of making the wort
Click thumbnail to view full-size


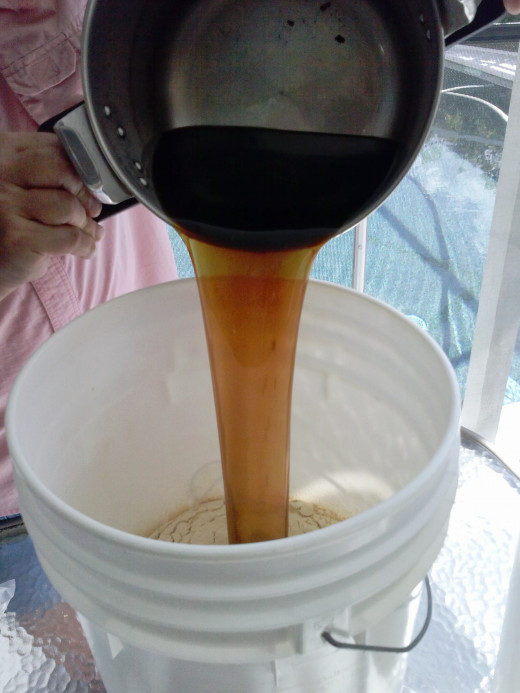
Pour the remaining water into your brewing bucket
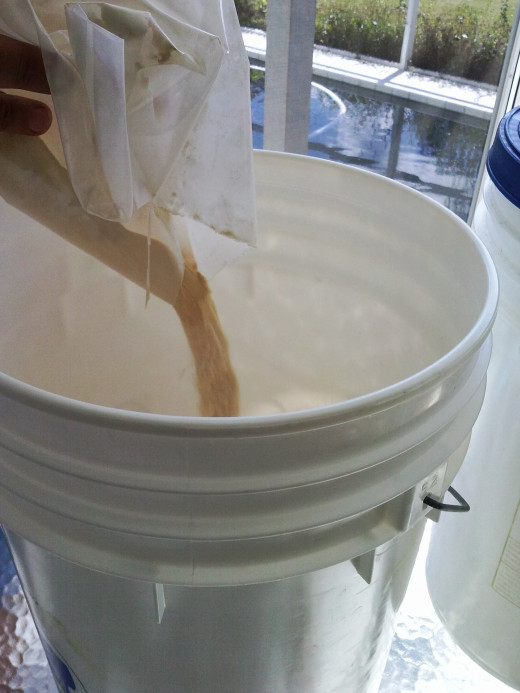
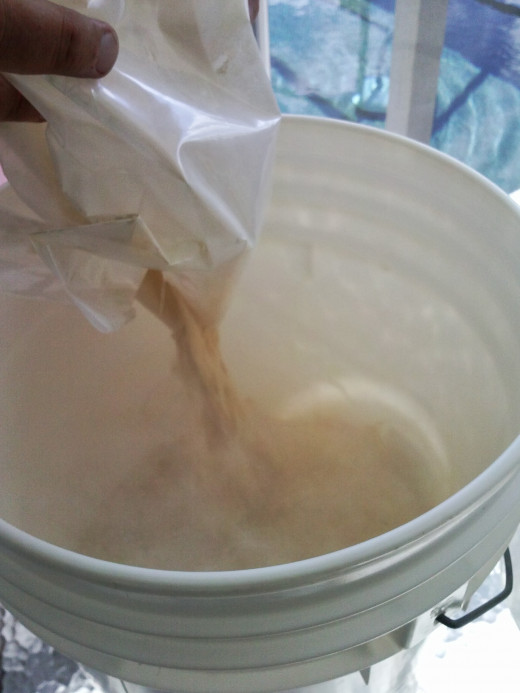
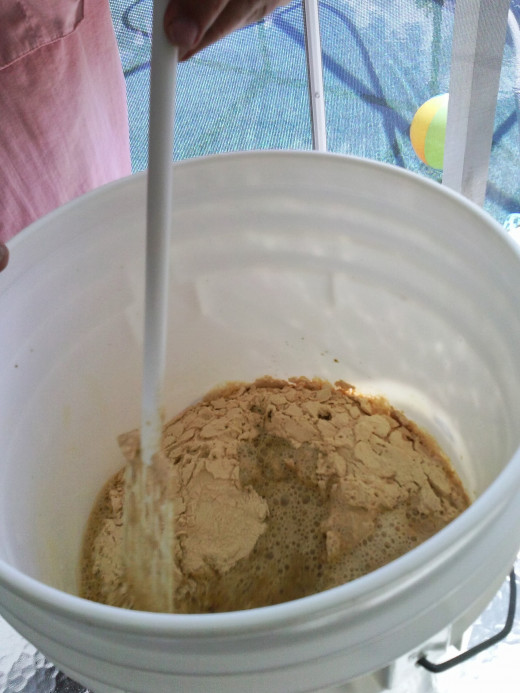
While your wort is steeping, pour the remaining water into the bucket. Add your sugars, plus some of the flavoring.
Stir it up so that the sugars are dissolved as much as possible.
Back to the wort...
Now, your wort has been steeping for quite some time, but let it go as long as the instructions say. You want a nice, full-flavored beer. Pull your cheesecloth out of the water, and let it drip. Discard your cheesecloth. We pulled it out and put it into a bowl to keep it from making a mess.


Here is the hardest part...
You have to let the whole thing sit for two long weeks. TWO WEEKS.
Talk about delayed gratification.
Anyway, find a cool, 70ish degree corner that won't get disturbed, and put your concoction there.
It's going to bubble and blub and gurgle now and then. That's okay! That means the yeast is working, making you beer!
This content is accurate and true to the best of the author’s knowledge and is not meant to substitute for formal and individualized advice from a qualified professional.

