Vitamins, Minerals and Cast Iron Cooking
If cast iron cookware is not available, an iron fish (or any piece of CLEAN cast iron) added to a pot of water or stock can help enrich the food with iron. As the following link shows even a small piece of iron can enrich the entire pot.
http://www.bbc.com/news/health-32749629
Vitamin enriched... fortified with minerals... and it always comes with a price tag, as well as added preservatives and chemicals that don’t naturally occur in the food we eat. Fortunately there is an inexpensive, natural, safe, and fun way to fortify you food with iron: cast iron cooking. Without any extra steps, cooking in cast iron will fortify your food with the iron that a good many of us need.
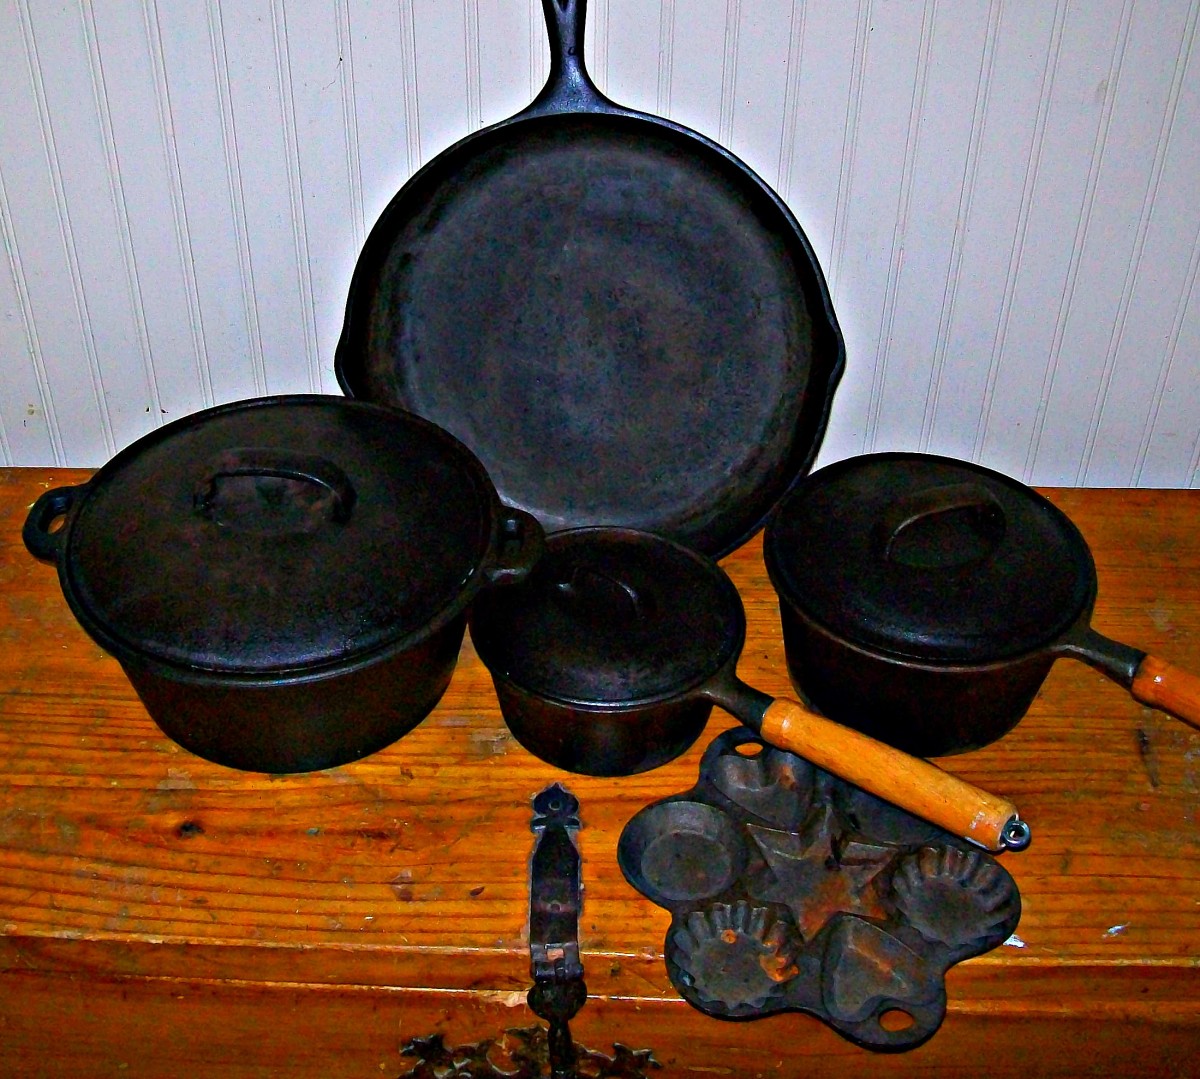
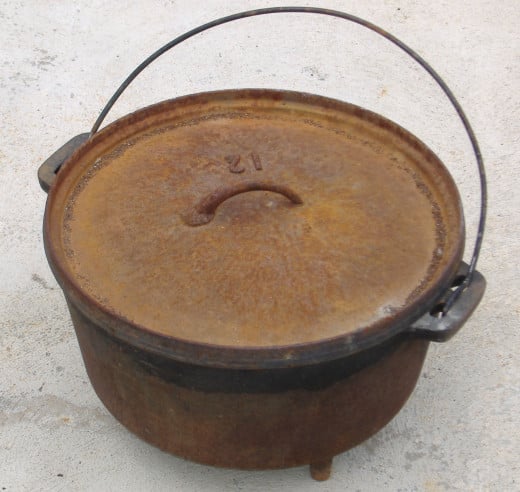
In addition to fortifying your food with iron, well seasoned cast iron will put teflon to shame, and rivals most other non-stick coatings, (without damaging the environment!). A common use of cast iron in cooking is the dutch oven. The dutch oven has been around for hundreds of years. The oven most commonly used today is based on a design by Paul Revere, and is a mainstay of campers, scouts, hunters, and many other traditional outdoors groups. The fun, however doesn’t stop there.
Any back yard barbecue can easily accommodate the addition of a dutch oven, and everyone knows how great dutch oven potatoes and chicken are. On the other hand, there is nothing that can’t be cooked in a dutch oven (cakes, pies, and even ice cream are just a few examples). Here are some hints to illustrate how simple it can be.
Seasoning a New Dutch Oven
A well seasoned dutch oven can rival other non-stick coatings, but a new oven must be seasoned or it won’t rival any coating, and like any pot, it needs to be cleaned sometimes. While dutch ovens don’t need to be re-seasoned after every use, tomato and other acidic based sauces will un-do the seasoning of a dutch oven. Ovens or pots washed with detergents or soap will also need to be re-seasoned (a simple rinse with hot water should not affect the seasoning).
Seasoning a dutch oven consists of the following steps. These steps can be used for cast iron frying pans and other cast iron pans as well.
1. Wipe or scrape out any remaining oil, rust, or debris from the oven.
2. Heat the oven by placing it in the fire (upside down works best) or in a very hot oven (the highest setting possible). This will burn out any remaining food or other debris.
3. While the oven is still hot, wipe out any remaining ashes and debris.
4. Wipe the entire oven or pan with cooking oil and allow to cool.
And yes, it’s just that simple!
Heat Management while Cooking.
There are dozens of cookbooks with easily as many recipes that are written specifically for the dutch oven. Most will have instructions for heat management, but for other recipes that are being adapted to the dutch oven, here are a few tips on heat management. For the basic potatoes and chicken, apply the heat to the bottom of the oven. Also any recipe that is cooked on a stove top will have all of the heat on the bottom of the oven.
Breads, rolls, cakes and pies all require baking, but the most common item baked in a dutch oven is cobbler. To bake cobbler, or anything else in a dutch oven, the heat must be distributed both on top as well as under the oven. This is where the lip on most lids comes in handy. Coals and charcoal briquets can be easily placed on the lid to apply heat from the top as well as the bottom. A general rule of thumb is 2/3 to 3/4 of the heat goes on top and the rest goes on the bottom. The amount of heat will be determined by experimentation, the weather, and experience. There are a variety of guides out there, but the air temperature and the source of the heat will change how those guides work. This is a case where practice makes perfect, and experience is going to be the best teacher.
At this point, start with something simple (like chicken or potatoes) and then explore from there. Cast iron cooking is fun, good, and good for you. What could be better than that?
qed.

