How to Roast a Turkey and Leftovers Recipes
Turkey is Not Just for Christmas or Thanksgiving!
I've honestly never managed to figure out why turkey is a foodstuff so often associated with and consumed only at one particular time of year. So many people who love turkey as much as I do seem to eat it only at Christmas or Thanksgiving each year and never contemplate serving it at any other time. While I must admit it is almost unheard of for me to buy a whole turkey, I regular buy turkey legs, breast fillets or even diced meat and cook it up in any one of a number of potentially tasty ways. It was when I came across the curious sight of fresh turkeys offered for sale at half price in my local supermarket in the month of April, however, that I decided to make the purchase, cook the bird and subsequently come up with a series of varied and enjoyable leftover creations. This page shows the full process of cooking the turkey, enjoying a roast turkey dinner and thereafter utilising what's left.
How to Prepare a Turkey for Roasting
Click thumbnail to view full-size


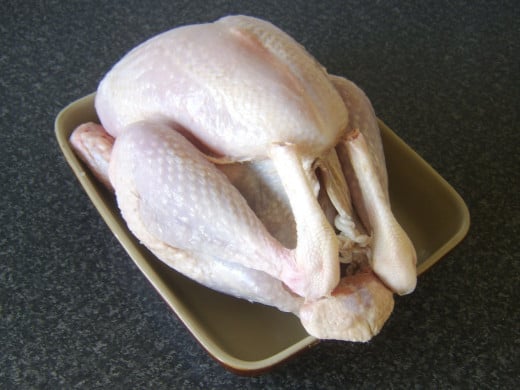
This turkey was bought and cooked fresh. If your turkey has been frozen, you will need to defrost it fully in the bottom of your fridge for the appropriate period of time. The wrapper will often provide guidance in this respect. Do remember that a larger turkey can take up to three days to defrost in this way.
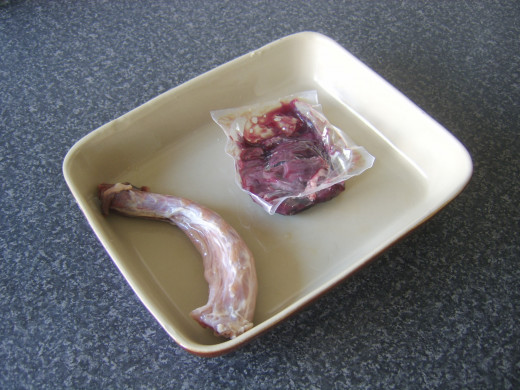
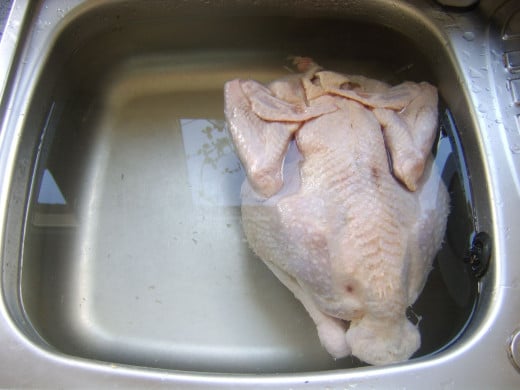
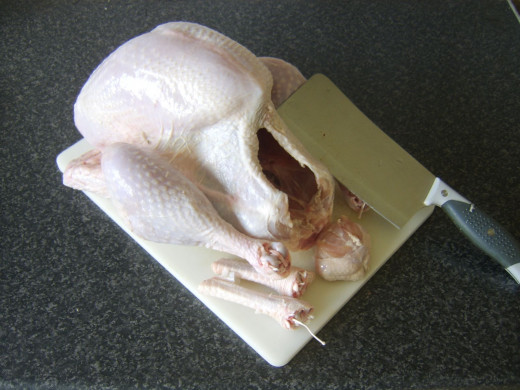
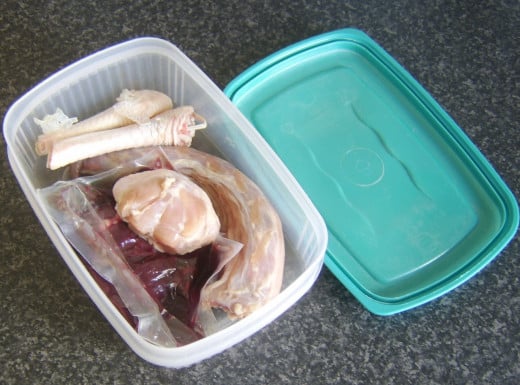
Remove the turkey giblets and neck from the cavity of the turkey (where appropriate) and reserve them for making gravy or stock. Wash the turkey carefully in cold water and pat it dry with kitchen paper. It is not essential to remove the bottom section of the legs where this has not already been done or the parson's nose but I always like to remove both for better final presentation. This is best achieved with a cleaver while the turkey is sat flat - breasts side up - on a chopping board.
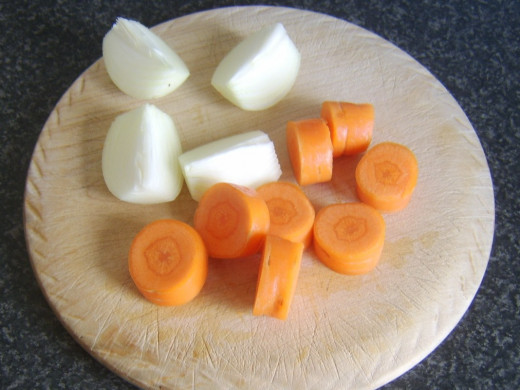
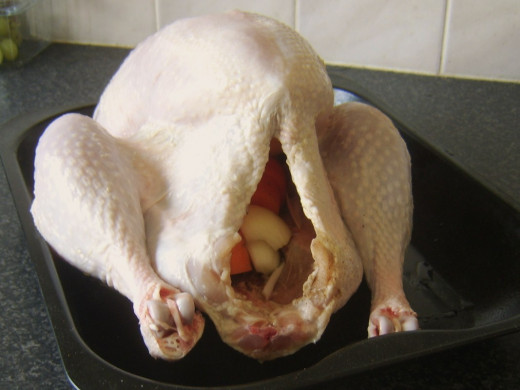
I like to cook the stuffing separate from the turkey. This is mainly a safety consideration as if you're not careful, stuffing can soak up cooking juices which are not fully cooked and present a possible food poisoning risk. I do, however, season the cavity well with salt and pepper and add a little bit of chopped carrot and onion for extra flavour. Herbs can also be added if desired, with sage an excellent choice.
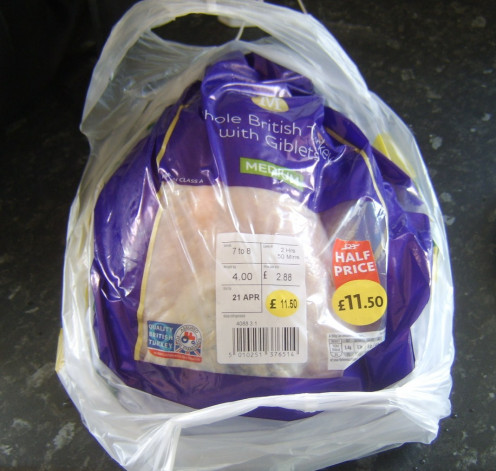
I know that kitchen scales don't know anything like the popularity in North America that they do in the UK (the scales pictured were my Gran's and are considerably older than me!) but in order to employ this incredibly easy, virtually foolproof turkey cooking method, it is imperative that the prepared and stuffed turkey is weighed. The cooking time is then calculated as twenty minutes per pound in weight and twenty minutes extra.
Alternatively, you can follow your established cooking time guidelines, remembering of course always to ensure the turkey is completely and fully cooked.
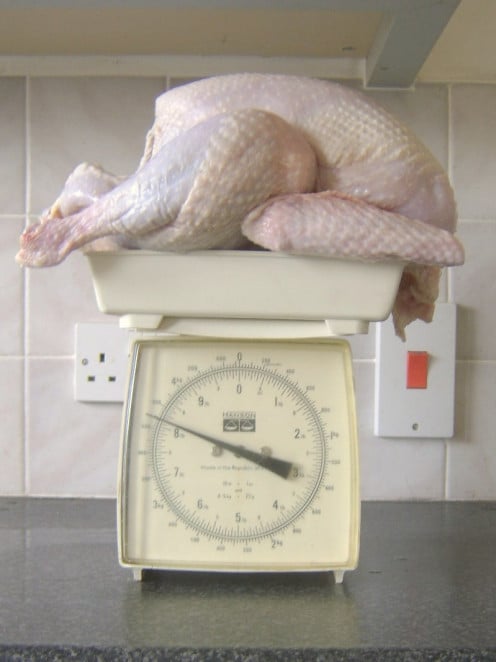
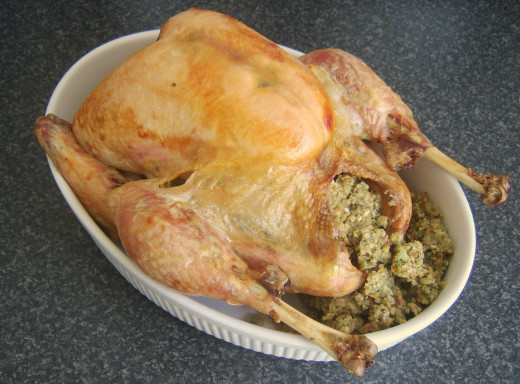
You will see from the photograph above that this oven ready turkey weighed in at just over eight pounds. At twenty minutes per pound and twenty over, that means a cooking time of just over three hours was required. The oven should initially be preheated to 190C/375F/Gas Mark 5.


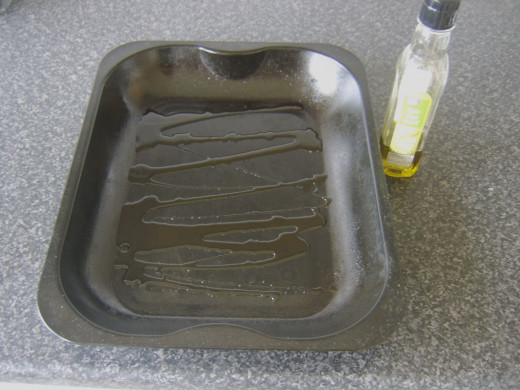
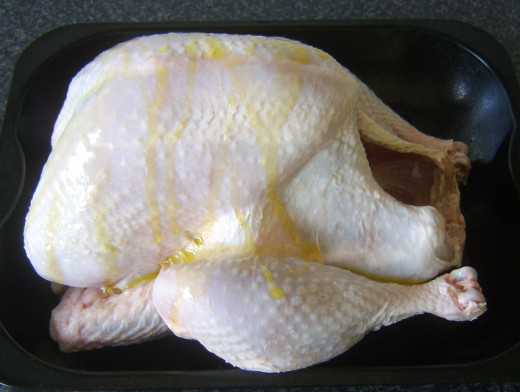
Lightly oil your roasting tray and sit the turkey on it, breasts side up. Drizzle more oil over the bird and use your hands to rub it in evenly over all exposed areas of skin. Yes, it's messy but there is no effective substitute for using your hands and if the oil is not rubbed over evenly, your turkey will look patchy when it is served, with the skin of varying degrees of crispiness. Finally, season the turkey all over with salt only.
You will notice in the photos that the legs of the turkey have not been trussed. This is nothing to do with the fact that the turkey has not been "stuffed," rather it is to ensure even cooking and further guard against the possibility of food poisoning.
When you truss the legs of a turkey or chicken, you are effectively forcing the insides of the thighs tight against the lower breasts/sides of the bird. This prevents the heat from circulating evenly and can lead to the affected areas being improperly cooked.
I once saw this demonstrated to excellent effect by a professional chef. He took two identical chickens, trussing the legs of one and leaving the legs of the other free before roasting them side by side in the oven. When the cooking time was up, the untrussed chicken was perfectly cooked but the inner thighs and lower breasts of the trussed bird were still significantly undercooked and pink. Clearly, the second bird required further cooking and by the time the pink had been cooked out, the rest of the chicken was overcooked and dry.
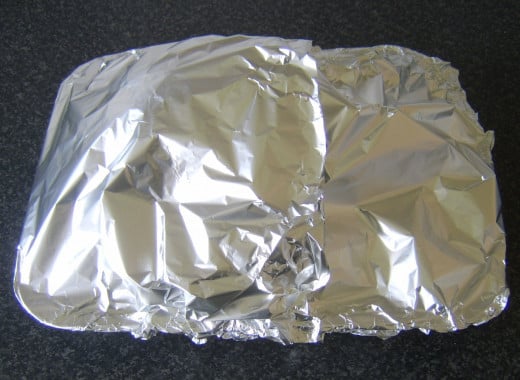
Cover the roasting tray with foil to form a loose but sealed tent and put the tray in to the oven for the prescribed cooking time.
How to Roast a Turkey
Click thumbnail to view full-size


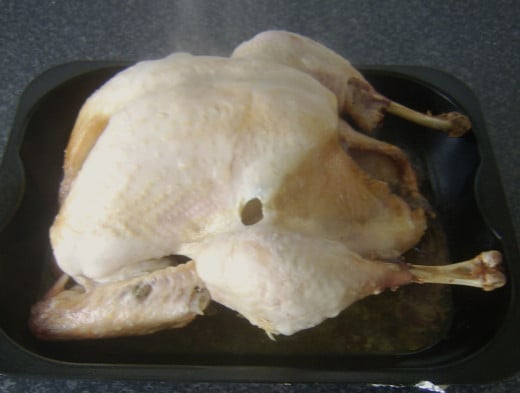
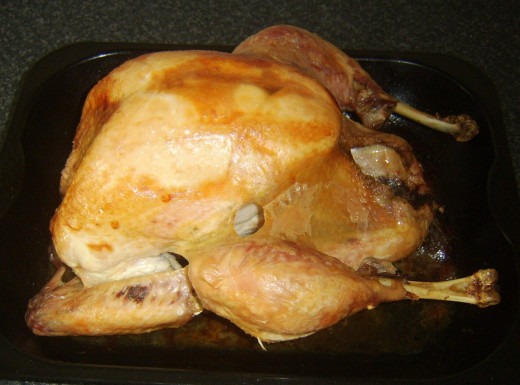
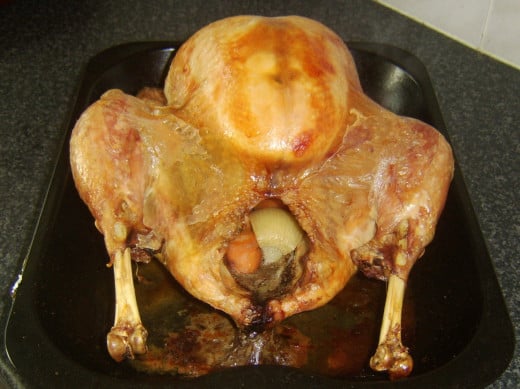
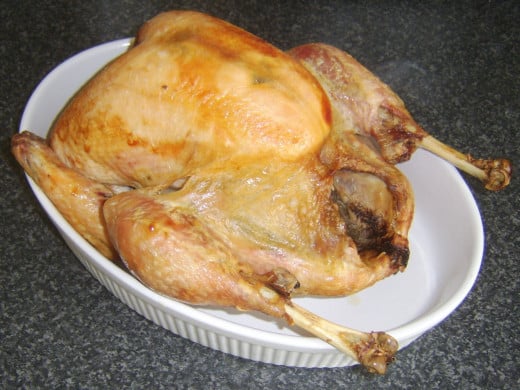
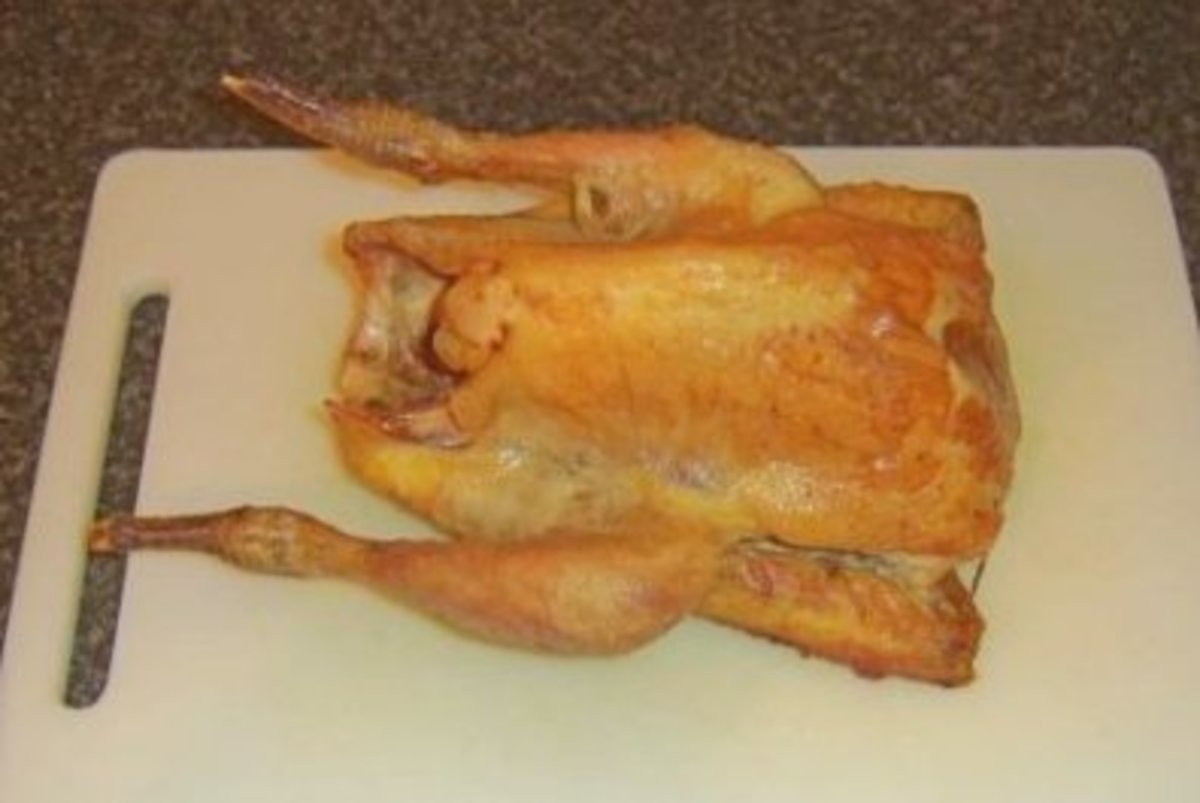
When the turkey has been in the oven for twenty minutes per pound, therefore still has twenty minutes of cooking time remaining, take it out and carefully remove the foil. You will see that one of the legs is already just starting to separate - that is a sign that the bird is almost done. Turn the oven up to 220C/450F/Gas Mark 8 and put the turkey back in for the final twenty minutes.
The skin should bronze and crisp up beautifully in this final stage of cooking. Take the turkey from the oven and sit it somewhere out of the way to rest for a minimum half hour.
How to Prepare the Roast Turkey Accompaniments
Click thumbnail to view full-size


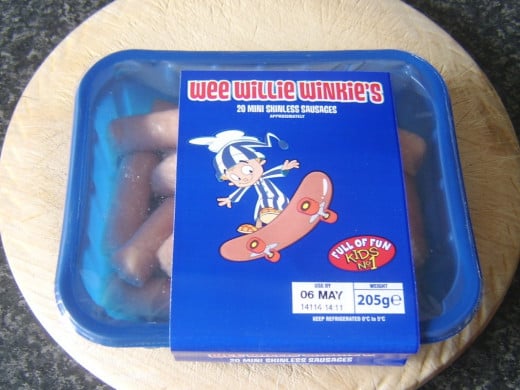
Turkey accompaniments can strictly be whatever you wish so this section is really only a suggestion as to what you may want to serve with your roasted bird. What I did find, however - preparing this roast in the month of April - was that some of the "traditional" trimmings I wanted to serve were either out of season or simply unavailable due to not normally being in demand at the time of year. Specifically, I was unable to obtain fresh Brussels sprouts or small, chipolata sausages.
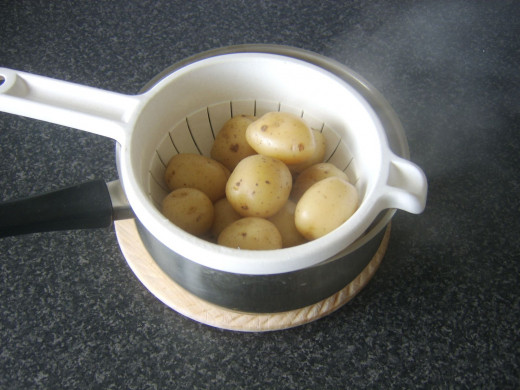
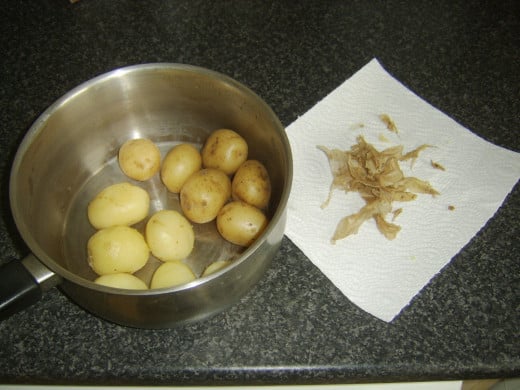
The potatoes have to be attended to first in this set of chosen accompaniments. They are small, new potatoes, which are boiled whole with their skins on in salted water until just soft (25 to 30 minutes). They are then drained, allowed to steam off for about five minutes, covered and left to cool completely.
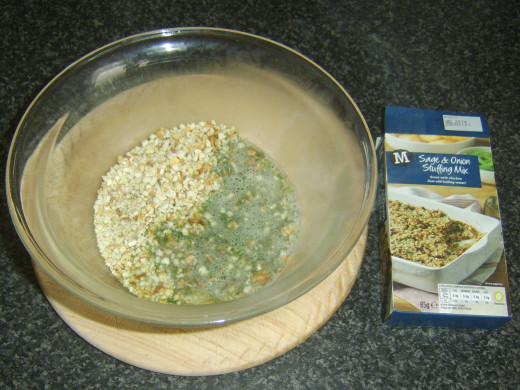
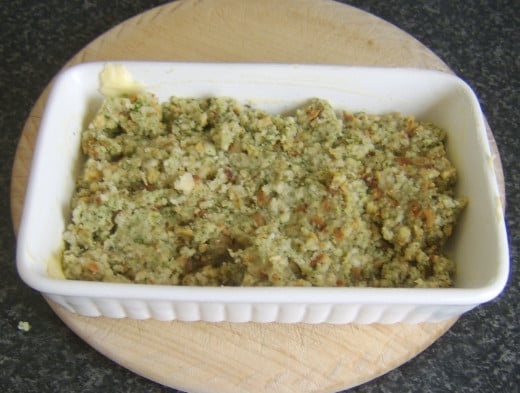
The particular type of stuffing you choose to serve will determine the cooking method and time. This stuffing firstly had to be mixed with boiling water and left to sit for five minutes before being added to a buttered dish and baked for half an hour. I prepared it and got it in to cook as soon as the turkey came out of the oven.
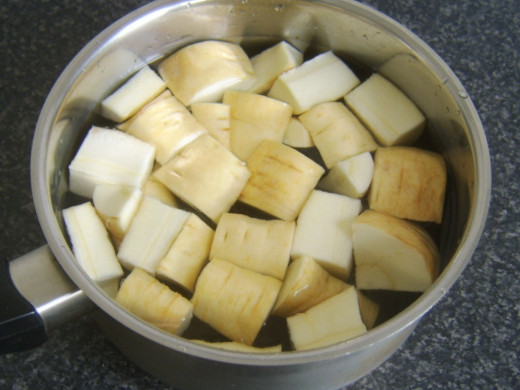
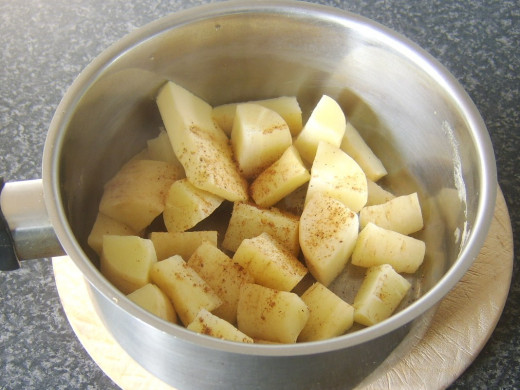
The parsnips were scrubbed, topped and tailed but not peeled before being chopped. They were then added to a pot of cold, salted water which was brought to a simmer until the parsnips were just softened. This took about 15 minutes. The parsnips were then drained and returned to the pot, along with a decent bit of butter and a good scattering of ground nutmeg. A gentle swirl of the pot for half a minute or so should melt the butter and coat the parsnips.


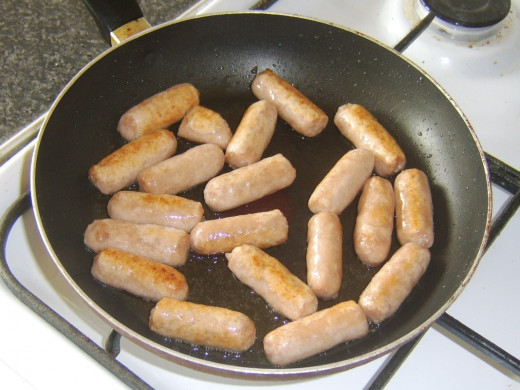
These small sausages were bought due to the unavailability of chipolatas. They were gently fried in a little oil for about ten minutes until cooked and lightly browned.
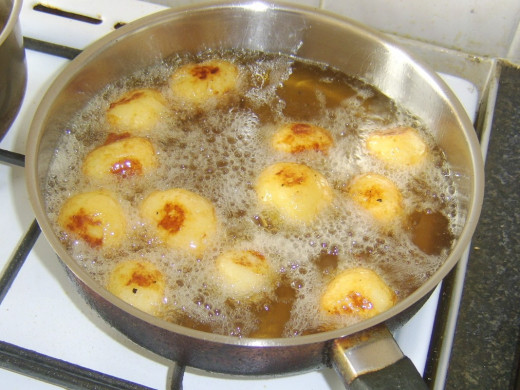
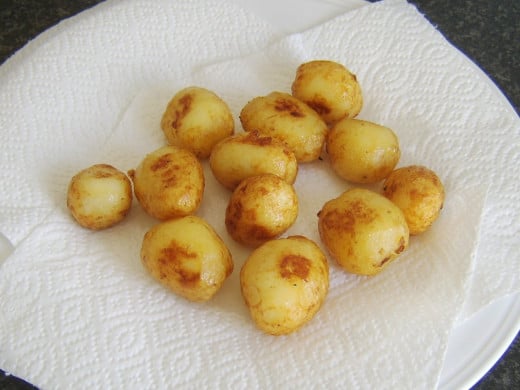
The potato skins were peeled/rubbed away before the whole potatoes were deep fried in hot oil for about five minutes until crisp and golden. They were then drained on kitchen paper on a plate.
How to Serve the Roast Turkey
Click thumbnail to view full-size


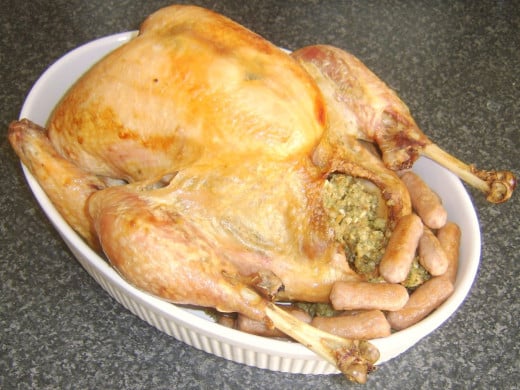
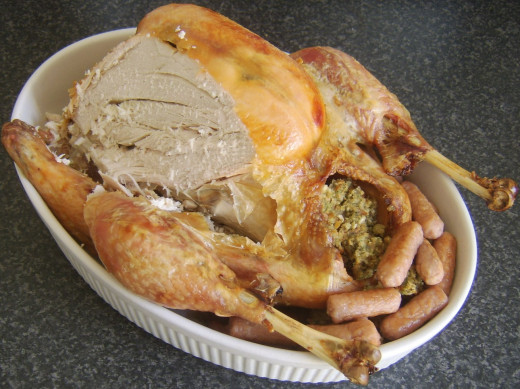
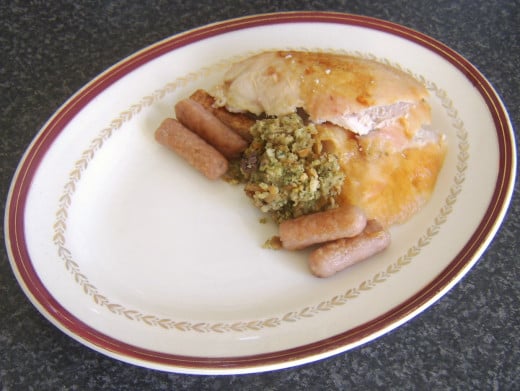
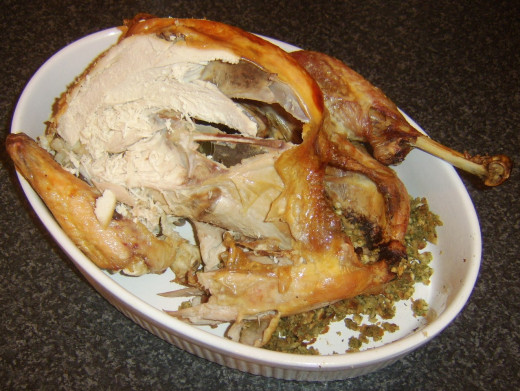
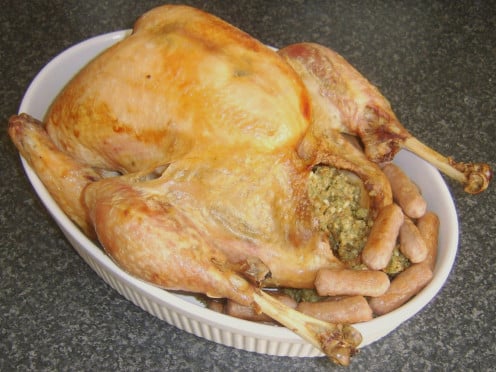
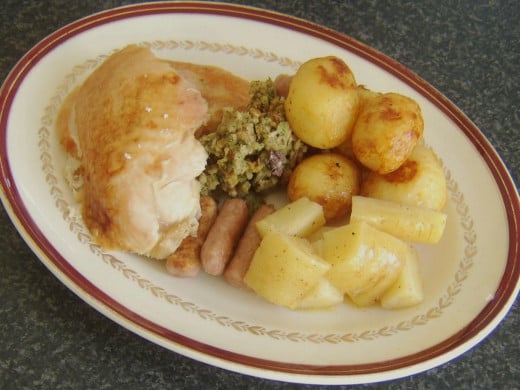
The turkey could of course be carved or portioned and plated in the kitchen. What I did here, however, was add it to a deep serving platter and firstly partly stuff it with the straight from the oven sage and onion stuffing that it looked as though the bird had been cooked stuffed. I then laid the little sausages on top of the "overspill" of the stuffing.
The roast potatoes and parsnips were taken to the table in separate dishes.
Sorting and Storing Turkey Leftovers
Click thumbnail to view full-size


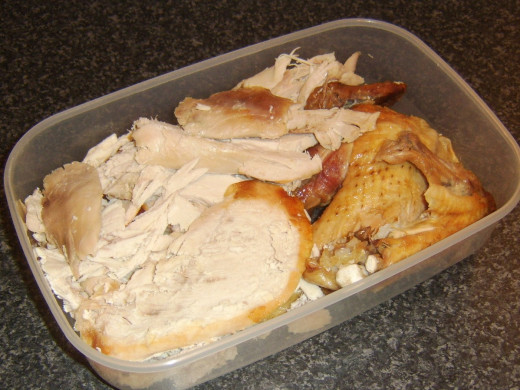
The amount of leftovers you have at the end of your meal will depend upon the size of your turkey, how many people are dining and how hungry each person happens to be at the time. This meal was deliberately arranged that there would be plenty of leftovers to prepare the recipes which follow.
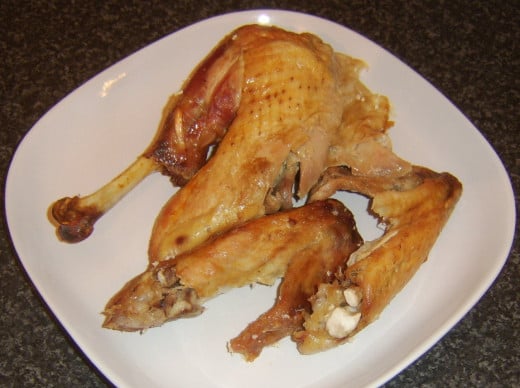
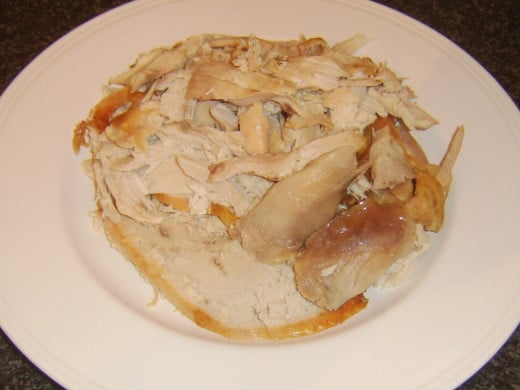
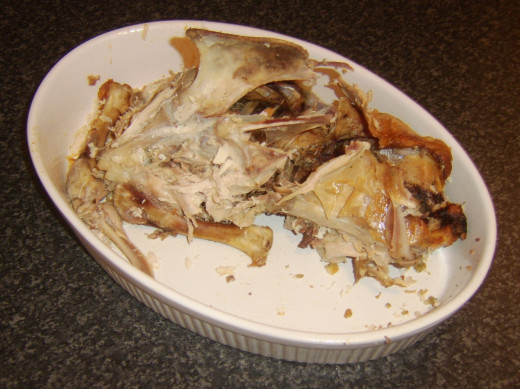
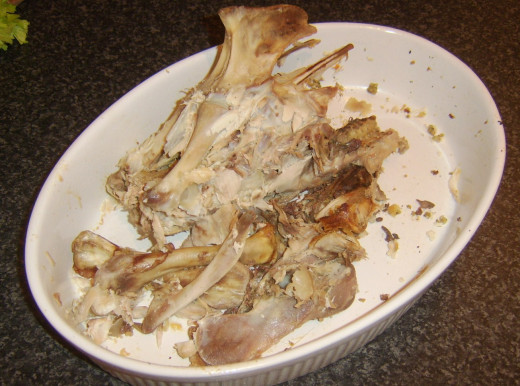
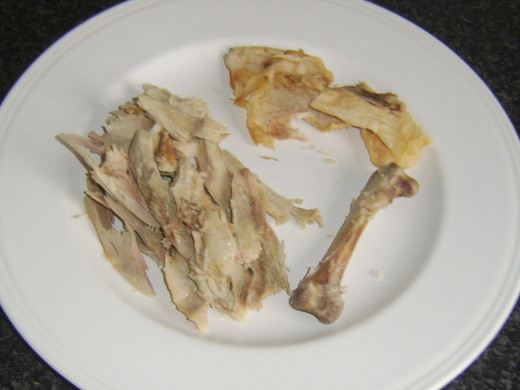
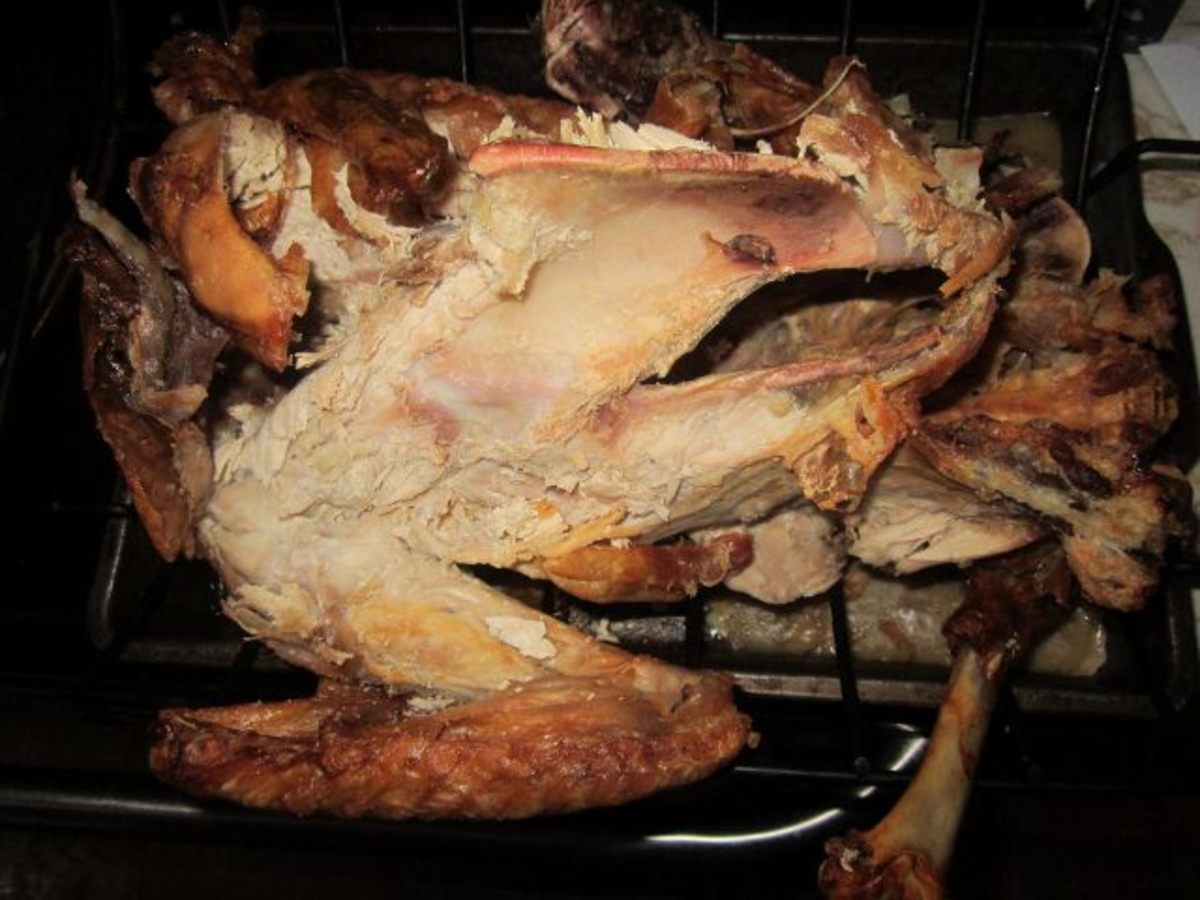
Begin by removing any leftover wings, leg and thigh portions. You can then carve off as much of the remaining meat as possible with a knife before plucking the remainder off the bones by hand.
There are two pieces of meat on a turkey (and chicken) which many people often miss and discard with the bones. This is a great shame as they are the most tender, tasty and succulent parts of the bird. They are found underneath the bird, roughly half way along and immediately to either side of the backbone. They are roughly oval shaped medallions and can easily be slipped free from the little dimples in which they are contained. You can see them to the bottom right of the middle photo above. Do make sure not to miss these delicious little turkey meat morsels.
How to Make Turkey Broth from Turkey Bones
Click thumbnail to view full-size


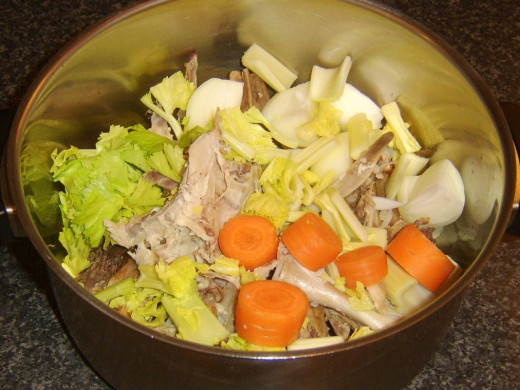
When you have picked the last of the meat from the turkey carcass, it's a great idea to use the bones to make a tasty broth which can subsequently be used to make soup, a stew, or any one of a number of tasty dishes. You can even freeze it after it's prepared and use it up to three months further down the line!
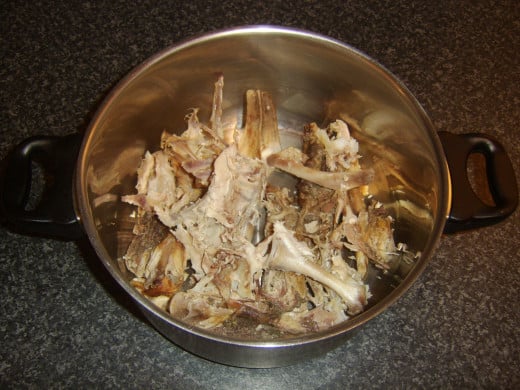
Start by removing any remaining skin or gristle from the bones and breaking/chopping them carefully in to manageable pieces. Add them to a stock or soup pot.
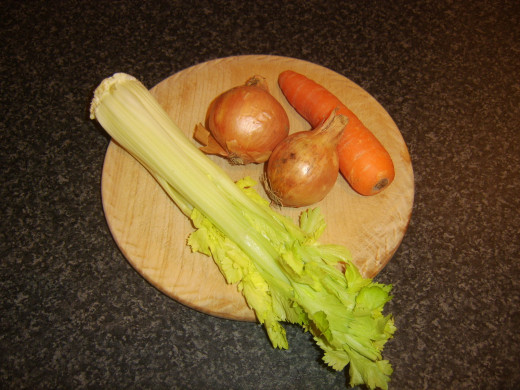
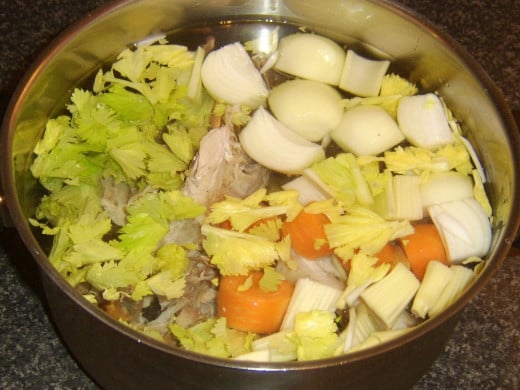
The vegetables can be varied according to availability or choice. In this instance, I used two medium white onions (peeled and quartered), one carrot (trimmed and chopped), three celery sticks (trimmed and chopped) and a small bunch of celery leaves. Salt and pepper were also added to the pot along with a couple of bay leaves.
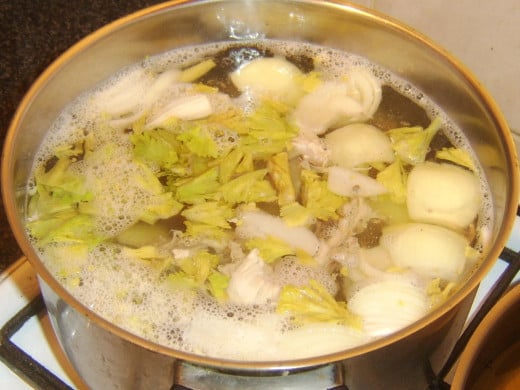
Add enough cold water to more than comfortably cover the solids and put the pot on to a high heat until the water reaches a simmer.


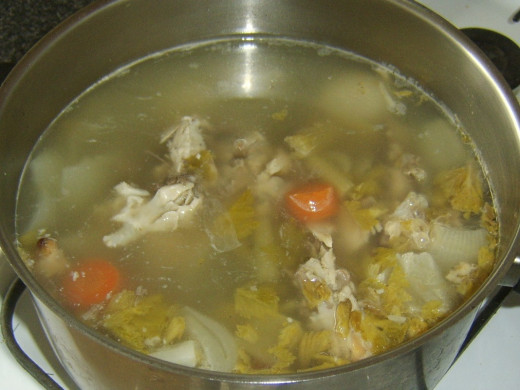
When the water is simmering, cover the pot and reduce the heat to maintain as low a simmer as possible for a minimum of two hours. Keep checking it every so often to ensure it is still simmering but not too hard. After this time, turn the heat off under the pot and leave it for a further couple of hours to cool substantially.
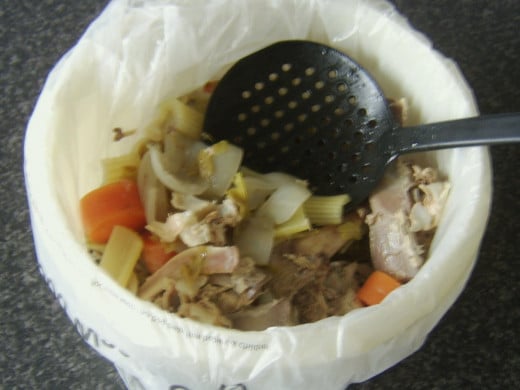
A large slotted spoon should be used to remove and discard the solids from the broth. Don't worry about any remaining smaller bits as you are going to be straining what's left anyway.
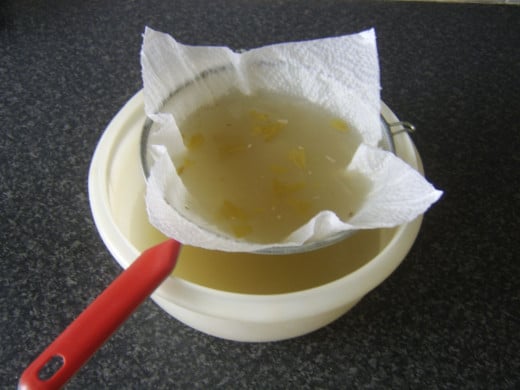
Suspend a sieve over a large bowl and line it with a couple of sheets of kitchen paper. Carefully strain the broth in to the bowl. You may need to change the kitchen paper once or twice as its pores will become clogged with fatty residues.
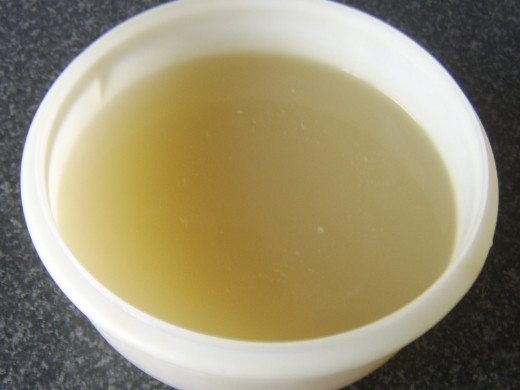
The broth is now ready for use.
Turkey Leftovers Recipes
What is your favourite way of using up turkey leftovers?
Turkey, Potato and Leek Soup Recipe
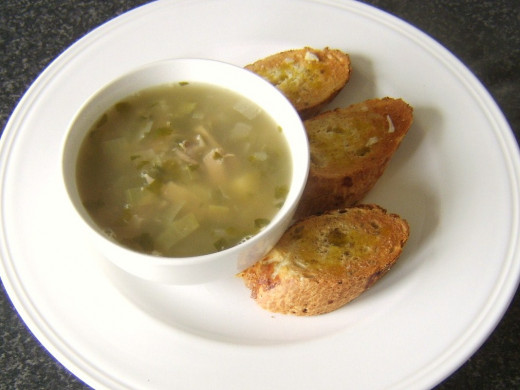
This simple but delicious soup recipe is prepared using the turkey broth made above as a base. The soup is served here with some freshly made bruschetta but simple bread could of course be served instead.
Ingredients
- 3 pints fresh turkey broth
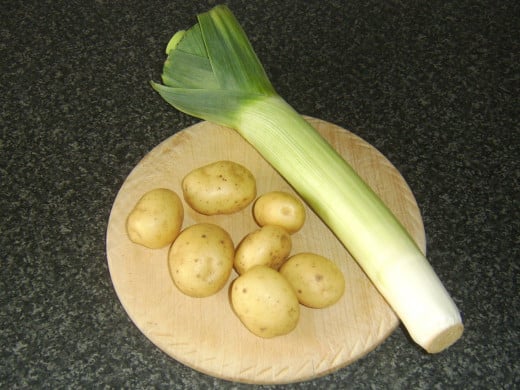
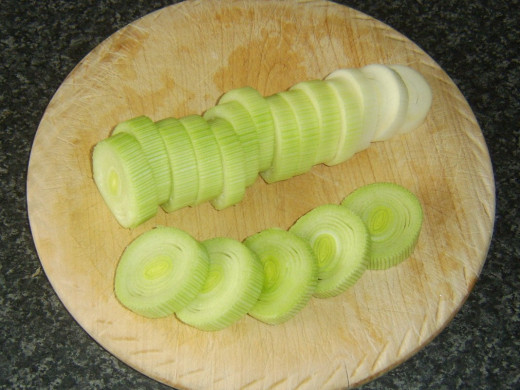
- 1 medium leek (stem only), sliced
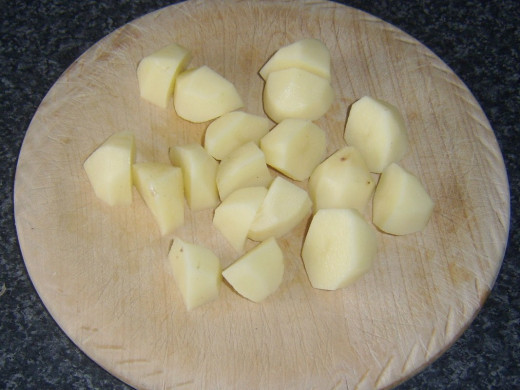
- 6 or 7 small potatoes, peeled and halved
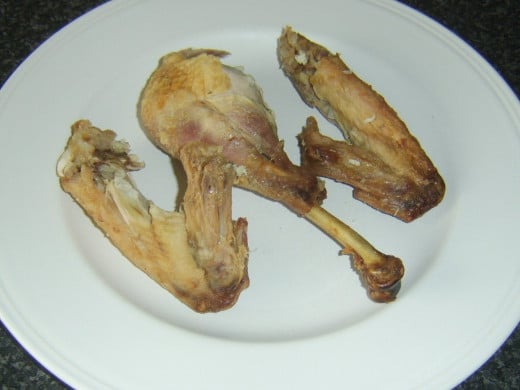
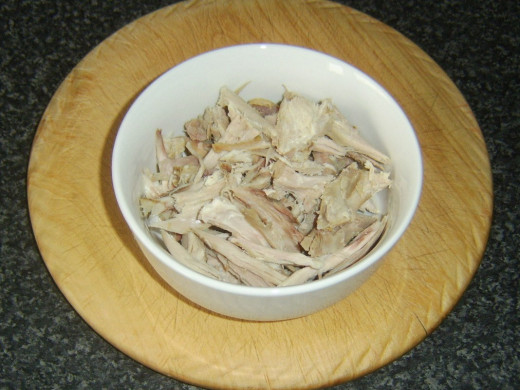
- Meat from one turkey drumstick and two wings, torn to desired size
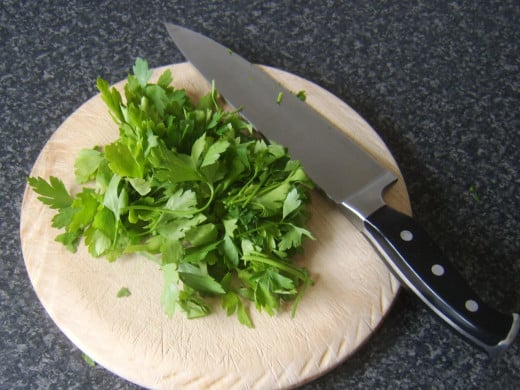
- Small bunch of flat leaf parsley, roughly chopped
- Salt and pepper
- 3 slices of bread stick per person (optional)
- 1 garlic clove, peeled and crushed
- Extra virgin olive oil
Instructions
Click thumbnail to view full-size


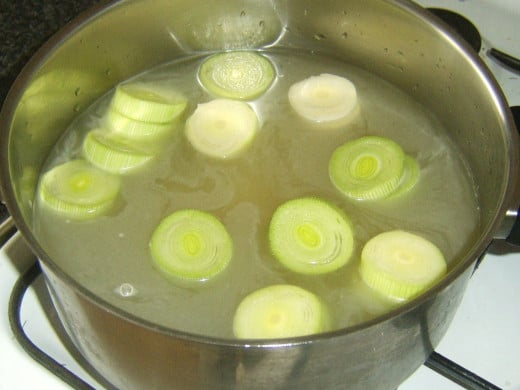
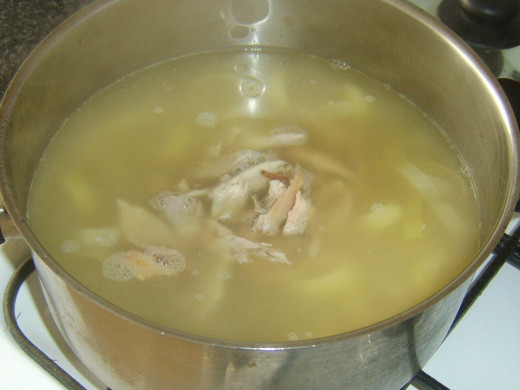
- Pour the broth in to a large soup or stock pot. Add the potatoes and leek and bring to a simmer for about fifteen minutes or until the potato pieces are just softened.
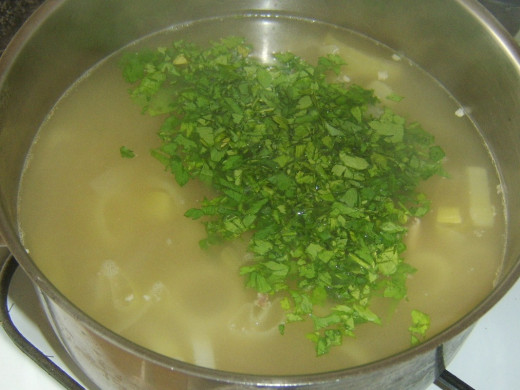
- The turkey meat should be added to the soup followed by the parsley. Simmer for five more minutes to heat through before tasting and adjusting the seasoning as required.
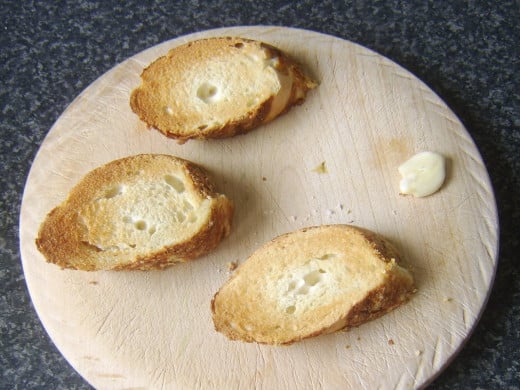
- To make the bruschetta, simply toast the bread on both sides before rubbing the top of each slice with a freshly crushed garlic clove. Drizzle with extra virgin olive oil and season with salt and pepper.
Turkey Sandwich Recipes
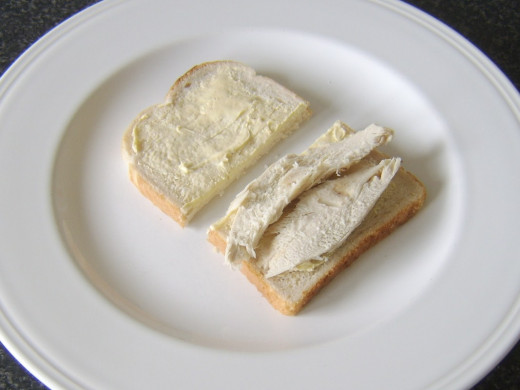
Thai Spiced Refried Turkey Breast Sandwich
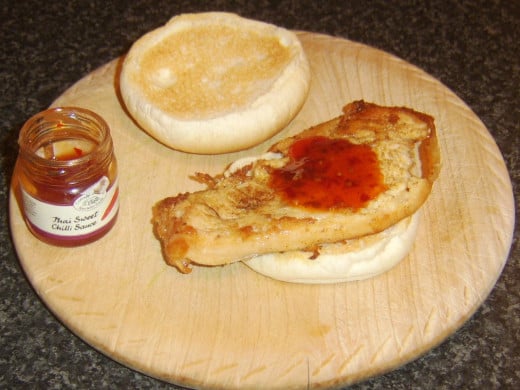
Original and tasty turkey sandwiches don't have to be complicated or take long to prepare. With just a little bit of imagination, it's possible to add whole new flavours and textures to your leftover turkey. Why not have a look around your kitchen, see what herbs, spices, sauces and other ingredients you have available and get experimenting?
Ingredients
- Thick slice of turkey breast meat
- 1/2 teaspoon (approximately) Thai 7 spice
- Vegetable oil for frying
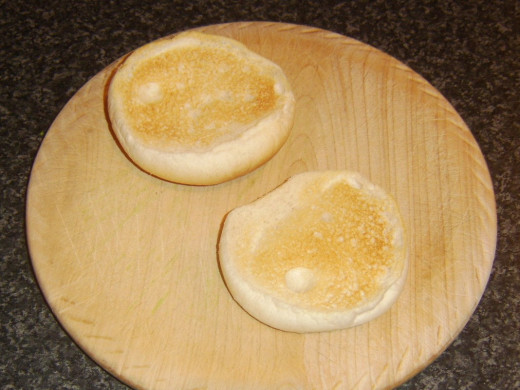
- Soft bread roll, halved and lightly toasted on cut sides
- Thai sweet chilli sauce to taste
Instructions
Click thumbnail to view full-size


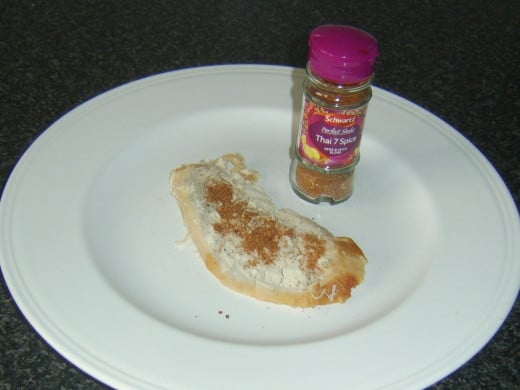
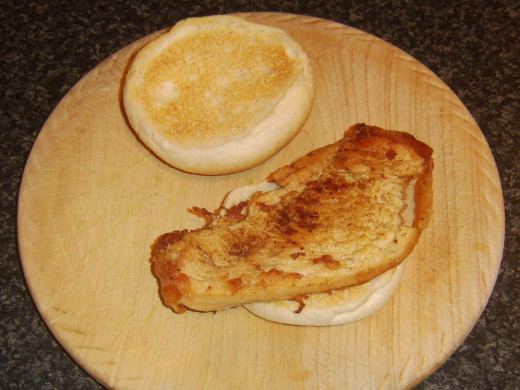
- Season the turkey breast slice evenly on both sides with the Thai 7 spice.
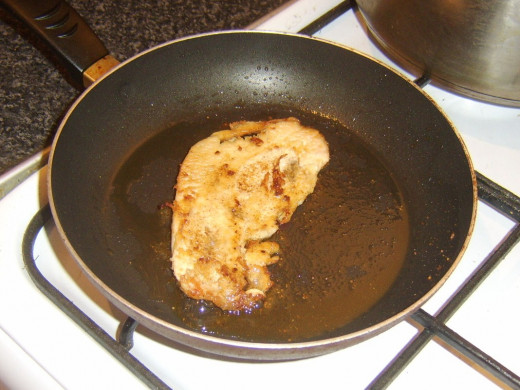
- Heat a little oil in a non-stick frying pan and fry the turkey breast slice over a fairly high heat for about a minute and a half to two minutes each side until just slightly crisped on the outside.
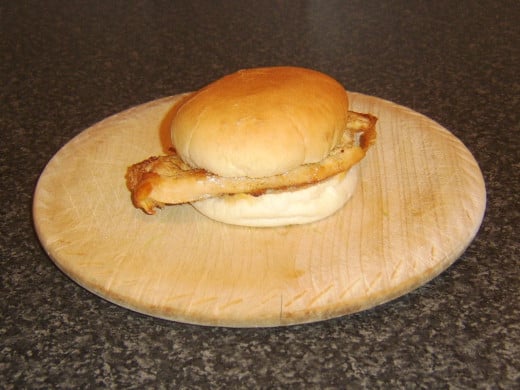
- Lay the turkey on the bottom half of the toasted roll (the roll can be toasted while the turkey is frying) and spoon on some of the Thai sweet chilli sauce.
- Put the top on the roll and eat immediately.
Turkey, Cheese and Sage Open Sandwiches
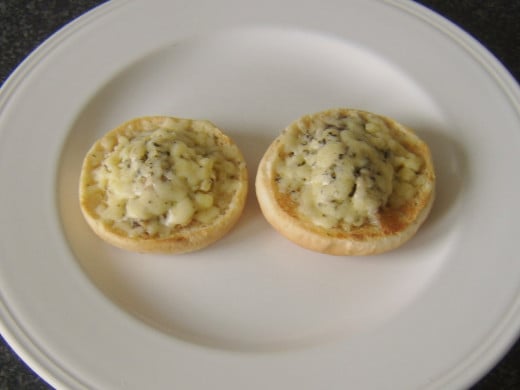
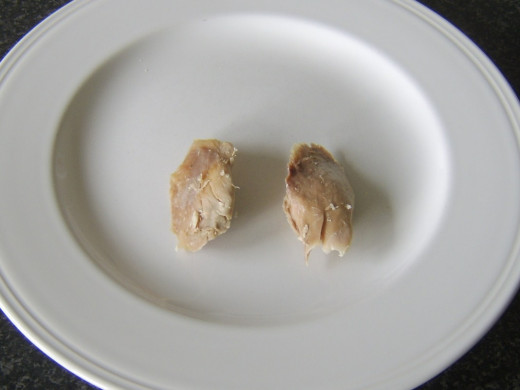
This sandwich recipe utilises the two small medallions of meat which I described earlier as being taken from either side of the turkey's backbone. They are so soft and tender that they are perfect for including on an open sandwich.
Ingredients
- 2 small turkey meat medallions
- Vegetable oil for frying
- 2 ounces cheddar cheese, grated
- 1/2 teaspoon dried sage
- Black pepper
- 1 bread roll, halved and lightly toasted
Instructions
Click thumbnail to view full-size


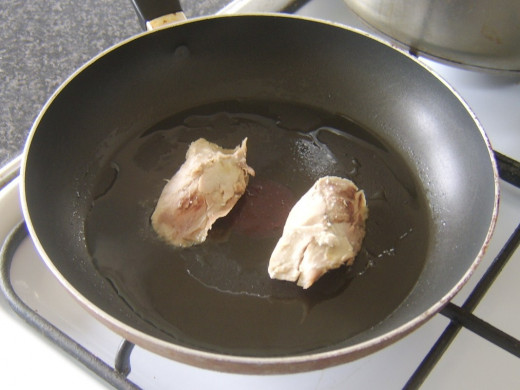
- Heat a little oil in a non-stick frying pan
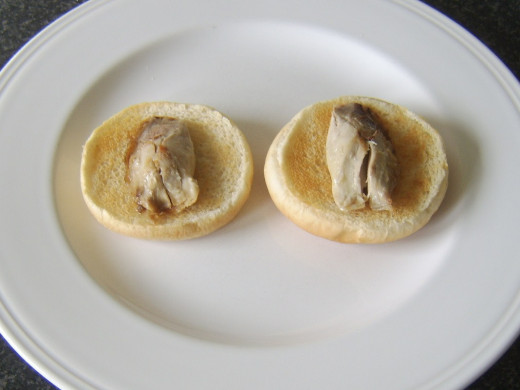
- Fry the turkey pieces over a fairly high heat for just about a minute each side. You don't want to overcook them and cause them to become tough.
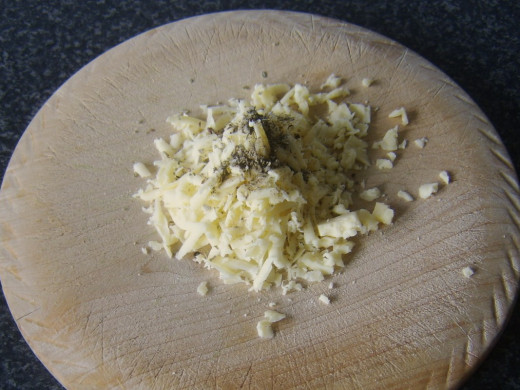
- Season the grated cheese with the sage and black pepper.
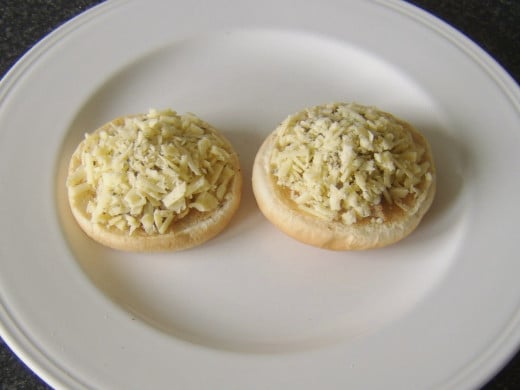
- Lay one piece of turkey on each toasted roll half and carefully scatter the cheese over the top.
- Melt the cheese under your hot grill/broiler and enjoy.
Turkey and Bell Pepper Egg Foo Yung
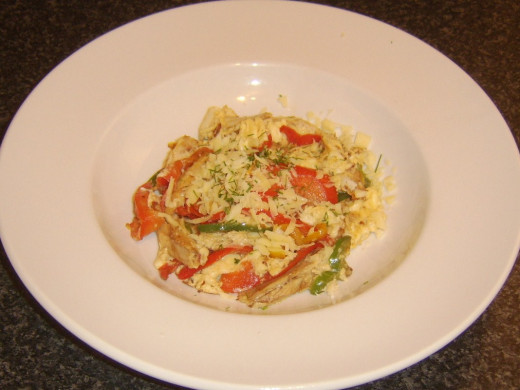
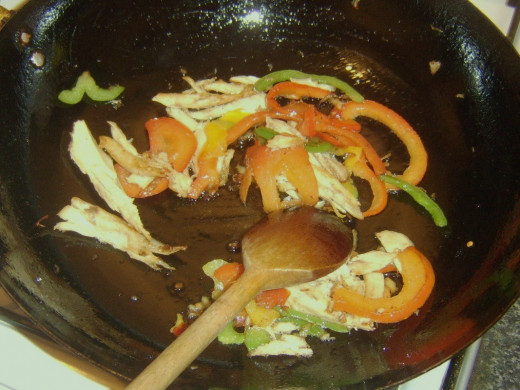
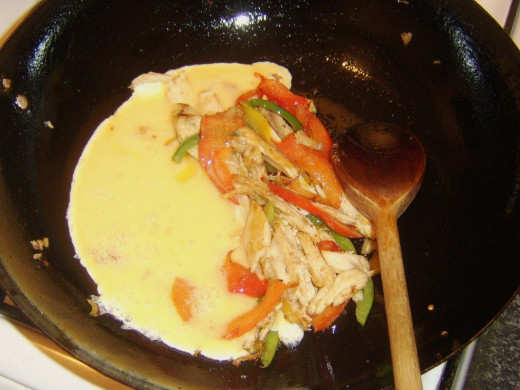
Foo yung (spelled a variety of different ways) is almost a Chinese form of scrambled egg. A wide variety of potential ingredients are cooked in the wok before being bound together with beaten egg. This very simple version usies leftover turkey breast meat and mixed bell peppers.
Ingredients
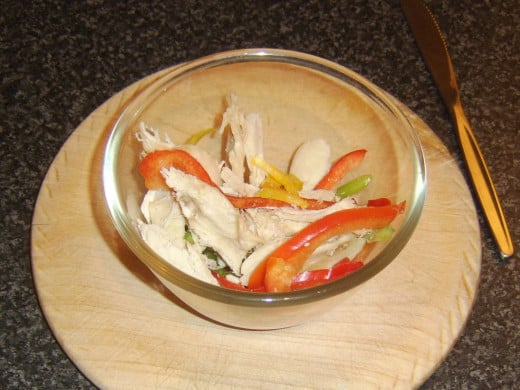
- Handful leftover turkey breast meat pieces
- Handful mixed bell pepper slices
- Vegetable oil for frying
- 2 eggs, beaten together in bowl until just combined
- Salt and pepper
- Grated cheese and chopped chives to garnish (optional)
Instructions
Click thumbnail to view full-size


- Bring your wok up to a high heat and add the vegetable oil. When the oil is hot, add the turkey and peppers and begin stir frying.
- When the peppers are just starting to soften (around a minute) pour in the egg and stir "fold" until the egg is set.
- Transfer to a serving plate, garnish if required with the cheese and chives and serve.
Sweet and Sour Turkey Thigh and Vegetables
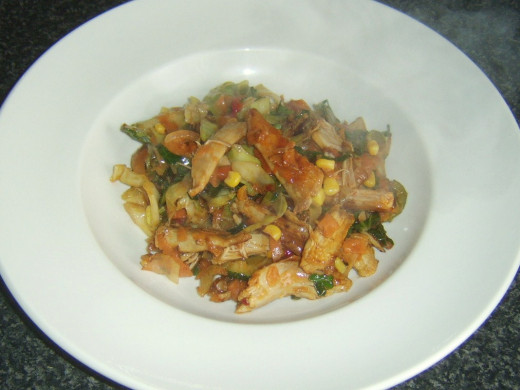
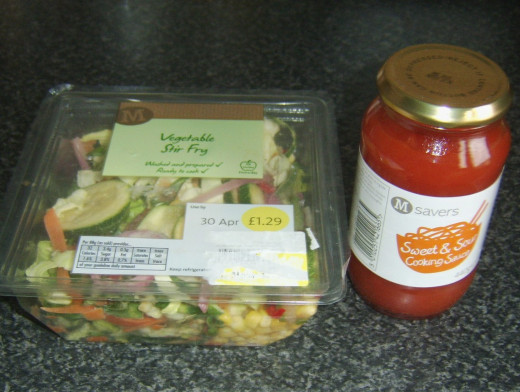
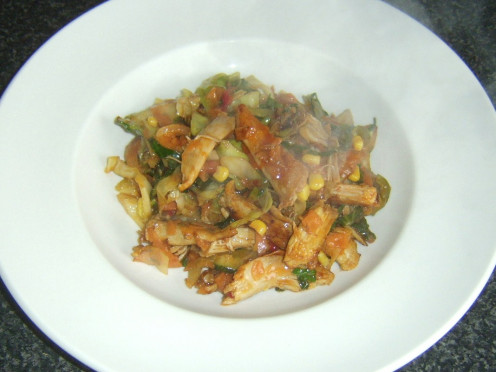
This recipe could be served with rice and could of course be made with homemade sweet and sour sauce and/or home prepared vegetables. As speed, however, was more the name of the game, the additions other than the turkey thigh were supermarket bought and the dish was served on its own as a very enjoyable lunch.
Ingredients
- Meat from one medium cooked turkey thigh
- Vegetable oil for stir frying
- Generous handful of mixed, stir frying vegetables
- 3 tablespoons sweet and sour sauce
- Salt and pepper
Instructions
Click thumbnail to view full-size


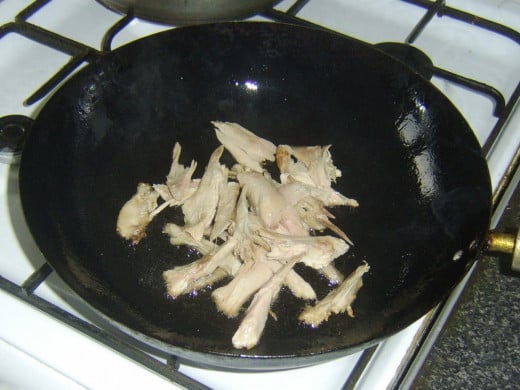
- Bring a wok and a couple of tablespoons of oil up to a high heat. Add the turkey thigh and stir fry for about half a minute.
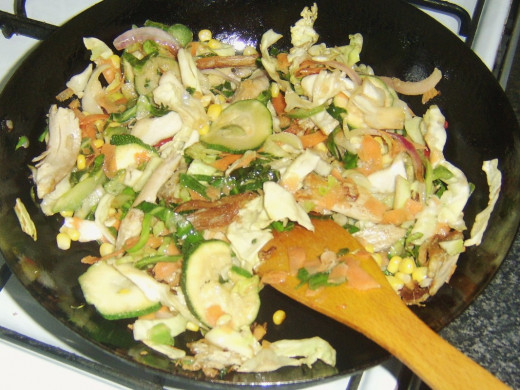
- Add the vegetables and stir fry until just starting to colour (a minute to a minute and a half).
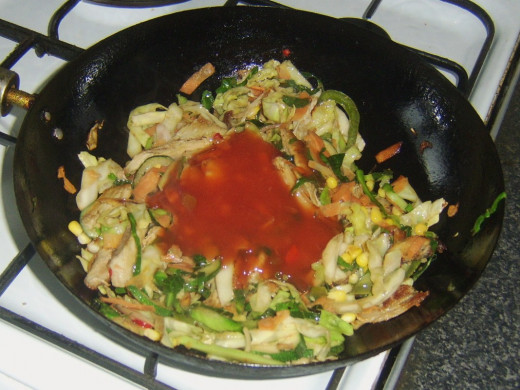
- Spoon in the sweet and sour sauce, stir frying to heat through.
- Spoon in to a serving dish and enjoy.
Thanks for reading and hopefully you have found this page to be of some interest and value. If you do have any turkey leftover ideas of your own you would like to share, please feel free to do so immediately below.

