- HubPages»
- Food and Cooking»
- Dessert Recipes»
- Dessert Cakes
How to Decorate Snowman Cupcakes
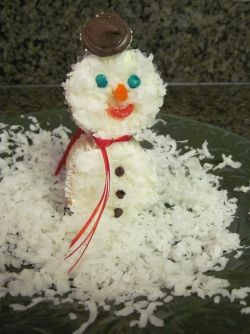
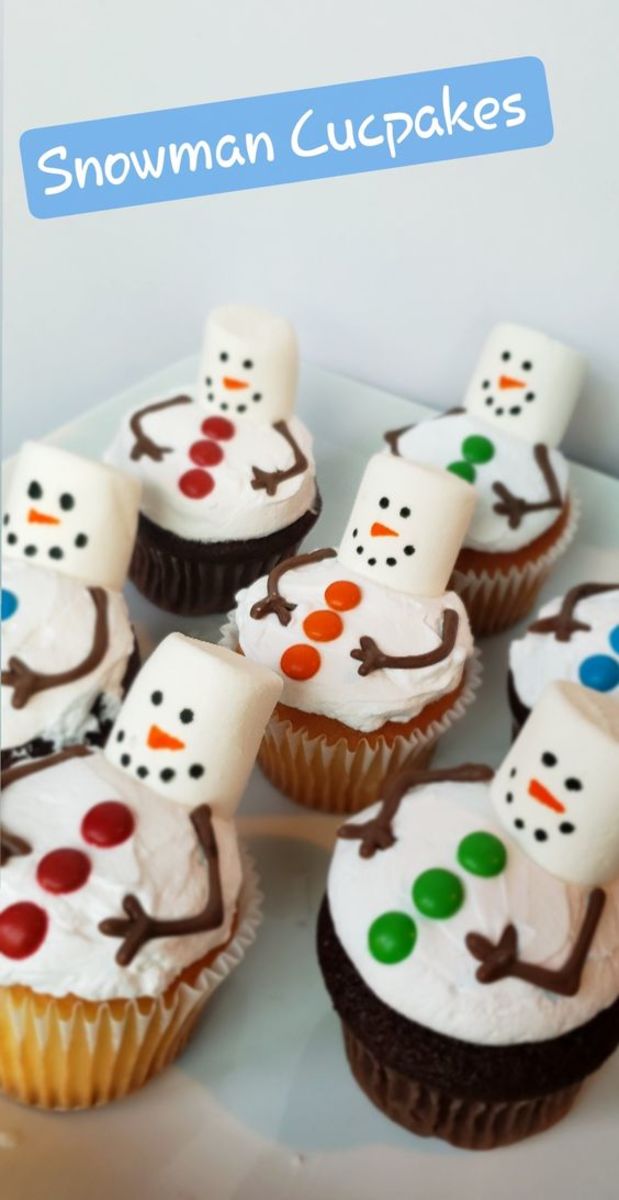
Snowman Cupcakes
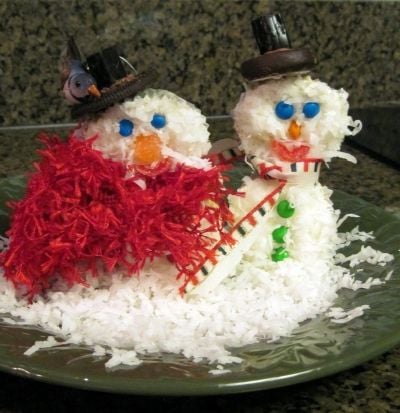
I always enjoy making special treats during the holidays. These little Snowman cupcakes will be perfect for Christmas this year. The are pretty easy and definitely a whole lot of fun to decorate. You could even like the kids decorate them! Lots of family fun with these little guys!
My family loves Coconut cake, but if you have a guest who can not eat coconut, I have included an alternative for them too.
I originally saw a picture of these in the Holiday Cupcakes book featured below. I thought they were adorable and when challenged, I couldn't resist making them. However, let me warn you now, I never do anything strictly by the instructions. I have made several changes to the original decorating directions in the book.
How to Begin Your Snowman Cupcakes
Since this article is about decorating the cupcakes, we are going to start with the cupcakes already baked, cooled and ready for decorating.
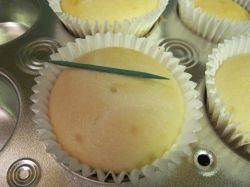
One note about cooking your cupcakes, remember the miniature cupcakes for the face only require about 8 min. to bake. Use a toothpick to determine exact length of baking time. When a toothpick poked in the center of the cupcake comes out clean, the cupcake is ready.
Tip for Baking White Cupcakes
When I am baking white cupcakes, I only use the egg whites and discard the yokes. This keeps the cupcake a purer white color. If your recipe calls for 3 whole eggs, use 4 egg whites instead.
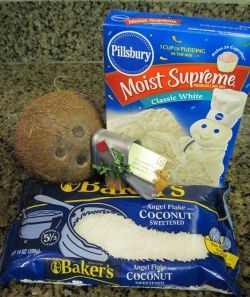
Ingredients Needed for Snowman Cupcakes
- Large Cupcakes ~ White
- White Miniature Cupcakes
- White Frosting
- Coconut ~ I used Angel Flake packaged Coconut
- Coconut Milk from a Coconut (See Directions Below)
- Candy for Decoration
- *Chocolate Wafer Cookies for the Hat
- *Melting Chocolate for Top Hat Assembly (I use Make 'n Mold Candy Wafers)
- Ribbon for Scarf
- Toothpicks
- * See Candy and Cookie suggestions under Step by Step Decorating Photos
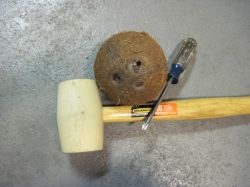
Draining the Coconut ~ Step 1
Draining the milk from a coconut is easy with the right tools.
Simply use a sterilized Phillips-head screwdriver and a hammer or mallet. Place the screwdriver on the eye of the coconut and hammer through the shell and the fruit to the milk. You will feel the point where you have broken through to the milk. The screwdriver will move easily at that point.
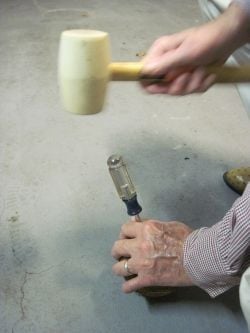
How to Drain the Milk from a Coconut
Usually, I sit flat on the concrete walk or floor with the coconut between my knees and hammer the holes. However, this morning my dad came over and preformed this task so I could take pictures for you.
You will need to puncture at least two of the three eyes of the coconut.
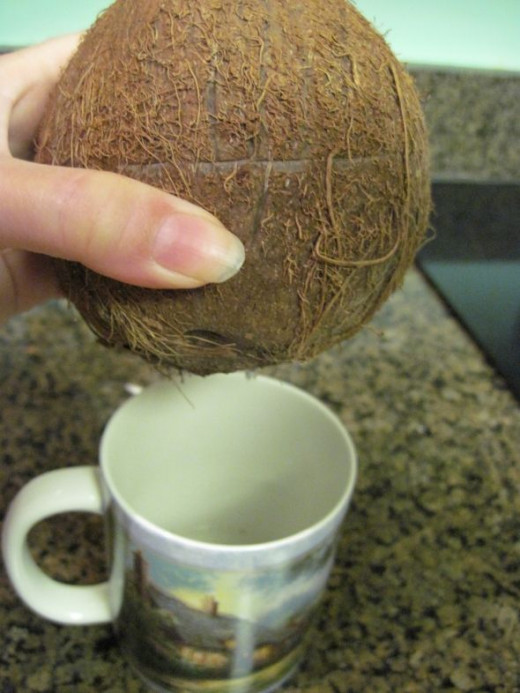
Turn the coconut upside down over a coffee cup and let it drain. There will be some coconut shell residue that settles in the bottom of the coffee cup. Simply spoon it or strain it out leaving the milk free of debris.
Recipes for Coconut Cupcakes and Frosting
- Coconut Cupcakes
Ingredients include Vanilla and Almond Extract - Coconut Cupcakes
Ingredients include Lemon or Lime Peel
Step by Step Instructions ~ Preparing the Baked Cupcake for Decoration
Step 1: Drain milk from real coconut
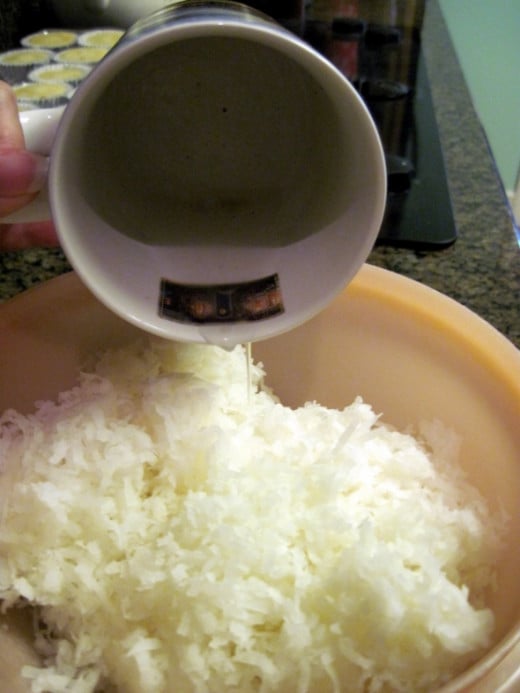
Step 2: In a mixing bowl, pour coconut milk on Angel Flake coconut and stir together.* (I actually use my hands to mix together)
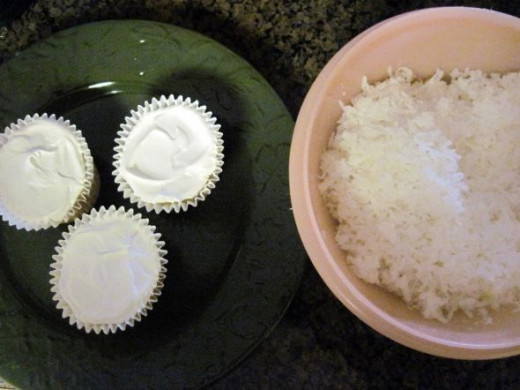
Step 3: Frost baked white cupcakes with white frosting.
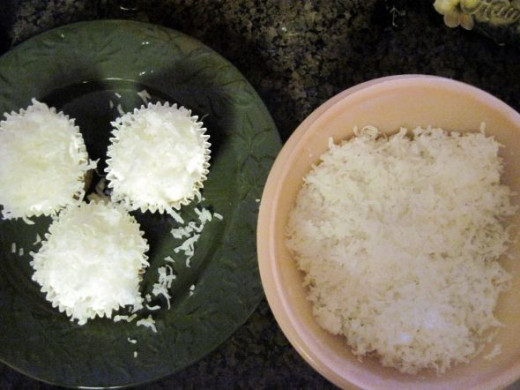
Step 4: Cover each iced cupcake with prepared coconut and gently press the coconut into the frosting with the palm of your hand. You will want the coconut to be pressed firmly into place when you decorate.
Step 5: At this point, I like to refrigerate the cupcakes for at least 1 hr. before I decorate them. This is not necessary, but it gives me a needed break in the process and allows everything to set before I start playing with it :)
*If you ask me why I add coconut milk to my Angel Flake coconut, my only answer would be because my mother and my grandmother before her, did it that way and their coconut cakes are exceptional!
Step by Step Photos for Preparing the Cupcakes for Decoration
Click thumbnail to view full-size


Step by Step Instructions ~ Assembling and Decorating Snowman Cupcakes
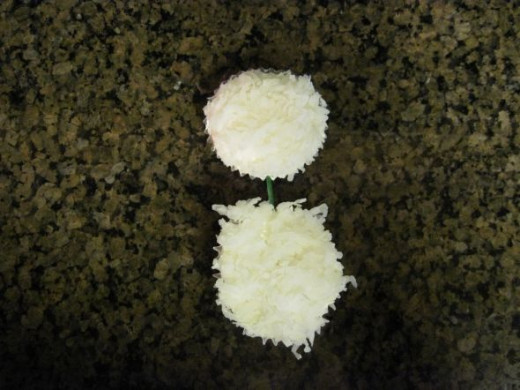
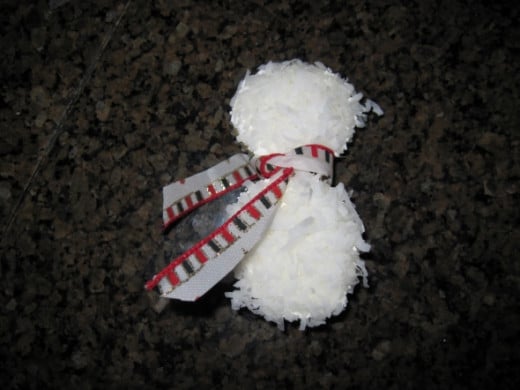
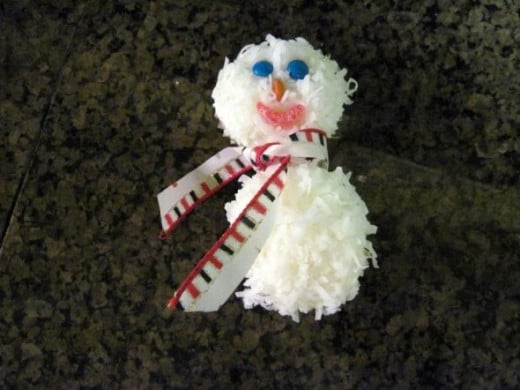
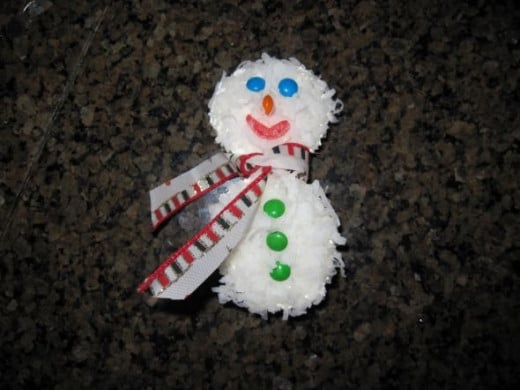
Decorate the Snowman's Face and Body While He is Laying on His Back
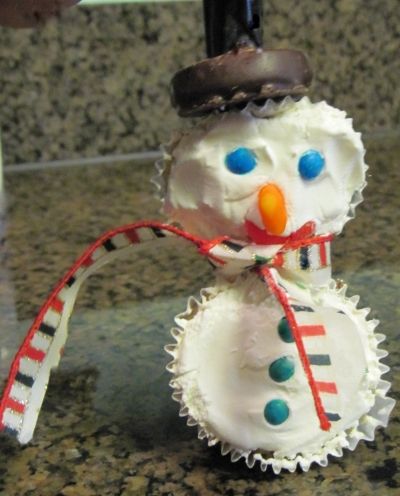
Step 1: Join 1 large cupcake to one small cupcake with a toothpick by gently inserting the toothpick into each cupcake.*
Step 2: Tie ribbon around the neck of the snowman
Step 3: Add Eyes, Nose and Mouth. You will need to press the candy pieces into the actual frosting. I cleared the area of coconut to be able to set the mouth in place.
Step 4: Add Buttons down the Body
Step 5: Make Hat, if desired. I made the top hat by adhering the bite size piece of licorice on the York mint with melting chocolate.
Step 6: Set Snowman up and set his hat on his head. You will need to use melting chocolate or half of a toothpick to attach the hat to his head.
*Toothpicks are not always easy to stick through the cupcake liners. I used an embroidery needle to stick through the paper and start the hole for the toothpick.
Step by Step Photos of Assembing and Decorating Snowman Cupcakes
Click thumbnail to view full-size


Eyes: Candy Buttons ~ Nose: Candy Corn ~ Mouth: Sour Cherries Candy ~ Buttons: Mini Choc. Chips ~ Hat: Nonpareil
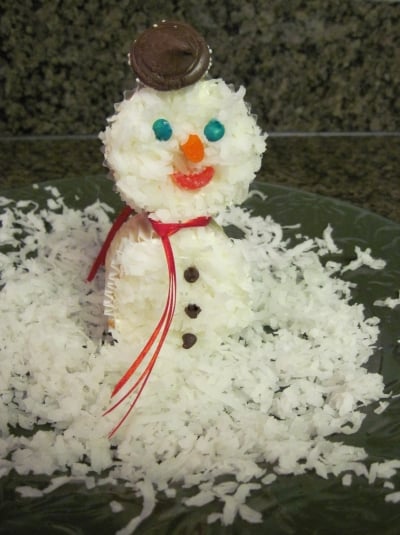
Displaying Snowman Cupcakes
When you display Snowman Cupcakes, you will want to use extra coconut around their base, as pictured, to give them stability.
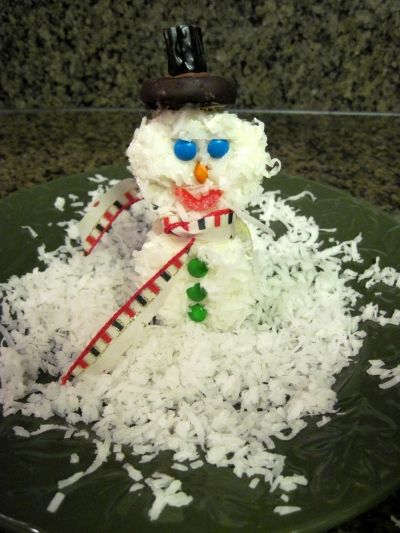
Eyes and Nose: Mini M&M's ~ Mouth: Sour Cherries Candy ~ Buttons: Mini M&M's ~ Top Hat: York Peppermint Pattie & Licorice
Meet Robin ~ My Favorite Snowman Cupcake
This cupcake was made just for Robin, the one who challenged me to make Snowman Cupcakes :)
Eyes: Mini M&M's ~ Nose: Orange Slice ~ Mouth: Sour Cherries Candy ~ Buttons: Mini M&M ~ Top Hat: Oreo Cookie & Licorice
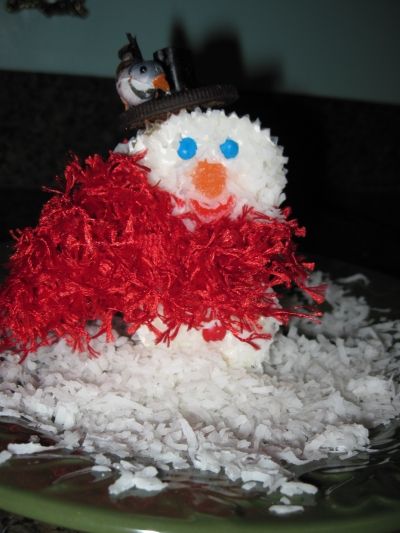
Candy Selection Suggestions
Candy Suggestions for Face and Buttons
M&M's Candy ~ Regular Size or Mini Size
Mini Chocolate Chips
Candy Corn
Candy Buttons (I found these at Cracker Barrel Restaurant)
Orange Slices Candy
Sour Cherries Candy
Fruit Gems Candy
Suggestions for the Snowman's Hat
Oreo Cookies (Halves ~ You will only want the cookie wafer part)
York Peppermint Patties
Chocolate Nonpareils
Black Licorice (Bite size or cut into bite size)
For Individuals Who Can Not Eat Coconut, Simply Leave the Coconut Off and Decorate the Snowman Cupcake
Foil Cupcake Baking Cups
When I am decorating cupcakes, I prefer to use Foil Cupcake Baking Cups. They come with the white liner cup that you normally see sold separately. I bake the cupcakes in both cups. You do not want to separate the two cups until you have finished decorating the cupcake.
The foil cups gives me stability while I decorate. When I am ready to display or serve the cupcakes, I simply remove the outer foil cup.
From Boo Boo to Woo-hoo!
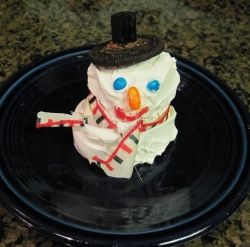
This was my first snowman cupcake of the day. I tried to decorate him while he was standing up. He fell over and the small cupcake broke in half.
I felt so sorry for this brave little snowman, that I scraped off his frosting, set the small cupcake on top of the large cupcake. I frosted him again and re-decorated him. I then placed him in the refrigerator.
When my son came home and saw him, he laughed and declared that he looked like a melting snowman. Then he said, "well, actually, he is my favorite!"
So, I share my "boo boo" turned "woo-hoo" with you.
So What Do You Think?
Is the Little Repaired Snowman:
My Inspiration - Even though I didn't follow the directions in the book :)
ALL PHOTOS ARE THE EXCLUSIVE PROPERTY OF SYLVESTERMOUSE
© 2010 Cynthia Sylvestermouse

