Be Safe-Stay Home Wood Burning Basics
My First project in 20 years
What to do....
It starts to trickle down my mind to do something creative. This is 2020. We are all stuck in our homes, only to go out with an order to wear face masks and gloves. It's for our own protection. So we are to stay in our houses. What are we to do. Here is something I decided to start doing again. It is something I used to be talented at and I guess I will have to find the tenacity to do it again and I will.
Something I loved to do way before Corona Virus has over taken us was wood burning. It"s easy and fun and when I get finished I have a beautiful picture to hang. or looking at the different projects I see. I am working on a couple of them.
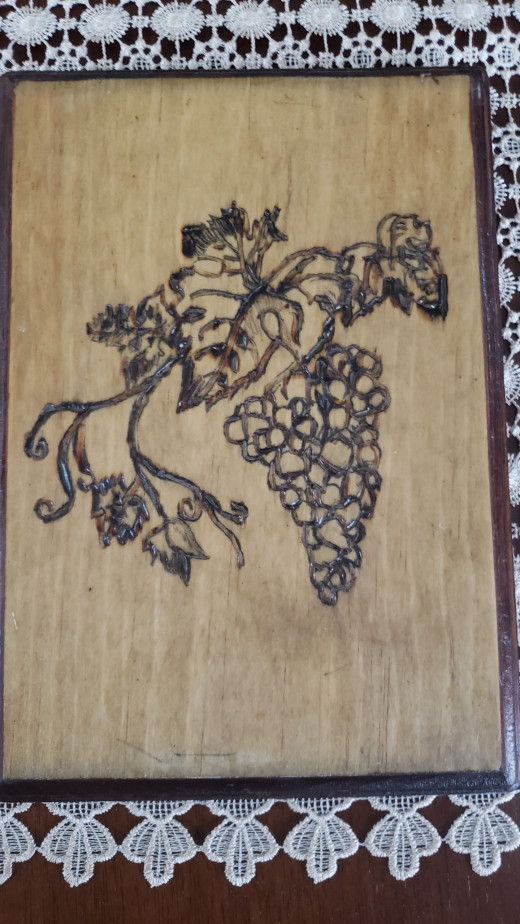
I burned this picture of the grapes as my very first project in 20 years. I wanted to just see if I could still do it. In 2005 I had a stroke, so I wasn't too confident that I could get it done especially because of the small circles and the amount of dexterity it took to do it, but I relaxed myself, I hope it inspires people to do this wonderful craft.
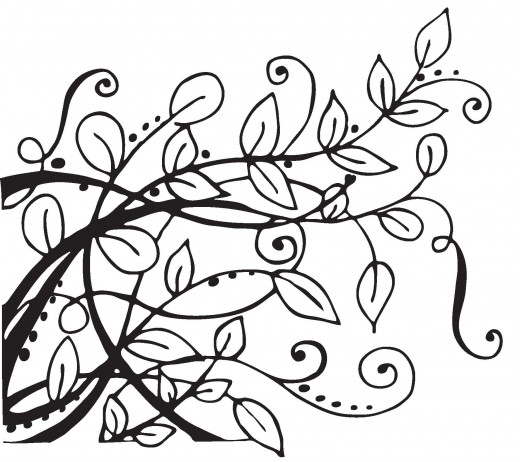
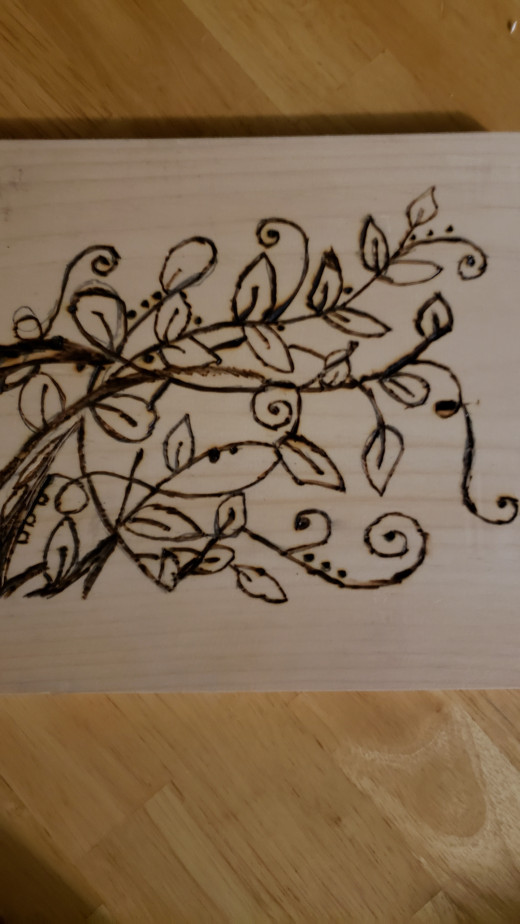
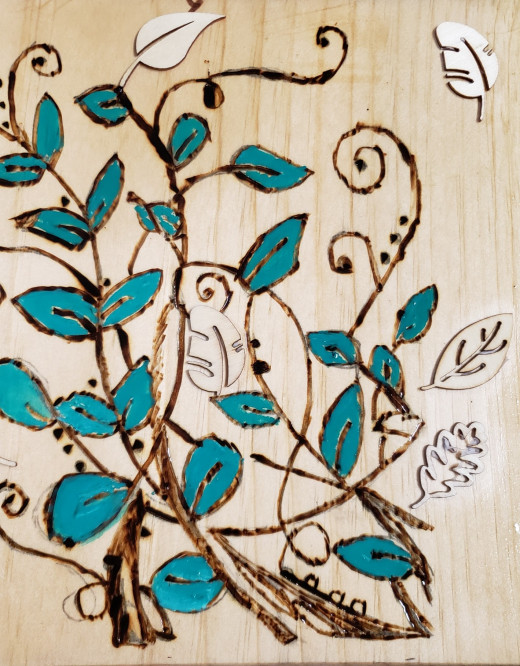
The next craft I set my sites on is this crazy version of vines or flowers . It is the leaves that caught my eye. I took my piece of wood, I sanded it on all four sides and then my wood was ready to be drawn on. I placed the carbon paper on the wood, and put the piece of paper with the picture right on top of it. I would of had an easier time if I fastened something to keep the paper still, but I managed just the same. It came out pretty good on the wood. I was able to burn the picture out and it looks very nice. Now I am going to use colored pencils to color in the leaves and then I will stain the whole thing. I'll post a picture when I'm finished with it.
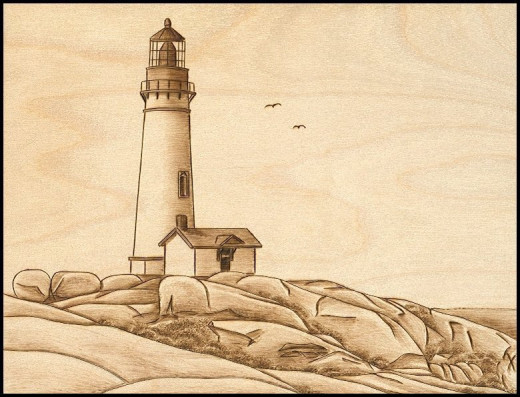
The next one to do is this pattern of a light house. I hope I've inspired some people to take up this satisfying hobby.
Instructions
- Get a good hot iron with tips!!!!
- Find a Quiet place , put up do not disturb sign (That's what I do) Prep your area. I place a piece of white cover paper on my craft table and put my items on top of there. That is where I burn my pattern, and then stain and paint.
- The kind of wood you should be using. I like pinewood as the best option. It is soft and pliable. Cedar wood is another good option. Cherry wood is good too. do not burn on wood that has already been varnished. it will set off bad fumes and be horrible to work with.
- use Sand paper and make your edges smooth. I usually go go Home Depot and buy one large plank, about 7 feet tall, maybe 7 or 8 inches high, I have them cut it down to five or six workable pieces. Sand the edges and now i have a few pieces of wood that i am going to have to create my beautiful pieces.
- Pick your pattern that you are going to do. I would recommend that you start out with something fairly easy, not too detailed for beginning. I was intimidated the very first time I tried it, but as I got used to the heat and how to handle the iron, I found myself wanting a little more challenging pictures. Everyone is different and you are going to be the one to ultimately make your choice. I am not a free hand artist. I cant draw a stick person to save my life, but I find patterns on the internet, print out the pictures, then I use carbon paper to draw out the picture on my wood. Once the picture is drawn I can start my wood burning.
- Let the iron heat up. It is best that if you have little children that they can not get anywhere near that iron, its very hot and can cause a lot of damage. Either they have to be sleeping or you have to be in a separate room that they cannot get into. When you start, blow on the tip of the iron so it can be a smooth start to your picture and sort of feel your way with the heat. I would love if you did a project and post it in my replies on here. Have fun, stay safe and have fun!!!
This content is accurate and true to the best of the author’s knowledge and is not meant to substitute for formal and individualized advice from a qualified professional.
© 2020 Primpo


