Bioshock Infinite Tips: Charge Vigor

How often do you use Charge?
Intro
This article will cover everything about the Charge Vigor in the game Bioshock Infinite. It covers basic information such as upgrades and vigor combos, along with advanced ways to use them. All opinions that are expressed are my own and have come from my experiences playing and beating the game multiple times (more times than I can count) on Hard and 1999 Mode. Also, it might matter to note that I play on a computer, just in case you begin to wonder.
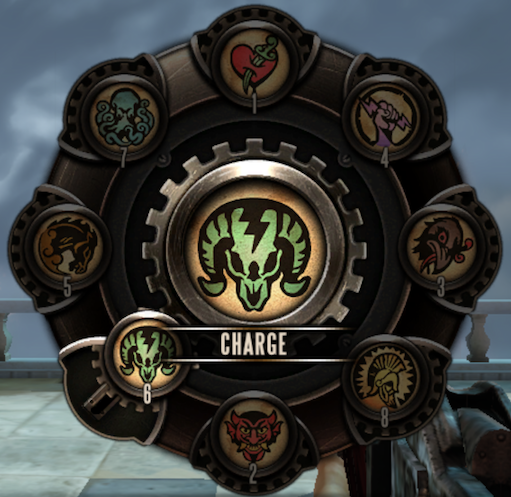
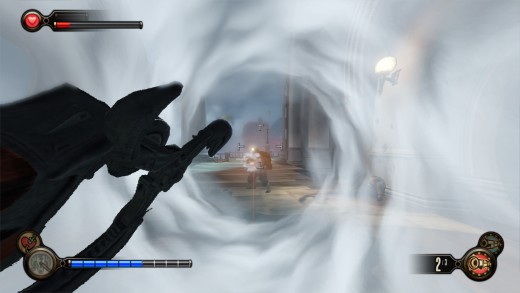
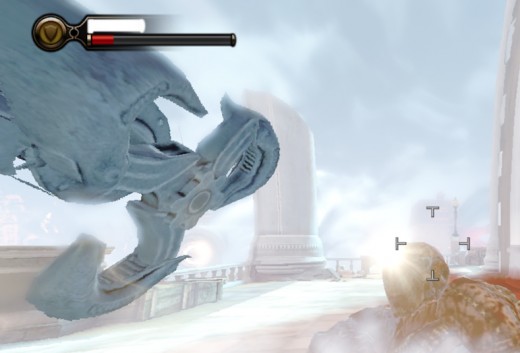
The Charge Vigor, as the name suggests, allows you to charge an enemy with your Sky Hook, dealing major melee damage. You can charge enemies in your crosshair that are in close to medium range; or not more than 20 feet in front of you. The trap/charge affect is different from the other vigors. When you charge it up, it doesn't release a trap version. Instead, it powers up your Sky Hook for a more devastating Charge. The longer it is powered up, the more damage it will do when you release it on a target.
Charge is a vigor that I don't use until I upgrade it. It is Salt inefficient and can put you in bad situations if it isn't upgraded.
Upgrades
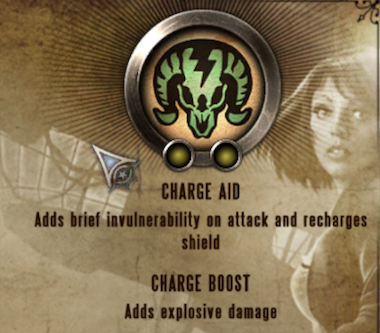
Charge Aid - This upgrade will make you invulnerable for a short time after you Charge an enemy and will recharge your shield to full. It cost $1614 and if used correctly, it can make the Charge Vigor the most over powered vigor in the game.
Charge Boost - This upgrade cost $555 and adds explosive damage to your Charge. It will deal damage to enemies who are in close proximity to your Charge target and will also cause them to stumble back, putting you out of the range of their melee attacks.
NOTES:
- Charge can be used on any enemy, but seems to be less effective on armored units.
- The best time to power up your Charge is before you ambush unsuspecting enemies. The lengthy power up time makes it risky to charge up during a battle.
- Powering up the Sky Hook doesn't drain your Salts, unlike charging up the Return to Sender Vigor.
- If there are enemies across a small gap or on higher ground (near a ledge, above you) you can use Charge to quickly maneuver to them instead of spending time running around.
Combo With Other Vigors
Bucking Bronco can be combined with either the Devil's Kiss or Charge vigors.
Devil's Kiss: When you charge a target that is on fire due to Devil's Kiss, the target will explode and break into smaller projectiles that fly in different directions which will set other enemies on fire.
Bucking Bronco: When you Charge a target affected by Bucking Bronco, the target will fly across the area and take extra damage if they don't die falling off of Columbia.
NOTE: I don't use the Bucking Bronco and Charge combo, unless I'm indoors because I like to scavenge as much as possible and that is hard to do when you send your enemies flying off of Columbia. And, I rarely use the Charge & Devil's Kiss combo. It cost too many Salts to kill one target and, to me, it is just a spectacle in the game.
Playing Style
Charge is best used in Close to Medium Range Combat builds:
- Close Range Combat: Melee, Shotgun, Heater, Machine Gun, Undertow Vigor, Murder of Crows Vigor, Possession Vigor.
- Medium Range Combat: Machine Gun, Repeater, Pistol, Hand Cannon, Carbine, All Vigors.
- Sniper Combat (Long Range): Sniper Rifle, Carbine, Repeater, Return to Sender Vigor (It's difficult to use other Vigors in Long Range fights when the enemies have cover and can get out of your Line of Sight).
Best Way to Use the Charge Vigor
When you fully upgrade the Charge Vigor, it allows you many diverse strategies and ways to use this vigor. Just remember that it does cost a mediocre amount of Salts, so you can't go crazy with it.
Charge Spam
As I have stated earlier, an upgraded Charge can be considered to be an over powered vigor. I say this because it makes some of the hardest fights in the game into short and simple ones; those fights being the Siren fights. You don't even need to have melee specific gear equipped (though, it would make the fights even easier). All you need to do is spam Charge. Charge into the Siren and blast her away with your weapon once you're face to face with her. When your shield breaks, Charge her and unload your weapon again. Repeat this until she is defeated. This works well because the Siren has only slightly more health than the other Heavy Hitters, but what makes her tough are her countless minions all shooting you at once. You counter the dozens of bullets coming at you by keeping your shield charged and yourself invulnerable. On 1999 Mode, shoot accurately and don't accidentally Charge the minions, or you might find yourself out of Salts before you kill the Siren. This strategy can be applied to the other Heavy Hitters.
Ambushing
As said in my Notes, powering up your Charge doesn't cost Salts, so powering up and ambushing a target is a good strategy. Especially, if you are ambushing multiple enemies that are relatively close to each other, the charge will do extra damage to all of them and cause them to stumble, giving you time to take them out before they are ready to attack.
Getting in Range for the Shotgun/Heater
Another way I enjoy using Charge is to get myself into the fray with my Shotgun or Heater. I just Charge in and blast away. The Heater can usually one-shot the enemies that were affected by the Charge's explosive damage and is an effective way to kill multiple enemies with one shot.
Tactical Retreats
Charge is a good way to get yourself out of trouble, especially if you are about to die. When you're in a tough situation, such as when you are outflanked/surrounded and your shield breaks, you can Charge an enemy to recharge your shield and grant you a few seconds of invulnerability. You can use these extra seconds of invulnerability to get yourself into a better position or to kill the enemies on your flanks. Remember, you need the Charge Aid upgrade or Charging will not recharge your shield nor make you invulnerable.
Final Thoughts
I don't use Charge that often. I did a Charge Vigor run through on 1999 Mode and it was definitely one of the Hardest and Easiest run throughs. It was difficult using Charge without any of the upgrades. So when I picked up the Charge Vigor I didn't use it much and used my other vigors less than Charge. Charging into the Fray without the Charge Aid upgraded got me killed or close to it. Also, you have to wait awhile before the upgrade is available.
But, on the other hand, when you finally get the upgrade, the game becomes extremely easy (even in 1999 Mode). Running around with a fully upgraded Shotgun and Charge made me feel like Kratos from the game God of War, until I ran out of Salts. By the time that happened the enemies were manageable.
I hope this article has been enjoyable and informative. If there's anyway I can improve it, let me know and thanks for taking the time to read it!


")

")
