Chess Strategy: Understanding How To Play With a Backward Pawn Part 2
In my last article I briefly explored when it was beneficial to accept a backward pawn. In this article I’m going to elaborate on this but in a slightly different structure that arises from the absolute mainline in the Philidor.
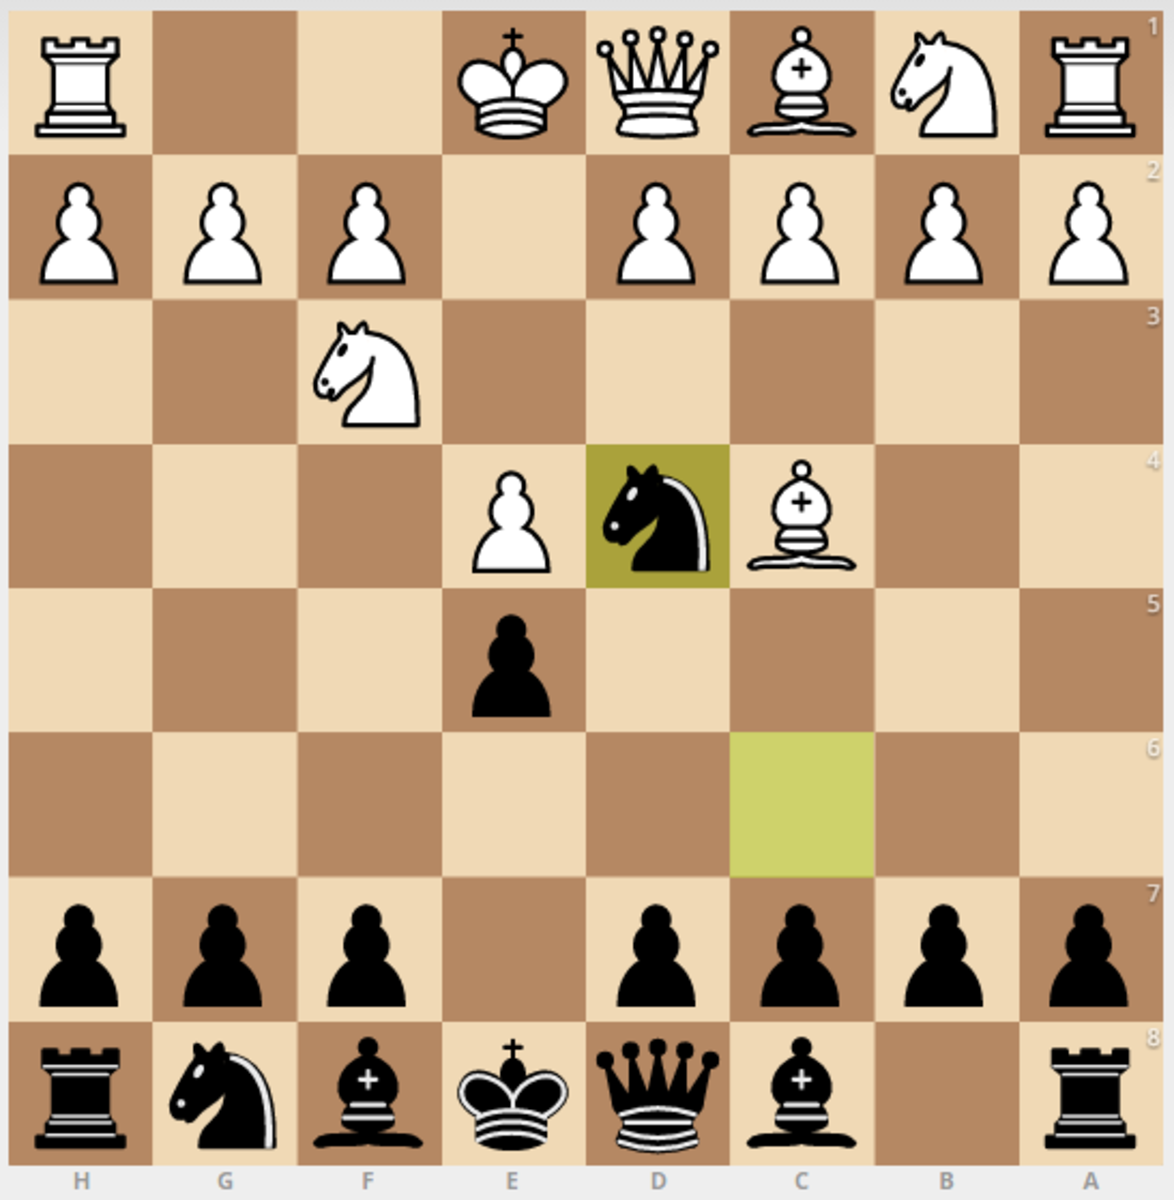
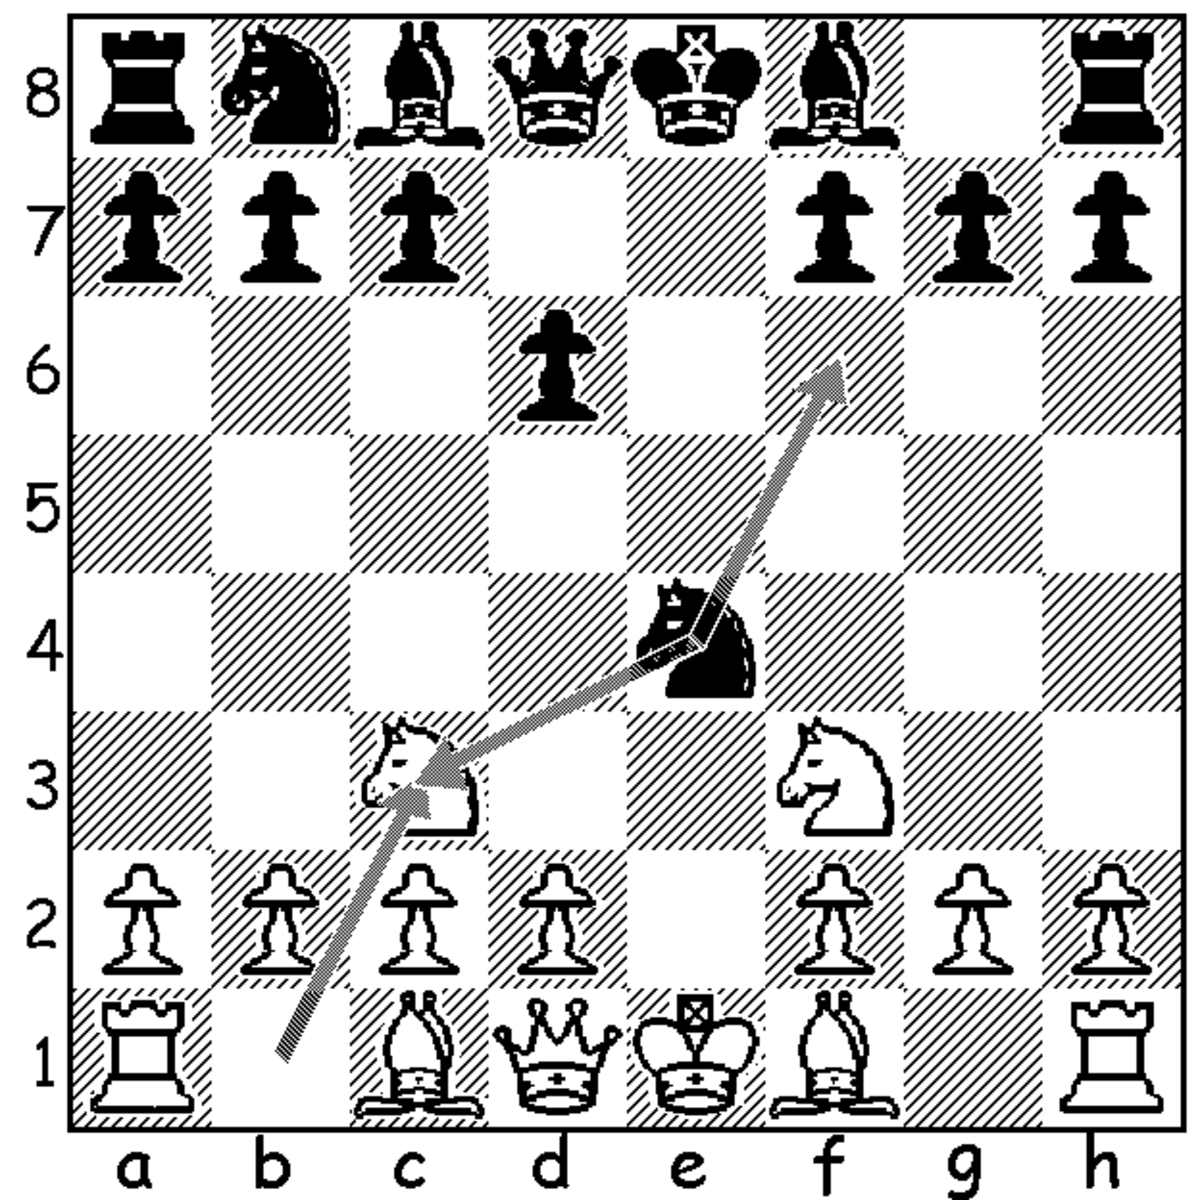
The line goes as follows: 1. e4 e5 2. Nf3 d6 4. Nxd4 Nf6 5. Nc3 Be7 6. Be2 0-0 7.0-0 Re8 8. f4 Bf8 9. Bf3 and here the mainline continues with c5 gaining a tempo on the knight, but conceding a backward pawn. Normal play continues 10. Nb3 Nc6 11. Re1 a5! But what is the rationale behind a5? It’s actually rather simple. Black understands the importance of liquidating the backward pawn not because it’s weak, but because it’s the big break that will allow his pieces to flood into action. With this understanding a4 is designed with the intention to play a3 and drive the knight off the couch and into the cushions. If white prevents this plan with a4 then it must do so at the cost of the b4 square which black can use to make d5 achievable after Nb4.
Let’s delve deeper after 12. a4 Nb4 so I can really illustrate my point. 13. Be3 is white’s main try, developing a piece and making d5 even harder to achieve, at least on the surface, because wouldn’t c5 fall? If Be3 then black plays d5 sacrificing the backward pawn after 14. Nxd5 Nfxd5 15. exd5 Bf5 activating his light-squared bishop and asking white what he wants to do about the c2 pawn. If the response is 16. Rc1 then black can at the very least force a draw with Na2 and keep the game exciting with c4 17. Nd4 Be4 and one possible continuation goes 18. Bf2 Bxd5 19. Rxe8 Qxe8 20. Bxd5 Nxd5 21. Qf3 Rd8 where black has recovered the pawn and has at minimum an equal late-middlegame.
Now let’s look at another line to demonstrate another way to handle the backward d-pawn. What happens if after 9.c5 white heads the knight in the other direction with 10. Nf5? The computer recommends between Nc6 or Bxf5. I prefer the latter because it’s more direct. One straightforward way to continue after Bxf5 11. exf5 Nc6 12. g4 d5 and if 13. g5 then d4 14. gxf6 dxc6 15. Qxd8 Raxd8 16. bxc3 c4 17. Rb1 Bc5+ 18. Kg2 Na5 19. Rb5 b6 and black is just in time to defend everything.
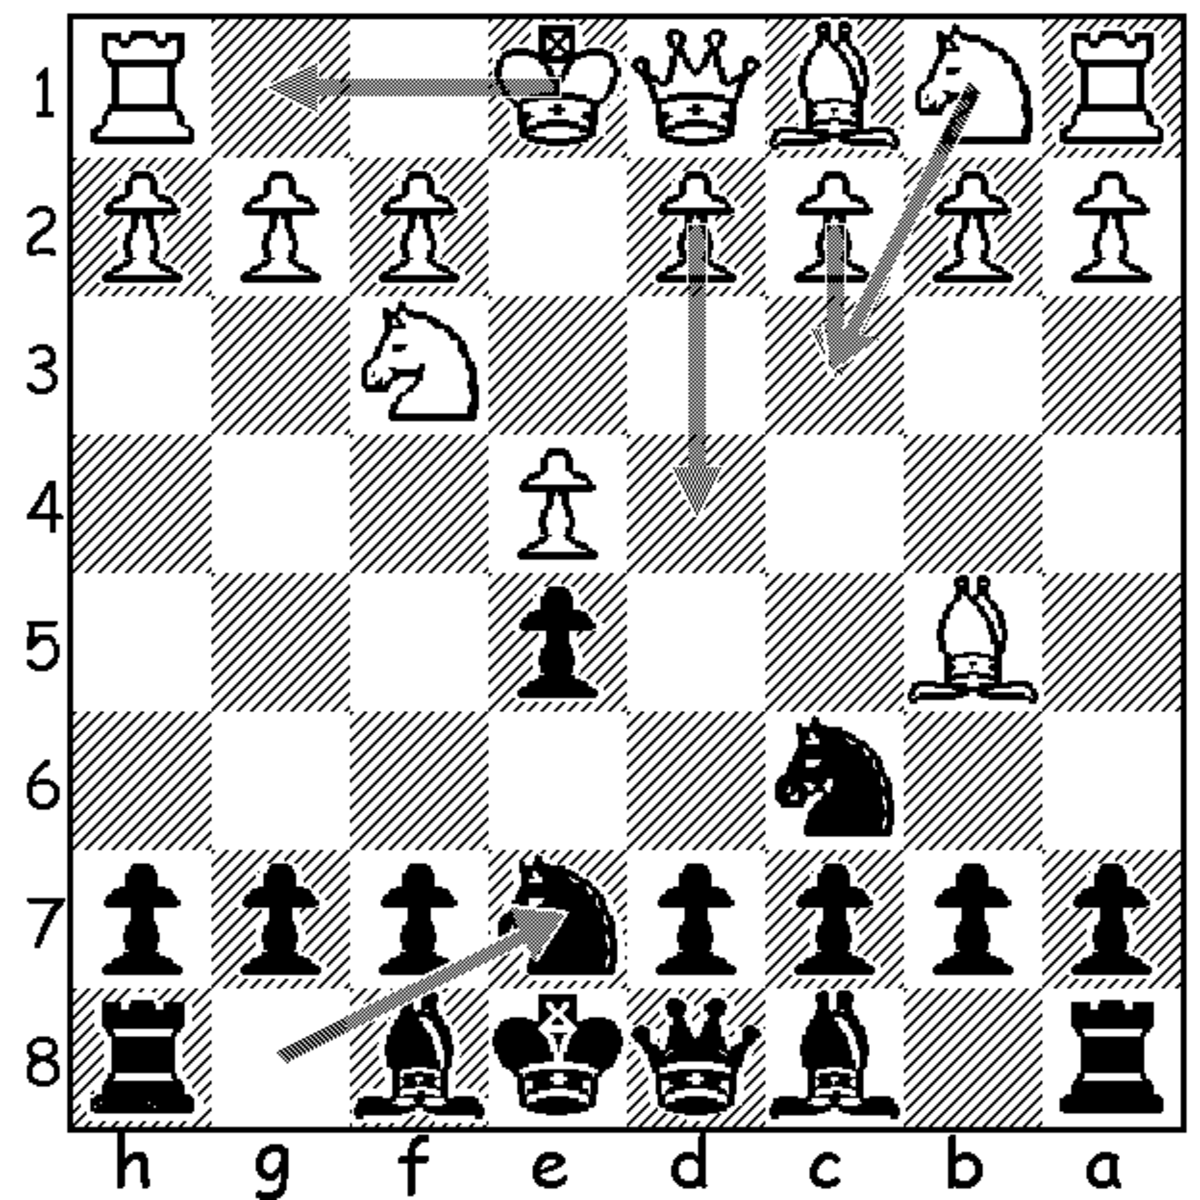
Now some of the more careful readers may have noticed that 12. d5 seemed to hang a pawn after 13. Nxd5 Nxd5 14. Qxd5 which is true, however, black gets active play after Nd4 or even Qh4. If Nd4 white can continue with 15. Qxd8 Raxd8 16. Bxb7 but Nxc2 comes with a tempo on the rook in the corner and after 17. Rb1 c4 black is better despite being down a pawn and the bishop pair because of his active pieces and white’s poor coordination. This is a common theme when sacrificing a pawn. The side investing the material wants to be compensated with quality of pieces which should yield something tangible in the future. This is seen again if earlier in the variation white had played 14. Bxd5 instead of 14. Qxd5. Once again black would respond with Nd4 and a weird perpetual is possible after 15. Bxb7 Qh4 16. Bxa8 Re2 17. Bg2 Qxg4 18. Rf2 Nf3+ 19. Kf1 Nxh2+ and so on. Better than the perpetual would be to meet 15. Bxb7 with Rb8 and 16. Bf3 (stopping Ne2+) with c4 17. Kh1 Bc5 where black is still down two pawns but white is the one who needs to be careful because his king is a bit weak and his pieces are very passive.
So far we’ve looked at what happens if on move 10 white goes to either Nb3 or Nf5. But what happens if white elects for Nde2? In this case I recommend a couple options. Bg4 is a legitimate try taking advantage of the fact that the g4 square is no longer controlled by white twice. Play might continue 11. Bxg4 Nxg4 12. h3 Nf6 13. Ng3 Nc6 14. f5 (making Bf4 or Bg5 possible) d5 15. exd5 Nd4! (which wouldn’t be advisable if white’s knight was on f3 instead of g3) 16. Bg5 Qc7 with a proper fight on hand. The other try is a little bit slower but just as reasonable. Instead of 10. Bg4 black plays Nc6. If h3 denying Bg4 in the future then black responds with Bd7 and on 12. g4 black plays the energetic b5 prepared to meet 13. g5 with b4. Although in this line the beginner might point out that the backward pawn is still backward, and he would be right, I would counter that in these kind of positions black doesn’t mind because of the pressure on e4.
This is even better illustrated if instead of 12. g4 white had played 12. Be3. Black would respond with b5 which is once again only possible because of black’s pressure on e4. 13. Nxb5? would be punished with Nxe4 and 14. Bxe4 Rxe4 15. Nxd6 loses a piece after Bxd6 16. Qxd6 Rxe3
Accepting a backward pawn doesn’t need to be so scary if you understand when it’s a good idea and the different ways to use it to formulate a good strategy in the middlegame. In the three major variations after 9. c5 (Nb3, Nf5, and Nde2) we saw black use the pawn in various ways. Sometimes he exchanged it and advanced his pieces farther up the board, sometimes he sacrificed it for active piece play, and sometimes it simply stayed put because it wasn’t under pressure and black could proceed around it. Really that’s the beauty of accepting a backward pawn under the right circumstances. It allows for a rich array of strategy while under the guise of a general weakness.

