Making You Own Instructions

The assembly of a project is a different creature than the use of the project. Even projects that just sit there will likely need some sort of directions showing the user the project’s purpose and how to use it. A Popular Science article lamented the lack of instructions, and users manuals as a dangerous trend.
http://www.popsci.com/instructions-not-included?tuhyyFyAUwZAY1KV.01
Creating the instructions for use is just as important as creating the instructions for assembly. Don’t leave out this important step.
The Maker Movement, DIY (Do It Yourself), and in the lingo of Ham Radio - Homebrew, all refer to building things at home. Usually this is done by “amateurs”. Unfortunately, the one thing many amateurs leave out (to the dismay of those who might inherit those projects in the future) is the instruction manual. There is an old saying, “when all else fails, read the instructions.” With the internet as a resource, finding the instructions to commercial kits and equipment is not impossible, but for home-brew kits and projects, there may be no instructions to find.
You don’t have to be a technical writer to create usable instructions. You may be the only one to ever use them, but if the project sits for any length of time, there is a good chance the designer (you) will have forgotten what each little part is for or how it goes together. The trick here is to make the instructions clear enough that someone with similar skills (the kind of person who might inherit the project) can understand.
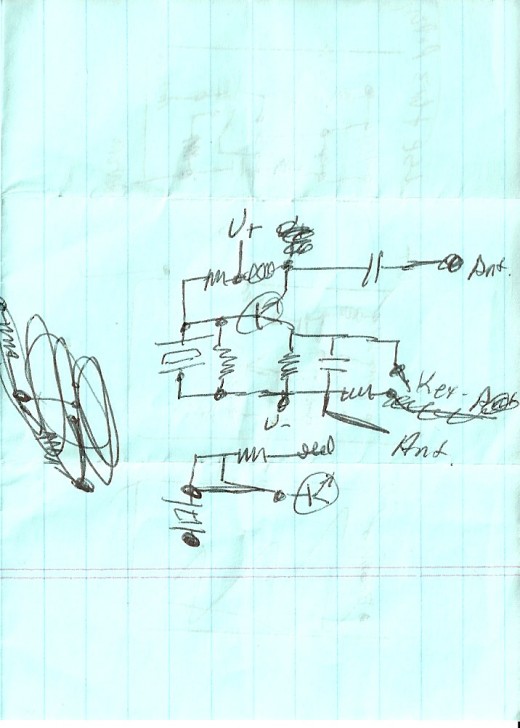
The first step is to begin with the chart, schematic, or sketch of the project. Then, note any places that need watching with respect to assembly and repair. This is the bare minimum for documenting how anything is put together, but with a sketch I can show something that would take a small book to describe.
Next, create parts list from the chart or schematic and make a cut list for carpentry projects. If you take this list right off of the chart or schematic you are less likely to forget something, and making the list ensures that you have all of the parts for the project. When making the list specify values of components, colors of floss, or dimensions of lumber. Without these specifications it will be impossible to finish or rebuild the project without having to redo much of the design work.
Assembly instructions, if needed, should come next. This will include such things as component orientation, assembly order and appropriate tools for the job. Finally, make sure there are operating instructions! If the finished project does anything beyond sitting on a shelf and looking pretty, it needs instructions so that when it is pulled off the shelf (after who knows how many years) it can be used. Include power up and adjustment instructions, as well as how to do routine maintenance on the project so that you (or whoever inherits the project) can fix it if it falls into disrepair.
The instructions may be no longer than a single sheet of paper, but the value of that single sheet will be apparent after the first time the project has been left for more than a few days. When all else fails, read (make sure you’ve written) the instructions.
qed.


