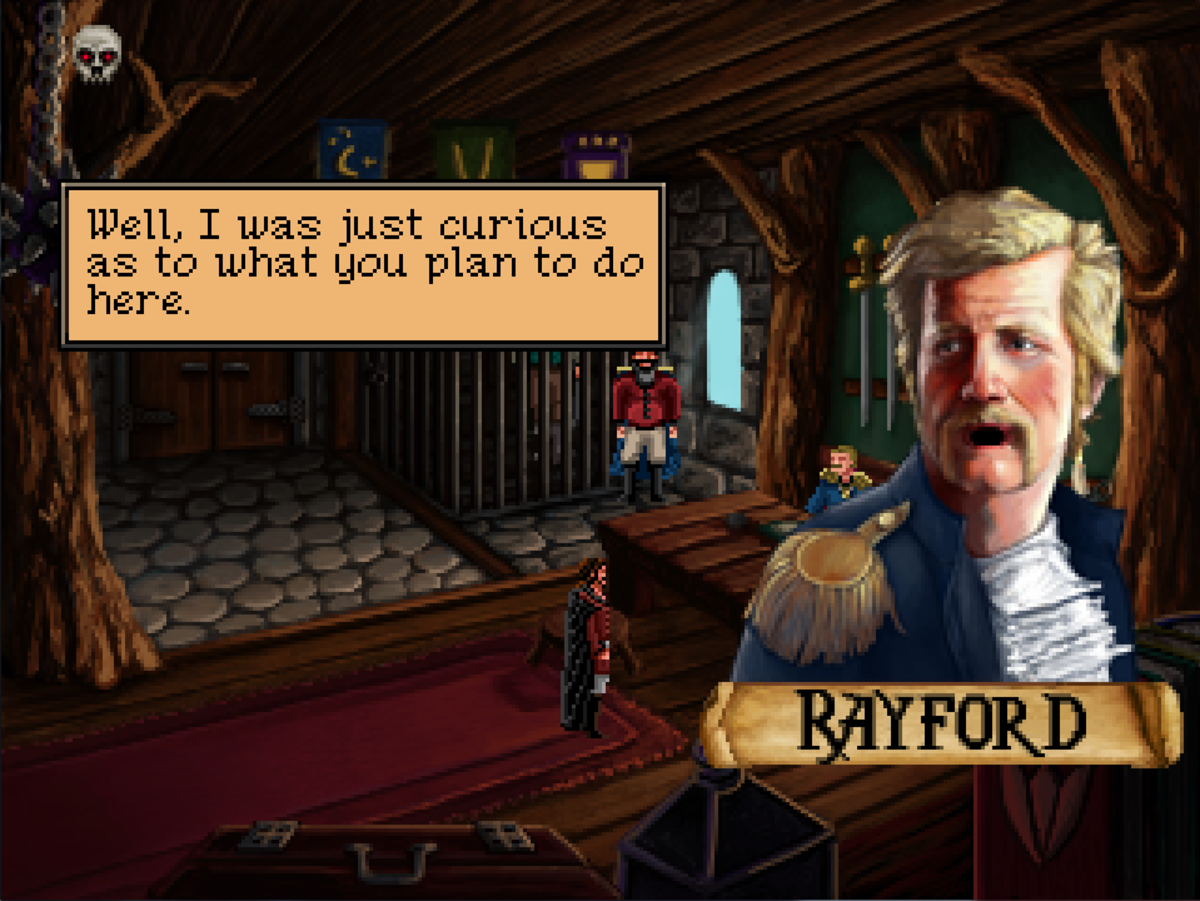
Dragon Fantasy Book I Walkthrough, Part Seven: Volcano


Ogden needs some altogether heroic equipment to defeat the Dark Lord, and the second piece he needs is in a Volcano a ways away from Bluefin. Ever heroic, Ogden sets out to the former pirate base to retrieve the equipment he needs. Onward!
The area immediately around Bluefin is populated by enemies you've seen before. Head away from town, though, and you'll start to run into monsters unknown to Ogden.
- Wolfowitz is basically an upgraded version of The Wolfman. Deal with him in the same way.
- The Mystical Man is another upgraded version. His spells are no stronger, but they don't fizzle and are cast more frequently. Beware!
The Volcano is a fair distance from town, so make sure you get a good night's rest before you make the trek. Head northeast away from Bluefin and you'll find two potential paths to the Volcano, as well as another path to the southwest. Ignore it and make your way along the mountain ranges to a lone cave on the northwest corner of the continent. After some silliness you'll enter the Volcano…
… and, hey, whaddya know! It's pretty fiery. Appropriate. You've got some new enemies to face in here, as well:
- Obligatory Ork. These painful pests don't hit that hard, despite their size, but they can put Ogden to sleep and waste a few of his turns. Your own Slumbarios isn't a terrible idea for dealing with them.
- Sangria Enthusiast. That's… different. Straight out hits will bring it down. Watch out for poisoning.
- Hunka Burnin' Love. Even stranger. Still, you need to be cautious - these guys hit hard and take a lot of punishment.
- Son of Rock Monster. The whole family? Who knows. This guy's straightforward, but he hits hard. Be prepared for 30+ damage per hit.
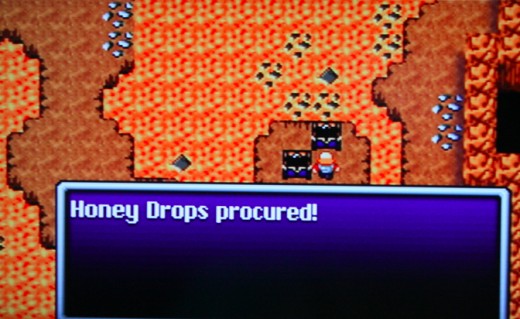
You have little choice as to a path. Follow the rocky walkway as it spirals towards an intersection. Keep following it south to reach two chests containing a Turboherb and Honey Drops. Backtrack to the intersection and go southwest instead to find a set of stairs.
Past a bridge in the next section is another split. Head north first. Follow the topmost wall to the west to find a set of stairs. At the top are a Rope and a Golden Sword. Backtrack to the previous area, make your way back south, and cross the first bridge you see to the east. Follow the path away from the lava, to the north, to find four treasure chests. Inside are a Rope, a Turboherb, an Antidote and Wyvern Powder.
Wander back south, past the bridge, and follow it back to the original split. Continue south to another split. Cross the bridge to find an iron Sword; cross back and keep going south.
New area! This must be the pirate's base, as there are some piratey ships along the way. Walk to an intersection and check the northern ship for a Rope. Carry on south to find a larger boat with two chests on the east side, one containing a Turboherb and the other 1000 gold. Nice! Keep following the path through here to reach more stairs.
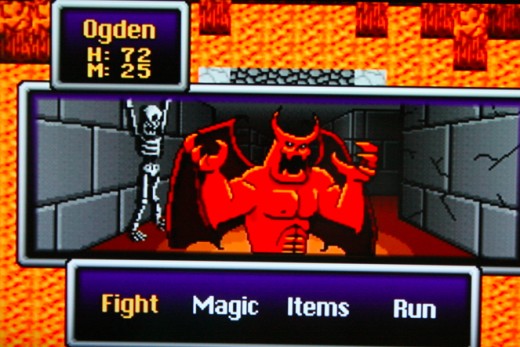
You're now on a highly-conspicuous walkway to the north. Follow it to a pedestal where a demon awaits. He knows why you're here and he's ready to fight. Put up your dukes!
Hellspawn
Hopefully you have Healiara (level 21), because you're going to need it to get through this fight in one piece. The Hellspawn assaults Ogden with normal strikes (roughly 20 HP apiece) and magic (roughly 35 to 45 apiece) that will sap his health in a real hurry. Keep your health above 60 while battling the fiend and keep hitting him with normal strikes, as you want to preserve your MP for healing. Hellspawn can heal himself, so you may be in for a lengthy battle, but it's doable.
Defeating the Hellspawn will earn you a precious boon: the Rusted Hero's Shield. (It appears in your inventory despite the fact that you don't read anything about it.) Ogden's on the hero's path for sure now!