Games and Projects for School-Aged Children
Playtime!
It's time for action! Playing and creating can be both fun and educational for elementary and middle school-aged children. Help them stay busy, creative, inquisitive and focused with activities for after school, weekends, vacations and childcare programs. Whether for group settings or solo play, here are a few simple games, crafts and projects for elementary and pre/young teen school children. Overall adult supervision is recommended.

Games for Young’uns
AnimalSpeak! – Find an area inside or outside that has a lot of room for the kids to spread out; this role-playing game allows them to act and sound like animals. The game leader will quietly (and privately) provide the name of one animal to two children, and another animal to two more children, and so on.
When the game begins, each child can seek out his or her “partner” animal by acting, walking and making the animal sound. OINK!!! There’s a pig! WOOF, there’s a dog! If you have an uneven number of children, you can assign three to a group. Or, you can have groups with more animals in them.
I Spy – The classic game that most of us have played at one time or another helps kids to identify colors and things with specific names. With one or two children, you can play the basic way … “I spy something red” … or change it; allow the guesser to ask up to 10 questions (or more) about the item. If playing in a group setting, each child may ask one question (that can be answered by “yes” or “no”). The child that guesses the object is the next to say … “I spy something ….”
Another way to play this game: Place slips of paper (with the names of objects written on them) into a bowl. Select the paper slips (eyes closed!) and then set a limit as to the number of questions players can ask about the objects. After participants ask all their questions, let the guesses begin! (Adults and older kids can help with this).
Something is Missing! – This game of focus helps kids to narrow down what was but now -- isn’t. You’ll need a table and about 12 different items such as crayons, pennies, toys, erasers … anything small. Place the various things on the flat surface and then, for about 30-to-60 seconds, allow the player to study the items; memorizing what and where they are.
When the time is up, send the player out of the room (or blindfold him/her) so that another player can remove one of the items from the table. When the first player returns, he or she must answer the question, “what is missing?” You can also put one of the items in a different position on the table for the question, “what has been moved?” Set up teams and keep score by awarding points for correct answers.
Find-a-Shoe – A simple communication icebreaker game for all ages! Players, divided into two teams, place their shoes in the center of the room … the game moderator mixes the shoes up so that none are with their mates or in the same place. Each child -- blindfolded -- is led to the shoe pile.
Before the game starts, one person from each team, chosen by the moderator, may remove his/her blindfold. He/she may answer questions with “yes” or “no” from the opposite team members searching for their own shoes. (Remind the children; be honest!) The first team whose blindfolded members have both shoes on properly is the winner.

Painting Crafts for Older Kids
Straw-Draw – For this craft, you’ll need tempera paints, drinking straws -- cut in half -- and thick construction paper or cardstock in various colors. On a separate piece of cardboard or wood, create a palette of colors (water down the paint for desired consistency and hues). Drop small to medium globs on a piece of construction paper. Carefully blow the paint around on the paper to make unique, splattered and geometric designs – use different colors! Hints: Wear aprons or plastic sheathes to keep clothing clean! Younger children should be strictly supervised so that they do not suck the paint inward.
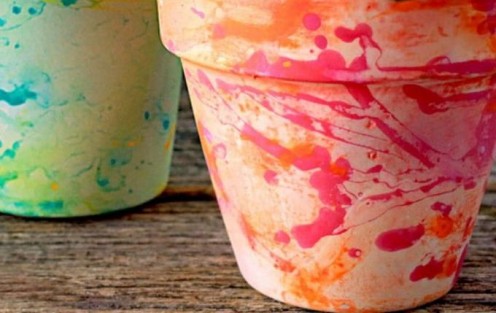
PlanterSplash! – Decorate terracotta plant pots by splattering paints of similar -- or different -- colors. The rainbow is endless! Here’s what you’ll need:
- Clay pots
- Brushes (for each paint color)
- Primer spray and acrylic paints of desired colors
- Water spray bottle
- Disposable cups (paper or plastic)
- Foil pie pan or big plastic container
- Newspaper or wide utility paper
Cover a table with the paper -- the paint will be flying! (You may want to dress the kids in aprons or plastic sheathes). Spray primer on the pots; let dry. Pour the various paints into separate cups and add a few drops of water to each – mix with paint brushes per color.
Place the pot on its side. Splatter thick gobs of paint from the brushes onto the paper; roll the pot over the paint. Repeat the process by using different colors, if desired. (Avoid getting paint on the bottom of the pot). Set the pot upright and let it dry for just a few minutes. Place the pot in the foil pan or over a container -- spray water over it, letting the colors run. Turn the pot around while spraying (to get an even coloring). Let the pot dry completely.
Variation: Simple paint splattering without the water wash. Let your imagination run wild!
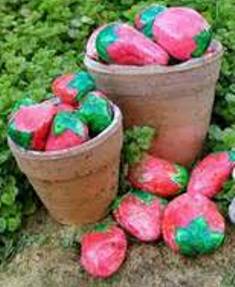
Paint-a-Rock! – An old standby ... great for a rainy day! Help your kids create colorful or scenic images on small rocks. Begin with:
- Small and small-medium rocks -- round or flat
- Acrylic paints in various colors
- Brushes for each paint
- Newspaper or plastic tablecloth
- Waterproof magic markers
- Acrylic paint sealer or lacquer
- Extras (such as glue, yarn, “eyes,” etc.) Visit your local craft store for ideas!
Clean and dry the rocks. On newspaper or a tablecloth, apply paint/marker colors to each rock for unique designs or draw something specific. How about a theme? Each child can contribute to the set. (Ideas: circus performers, zoo animals, boats, cars, sports, dolls with eyes and yarn-hair … anything!) When the painted or drawn portion of the rock is dry, seal it with lacquer or a similar substance. (Glue on ornaments and accessories after the sealant is completely dry).
Paper Art
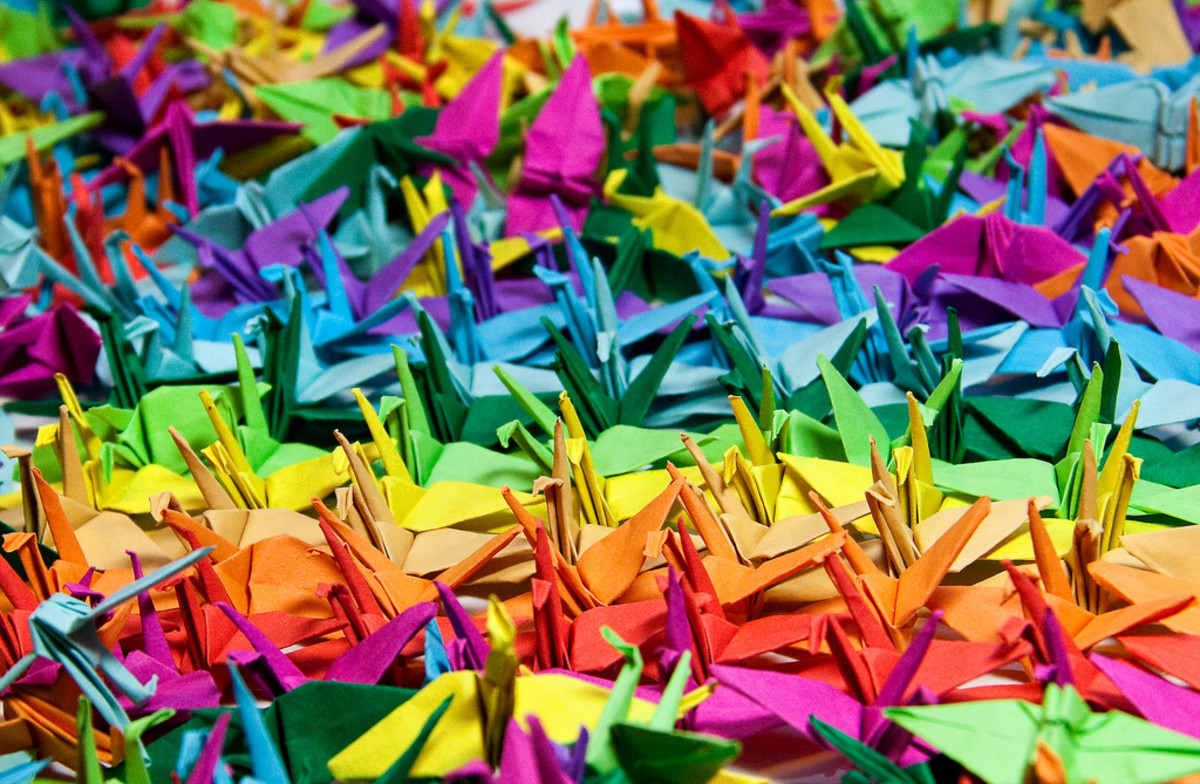
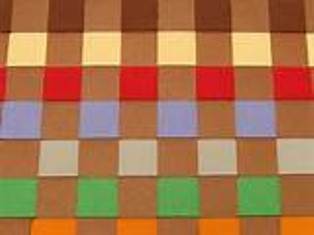
Ornamental Mat Weaving – Cut strips of variously-colored construction or heavy-weight cardstock paper alongside a straight edge (such as a ruler; a paper cutter ensures an even slice). Choose decorating ornaments such as buttons, stones, glitter, etc … the possibilities are endless! Weave the strips of paper in and out of each other, vertically and horizontally. Securing each strip with glue where it hits the opposite paper will help the slats stay in place. Another option is to make strips from one sheet of paper and only slits in the other. Leave a boarder (about an inch or longer) to keep the loose woven pieces in place. Decorate the mat as desired.
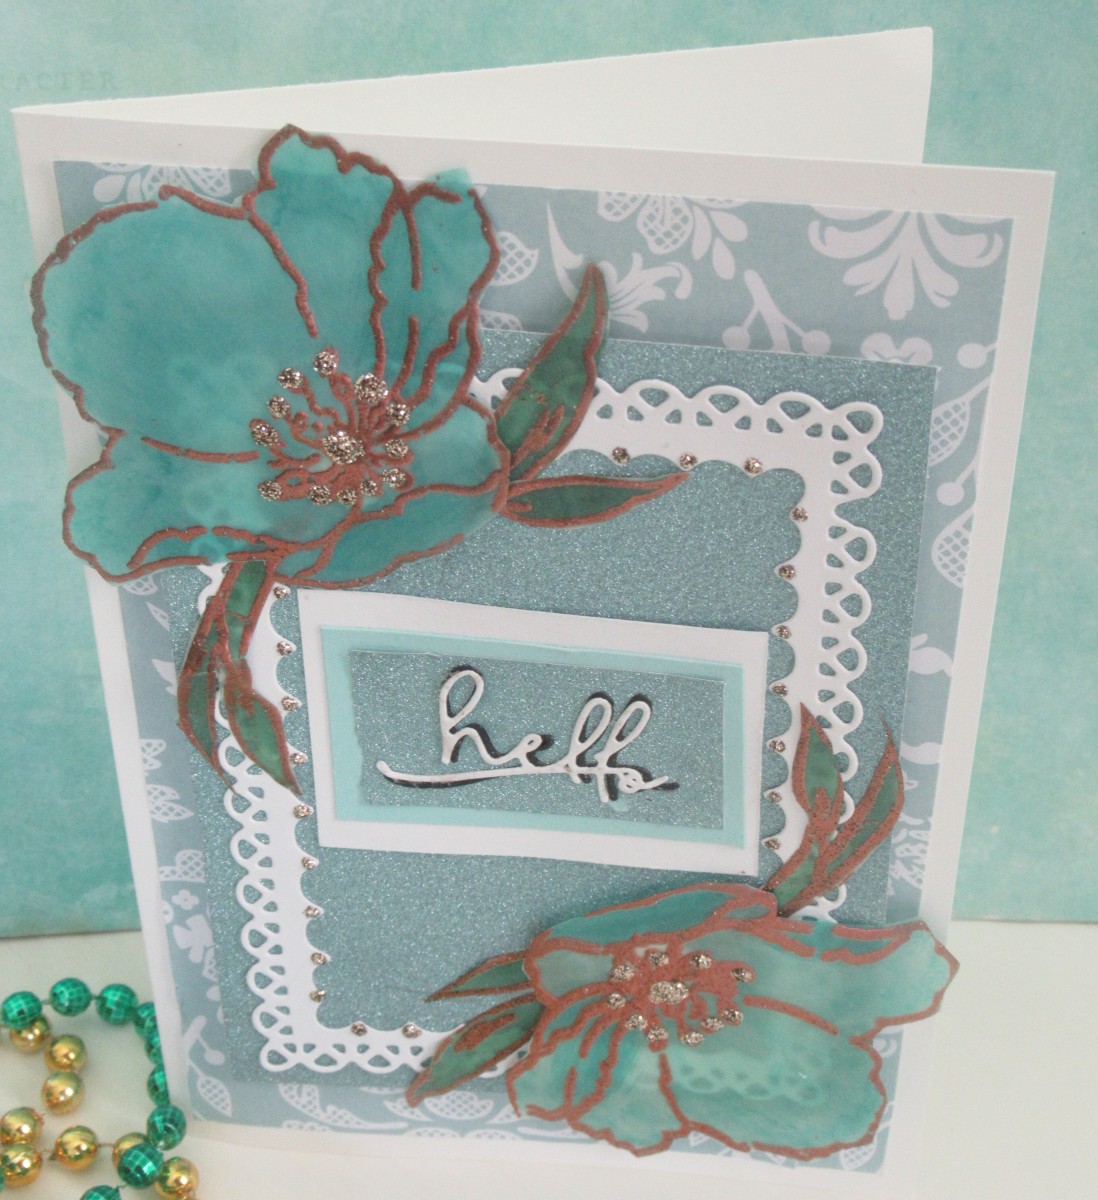
Collage – Decide on a theme or make it abstract and unique! Choose from a variety of materials such as fabric, yarn, paper scraps, wallpaper, greeting cards, magazines … anything! Glue or paste abstract pieces or cut designs on thick cardstock. Allow ample time for drying before applying the next piece. This can be a single-afternoon project or keep children busy for days after that!
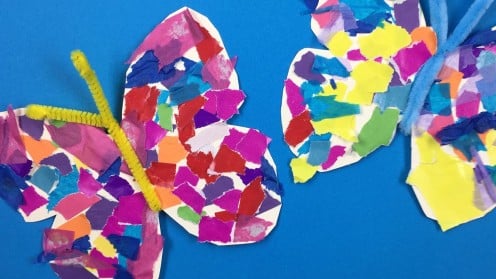
Color on Color – Create colored art with tissue and construction paper or tinted cardstock. Cover your work area with newspaper and gather these materials:
- Paintbrushes
- Construction paper or cardstock in white or various colors
- Tissue paper – assorted colors
- Water
- Liquid starch
- Scissors
Mix three-parts starch and one-part water in a disposable container. For an abstract scene or specific design, cut different shapes from the tissue paper. Apply a brush of starch to the construction paper or cardstock and then slowly place the tissue paper over it … be careful, it may wrinkle! Place more layers of tissue over the first one and brush small amounts of starch and water over the tissue. Let dry thoroughly. (Hint: After the project is dry, place a heavy book on top of it (for a couple of hours) or set the art in a frame to help keep the cardboard flat and wrinkle-free).
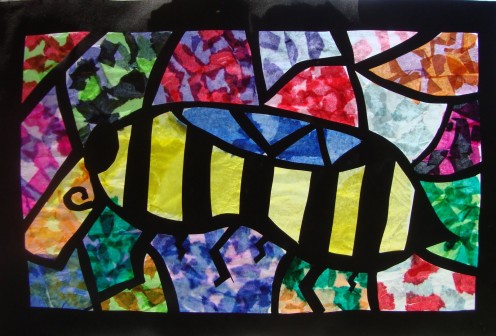
Another tissue paper craft – “stained glass.” Substitute transparent wax paper (for the cardstock or construction paper), brush the starch on the paper and set the tissue pieces in place. Cover the tissue with liquid starch. Layer more colored tissue in various places on the wax paper and seal it with starch. Let your masterpiece dry and then hang it in a window!
Ideas are Endless. Get Creative!
Encourage older children to create easy games and play them with younger kids. The “elders” get to be teachers!
The Internet and your local library are great places to find ideas for keeping your school-aged child busy and there are many “brick and mortar” stores that carry entertaining and educational crafts and projects. Alternatives to computer games and Social Media are out there -- let the kids help you find them!
Add your ideas here ....
© 2015 Teri Silver

