- HubPages»
- Games, Toys, and Hobbies»
- Toys for Kids»
- Building & Construction Toys
How to Organize your Legos: Storage Solutions

Legos multiply if you love them. We buy Legos because out son loves them, they're great toys, and well, we enjoy them, too. To continue enjoying them, you need to be able to find what you want when you're building things. This is important whether you're reassembling a particular set that you purchased or better still, making something "from your imagination" (as my son calls it). I'm not advocating full OCD mode here. Just some general separations to make location easier. This article presents a few suggestions.
Note, my five-year-old son has given his approval to this organization scheme, and is able to put things away into the right places, but let's face it: fully deconstructing the assemblies is not his favorite activity, and he often needs to be "on a team" when we're doing a full pick up. Embrace the scheme; remember, you are most likely the one who is going to do the finding-of-pieces for your youngest ones. We have a small house with no designated playroom, and our living room sometimes becomes Lego Central for a few days at a time. During that time, entropy increases (i.e., adherence to the organization scheme degrades naturally). When it's time to gather them for the night, or to make room for the next big living room toy deployment, we apply the following scheme a bit more strictly than we do on a daily basis.
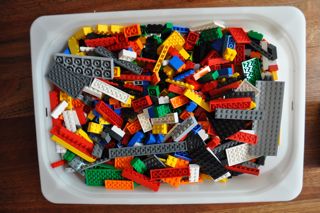
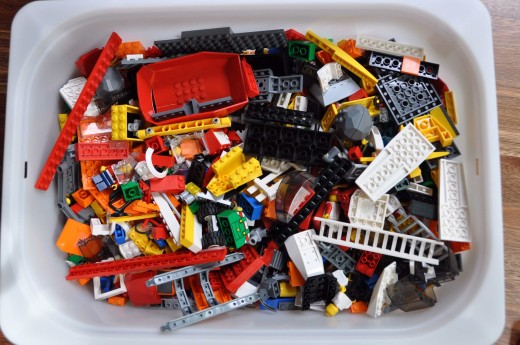
Phase 1: Separate the Blocks from the Special Pieces
Early in our Lego career, we simply put all of our legos in bin and dug through it continuously. The shallow (~4" deep) drawer bins in our Ikea furniture were good for this, because they displayed lots of pieces horizontally, and were shallow enough that you could slide the upper layers over to find the wee pieces underneath. The second phase of our organizing was the biggest improvement, and is the simplest to implement. We'll call it Phase 1. We separated the basic blocks from the "Special Pieces." Here is the criterion for identifying blocs versus special pieces:
- Blocks are rectangular pieces with more than one "knob" on them and they have no special textures, attachments, or decals.
See, this is easy!! Even a very young Lego kid can do this, and it makes a big difference. This may be all you need to do.
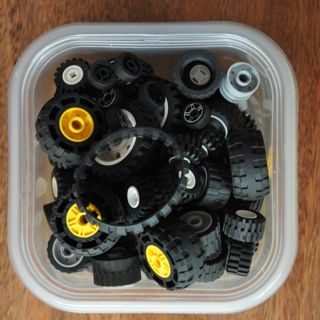
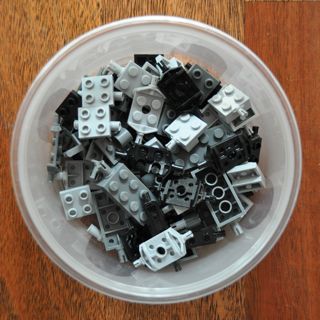
Phase 2: Wheels and Axles
The next phase you might want to implement consists of pulling out the wheels, tires/treads, and axle units. By "axle units," I mean the axle-based pieces that have "knobs" on them for attaching to blocks or other pieces. Some of your axle units may have removable axles. Removable axles should be stored with the rest of the special pieces (from Phase 1) or may be further separated as part of Phase 3.
We do this because Legos are so nice for building vehicles, and we are a family of motorheads, so vehicles of all types are easily the most frequently made Lego assemblies in our house. Late one very entertaining, stormy afternoon my son challenged me to build 20 little cars before supper time. That was a blast —we ended up with some pretty crazy autos. I wish I had photographed the fleet that day.
Phase 3: Deal with the pesky little pieces
Way back when, Legos were just blocks. No special pieces; imagine! If I had had Legos when I was a kid—I didn't, woe is me—I would be even more amazed by the contrast in available variety. There are so many wonderful special pieces in modern Legos. If you are an OCD type, you could spend all of your time gleefully sorting them into little drawers, but then all you would do is sort Legos, and you wouldn't have time to play with them, and most sadly, you would be less likely to be inspired by seeing this or that piece in the jumble. That might suit you fine, but it's not my style.
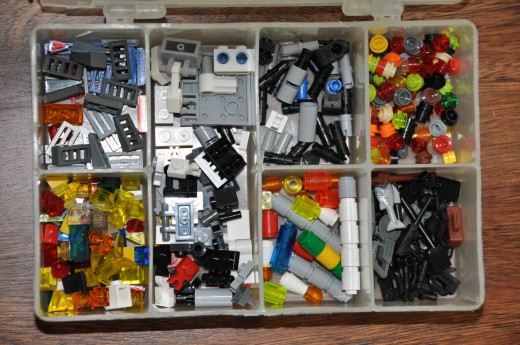
Phase 3 consists of separating out a few types of wee pieces that tend to migrate to the bottom of the bins. We had this cool little mini tackle box handy, and it had seven compartments, so we herded out seven types of little pesky pieces: grills, special joints/mounts, axles, round lights, small tools, cylinder lights, and square lights (also known as blocks with one knob).
That was enough for us. We don't always return all pieces to their Phase 3 spots, so sometimes they just end up in the Special Pieces Bin. I find it rather relaxing to sit with my young son and, while I'm helping/waiting for him build something, do any necessary weeding out of the special pieces bin. Sometimes, we make a game out of who can sort a small pile faster.
Our choices for Phase 3 made sense to us, but you also might consider pulling out:
- Lego people parts and accessories
- licence plates
- parts with decals on them
The bottom line is to not get too wrapped up in the sorting and to figure out what level of organization you need. We have a lot of Legos, and we also don't mind mixing sets together. We do keep a few sets completely separated: the small, "three-in-one" sets, with original container and instructions, are in our coat closet with my handbags. I toss one into my bag if my son and I are going somewhere that might be unexciting for him.

Storing Your Instructions
This is a super easy one! Get yourself a 3-ring notebook and some plastic page protectors and slip each set of instructions into its own sleeve. Your child will be able to find them easily, and they'll stay in relatively good condition. As a bonus, the notebook is an excellent surface on which to place stickers ("Mom, where am I allowed to put these stickers? Mom? Hey, Mom, where?"
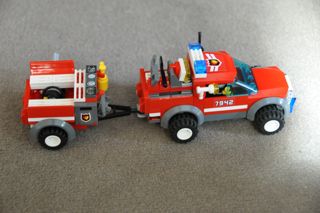
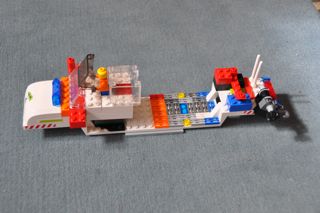
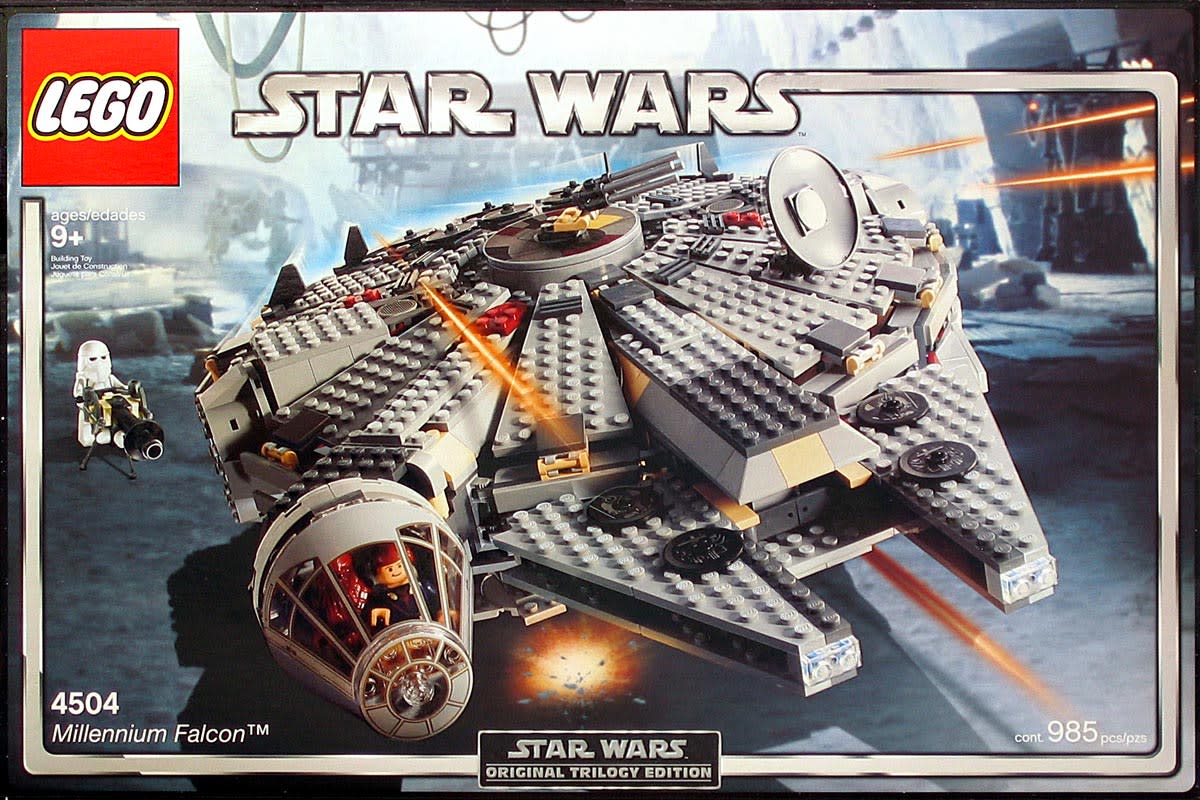
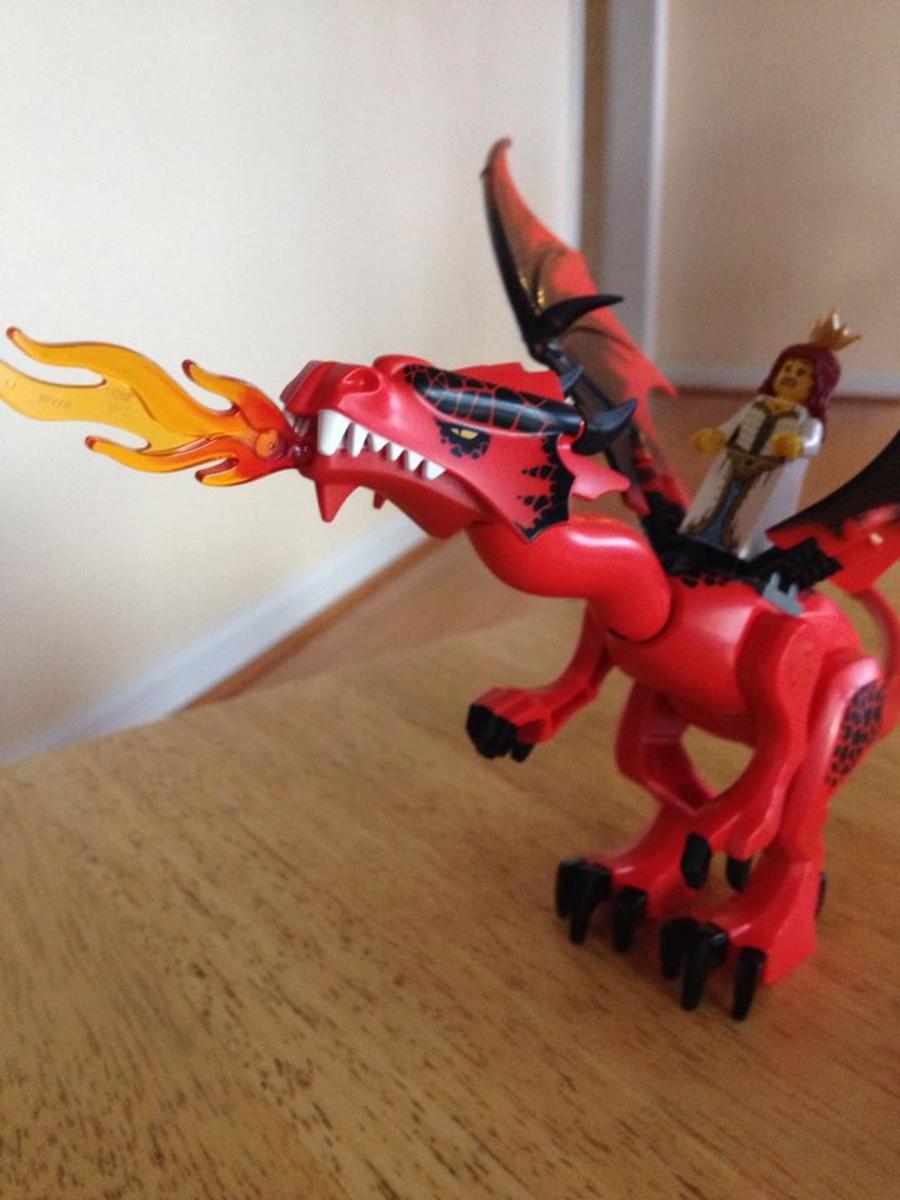
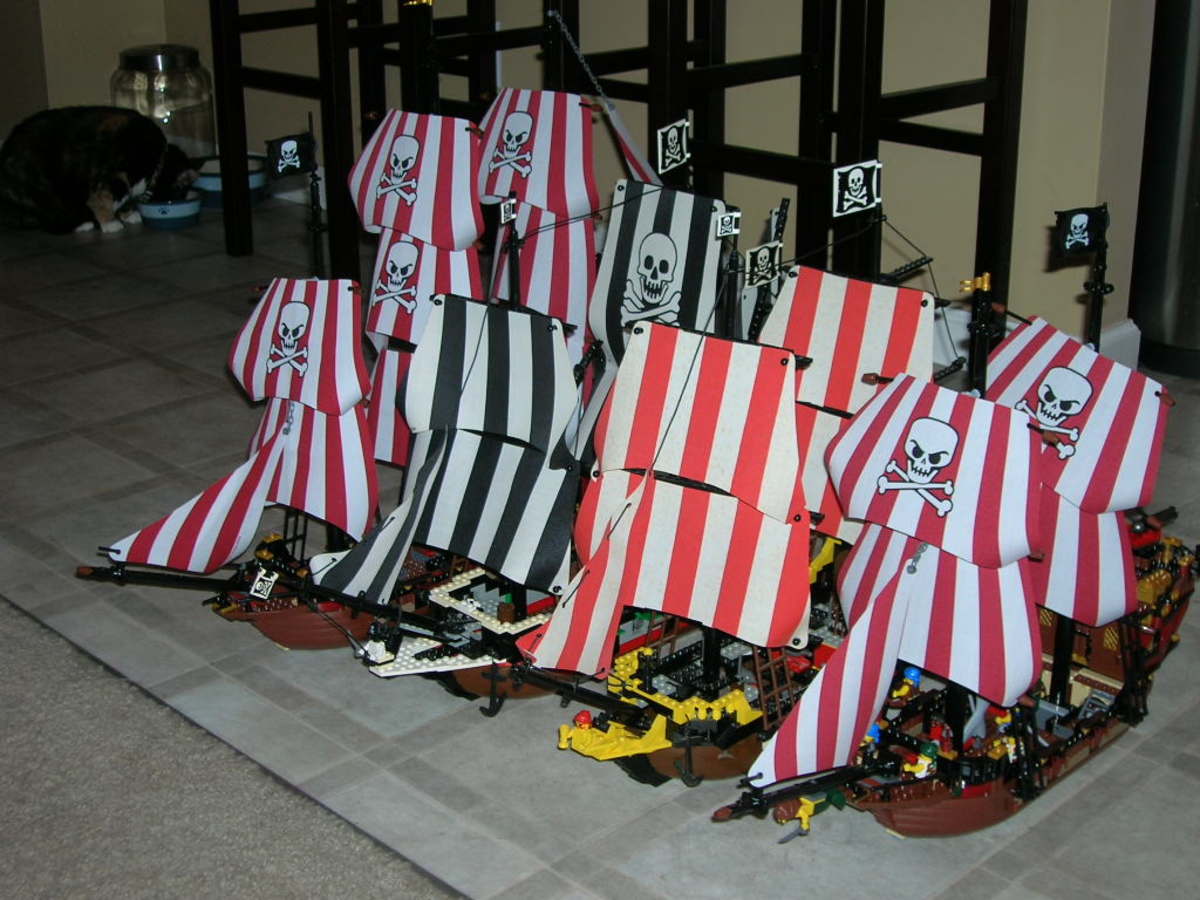
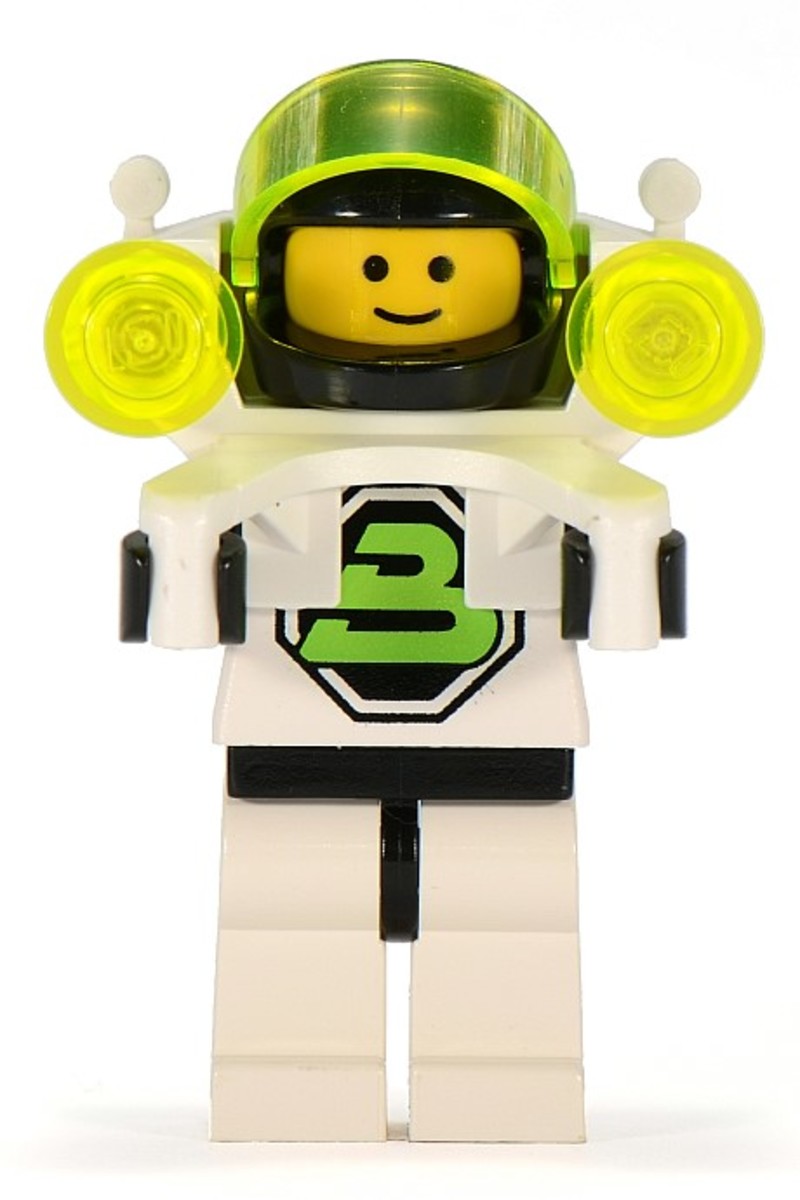
At my son's request, I'm including photos of a couple of his favorite kit assemblies, and one of a powerful, fully-featured ship he's been building today. On this page you will also find some fun Lego products and some suggested storage products. Have fun organizing your Legos!
