Installing T1-11 Siding on the Walls of an Air Conditioned Dog House
Design Considerations
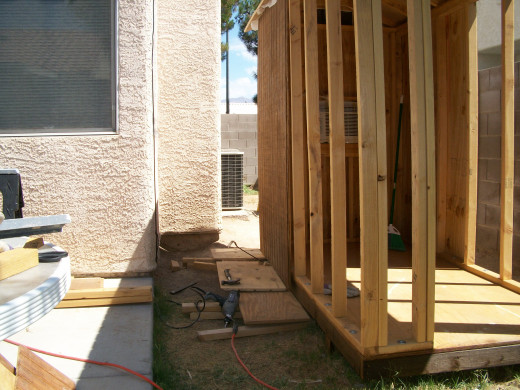
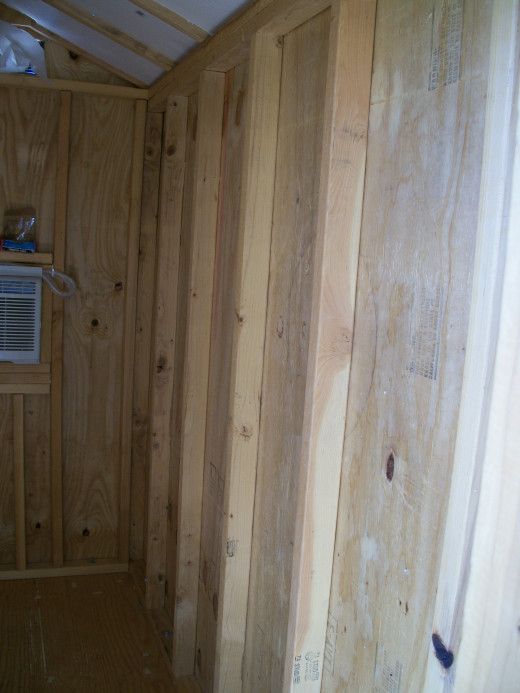
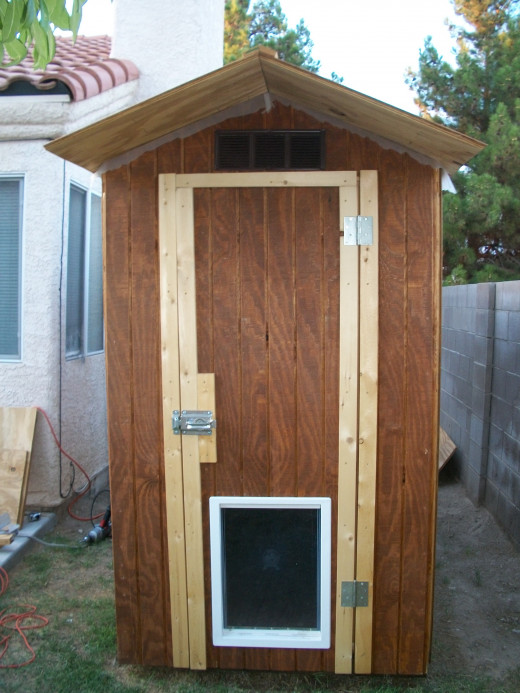
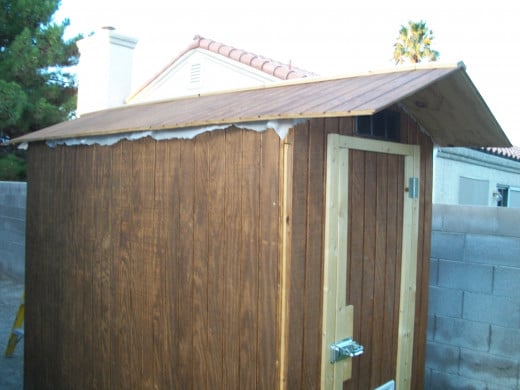
This building has two purposes, doghouse and storage shed. Therefore it needs a dog door and a human door. If it were going to be used as a playhouse, a window or two might have been added. I decided to put the dog door inside the human door, both on one end of the shed, with the air-conditioner located on the opposite wall. This allowed both side walls to be framed identically and to have the roof fully supported by a pair of studs under each pair of rafters. So, essentially, the end walls are not bearing the main load of the roof, and can be customized as needed.
This means that the siding installation is about as simple as it can get for this size of a structure. Two T1-11 panels for each of the long walls will only need to be cut for length, but not for width. Likewise, one panel for each end wall will need to be cut for length, but not width. Each end panel will require additional cutting for the door, air-conditioner window, and a couple of attic vents.
T1-11 siding comes in different thicknesses. The thinner siding will be less expensive and lighter and easier to work with. But it will also be more susceptible to warping,
The other role the siding plays is in providing a diagonal bracing effect when attached to the studs. You will notice that before the siding is attached to the framed walls, the walls will have quite a bit of play, even after they are all interconnected. The wind will cause the entire assembly to lean noticeably one way or the other. So it is important when installing the first two screws in the end pieces and the first pieces on the side walls, that you use a framing square or a level to make sure the wall is vertical when the second screw is driven home.
Staining the T1-11 Siding
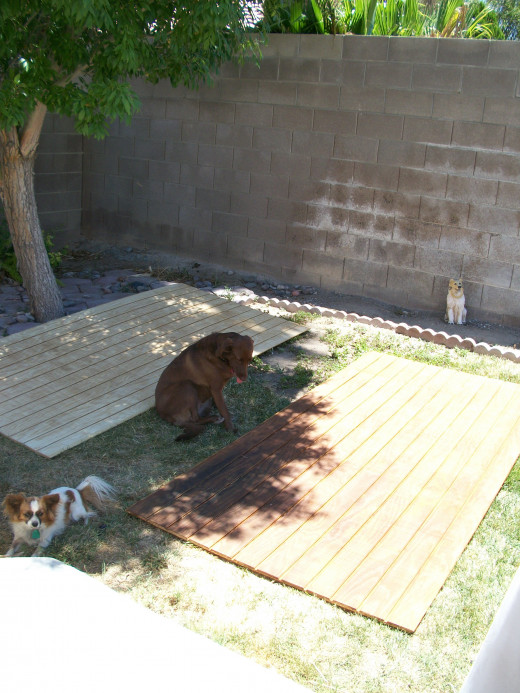
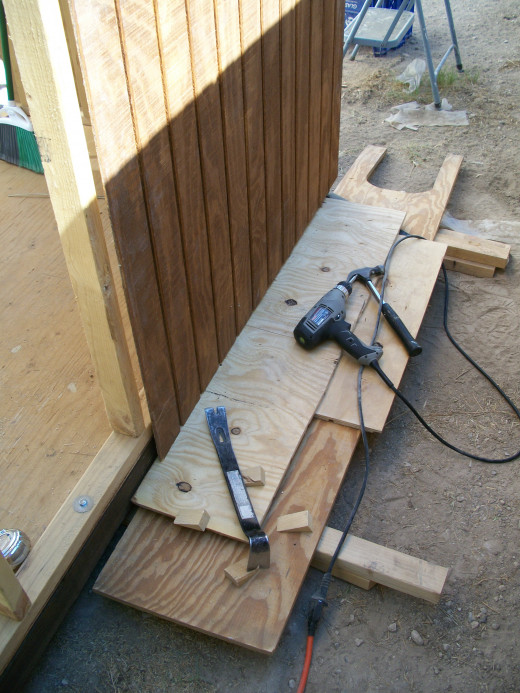
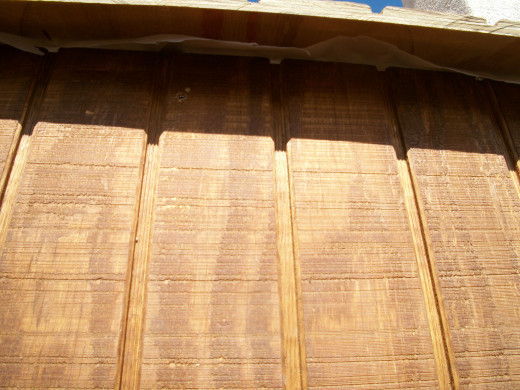
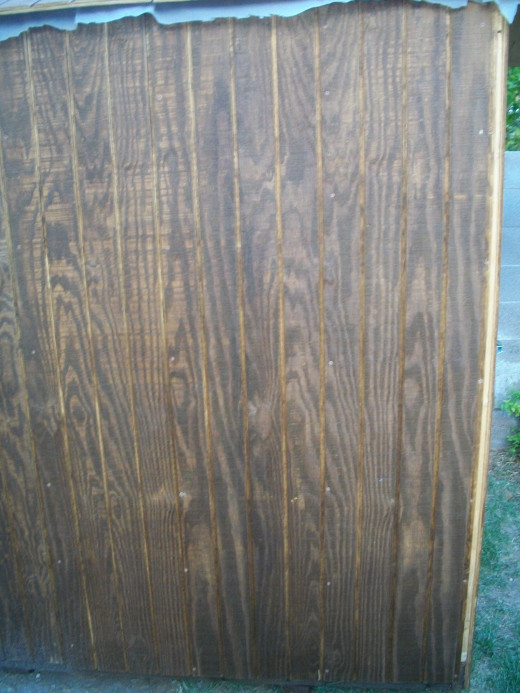
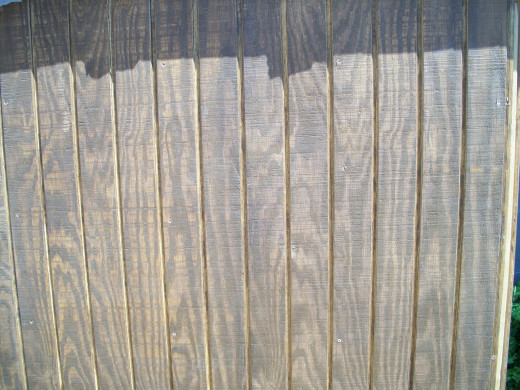
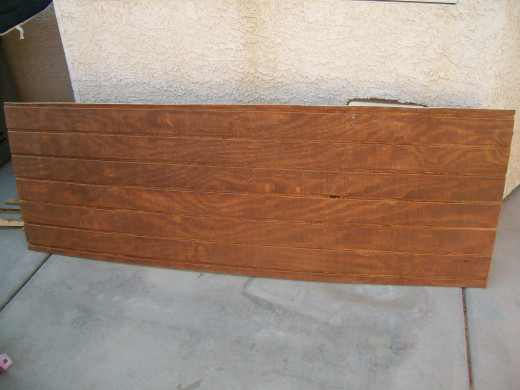
I chose to stain all the siding before installing it, thinking it would be easier both to apply the stain and to get an even finish by doing it before the siding was cut and installed. I included some photos of my "assembly line". I moved from one piece of siding to the next instead of having the line move to me.
I used Lowe's part number 15211, "GL Olympic Maximum Canyon", which includes some waterproofing in addition to the dark stain. I also bought some clear varnish for the unstained pine trim to give some contrast, and decided to apply it over the stain after the siding had been installed. I applied the stain with a paint brush, but used a roller for most of the varnish, and got both the trim and the siding during the same application. The clear varnish was Lowe's part number 73095, "GL Gloss Spar Varnish Cabot".
Staining the T1-11
Click thumbnail to view full-size

Installing the Rear Wall Piece
Click thumbnail to view full-size


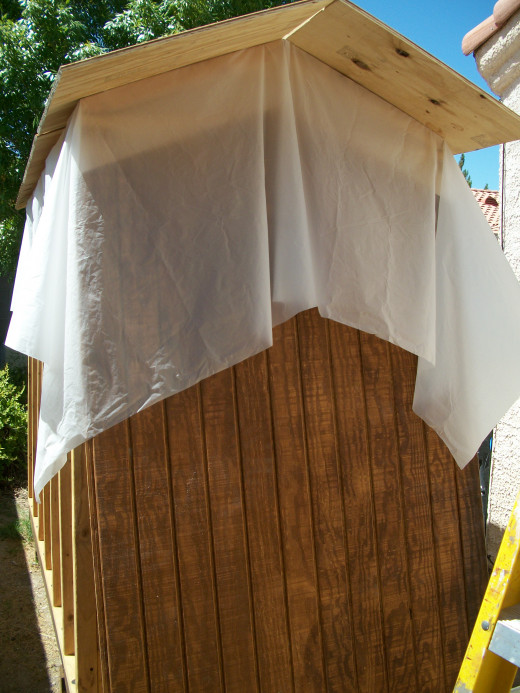
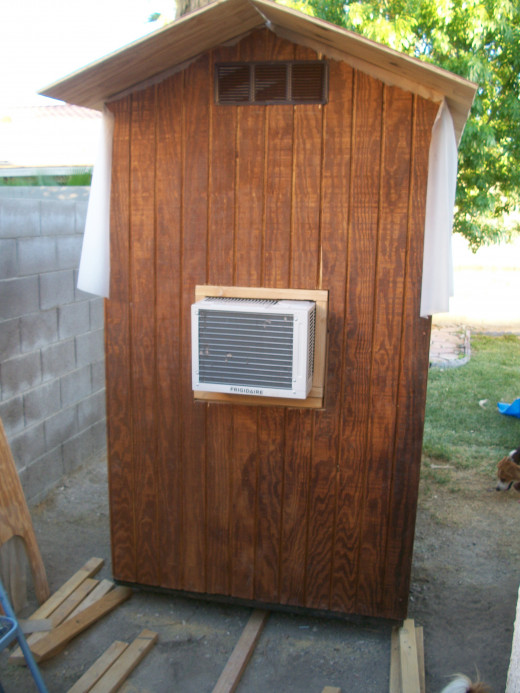
Installing T1-11 siding on the rear wall
The siding was attached using exterior screws, Lowe's part number 32390, "2x8 PGP EXT SCR STAR DR R". These have a reddish waterproof coating that blends in well with the siding stain.
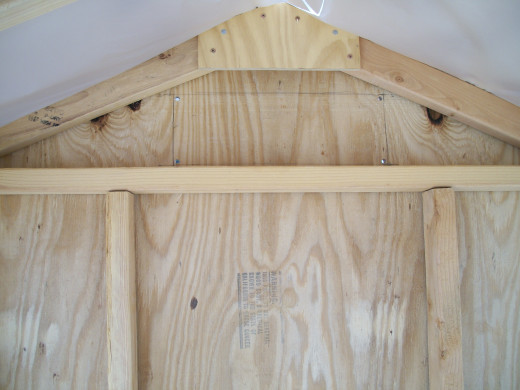
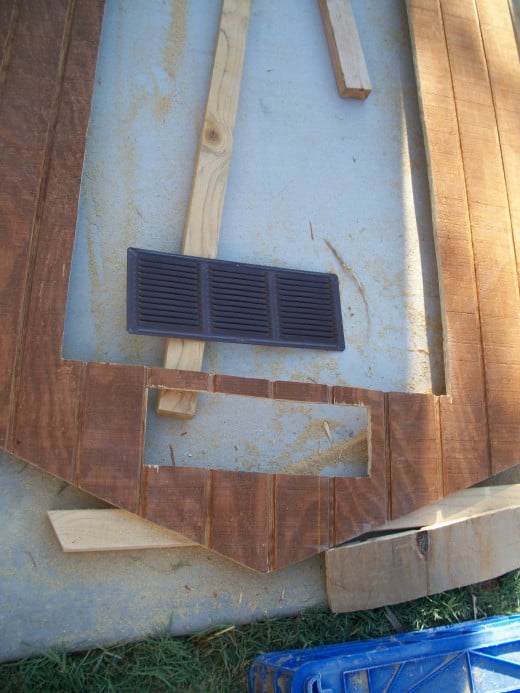
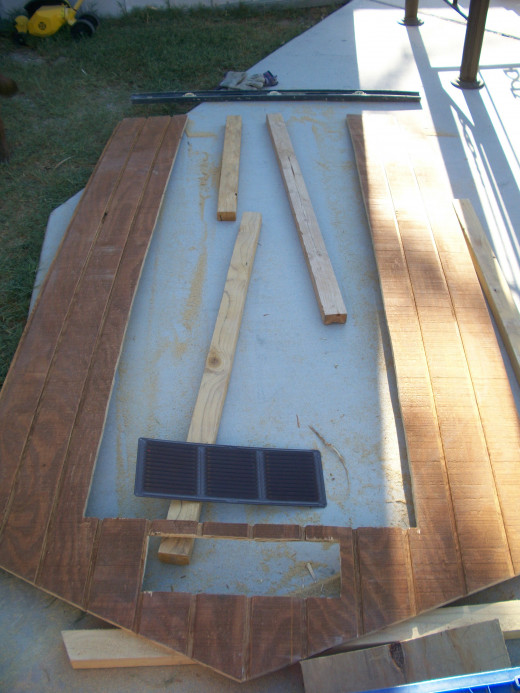
I measured the distance from the peak of the roof to part way down the chemical-treated 2x4 floor joist, about 76 inches. The siding is 96 inches long, so I cut about 20 inches off the end of the piece I selected for the rear wall. For the roof angle cutouts of the siding, I marked a line from the middle of the top to each side at a 22.5 degree angle. Before cutting out the hole for the air conditioner, I did a dry run to verify that the piece would fit properly.
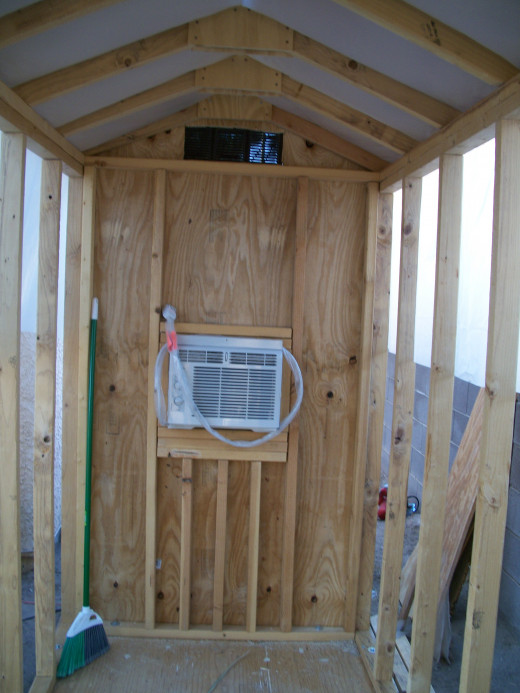
Then I very carefully measured, marked, and cut the opening for the air conditioner. The 2x4 collar sets out from the back wall framing, which is made of 2x3's, so the hole in the siding actually has to clear the boards forming this collar. If the air conditioner ever needs to be replaced with a physically larger unit, the collar can be removed and or reduced without having to modify to back wall framing or make any more cuts to the siding.
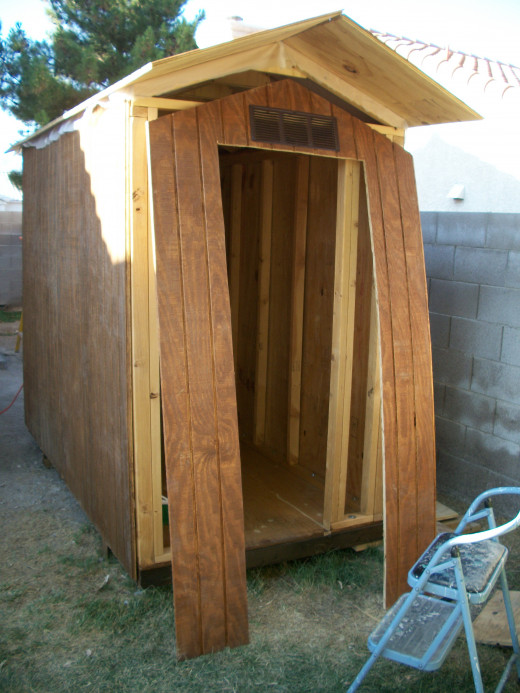
When the AC hole was ready, I positioned the siding on the platform, and with the help of a crowbar, was able to get the siding into position and get the first two screws in place. Then the rest of the screws were installed.
Side walls
Click thumbnail to view full-size


Installing Siding on the Side Walls
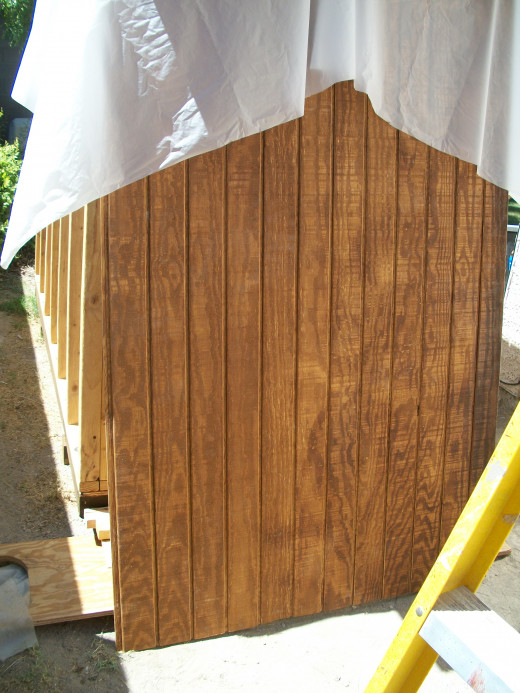
After cutting each piece of siding to the proper length, as measured from the roof to a few inches beneath the floor sheathing, you are ready to install using the same method as for the rear wall. Note that the side walls are shorter than the center of the end walls, but should match their edge lengths.
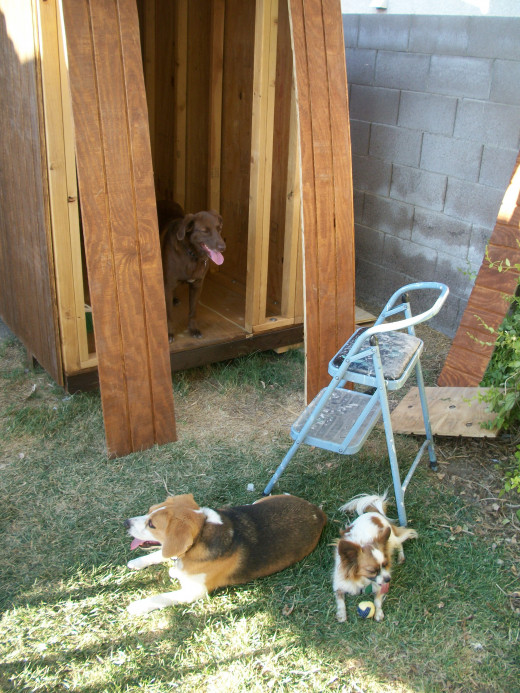
Orient the siding so that the piece that overlaps the other is screwed into the stud. Otherwise the edge of the overlapping piece won't be securely fastened to the framing. Also try to position the first piece so that each piece on that side will be about the same distance from the outer corners of the studs on the end. Since the siding is designed to overlap, there will be a little bit of the corner studs left exposed. This will be covered by trim later.
Installing Front Wall, Door, and Doggie Door
Click thumbnail to view full-size


Installing Siding on the Front
The last piece of siding to be installed was set aside because it had a small defect that was to be cut away for the doggie door. Unfortunately, I forgot to pay attention to that when the time came to lay everything out and mark the cut.
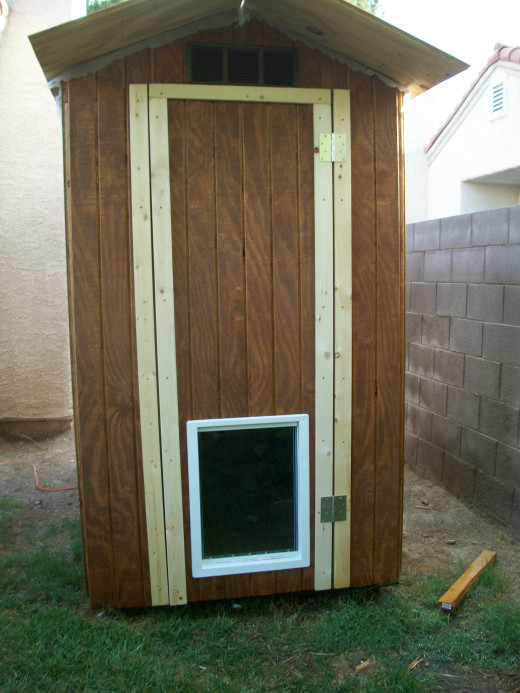
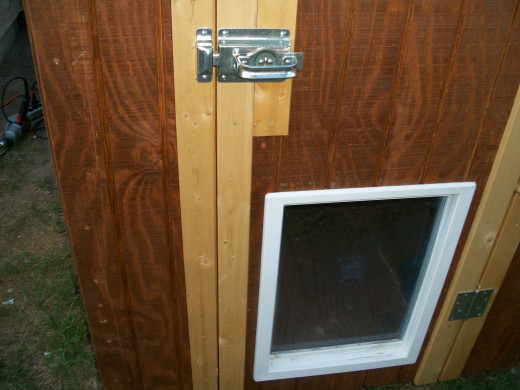
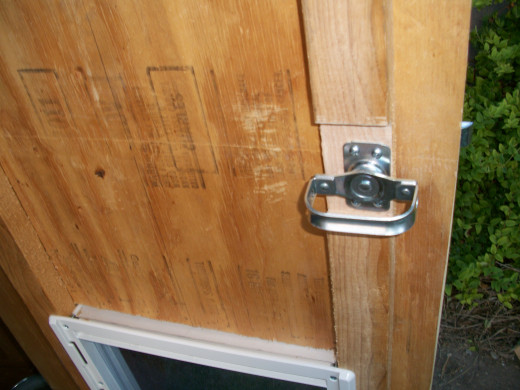
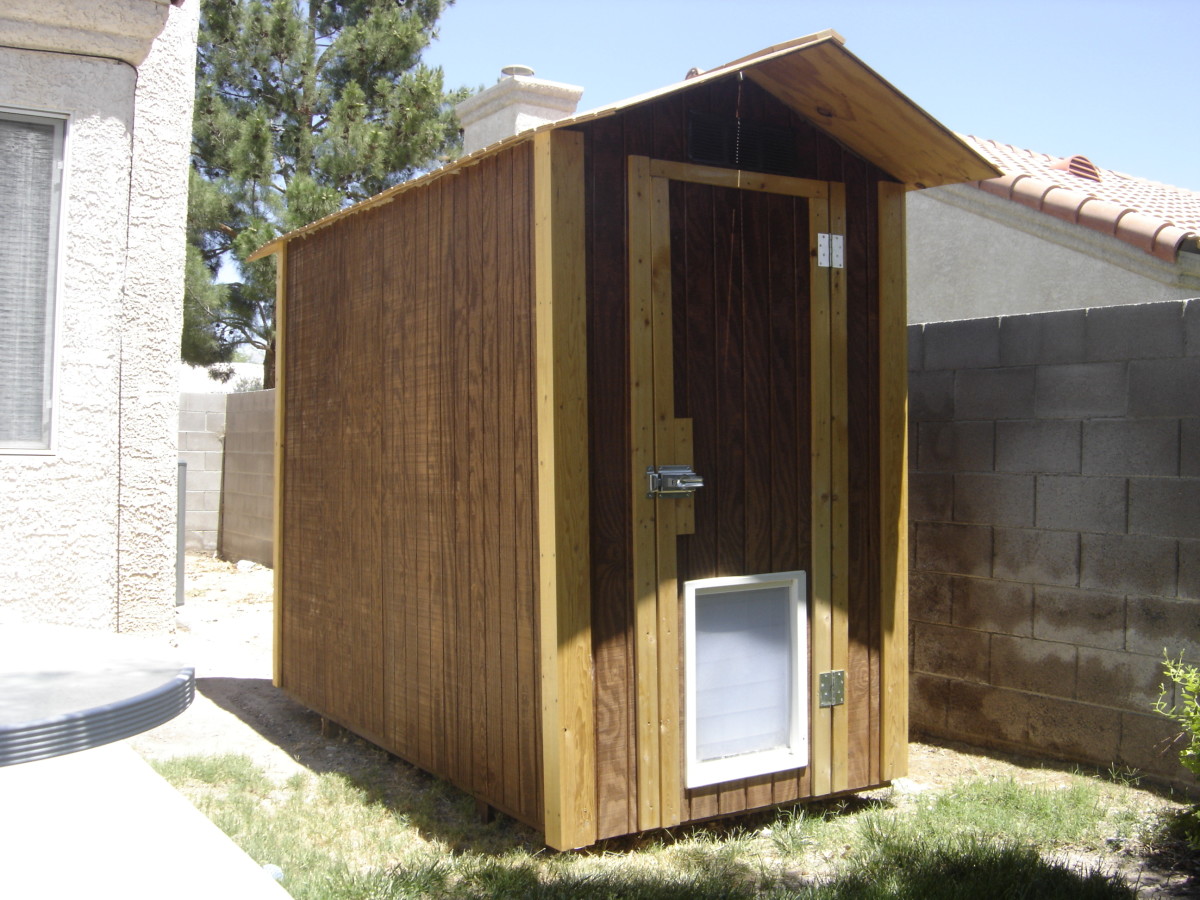
The size of the door was measured so as to overlap the frame pieces by 1/2 to 3/4 of an inch, thus having something to close against. The hinges and latch are going to be mounted on trim attached to the edge of the door and the edge of the front siding from which the door was cut.
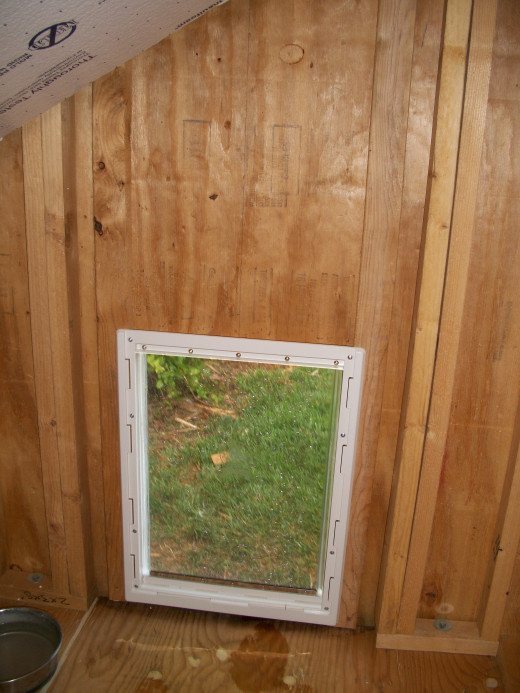
The door was formed by attaching two 2x3's vertically to the inside of the siding. The 2x3's are placed with the wide dimension against the siding, unlike the wall studs. The same exterior screws were used as for the wall siding. Since the screws were driven in from the outside surface of the siding, it was tricky because everything was originally laid out with the inside surface sticking up. Before attaching them, the 2x3's were spaced apart just enough that the doggie door would fit perfectly between them. The 2x3's had to be cut short enough so as not to catch either the floor or the top plate of the wall frame, or the door would not have closed flush with the front wall. Later, care also had to be taken when installing the hinge sections on the door so that the door lines up vertically with its opening.
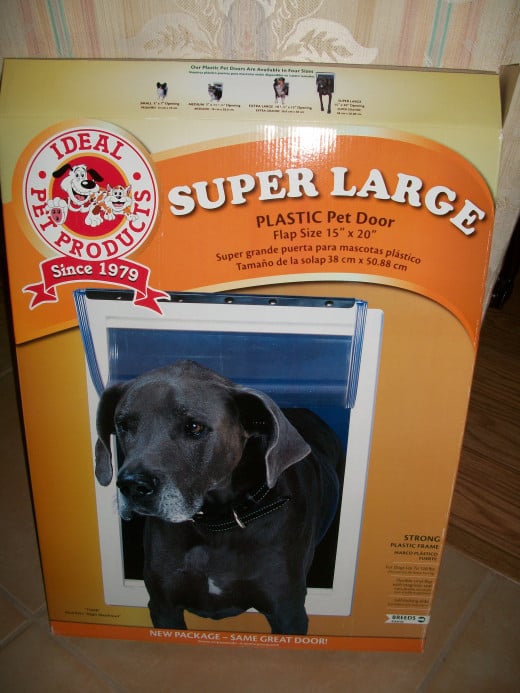
Part of the door between the 2x3's had to be cut away to install the doggie door. It is better to do that before attaching the 2x3's. The pet door I chose is an IDeal Pet Products Super Large Plastic Pet Door, Lowe's Part Number 29997. It cost $85.00 in 2012. It has a flap size of 15" x 20", and is good for dogs up to 120 pounds. For Maggie, a chocolate lab, the next size down would have probably worked. But it just didn't look big enough in the store, and I wanted to make sure I didn't have to come back and put a bigger door in later. I read the installation instructions for the pet door and laid everything out to make sure it would work before marking and cutting.
Pet Door Selected
Other Related How-To Hubs
- Building a Shed Style Doghouse with Air Conditioning
Article with photos showing construction of a 4 x 8 foot insulated and air conditioned shed for use as a doghouse, storage unit, playhouse, or music practice room. - Building an Insulated Floor for an Air Conditioned Dog House
Article with photos showing construction of a 4 x 8 foot insulated floor for an air conditioned doghouse or shed. - Framing the Walls for a Shed Style Dog House with Air Conditioning
Article with photos showing how to frame the walls for a 4 x 8 foot insulated and air conditioned shed for use as a dog house, storage unit, playhouse, or music practice room. - Framing the Roof for a Shed Style Dog House with Air...
Article with photos showing how to frame the roof for a 4 x 8 foot insulated and air conditioned shed for use as a dog house, storage unit, playhouse, or music practice room. - Decking and Insulating the Roof of an Air Conditioned Dog House
Article with photos showing how to install T1-11 siding on the roof of a doghouse or shed, and how to install expanded polystyrene insulation between the rafters.
Other How-To Hubs
- How to Build Redwood Spa Steps
Article with photos showing construction of a basic, inexpensive but attractive design using redwood for two wide, sturdy steps.


