Rock Tumbler ~ My Journey

How it Started
I have had an obsession with collecting rocks for as long as I could remember, and not just any rocks. They have to be different in color, and shape or they just have to stand out in the sea of rocks. I have always wanted a rock tumbler but never got around to purchasing one. For Christmas, my hubby got me one, and I was like a kid on Christmas morning. I started my 1st set, and I was in amazement at the process and what they looked like after each cycle and of course the final product. So I thought I would share the process of my next adventure and some helpful hints I discovered. So here goes nothing and I hope you find it interesting.
My Tumbler
The Tumbler is 3 lbs. It is small and a little noisy. I just put a plastic crate on top of it and cover it with a beach towel at night to muffle the noise. Make sure to purchase the accessories (the different grits that are to be added to the rocks) it is not included.

Selecting a Rock Tumbler
- Selecting a Rock Tumbler - Rotary vs. Vibratory
How to select a rock tumbler and decide between rotary tumblers and vibratory tumblers.
Picking Rocks
You need to have enough to fill the drum about 1/2 to 3/4. I had no problem since I have collected for years. Yes, I have assorted glass jars filled.
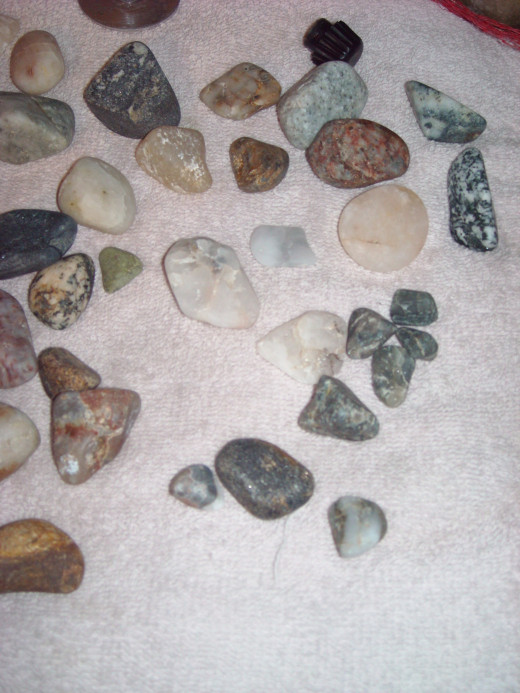
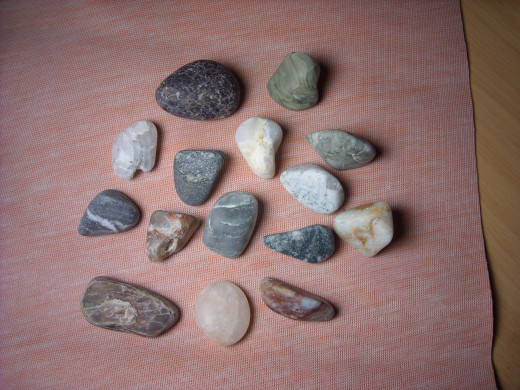
Rocks that I started with


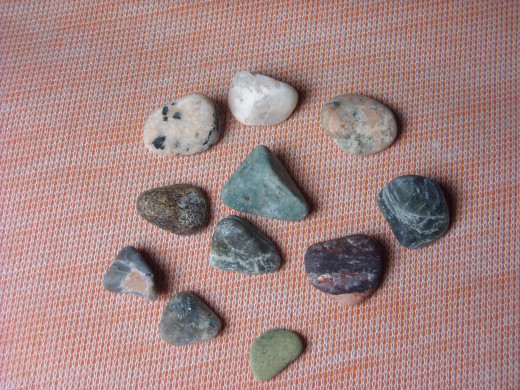
Rocks after Grit 1
Step 2
Have you ever heard the saying:
Shampoo, Rinse, Repeat......
Well, the same goes for the tumbling process. The only difference for each step is the grit you are using and how much grit goes in. The bags are marked to what is inside. Always follow the direction that came with your tumbler on how much grit you should use. The days vary on how long each step should be tumbled and how often you should check that step. If you feel that the rocks look like you want them to, or you think maybe you should tumble a little longer, that is up to you. The most important thing that you need to do is clean the rocks after every step except the last step.
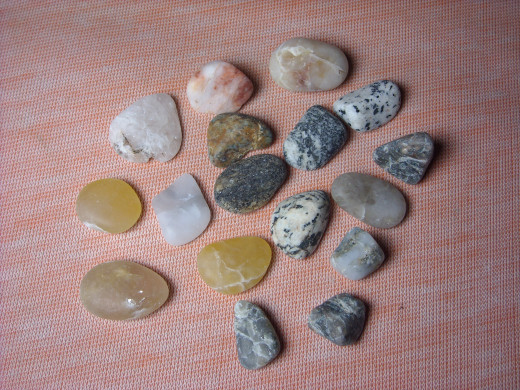
Rocks after Grit 2

Observation
I noticed that if the rocks are too small, the process makes them very tiny. Remember while you are choosing what rocks you want to tumble that it helps for them to be different sizes. After the 1st step, check each rock's individuality and that each rock is smooth with no cracks or pointy edges.
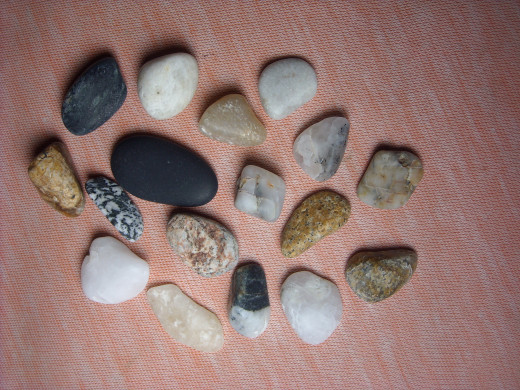
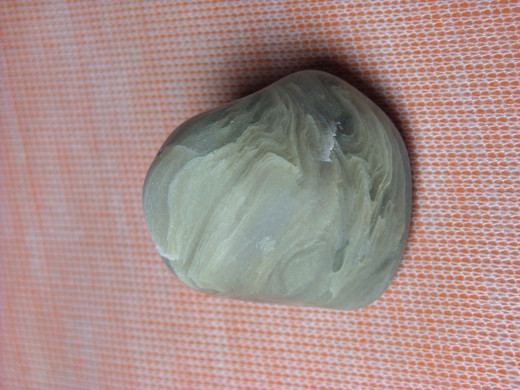
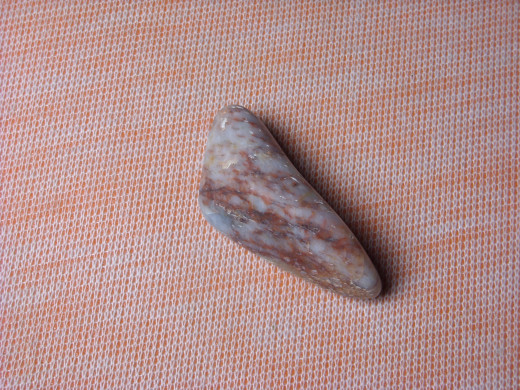
Rocks after Pre Polished
Click thumbnail to view full-size


Patience
For each step, you have to have a little patience. Which I have been told do not have. The last step was the hardest. I keep checking them and every time they were not ready. About halfway through I added plastic pellets and that seems to help. So below are my final results, it is amazing how some dirty old rocks can be beautiful. I am in awe.
Final Polish
Click thumbnail to view full-size


3 lb Rock Tumbler Instructions
Helpful Hint
After every step, run rocks through a quick cleaning tumble. place rocks into the barrel and cover rocks with water. Add two Tablespoons of Borax. Let's run for one hour. This will clean anything remaining on rocks, and you can initiate the next step by cleaning rocks. Do not use this step after the final step.
Supplies I think can help

Recycle used Grit
I recycle the grit and water after every step in glass jars with lids. If you study the photos below, the grit settles to the bottom and the water rises to the top. When I am ready to recycle the grit, I dump out the water and then scrape out the grit on the bottom. Keep the water with the grit until you are ready to use it again. Otherwise, the grit will get hard, and it will not be able to be reused.
A Brilliant Idea
Click thumbnail to view full-size


This content is accurate and true to the best of the author’s knowledge and is not meant to substitute for formal and individualized advice from a qualified professional.
© 2015 Shelli Godinho


")


