- HubPages»
- Games, Toys, and Hobbies»
- Computer & Video Games»
- Video Game Consoles»
- Nintendo Consoles
Transfer your 3DS to the new 3DS with no hassle
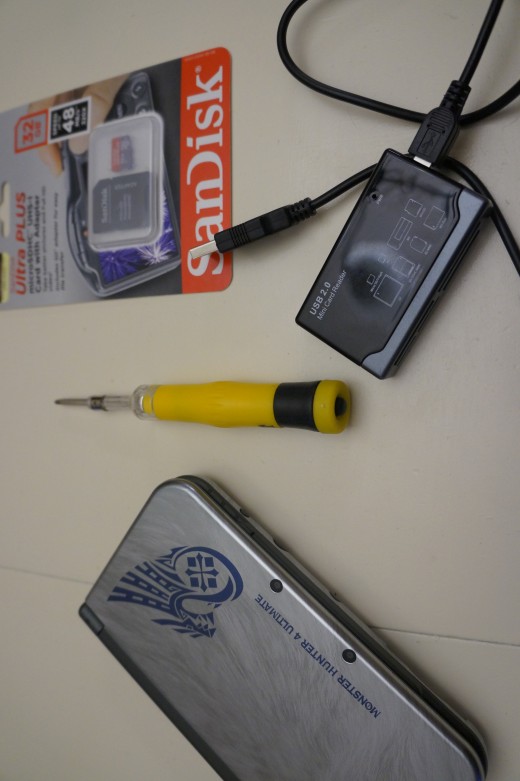
What you will need
1 small screwdriver
2 3DS AC adapters (1 will do, but 2 is better)
1 new 3DS (untouched and not setup)
1 SD memory card reader for your PC
1 SD mini memory card (larger than 4GB, must be equal or larger than the old 3DS memory card)
1 old 3DS with the profile, game, and save files you wish to transfer
2 hours of peace and quiet (worst case scenario)
Things to think about before you start
1. Previously any data stored on the system memory (such as DSi games) will need to be transferred to the memory card. If there is no room there, before you begin please consider deleting some old games that can be downloaded again. You will be very disappointed if you later have to restart the whole process again.
2. Many prompts may come up during the process if the AC adapter is not plugged in. It might just be safe (and recommended) to keep both units charged throughout the process.
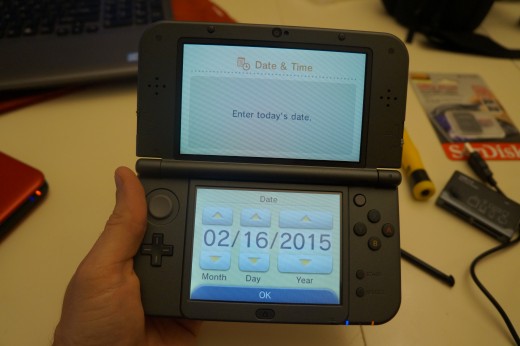
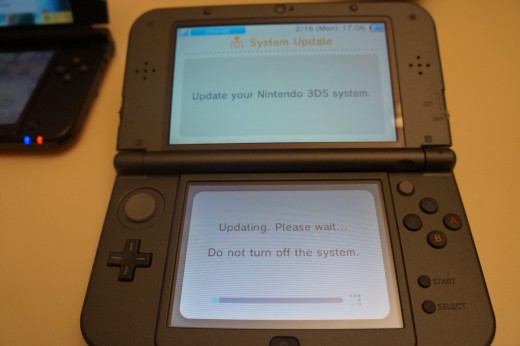
Get to the main menu of the new 3DS
Proceed in setting up the new 3DS console and connect to the internet. Once the main menu loads up, you'll be ready to start the transfer process.
When turning on the the new 3DS for the first time, it will ask you during the setup process if you would like to transfer from another 3DS, but unfortunately if you select 'yes' then it will prompt you to update before this is possible, so it seems this step is not needed.
Most importantly, do not setup an account or open the eshop or miiverse. Otherwise, you may be prompted to setup an account. You will be using the transferred account, so it's critically important that you avoid any steps that prompt to create an account.
Go to the 'System Settings' (wrench looking icon), "Other Settings' (bottom right) and slide to the 5th bubble on the right, where you will see 'System Update'. Follow the onscreen prompts to update the new 3DS.
Once the new 3DS is updated, it will reset. Before you start the system transfer, a helpful tip would be to click on the themes menu (on the top left of the main menu) and adjust the screen brightness and set 'auto-brightness' to off.
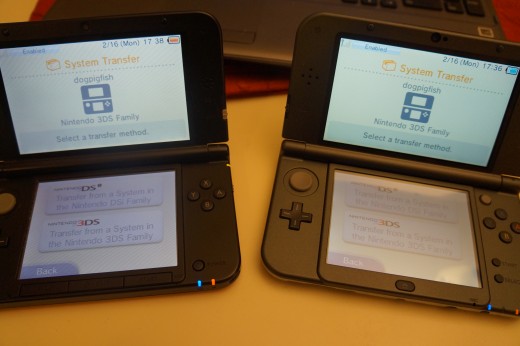
Begin the 3DS system transfer
Go back into 'System Settings', then 'Other Settings' and scroll to the right to the 4th bubble. Select 'System Transfer'.
On the old 3DS, go into 'System Settings', 'Other Settings', scroll to the 3rd bubble section and 'System Transfer' will be the bottom icon.
Select the bottom icon on both 'Transfer from a System in the Nintendo 3DS Family'. Pardon the translation, you will eventually pick what will be sent to what in a moment.
Select 'Agree' to proceed.
On the old system select 'Send from this System'. On the new 3DS select 'Receive from Nintendo 3DS'.
The old 3DS will prompt you for your system's password. Once entered, the name of the new 3DS will show on your old 3DS screen. Select the name.
Then you'll be asked from the new 3DS 'Transfer from xxxx's Nintendo 3DS system?' Click 'Yes'.
Back to the old 3DS, click 'Next'.
Now a disturbing message will pop up on the old 3DS telling you that 'All data on this system will be reset and deleted'. Again, we are running into a translation issue. It means that once the system transfer is finished, then the old 3DS will be reset. It won't affect the data you are transferring from the memory card to the PC, then to the new 3DS. It will not clear out the SD card in the old 3DS.
The systems will now proceed to move the account over. Preparing for transfer will take a couple minutes, so get a snack or drink, or whatever.
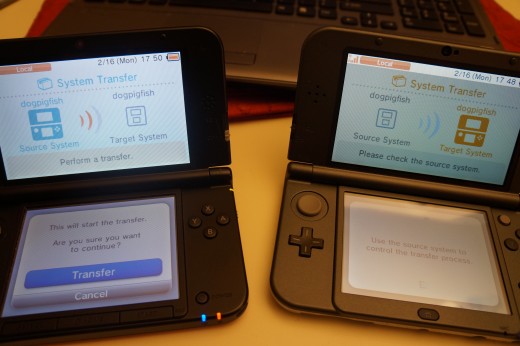
Back and forth...
The old system will warn you that anything on the new system will be erased, which means that any pre-installed software will be removed. No worries, though. It hasn't linked the software ownership to any account yet (hence why we didn't open the eshop earlier). The software will stay linked to the device until an account is associated.
Next, it will ask to delete the new 3DS memory card. This part can be confusing, but the system will only want to associate one memory card with the new device, so it's important it clears the existing card out.
When do you use the new mini SD card? That process will occur when we do the PC transfer in a later step, so that's when you'll have an opportunity to upgrade. Hold off on that for now.
Select 'Delete' and watch.
I had some DSi games that needed to be moved to my memory card (from the system memory). The system will prompt you to select to move those from the old 3DS system memory to the SD card. Fortunately, these are generally smaller in size than 3DS games, so it shouldn't take more than a couple minutes.
Follow the prompts until you are asked on the old system to pick how the transfer should go. Choose 'PC-Based Transfer'. Click 'Next'. Click 'Next'. Click 'Next'.
Now it will prompt a nice big blue 'Move' icon. Select it (you may be prompted to plug in both the 3DS units with a charger in this step as a precaution).
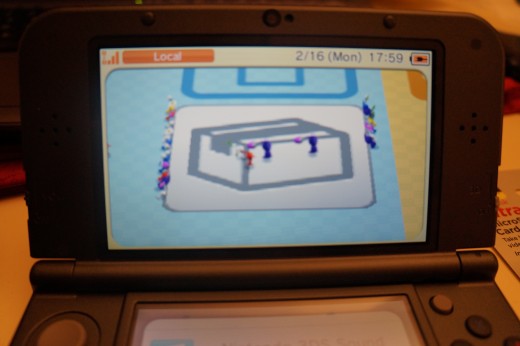
Watch as the Pikmin works to transfer your files from one system to another. Please note that this may take a long time. It took me about 15 - 20 minutes.
Memory card time!
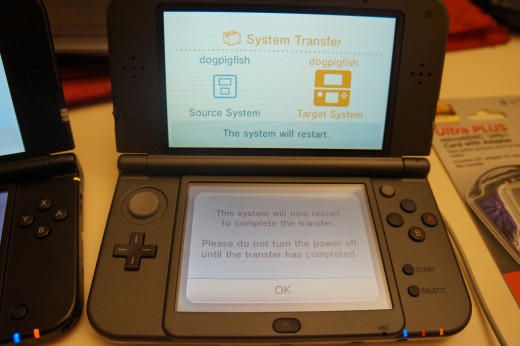
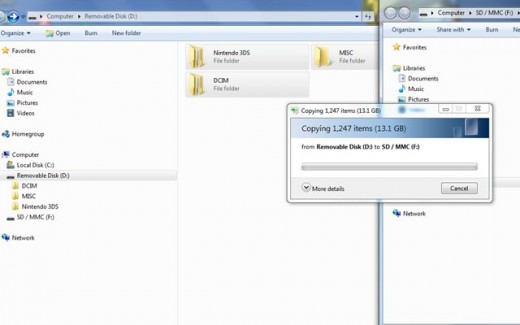
Once the transfer finished, the old 3DS system and new 3DS systems will reset. The old 3DS will start up as a new console setup. Turn it off (do not move forward with the setup or you risk formatting the memory card and losing everything). Take the SD card from the old 3DS and load it up into your PC. Once it's on the PC, start by dragging a copy of all folders from the memory card to a safe folder on your desktop (if you haven't taken pictures with the old 3DS then there may only be one folder). You can also move the files directly to the new mini SD card in a single step if you have multiple SD card inserts. This will take a great deal of time, but once all of the data is on the new mini SD memory card, then you can load it into the new 3DS.
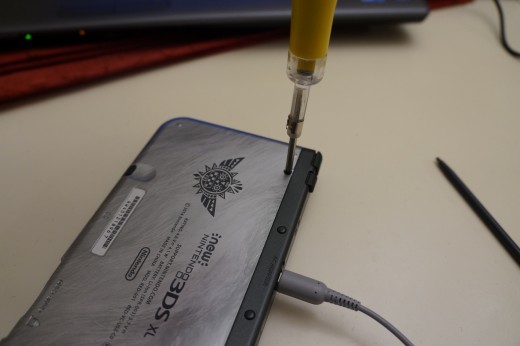
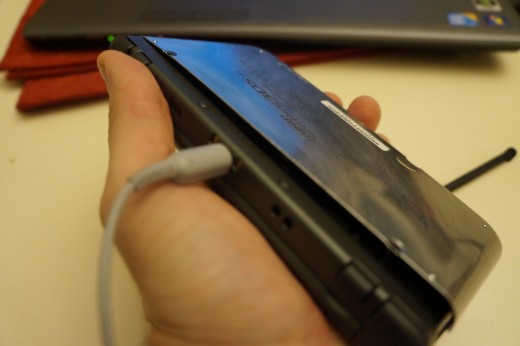
Meanwhile, the new 3DS will startup and attempt to connect to the internet. However, no new mini SD card has been provided to it. It will soon prompt to load the data from the memory 4GB mini SD card that is present, but you will ignore this message. Don't turn it off, just close it and it will go on standby. Unscrew the back and remove the 4GB memory card (which can take a while if you handle with care, which I recommend). A few things to notice are that the two screws are very small and fragile, the tin plate on the back seems very susceptible to bending. Once the screws are carefully unscrewed, carefully grab the grips underneath and gently pry the face plate off the back.
Once the new mini SD card has all of the files from the old SD card, remove it from the PC. Gently insert the new mini SD memory card into the new 3DS; it will connect to the internet to finish the transfer.
If you owned any DSi games, the first thing the new device will do is move those back to your system memory. After that, the system will finish loading the card and reset. This process only takes a few minutes. Just make sure you're there to click 'OK'.
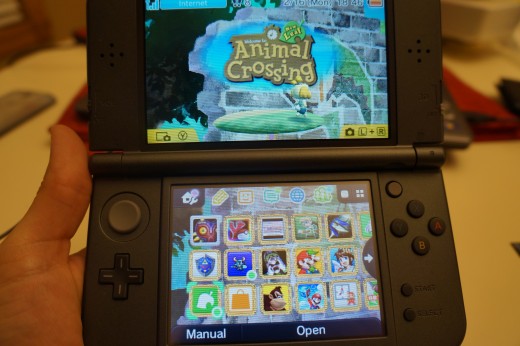
And voila! Everything looks great!
Where's the pre-installed software?
One last thing. I was fortunate enough to get a new 3DS with some pre-installed software. Fortunately, it's now all tied together. But where is it? Unfortunately, you'll have to download it again from the eshop.
Fire up the eshop, click on 'Menu' on the top left of the store. Within this menu, scroll down to the bottom and select 'Settings/Other'. Scroll down until you see 'Redownloadable Software'. Click and the first software title listed will be your missing game. Proceed in downloading the software. Now to put the advertised "faster loading speeds" to the test.
In a few shakes, you've got some coins and you're ready to start playing!

