Watch Dogs Walkthrough, Part Twenty-Five: Role Model


Now that's he's broken up - or at least escaped - a human trafficking ring, Aiden is saddled with a more mundane task: tracking down his nephew, who's gone missing again. Aiden has a bead on the errant lad, but there's no telling whether or not the pickup will be simple or as much a pain as the last time Aiden had to save the boy...
Role Model
Location: North shore, Mad Mile
Prerequisite(s): Complete A Risky Bid
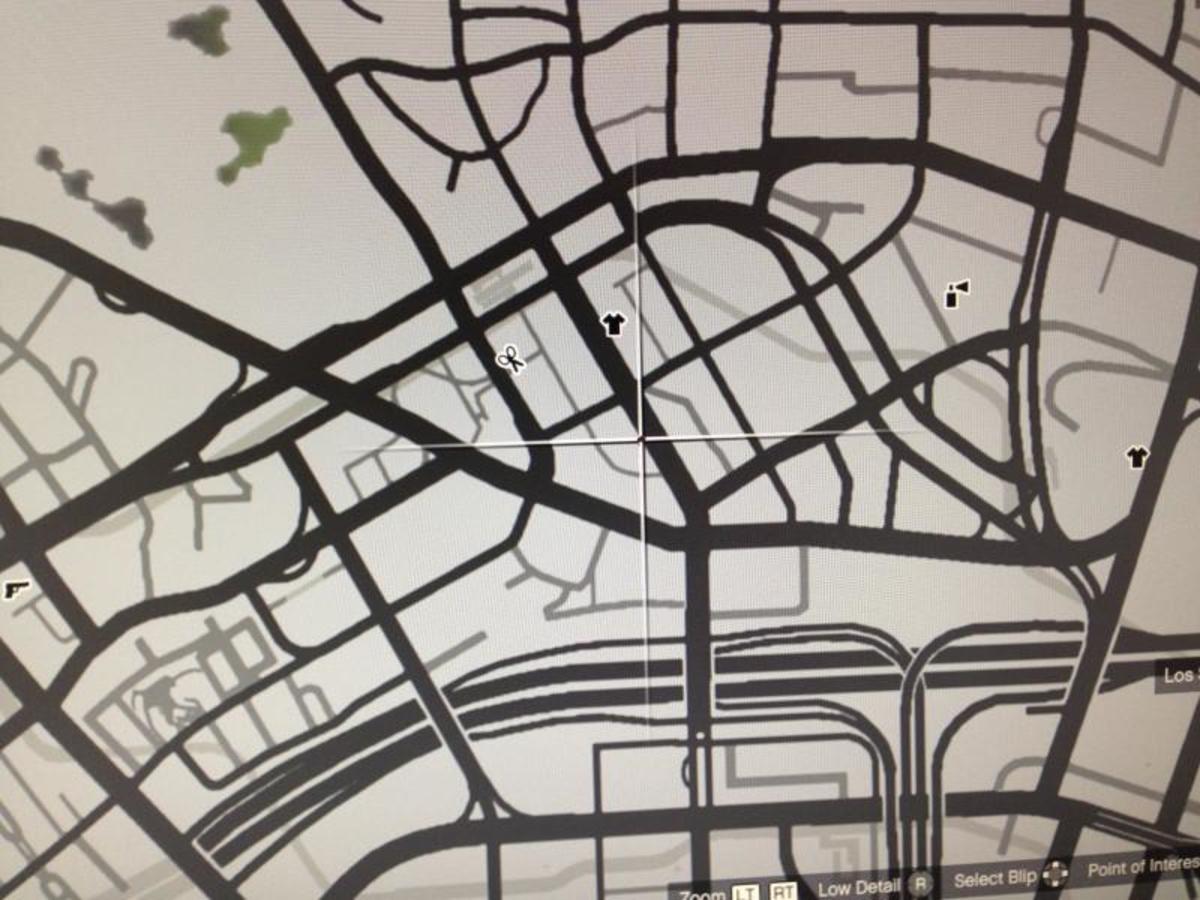
- After finishing up with A Risky Bid Aiden will get a call. Listen to it and Jacks' position will appear on the map, faaaaar to the north. If possible, a fast travel is recommended. You otherwise have to travel from one end of the map to the other. Yikes.

- The waypoint is on a street corner near the water's edge. Approach it for a cut scene. Once it's done, your target will be clear: the tiered building down the street. You have to infiltrate the building and get Jackson back. Be careful on approach, as the guards won't just tell you to get lost. They'll outright open fire.
- Surprise! Multiple ways in!
- If you really want you can always sneak in through the front, though this is inadvisable. The guards are on automatic alert and will open fire if you approach down the road. You'll probably have to take them on with guns eventually, but there's little to no cover along this route.
- Approaching from the parking lot is a better option. You can hop a fence and move from barrier to barrier, taking out the occasional guard. Still not ideal, but better than the front.
- The best way in is via the back. If you follow the freeway a short distance you can drop down onto a beach at the rear of the building. From here you can stealth your way onto the property with relative ease... and begin killing enemies.
- If you sneak in close enough you can also use the camera system to 'enter' the premises and begin setting off distractions and booby traps. The camera system here is a little limited, though, so don't expect it to help you take out every guard.

- Yep, gotta take out the guards. Fighting them up front isn't too bad so long as you have adequate cover; taking them out with hacks is a fair bit easier. Scour the property for explosive panels and distractions, and just generally mop the floor with the guys. The building is large enough and so littered with distractions that you can conceivably take them all out with sneak attacks and hacking, and since there are only five of them... well. Either way, make sure you're near the front of the building when you take out the last guard...
- ... as reinforcements will rev up from the road and hop out of their cars to engage you. If you're near the entrance to the building and have plenty of battery power you can trash both cars before they even stock by triggering steam vents in the road. Two well-timed hits will destroy all reinforcements without the need to fire a single shot. If they do get out in time, find a good place to hide - or to take cover - and keep on killing. The second floor is perfect for sniping or just trading shots if need be, and you have time before they arrive to get up there.
- Once all potential troublemakers are gone, climb to the third floor and hack through the door. Look on your right in the dark to trigger a cut scene, and once that's over you'll be back in Parker Square with a car and a new mission: Planting a Bug.
Related

Watch Dogs Walkthrough, Part Thirty-Two: The Future is in Blume

Watch Dogs Walkthrough, Part Twenty-Two: ctOS Control Center, Mad Mile

Watch Dogs Walkthrough, Part Thirty-Four: By Any Means Necessary

Watch Dogs Walkthrough, Part Twenty-Six: Planting a Bug

Watch Dogs Walkthrough, Part Nine: Dressed in Peels