Watch Dogs Walkthrough, Part Seven: Remember, Not the Pizza Guy
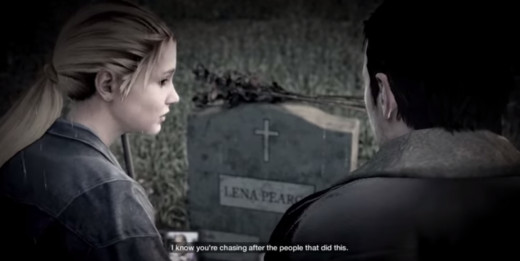
Aiden once made a promise to give up his life of fast cash, high technology, and constant danger. He has, obviously, broken that promise about a billion times. Now he must Remember and reflect upon his decision... and deal with Jordi in the process. Not the Pizza Guy indeed.
Remember
Location: Graveyard, Parker Square
Prerequisite(s): Complete Thanks for the Tip
- After completing Thanks for the Tip and meeting with Damien, you'll have a chat with Clara. Once she's done talking Remember will appear on your map. You'll find the waypoint in the north of Parker Square, almost directly north of your initial Hideout.
- The waypoint up here will take you into a small cemetery. Hop out of your vehicle and look around for the marked gravestone where the waypoint awaits. A cut scene follows, completing the mission and sparking another.
Not the Pizza Guy
Location: Rail Yard, The Loop
Prerequisite(s): Complete Remember
- Immediately after you finish Remember, Jordi will give you a call with a tip about some unfinished business. Once he's done talking you'll be redirected to The Loop. Your destination is a short drive away, or, if you've been busy unlocking ctOS Towers, you can Fast Travel almost right to it. The waypoint is beside the northern bridge leading to the island you were forced to escape in Backseat Driver.
- After Aiden's done talking to himself, a new waypoint pops open down the sidewalk. Climb onto the plant box and up the building at the end of the sidewalk to reach it.
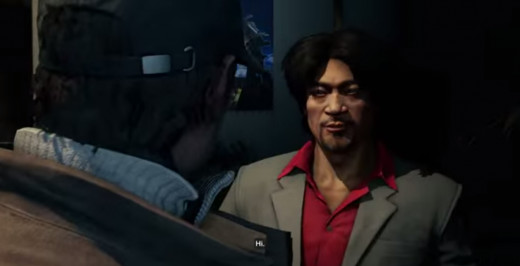
- Cut scene. After Jordi's done being himself, hop back down to ground level. You now need to infiltrate the fenced-off railway depot on the opposite side of the river. You can either swim across the river and access the depot from the dock or run up to and across the bridge. Either way you'll find a door onto the grounds. I prefer the bridge as it gives you an overhead view of the area, but the choice is yours.
- There are three guards in the immediate area. You can sneak past them rather easily if you wish, or you can take them out entirely. You have plenty of options for doing the latter, and the cameras in the area will help you out with remote takedowns:
- One of the guards is wearing explosives. Kaboom.
- There are several explosive panels in the area. Lure a guard to one and light it up.
- There's a large crane in the middle of the area that will go on a long, circuitous round around the yard if activated. This will distract the guards and give you a chance to sneak up and employ Aiden's baton.
- If you hurl Lure or otherwise distract opponents with hacking trickery, Jordi will provide some quick sniping support. Bam.
- And, of course, you can always go in with guns blazing. The guards are nicely spread out, so a silenced weapon will probably drop one without alerting the others.
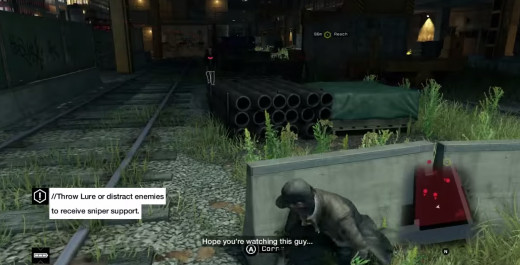
- Continue down the yard to the next waypoint, on your right. It sits beside a locked security door. To get in you'll have to hack a switch console on the left side of the yard. Be careful walking through here, as there are a few guards on the building and in the remainder of the lot at the far end of the yard.
- Enter the locked door. Cut scene follows. After it's done, check the room you were in for a System Key and the hallway outside it for Electronic Parts, three Frag Grenades, a Chemical Component, and an AK-47.
Escape!
The area's now swarming with enemy Fixers, and you need to either take them all down or flee the scene. Even better, one of them has a helicopter. And it spots you as soon as you leave cover! Yay! The chopper will spotlight you constantly, and so long as it's on your trail all of the Fixers will know where you are. Regardless of your approach to this challenge, disabling it via hacking will help you a lot.
Option A: Kill all the Fixers. There are quite a few of these guys in the train yard, though they start out nice and spread out, and the yard itself offers a lot of cover. Pick one of the two buildings and move towards it, hopping from cover to cover as you shoot at any nearby Fixers. You don't ever want to run towards a gunman who's still alive. Get onto the second floor of one of these buildings and fire from a higher vantage point, moving constantly to confuse your position. Keep firing until you take out everyone in the vicinity. If you see any opportunities to hack traps or disable enemy comm units, take them. The cameras in the yard are your friends... so long as you're not getting hit by bullets, of course. Jordi will also help with the occasional sniper shot, but don't rely on him too much.
Option B: Escape. You'll definitely want the ability to disable the helicopter if you choose this path. Though running for the harbour is a tempting way to leave the area, it's not necessarily the wisest. Follow the left wall back to the west side of the bridge near the train yard, shooting and avoiding whenever possible. Get onto the bridge and run (or, if you can snag a car, drive) to the opposite side, then raise the bridge to stop your pursuers. Then you can work on shaking the helicopter. This latter part is much easier if you can disable it, of course, but you can also do the trick in a car if you're a good driver.
- Regardless of your approach, you'll wind up in the clear. Clara calls, the mission ends, and A Wrench in the Works appears on your map. Huzzah.

