How to Make a Ukulele with a Kit
What's in the Box? How Much Will I Really Have to Do?
This lens will help you decide on whether you should build your own Ukulele or simply buy one and get started playing right away. The bottom line is that if you have interest in building and, can handle a fairly simple but still complex task, this is for you probably. Fairly simple and still complex means that a lot of this project is left up to you to decide what is right. There are areas where you basically have to make judgement calls and eyeball the construction of your Ukulele. This takes time and consideration and by no means is this an easy task for someone that has never worked with wood. If you don't think you are a handy person, you may want to let this one go. If you like to give high attention to detail and appreciate a project that will allow you to tout your creative side, making a Ukulele will be very rewarding.
If you are a wood shop person and have all the tools you need, this is a sweet little task you will most likely enjoy immensely. There are benefits to making your own instrument. Also, you may be considering taking up the hobby or side profession of making acoustic instruments. Building a Ukulele is a good way to get started.
Let's take a look at some of the elements of a Ukulele building kit. This will give you an idea of what to expect when you get your kit delivered to you.
Grizzly H3125 Ukulele Kit - This is Ukulele Kit is Soprano
Nice high quality kit here. Take your time doing this assembly because you will most likely cherish it for a long time if you do. Also, if it does not sound as good as you'd expected it would, at least it will look good on your wall if you do a detailed paint job and lacquer finish. Remember too: if you are really itching to get playing a Ukulele, there are very reasonably priced ones available. Make this kit your second Ukulele to really get a flavor. Maybe even get a size up or two!
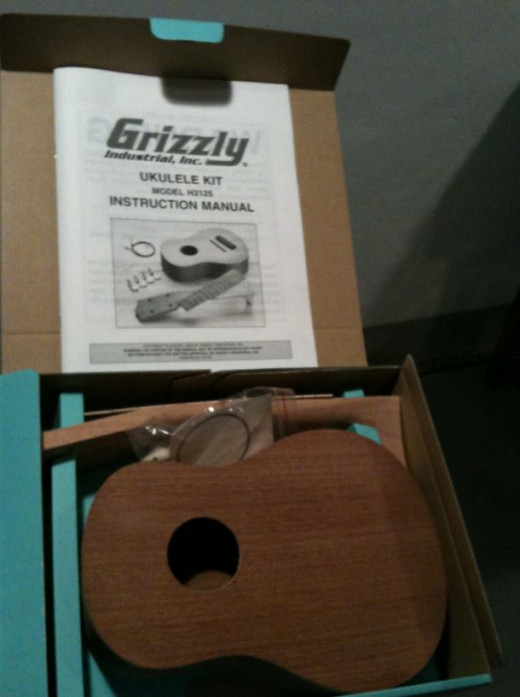
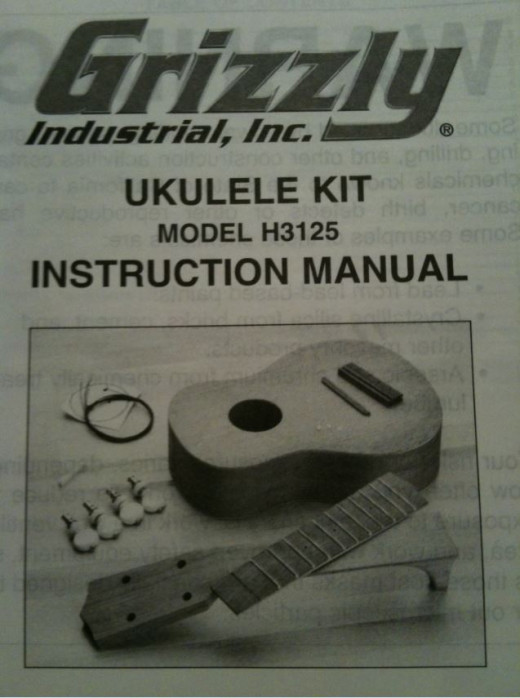
Here's a picture of the Grizzly Ukulele kit.
You can see that there is much to be done before you can start playing.
This kit is unfinished and unglued. Basically they did all the really hard stuff like the hollow body and the wood milling for a detailed neck. That said. you need to know how to pay close attention to detail when gluing the neck to the body. Getting the head assembled straight and true is important. Your Ukulele sound depends on it.
Saying there is a lot to do is not really a bad thing. It's just good to know this going in. You will want to take your time and decide what theme you want to go with and if you want to go with some type of artwork on the finish. This can be a lot of fun. Best to use a good lacquer paint if you brush on patterns. You can probably get some tiny bottles for each color and paint something interesting on your Ukulele. Even better you can make the paint job a shared project with your spouse, significant other or your friend. Then you can go and do the harder parts yourself. Remember to give a nice light sanding when you use the brush on paint. Let it dry properly and don't over do it all at once. It's easy to add paint but taking it off is another story. Light even strokes...
Bare in mind that you will be spraying on your glossy finish afterward... we get to that here as well... let it dry and keep contaminants out.
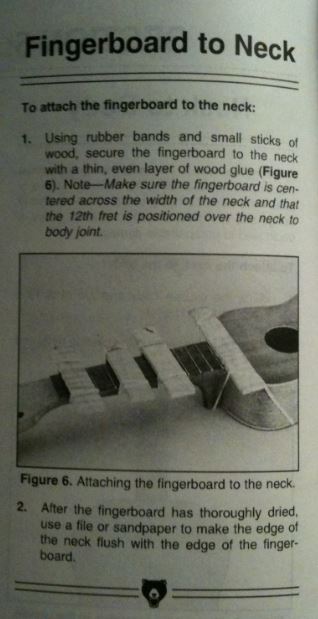
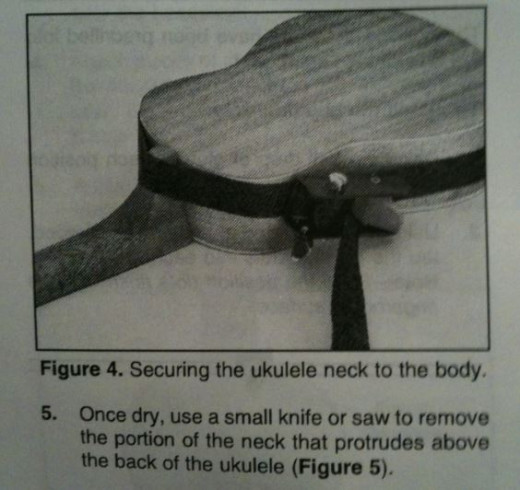
SEE SOME OF THE PICTURES BELOW FOR INSTRUCTIONAL REFERENCE ON BUILDING THE H3125 UKULELE KIT.
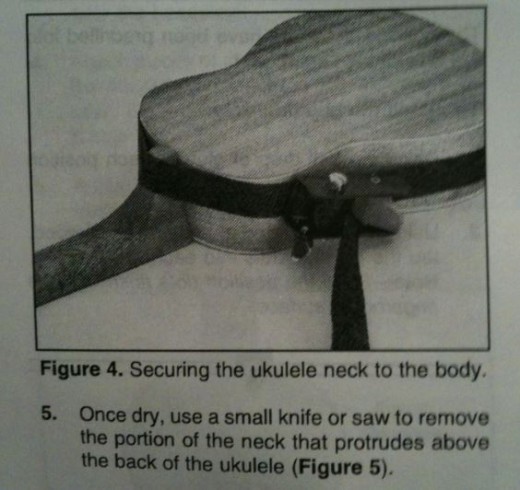
Building a Ukulele
The personal touch makes it special.
This gives a general idea of what to expect if you decide to make your own Ukulele out of a kit. A person may get a different impression of this kit before they see it. It's basically a raw set up with the body and neck detached and unfinished. Which is good for a modest wood worker to even pro level. The hard work has been done by providing the body and the properly milled neck. You will need a good handful of tools and have the ability to improvise with your woodwork. The neck will be uncut and require trimming among other things that will require a personal touch. The personal touch however is the good part.
From the Manual
Click thumbnail to view full-size


Where Did the Ukulele Come From?
They first arose from Hawaii...
According to wiki answers the first ukulele was conceived in Hawaii. They were a simpler version of what was already being used at the time as far as string instruments are concerned. History reports that the origins extend from the Portuguese back in 1879. So apparently the Ukulele is based on a similar instrument from Portugal called the Machete.
Ask mentioned the invention came from unknown Portuguese immigrants. But then the second excerpt says it was indeed invented by Manuel Nunes - he came to Hawaii to work in the cotton fields.
So while the ukulele is from Hawaii, it was the Portuguese that invented this four stringed handy instrument.
Four Standard Sizes for Ukulele: - Soprano, Concert, Tenor and Baritone
This video has a very attractive Hawaiian girl explaining the standard sizes of the Ukulele.
Vintage Nitrocellulose Finishes - High Quality Spray
This is to give you an idea of how to paint your Ukulele correctly. This product is a good one to go with if you can deal with spray paint. With spray paint you can make templates and create patterns and make a very nice finish as opposed to brushing on the paint.
Music Teacher Botching up the Construction of his Ukulele - At first it appeared to be going well but then it went down hill pretty quickly...
This is a nice video and it starts out so well. It really seems he will pull it off. I thought he would have done more with the paint job too. But no, after cutting corners and rushing the job, the product was inferior and in the end did not work at all. He is using the exact same Grizzly kit referenced above in this lens. The kit is very good but it still requires some serious attention to detail and patience. It's quite wonderful however if you know a little about crafts and if you can be can be patient!


