The Easy and Cheap Way to Grow Your Own Nutritious Wheat Grass at Home
What do you need to get started with wheat grass growing?
The best thing about growing your own wheat grass is that you really don’t need anything too complicated or expensive to get started with your project. Even people like me who aren’t green-fingered in the garden will enjoy the simplicity of wheat grass.
Wheat seed
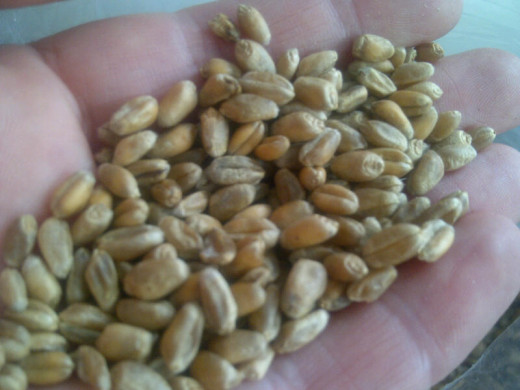
First and foremost you need your wheat grains. You can shop online for wheat seed, or at your local grain merchants. Most suppliers recommend organic hard red wheat which has a fast rate of germination and produces fat green blades full of goodness.
You can choose how much grain to receive, and of course just like most things you buy, the greater the quantity, the cheaper the price. When you’re starting out, however, it’s probably wise to stick to a kilo of wheat seed, which will give you four or five substantial trays, or seven or eight smaller trays of grass. That way, you can get an idea of getting into the rhythm of germinating your new seed crop just as you’re about to start harvesting from your latest tray.
With this relatively small quantity of seed, you won’t have made too large an investment in the unlikely event that you find wheat grass growing at home is not for you.
Another consideration with buying seeds of any kind in quantity, is storage. A kilo of seed is absolutely no problem to store in a five litre plastic storage box and in size it amounts to no more than a carrier bag of groceries. Its not too difficult to find a suitable home for this amount of wheat seed.
The very best method of storing seeds is in the freezer, but with this small quantity you really won’t need to do that, as you won’t be keeping them for years, and even if you do keep them unfrozen for years, they can still germinate with no problem and produce a perfectly good plant.
You may be tempted by the discounted price of larger sacks of seed, but remember that these will need to be stored inside proper storage bins in a rodent-proof structure, or at the very least, off the ground.
Will I need to buy expensive equipment?
NO!
So you’ve ordered your wheat seed and are waiting excitedly for it to arrive. What do you need to assemble ready to start your wheat grass adventures?
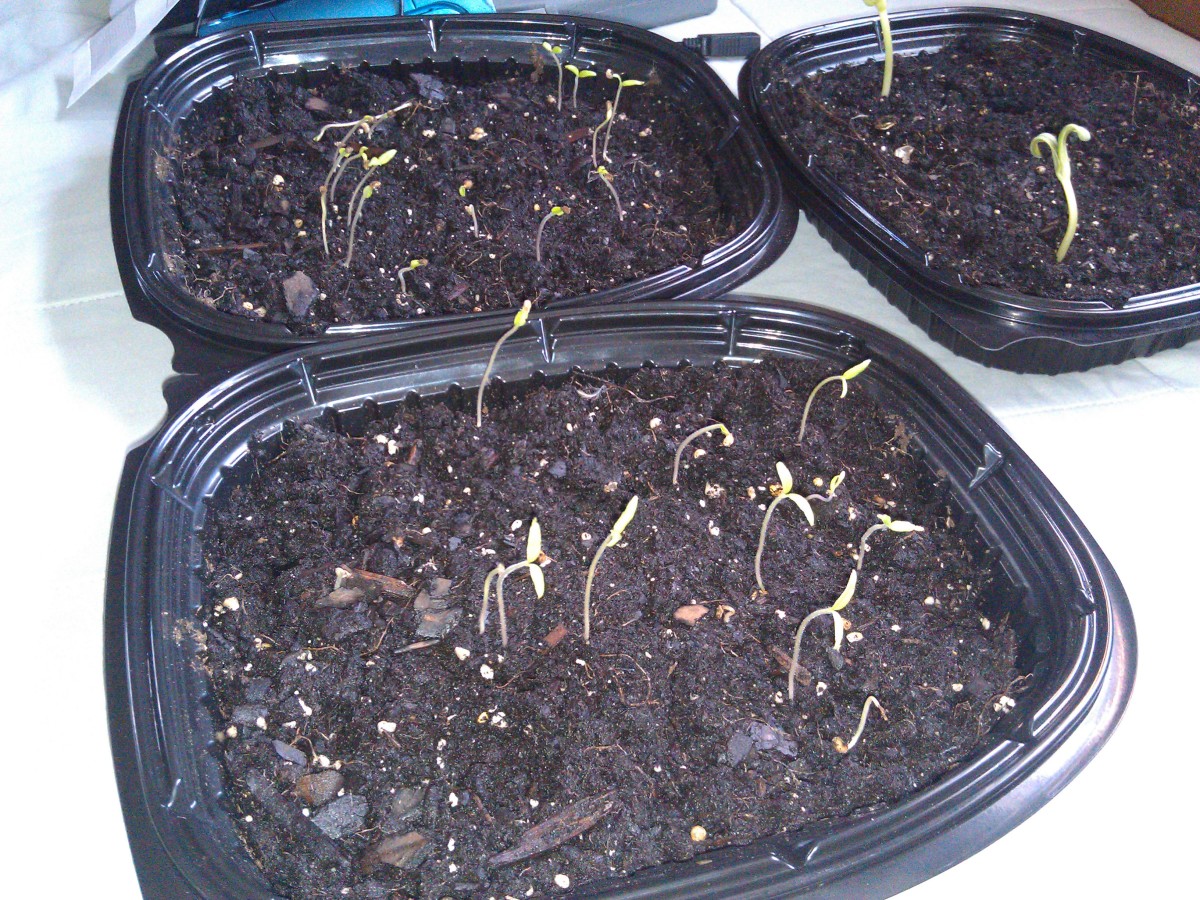
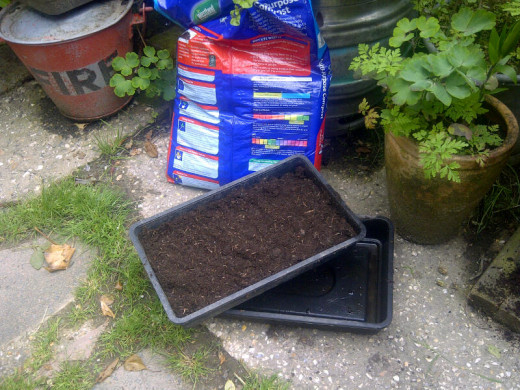
I like to keep things simple, and I’m not one to go and by specialized equipment when I’ve got something perfectly suitable indoors. It’s just grass, after all, so it will grow happily on ordinary garden soil, in an ordinary seed tray, with drainage holes which sits in another tray without holes.
Of course you can experiment with other growing media. Gardeners will be familiar with vermiculite, a natural mineral alternative to soil. Baby blanket and Tencel are organic materials fashioned into a fibrous textile. I use potting compost, because I’ve usually got a sack of it hanging around.
When I’ve harvested all I can from my young grass, I like to plant the turfs in a bare patch under the Elder bush in my garden for my chickens to enjoy, so soil or potting compost works for me.
Some people like to cover the tray of seeds with another tray that has holes, upturned. This method keeps the soil and seeds moist and dark. Watering through the holes makes for minimum disturbance to the seed, and the holes ventilate the trays which minimises mould problems. The tray is removed when the grass pushes it up.
Personally I don’t bother with the top tray business, but I do keep my newly sprouting seeds in a dim, airy pantry and I spray them with atomised water as often as they need during the day.
But we’re leaping too far ahead!
Germinating the seed
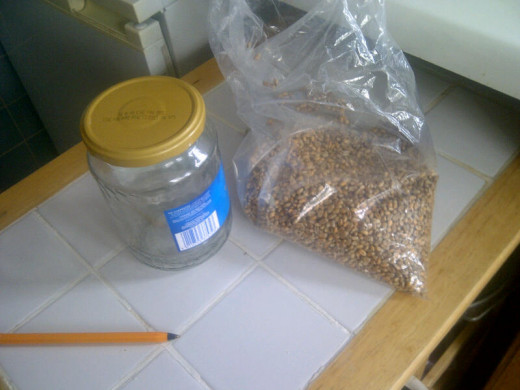
Your trays and growing medium are ready, you have rinsed out an old jar with a lid and located your colander and a bowl or plate for it to rest on. Some people pierce the jam jar lid with holes for drainage, which makes life even easier.
And now your seeds have arrived! All that potential wrapped up tightly in a package secure enough to keep the life energies locked in for months or years. Your next job is to measure out around 250g of seed, rinse them thoroughly in a colander with cold water, ready to begin the process that will unlock its vitality and start new growth...germination.
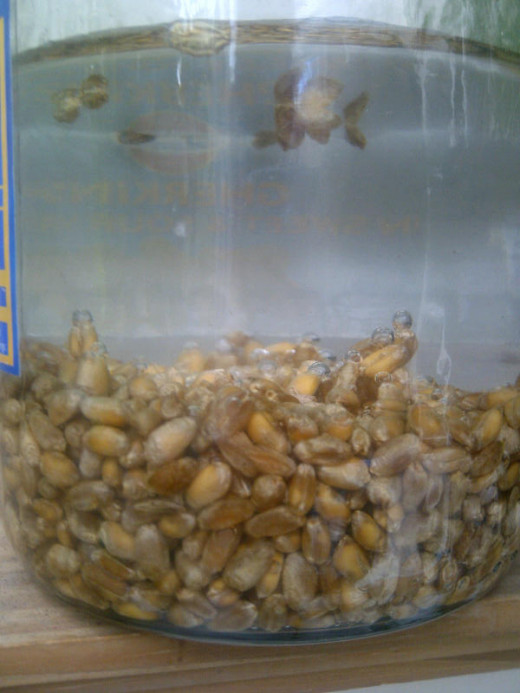
Once rinsed, the seeds must be soaked, in the jar of cool water, for 24 hours. Give the jar a shake to loosen air bubbles which will ensure that all seeds are evenly and completely steeped. I leave them in my pantry or on the kitchen windowsill. Next day, drain the seeds of their soaking water. I use it to water my more advanced tray of grass as it is full of nutrients and enzymes.
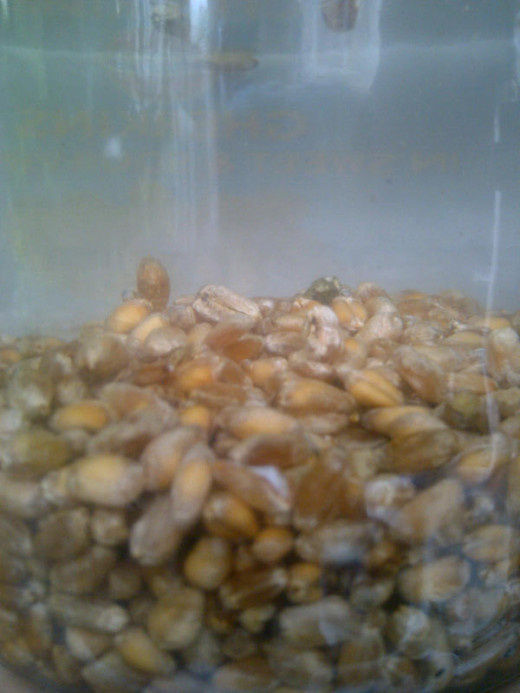
After a 24 hour soak
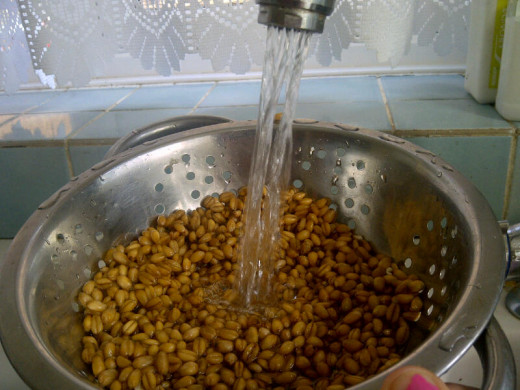
Now rinse the seeds thoroughly under the cold tap, give them a really good washing before draining, and placing the colander in a bowl to catch any drips. Put them somewhere safe, and cover them lightly to prevent them from drying out. Repeat this process at 8-12 hour intervals, making sure that the seeds don’t dry out.
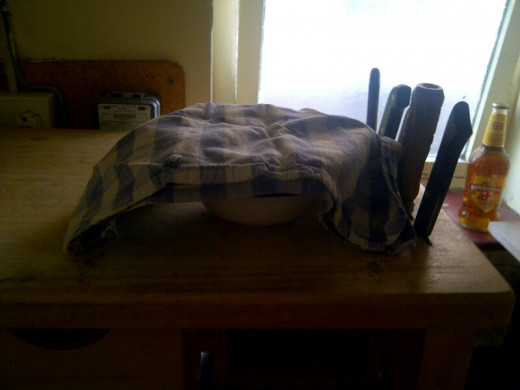
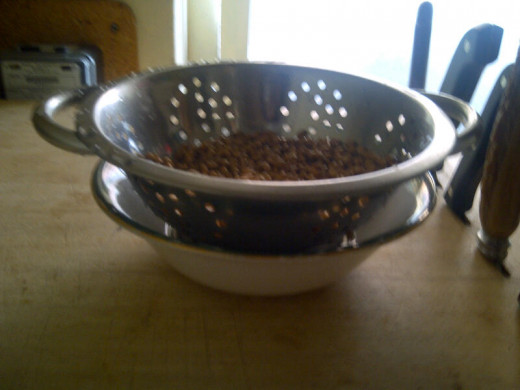
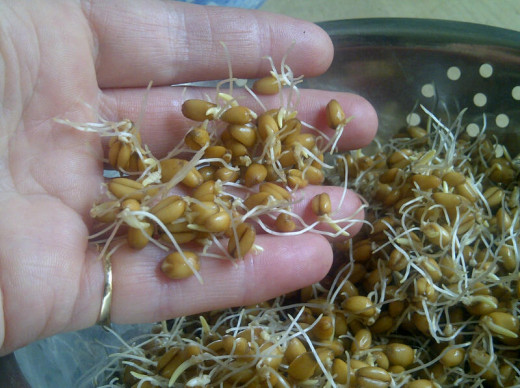
Pre-sprouting
After one, two or three cycles, the seeds will pre-sprout, with a tiny white hair-like protuberance, followed by a thicker root. Some people mistake the fluffy hairs, visible when the seed is at its driest, for mould, but they’re just root hairs. When the root is visible, even just as a little tip, the seeds may be planted. If you go another cycle, it won’t do any harm.
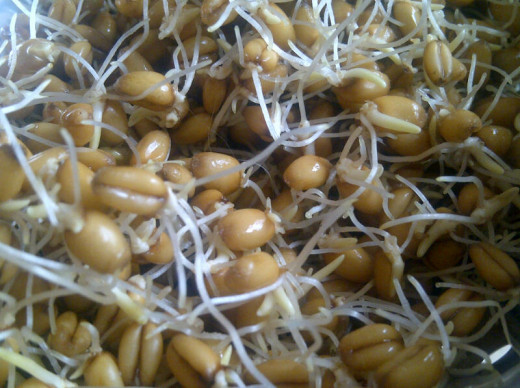
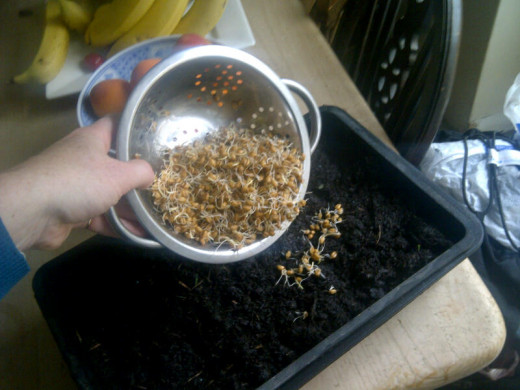
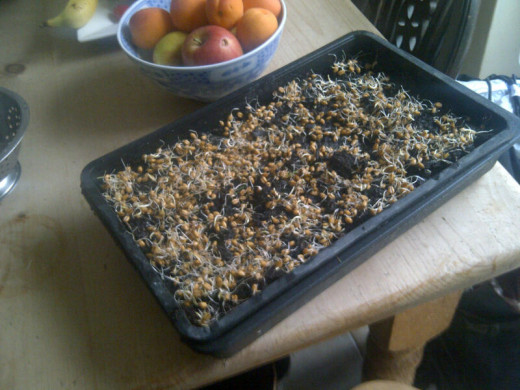
Thoroughly soak your growing medium with water before laying seeds on top. Depending on tray size and the amount of seed you used, you may find the seeds are quite closely packed and laying on top of one another. Don’t worry, they will take up less space as vertical growth occurs, and will not be harmed by being tightly packed. If mould becomes a problem for your crop though, you might need to use less seed to improve air circulation amongst the plants. This might be the case if your climate is really humid.
Move your tray out of direct sunlight into a dim, well ventilated place. You can cover the tray, or not, but do make sure that until the roots have buried themselves, that the whole plant is kept moist. After a few days, the growth will have pushed the covering tray up. If you haven’t used the tray, your little plants are one or two inches high, they are ready to begin photosynthesising.
Your grass will appreciate direct sunlight in a warm, well ventilated spot, and plenty of watering. Very quickly your little golden shoots will become infused with a vibrant, luminous deep green as photosynthesis begins. Your plants are drinking in the energy of sunlight and transforming it ready for you to drink and absorb! Your crop will be ready for harvesting in three to five days.
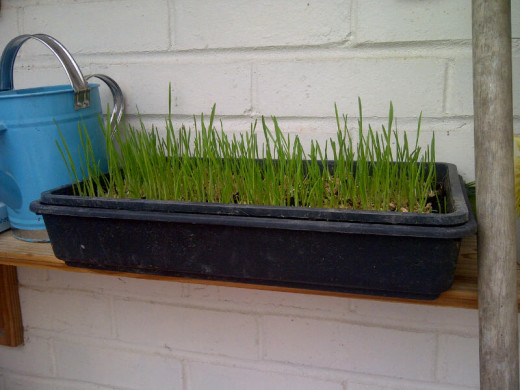
Split blade
When Charles Schnabel was researching wheat grass back in th 1930s, he found that the nutrient content of the grass was at its highest just around the time of the blade splitting, which basically means a second blade appears from an inch or so above the soil. Some people like to wait for this occurrence but it can mean waiting until the crop might be quite tall and wilting and in need of some nitrogen supplementation. Personally I start on the grass fairly early and for one or two days over the week that my tray lasts me, I will be consuming some grass at its peak.
Sometimes I can get a couple of cuts or maybe even three from the same blades as they continue growing. Whenever you choose to harvest, its going to be full of goodness, so just cut and enjoy!
As I cut the first baby blades from my fresh tray, I go to my grain store, pick out another handful or so of seed, give it a good wash and begin the next cycle.
'Split' blade
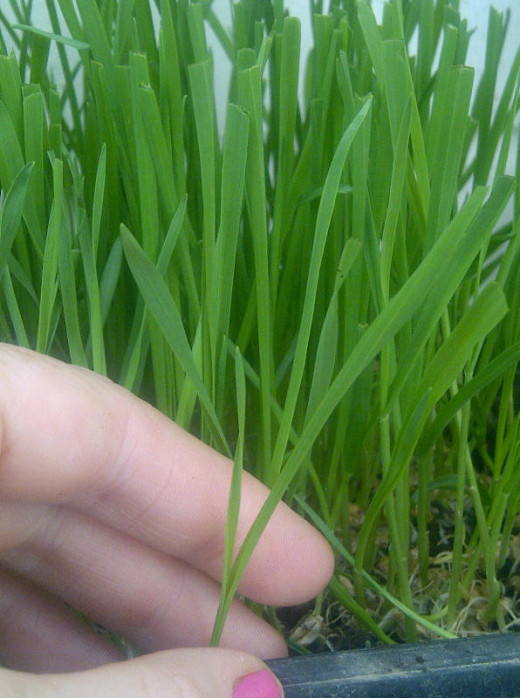
Harvest time
And here is the best, best part of growing and juicing your own wheat grass at home. The grass can go from live, growing plant, to being absorbed into your tissues in a matter of minutes. There is no shop, no service, nowhere else you could go to buy fresher, or better! Obviously this is the optimum way to enjoy your grass, but if you need to store cut grass it will keep in the fridge in a bag for a few days, just make sure its really, really dry.

Cheers! Slainte! Prost! Salute! Cin Cin! L’chaim! A votre sante
This content is for informational purposes only and does not substitute for formal and individualized diagnosis, prognosis, treatment, prescription, and/or dietary advice from a licensed medical professional. Do not stop or alter your current course of treatment. If pregnant or nursing, consult with a qualified provider on an individual basis. Seek immediate help if you are experiencing a medical emergency.
© 2012 Jil Wild Manning

