Yoga for Healthy Rotator Cuffs - A Step by Step Guide
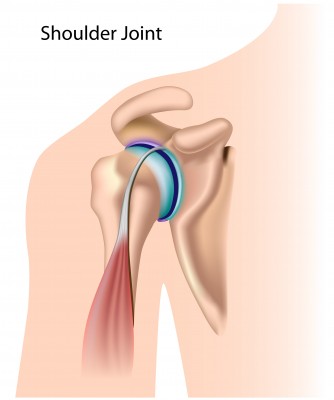
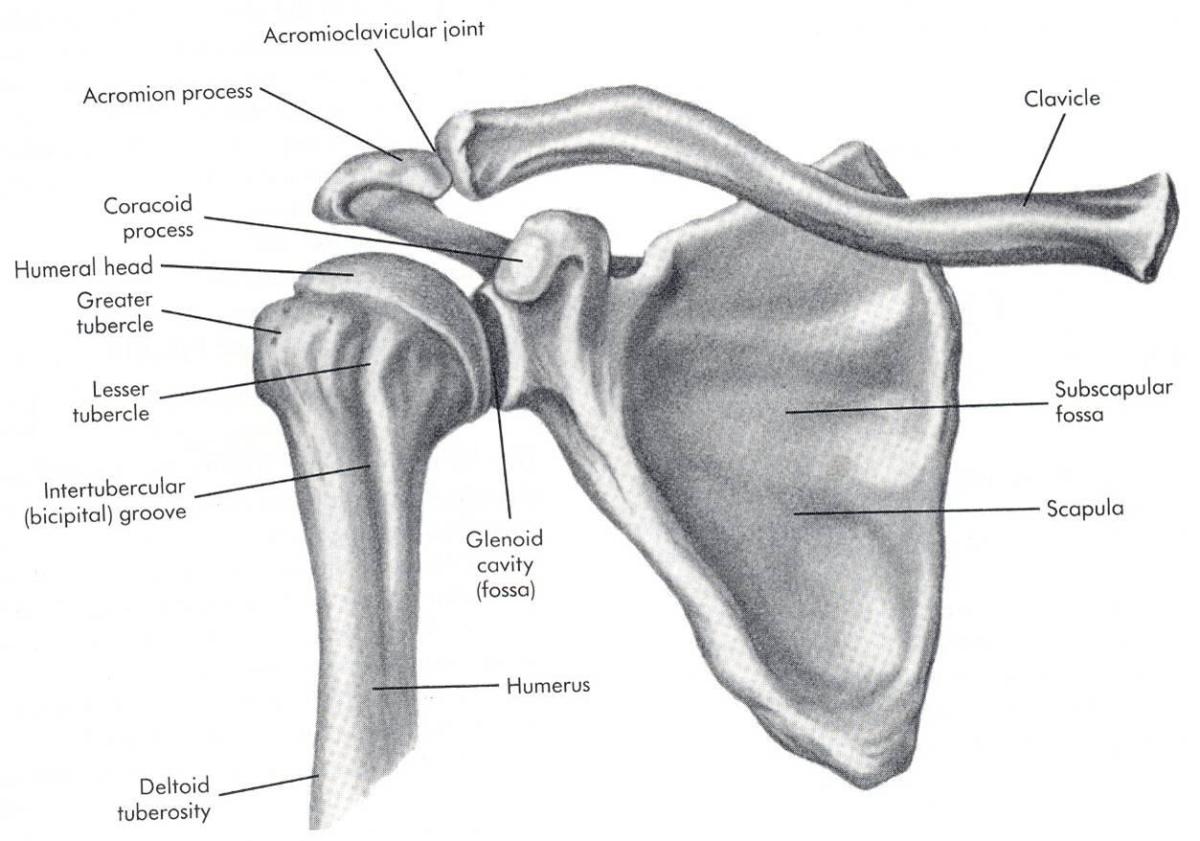
A healthy rotator cuff connects the upper arm to the shoulder and assists the ball and socket joint to give 360-degree shoulder mobility. Pain in the rotator cuff may be caused by bursitis, tendinitis, injury or strain. The American Academy of Orthopedic Surgeons reports that more than 5 million Americans visited a physician with rotator cuff problems between 1998 and 2004. Tendons weaken as we age and the AAOS expects this number to rise as the general population ages. According to Surgery.com, persons over 40, males and athletes are more likely to have rotator cuff injuries. MayoClinic.com says stretches and strength exercises for the shoulders and chest will prevent rotator cuff issues. Cows Head/Gomukhasana arms and Eagle/Garuda arms are two easy postures to increase rotator cuff strength and flexibility.
Things you'll need
1. Beach Towel or Mat
2. Strap, Scarf or Hand Towel
3. A Quiet Place
Step One
Sit comfortably on your beach towel or mat. Become aware of your breath. Inhale and lengthen your spine. Exhale and draw your belly button in. Inhale and create space in your spine. Exhale and contract your abdominal muscle. Make your breath loud like wind through a tunnel. Breathe to a rhythm that relaxes you.
Step Two
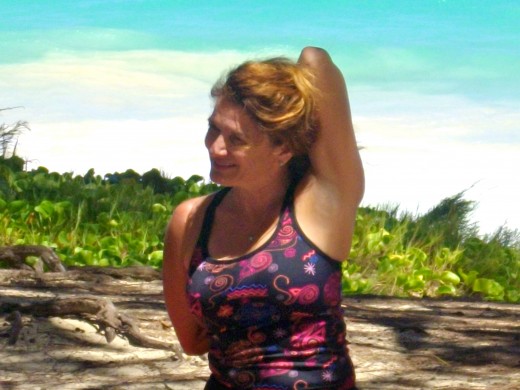
Raise your left hand over your head as you inhale. Exhale and bring your left hand down as though you were going to pat yourself on the back. While you are bringing your left hand down, bring your right elbow to your waist and your right hand behind your back. Reach your right hand towards your left hand to connect the fingers of each hand at the middle of your back. Can't touch? No problem . . . grab your scarf or strap with your left hand and repeat with both the right and left hand gripping the strap behind your back. Inhale and lengthen your spine. Exhale and edge the fingers of each hand closer to each other. Using your exhale to explore your flexibility continue to breathe and reach the fingers toward each other for five deep breaths, but do not push so hard you are uncomfortable.
Step Three
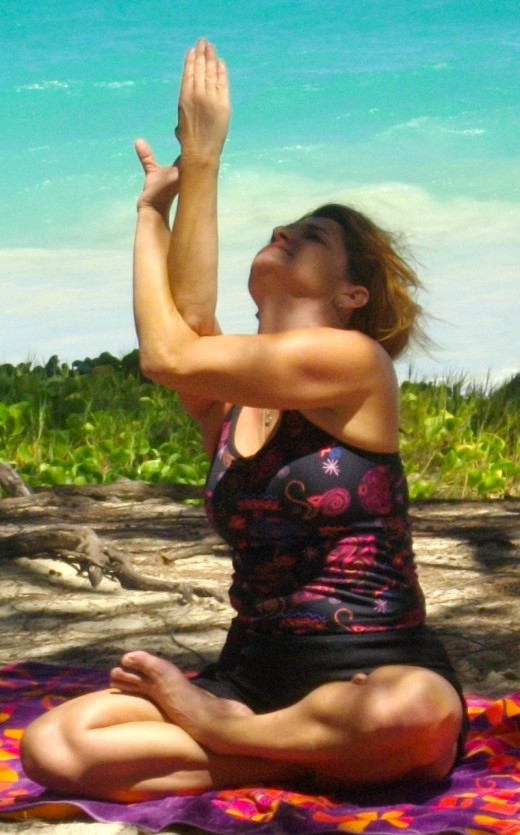
Release the strap and bring your left elbow in front of your chest. Drop your right elbow into your left elbow. Wrap your wrists around each other - don't worry if your wrists don't wrap at first - you can just bring them loosely together. Now lift your elbows as high as you can and look at your hands. Keep breathing and lifting for at least five breaths.
Step Four
Roll your shoulders back a few times, before you extend your right hand up and back to repeat steps two and three with the right arm overhead. Is this side more flexible? For most people it is.
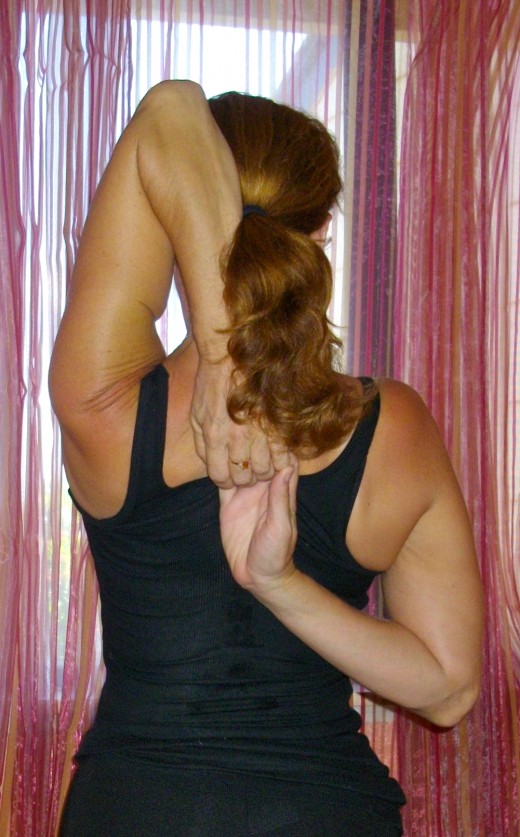
Can you touch your fingers behind your back in Cows Head arms?
An Optional Visualization Technique
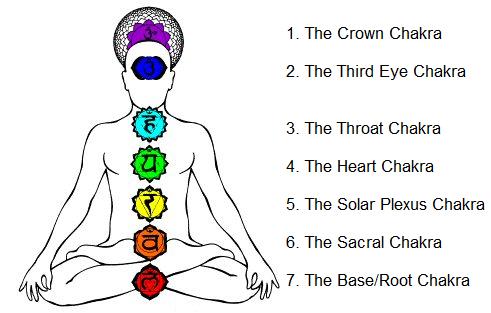
The shoulder is between the fourth/heart and fifth/throat chakra. Imagining a green light over the heart and a blue light over the throat as you do the poses could help to keep those chakras healthy and open. The heart chakra governs our emotions and love. The throat chakra governs our communication. Injury can occurr when a chakra is blocked or weak says Barbara Kaplan Harry in Yogajournal.com. In her book, Your Body Speaks Your Mind, Deb Shapiro writes that tight shoulders are a result of not expressing personal needs and taking on too much responsibility. Does your care and concern for others overshadow your self expression?
Step Five
Practice Cows Head arms and Eagle arms poses for a few times a week. Expand your practice to include more poses. Marichyasana pose, head to knee pose and bound angle pose are easy additions that will flow. As you become more comfortable with the poses you may want to extend your practice by taking a yoga class supervised by a certified instructor. Always exercise with the approval of your doctor and never stay in a pose that causes you discomfort.
