Carve Great Pumpkins The Easy Way!


As a 'Pudding Fairy' my hubs mainly focus on dessert and sweet recipes, but as my favourite day of the year is Halloween, and as I will be posting hub's for sweet Halloween treats later on, I'm going to break from script and write a slightly different hub right now, after all food and sweets are an important part of any holiday, as are the decorations!
Okay, so for easy and good looking pumpkin carving you will need:
- However many pumpkins you plan to carve.
- Stencils, you can print these of the internet (websites to come).
- A sharp knife (preferably a craft knife).
- A spoon or ice cream scoop (ice cream scoops work better).
- A bowl to hold the seeds and gunk.
- A felt tip pen.
- A needle.
- Flour.
- Sticky Tape.
- Tea light candles (one for each pumpkin).
First choose a pumpkin and a design stencil that is an appropriate size, then on your pumpkin, draw a line around the top where the lid will be, draw in a lock shape, this will make fitting the lid easier. (See fig C)
Cut around the line, making sure to cut in an angle towards the inside of the pumpkin, this way the lid isn't going to fall through. (See fig D)
Scrape the seeds and gunk off the bottom of the lid, then scrape out all the gunk from inside the pumpkin, once all the gunk has gone, scrape out the flesh with your ice cream scoop, until the pumpkin is about half an inch thick. (This is quicker if you choose which side of the pumpkin your design is going to be on, and focus on scraping this area, instead of the whole thing).
Next tape your stencil to the front of your pumpkin, as flat as possible.
Take a needle, and dot around the edges of your design (the ones you will be cutting), you may have to wiggle the needle to make the holes slightly larger. You don't want the holes to be to shallow, but don't worry about them going all the way through either, they just need to be deep enough to be seen.
Now remove your stencil and rub the front of your pumpkin with flour, once you have floured around your full design, wipe off any excess flour and you should be left with flour in the holes you have made with your needles. (Fig J, you cant see it very well on this picture, but it does make your design stand out.)
Next carefully cut around your design with your craft knife, on larger areas you may want to use a larger knife to save time, then on the more intricate areas, use a smaller knife. Once you have cut out your design, light your candle and stick it in there and your done!
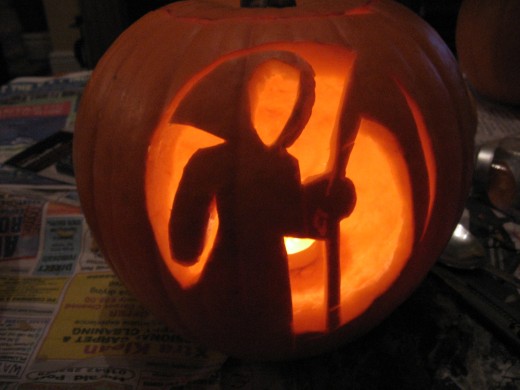
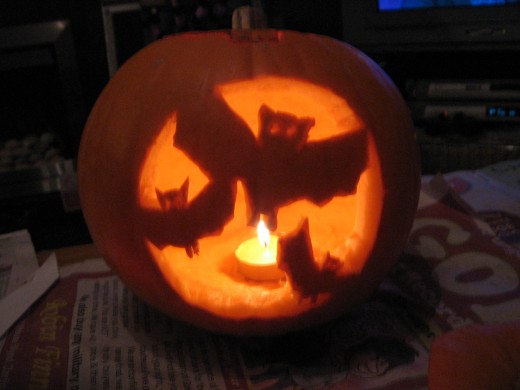
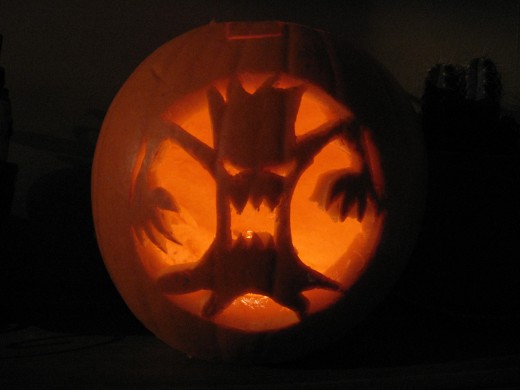
Below are some more pictures of my pumpkin designs, and some links to websites where you can print your own stencils. Or if you are artistic, you can design your stencils yourself!
http://www.dltk-holidays.com/halloween/mpatterns.htm
http://familyfun.go.com/printables/halloween-pumpkin-carving-template-704172
http://www.bandofcats.com/10-free-pumpkin-stencils-for-halloween-cat-lovers