Creating Unique Greeting Cards for Fun

Taking it step by step, beauty emerges on its own.
Whether you're someone who trusts their artistic ability or someone who believes with all your heart that you are "not creative," our step-by-step process will lead you through a process you'll find enjoyable and to a result that will be surprisingly interesting. Just think of it as a "recipe" that always leads to a delicious soup -- where the flavors are a little different every time!
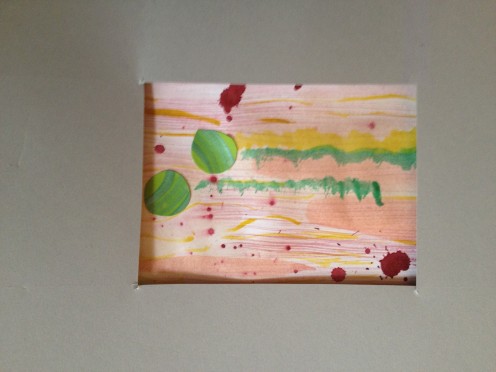
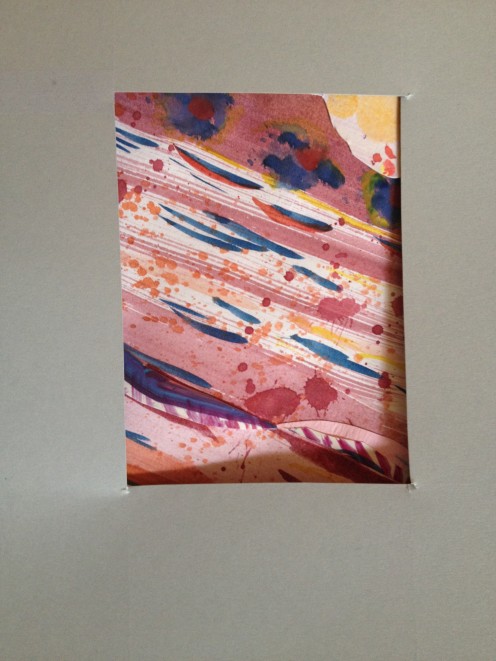
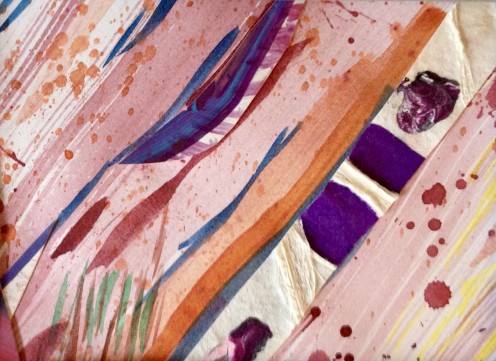
Example of one greeting card that can be made with our 4-Phase Good Tidings card-making "recipe."

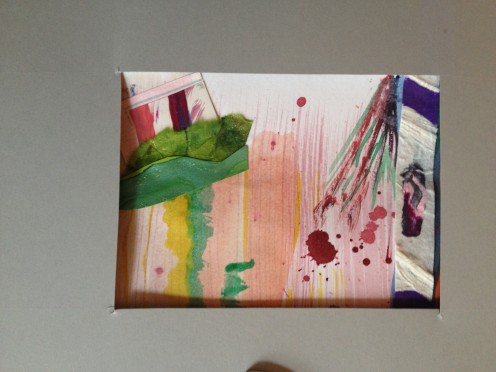
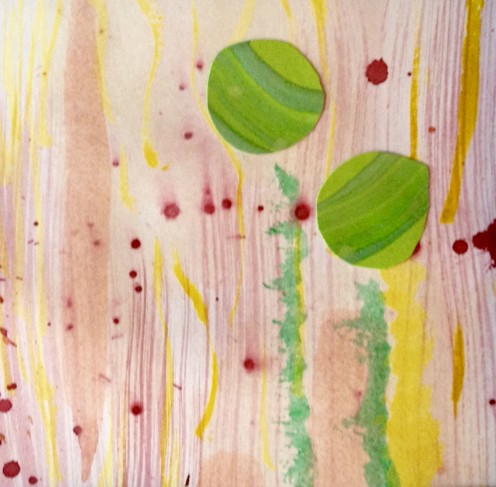
Another possible card design from this exact same process! (see more possible outcomes at the conclusion of this 'recipe')
At card-making parties, first we get set up with our basic equipment
This recipe calls for 4 different stages in the completion of an entirely unique greeting card design. Step one is to PAINT! So, here we have our basic tools: water, watercolor paints, paper, a drying rag and several different paintbrushes. Setting everything up on a large TV tray is just right for accommodating lots of party-goers flexibly in just about any space!

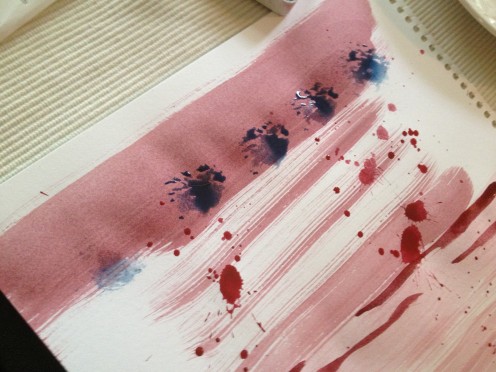
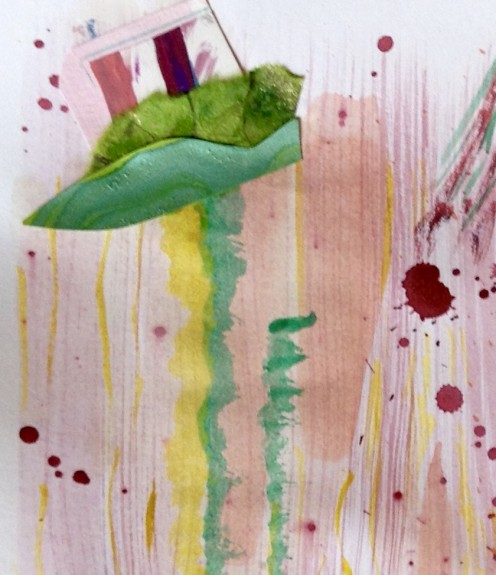
Step 1: Laying down some subtle color
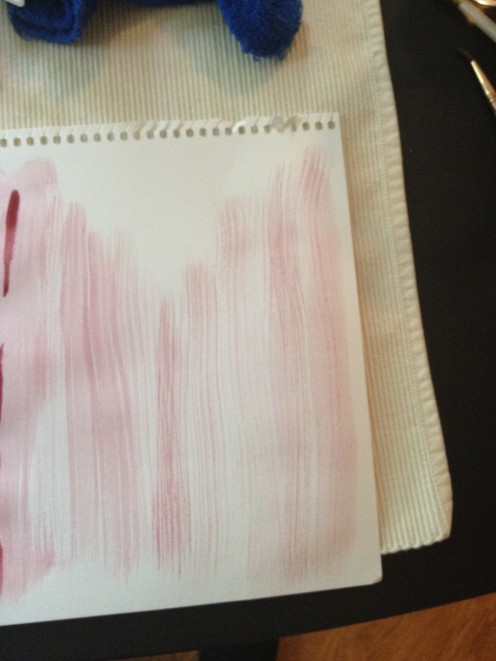
Making Stripes
Stripes made with different amounts of paint on the brush make a good start on your page.
Step 2: Add some more saturated color on another part of the page
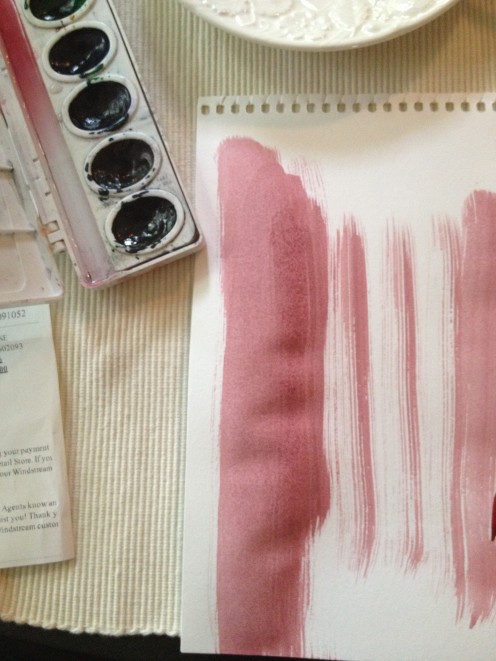
A Variety of Stripes
Just a little less water and a little more paint on your brush makes your stripe darker and more prominent, adding variety to your page from the very beginning.
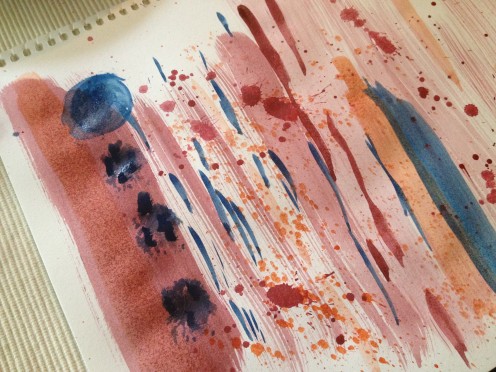
Step 3: Throw some "splatter drops" on the page!
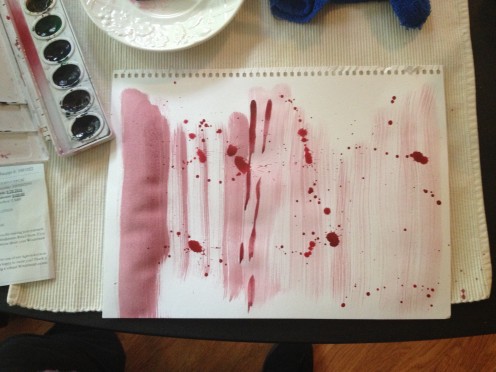
Splattering!
This really is a fun part! Put some paint on your brush, then tap your brush against your finger to make the paint splatter, or just "throw" paint at your page by lightly flicking the brush. Throw caution to the winds!
Step 4: Add another color with just a touch of paint from a different brush
A 2nd Color, Simple Shapes
As you can see, we're not really "drawing" anything realistic. We're just using simple shapes that anyone can make. Now you have 2 colors on your paper!
Step 5: Add more colors with different brushes, filling in some details here and there.
Nothing but Shapes -- you don't need to draw anything!
Using nothing but stripes, splashes, and roughly circular shapes, you begin to fill in the blank spaces on your page with color. Try to think like a child! Just have fun with it. Don't judge yourself.
Step 6-A: Fill in some spaces, add more detail -- or stop painting if you're finished! Remember, PAINTING is just Phase 1 of our 4-Phase Process
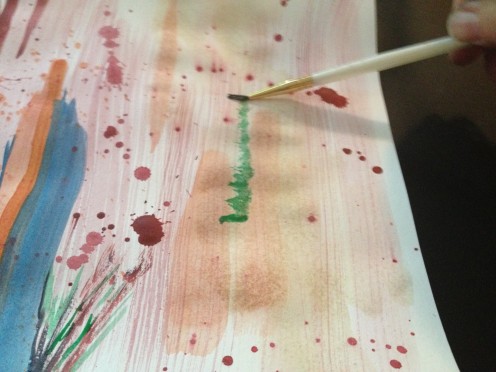
Use Your Own Ideas; don't censor yourself
Here I'm using the side of a small brush to make a wiggly shape in a contrasting color. Why? Just because it's fun to do and I really wanted a bright green color! Use your own ideas. Don't censor yourself!
Step 6-B: Knowing when to stop! Fortunately, you can keep going as long as you like or stop whenever you want! Here's where I decided to stop.
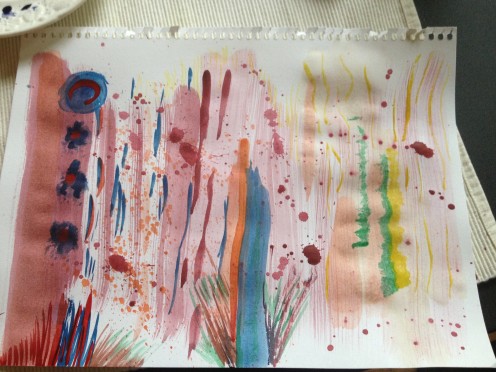
Step 7: Optional! Drying your painting so you can get on with Phase 2!

Drying Time -- the Painting Phase is Complete!
Get out your hairdryer, or just take a break and have a glass of champagne. :) You could also use this time to look at your painting from different directions and imagine what you see there! Plants? Faces? Microscopic creatures? Seaweed?
Catch Your Breath!
This is a good time to pause and ask yourself: "Am I being judgmental about what I'm creating?" As one of my esteemed mentors, Ilana Rubenfeld, often says... "SEND THE JUDGE TO PARADISE!" Remember, there's nothing at stake here unless you decide there is -- therefore, no possibility of a wrong answer :)
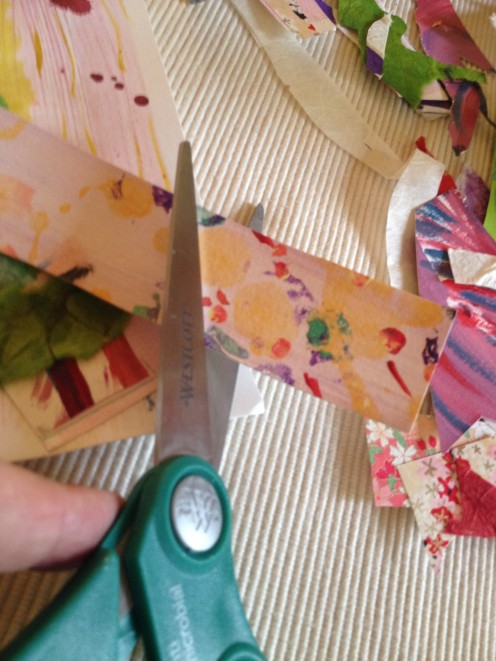
Step 8: Phase 2: COLLAGE
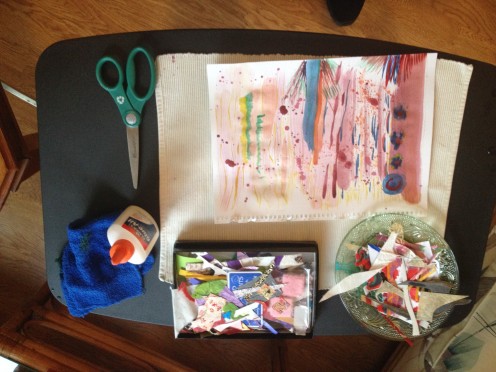
PHASE 2 SUPPLIES
Glue, scissors, damp cloth (for glue mishaps), an array of collage papers, old photos or -- in this case -- scraps of paintings I made months ago and never did anything with!!
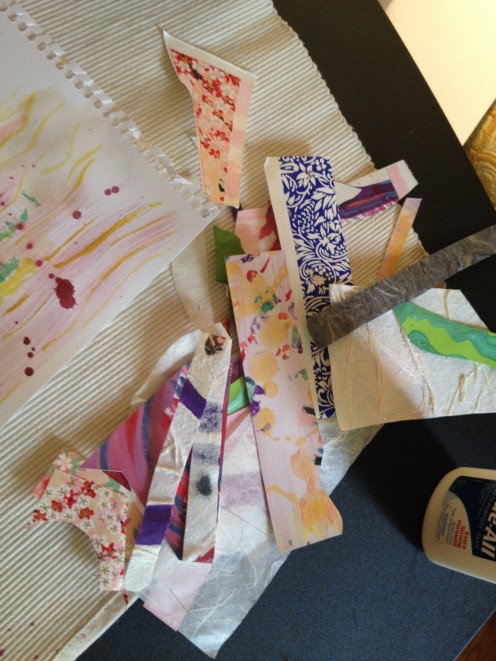
Step 9: Selecting a scrap of collage paper and deciding where to apply it to the painting. Don't think too hard!

Playing Around with Pieces of Paper
I like to hold a piece of paper, move it around the page and see where it might be interesting to glue it down.
Step 10: Make a decision, bring out the Elmer's Glue and glue it down!

Step 11: Repeat! I have a whole pile of little bits of paper to choose from here!
Step 12-A: In a lazy way, continue to consider possibilities. Allow your imagination to engage. Think with your eyes!
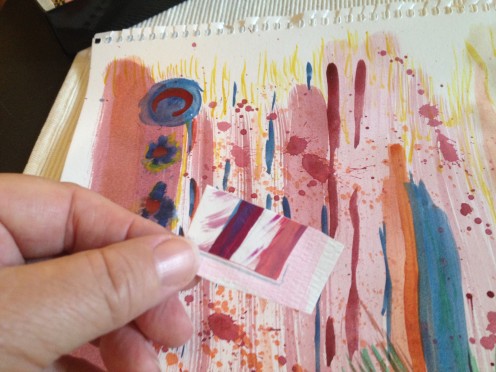
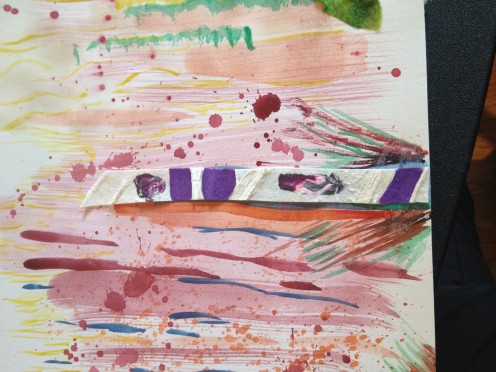
Step 12B: Okay! I'm gluing it down right here! See it?

This is a very forgiving process!
In case you haven't noticed yet, anything you don't like so much about your painting, you can cover up with collage paper!! Forgiveness is the antidote to perfectionism. You're welcome.
Step 13: here's an interesting piece left over from a un-used painting ... Should I use it?
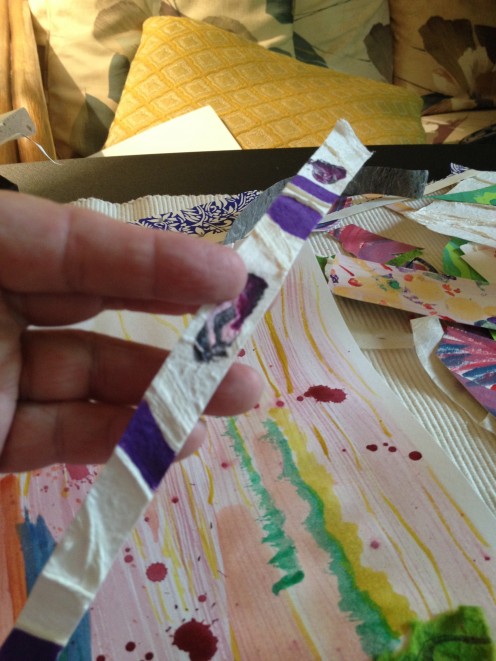
Step 14: I think I'll glue it down right here!
The Freedom to Choose
I covered up part of my painting that I didn't like that well with the new piece of collage paper -- that changes everything! You can change your mind as often as you like! What freedom...
Step 15: Cut pieces in any shape you like for adding to your collage
Step 16: Keep adding layers until you're satisfied
Step 17: Why stop now? Because I want to get to my very favorite part! Phase 3: FRAMING
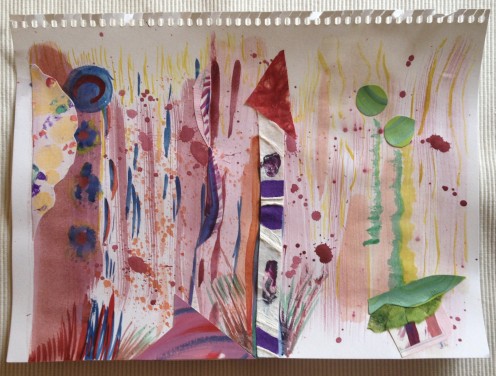
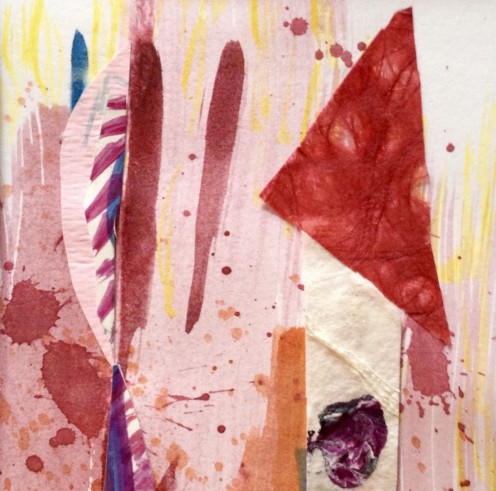
What do you see?
Do you think this final collage is interesting? I like it very much -- it looks to me like a fantasy garden of some sort, or party favors and fireworks. What do you see?
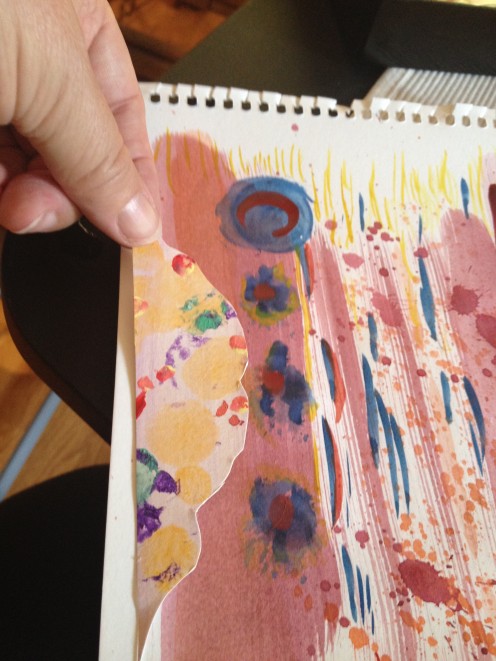
Now to PHASE 3: FRAMING!!
Step 18: The only equipment we need this time is a piece of cardstock with an opening cut in it to the correct proportions of what we plan in our finished card

Cardstock Frame
I primarily make cards that are 5 inches by 6.5 inches, so I cut the hole in my card stock that size. You can also make it a little smaller if you like, depending on the size and shape of the card you want to make in the end.
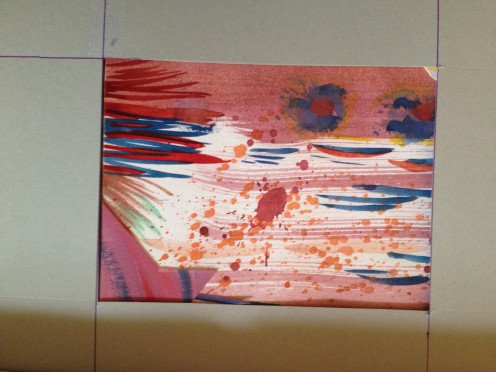
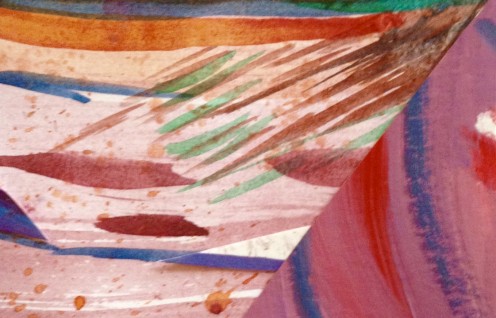
Step 19: Repeatedly move the frame around on your artwork, revealing different viewpoints that may surprise you with their complexity and vitality!
Step 19... and another viewpoint emerges
Step 19 and another...
Step 19... is there no end to this??
Phase 4! Time for a technology choice...
At Good Tidings, my last step is the printing company where my friend Duncan scans the entire painting/collage on his $50,000 scanner! With all that digital info at my fingertips, I can "cut out" as many card designs as I like -- the ones I found in Step 19 -- without actually cutting up the art work! However, if you'd like a more lo-tech way to make your cards, scan and print at home, or simply choose a few designs you love, cut them out with scissors, and glue to pieces of heavy card stock.
Duncan at BEAU GRAPHICS: this is where the magic happens

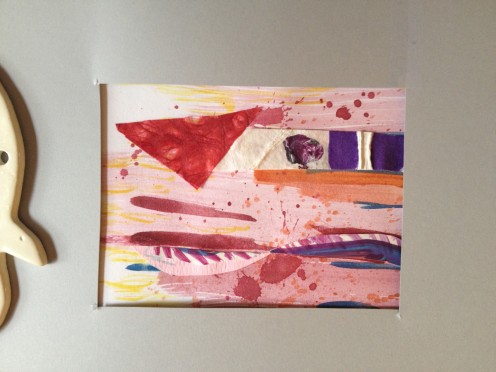
VOILA! A few more ideas as to what the final cards might look like!
The Finishing Touch
If you're working with us, or a professional printer in your town, "Designed by YOU" can be printed on the back of the card! Now you have your own greeting card!
I hope you had a good time and that you will enjoy making cards, by yourself or with others, as a lifetime creative project.

© 2016 Meriah Kruse


