DIY Advent Calendar with a twist
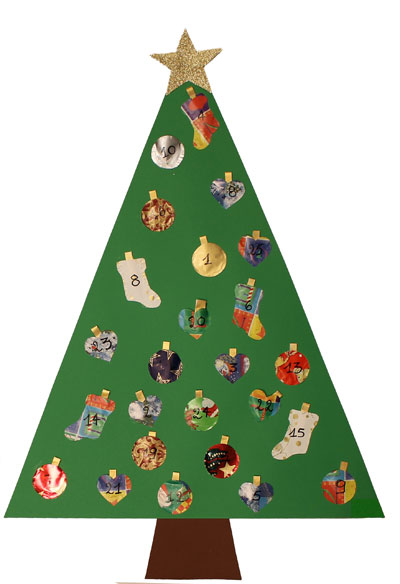
Children worldwide look forward to the coming of Christmas. They see the lights, they hear the Christmas stories and music, they see the presents and their excitement for the occasion slowly builds. A customary way to help a child count down the days till Christmas is the use of an advent calendar. Although there are many types of advent calendars, traditionally such a calendar has 24 or 25 little doors cut out of a piece of card stock. Each day a little door is opened to reveal a picture, a candy or a prize.
From the past
Advent is a traditional term that means “coming”, and is used to refer to the coming of Christ. In Christianity, a period of advent is celebrated, starting four Sundays before Christmas. During this time Christians count down the days with music, fasting and other traditional activities. It is a sacred and important time of year in which Christians praise, honor and await the coming of their Christ. The advent calendar is what brought this period of worship and waiting into the homes of the common Christian.
Advent calendars were first used in Germany in the 19th century. Originally, Germans would count down the days till Christmas with chalk lines on their walls, lighting a candle for each day, or hanging a small picture daily until Christmas arrived. The first advent calendar (as we know it today) was created by a German printmaker, Gerhard Lang, in 1908. His first calendar was a printing in which you affixed a different picture for every day in December. Years later, he modified his original calendar to include small windows that opened to reveal a picture.
To the present
The anticipation that is common in the hearts of children is really what has made the advent calendar so popular. What child, in eager excitement, doesn’t wonder daily how many days there are till Christmas; when the arrival of Santa brings treats, and presents to their door step. Fueling a child’s excitement for this holiday is not only fun for parents and teachers but also is what makes childhood so magical.
This Christmas, I am proposing to turn the Advent calendar tradition around and I will show you an Advent calendar that children can make as a gift for their parents.
Make your own Advent Calendar
Here is what you'll need:
• a large sheet of kraft paper
• a sheet of green Bristol paper
• brown construction paper
• small remnants of wrapping paper or recycled gift paper
• gold coloured paper
• scissors
• white glue
• paper and pencil or pen
• gold paint (optional)
• brush (optional)
• glitter, stickers, ribbons, etc. (optional)
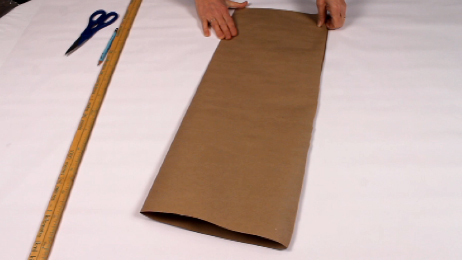
Start by creating a symmetrical template.
Take a sheet of kraft paper and fold it in half lengthwise.
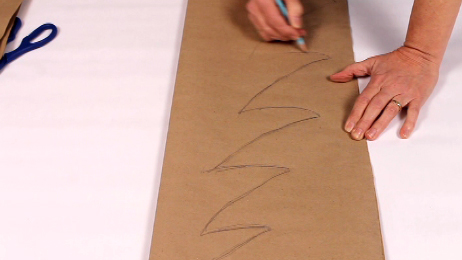
Draw half a tree starting with the tip and then draw stylized branches increasing in size towards the bottom.
Cut the tree along the pencil lines and open the sheet of kraft paper to have the complete template.
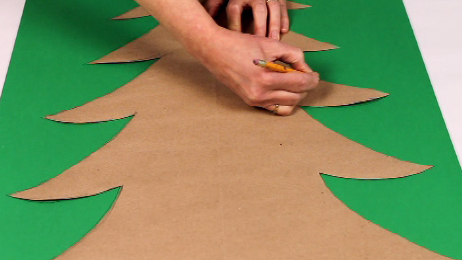
Place your template on a sheet of construction paper and trace along your template with a pencil.
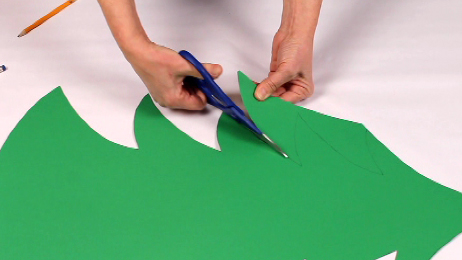
Cut along the pencil lines to obtain the Christmas tree.
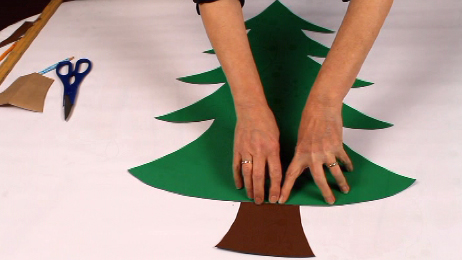
Create a rectangular or trapezoidal template and cut out the trunk from brown construction paper.
Put glue on the top part of the trunk and glue the trunk to the tree.
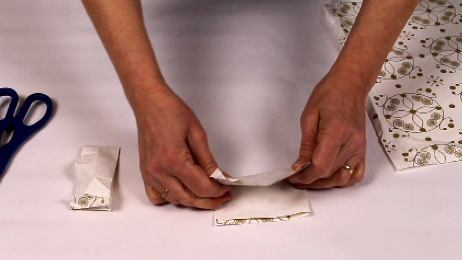
Make a template for the ornaments by cutting out a small circle of about 1.5 to 2 inches in diameter from construction paper.
Fold a piece of gift wrapping paper in two, three or four so that it has roughly the size of the template.
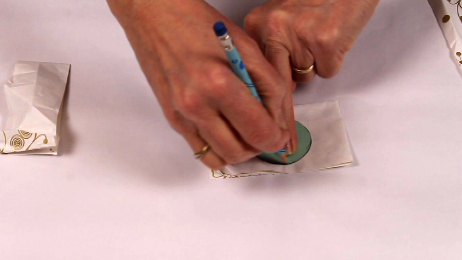
Place the template on the piece of folded wrapping paper and trace the outline of the ornament.
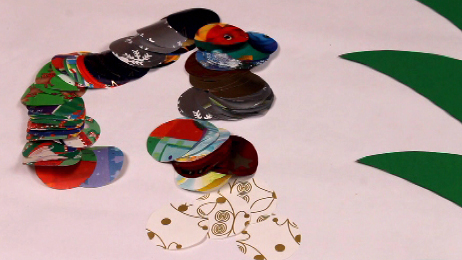
Cut through the different layers of wrapping paper to create the Christmas ornaments.
By using different colours of wrapping paper you will get all kinds of circles that represent Christmas baubles.
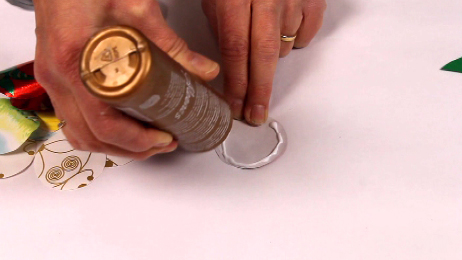
Place the tree that you created earlier in front of you.
Take one circle of wrapping paper and turn it over. Put white glue on approximately 3/4
of the circumference.
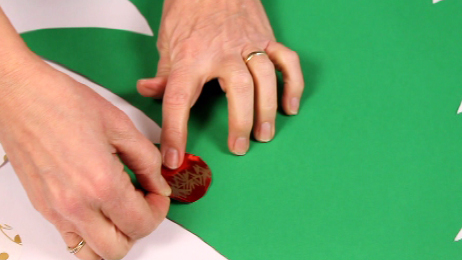
Place the circle with glue on the tree but take care to turn the section without glue upward.
The opening in the circle will form a pocket in which you will be able to insert a message.
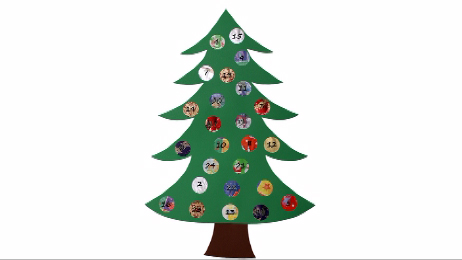
Continue to glue 24 other circles on the tree for a total of 25 Christmas ornaments.
When all the Christmas balls are glued on the tree, number them randomly from 1 to 25 by writing
numbers on the balls.
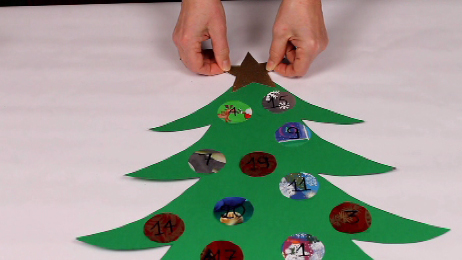
To decorate the top of the tree, you can add a star cut from gold colored paper or from a piece of gift wrap
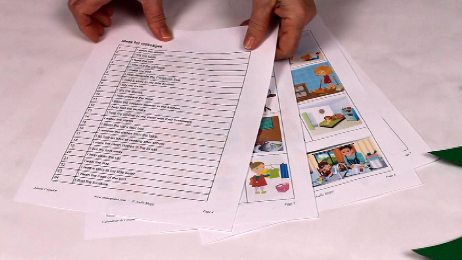
To finish this Advent calendar, write a message or make a drawing for each of the 25 days leading up to Christmas.
Each message or drawing should be a promise to do something nice for your Mom or Dad on that day.
Cut out the strips of paper with your written messages or your drawings, fold them in four and insert them in the little pockets.
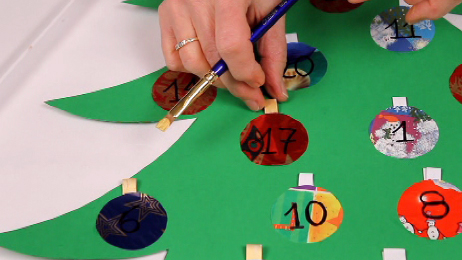
You can put a bit of gold paint on the tip of the message that sticks out of the Christmas ball, to represent the metal collar that is often found on top of ornaments. This step is optional.
Place the strips in the ornaments with the gold end visible.
Some ideas for Advent Calendar promises
I set the table.
|
I feed the cat.
|
I take out the garbage.
|
I make my bed.
|
I help decorate the Christmas tree.
|
I read a story to my little brother.
|
I tidy my room.
|
I dry the dishes.
|
I help prepare the meal.
|
I pass the vacuum cleaner in the kitchen.
|
I help fold the laundry.
|
I help my brother or my sister with their homework.
|
I water the plants.
|
I clean the cat's litter box.
|
I remove the dishes from the table.
|
I do half an hour of reading after school.
|
I store the clean clothes in the closet.
|
I put my toys away.
|
I help clean the car.
|
I walk the dog.
|
I read a story to my little sister.
|
I clean the cage of the bird.
|
I dust the furniture.
|
I wash the dishes.
|
I brush my teeth.
|
